

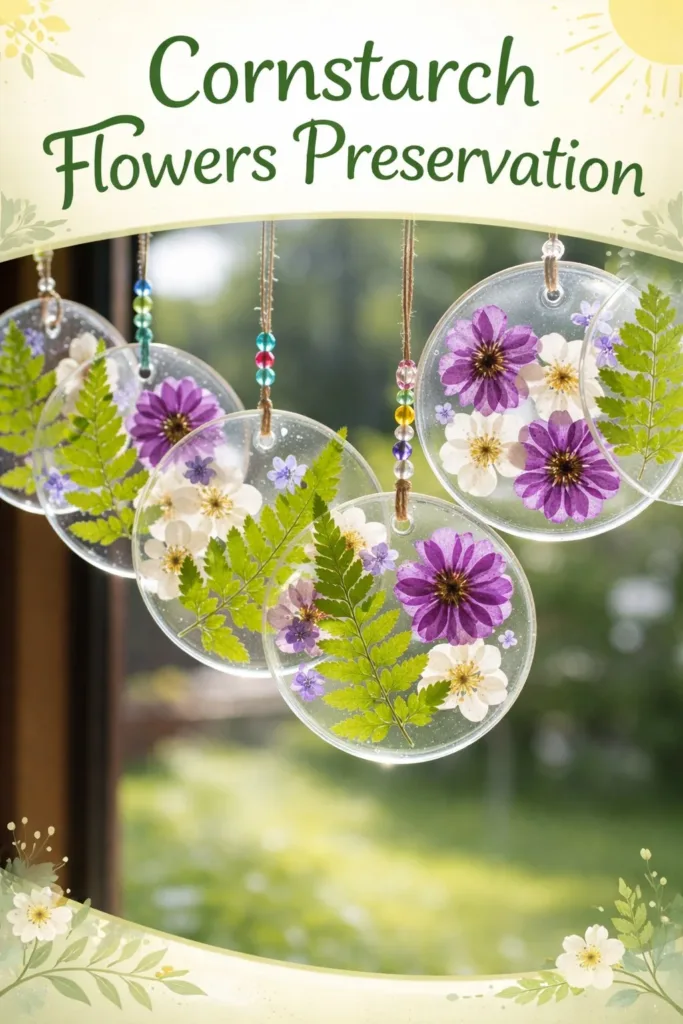
Light filters through a kitchen window and dust motes float over a shallow bowl of soft cornstarch, a single petal resting on my palm. I breathe in the faint, dry scent and feel the powder sift between my fingers as the petal presses into it. That small, tactile hush is at the heart of Cornstarch Flowers Preservation, a calm practice that invites careful hands and patient moments. I liked to practice gentle making with projects like cornstarch dish soap bubble dough, and this method gives the same quiet satisfaction while preserving petals.
Why Cornstarch Flowers Preservation Feels Comforting to Create
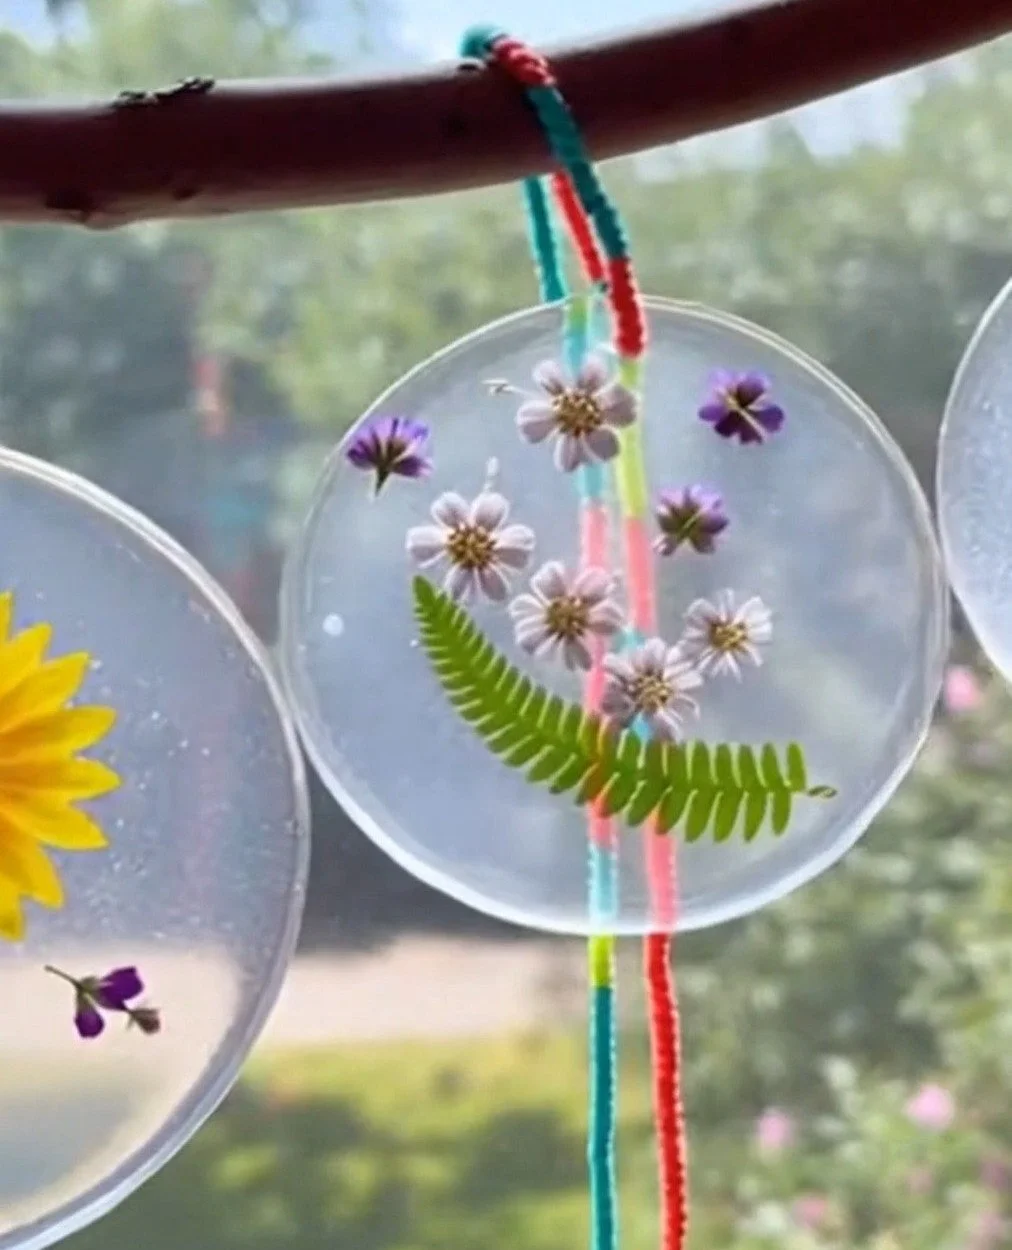
There is a soft rhythm to working with cornstarch and flowers. Each motion reminds you to slow down. You touch velvety petals, hear the faint rustle as you lay them, and watch color settle into powder. These small sensory notes ground you in the present.
Making preserved cornstarch flowers helps you feel calm because the process asks for attention rather than speed. When you press, shape, and dry, you move at a slow, steady pace. You make choices with a quiet hand and notice little changes: a petal that flattens differently, a powder that shifts to a satin sheen, the way light catches a translucent edge.
This practice also blends memory with craft. A bouquet from a meaningful day keeps giving through slow preservation. You can pair it with other gentle activities, like arranging a tiny suncatcher or experimenting with simple bioplastic recipes. If you enjoy soft, tactile projects, you might like exploring how preserved petals pair with lightweight suncatchers in other work like DIY bioplastic suncatchers. The mood stays warm and intentional.
Why this feels comforting extends to materials too. Cornstarch is familiar, forgiving, and quiet. It absorbs moisture, holds shape, and feels powdery against skin. That texture supports a meditative pace and rewards gentle, patient hands.
How This DIY Comes Together
The method brings together simple movement, a few minutes of shaping, and patient drying. You mix cornstarch and water to create a pliable dough that feels cool and slightly silky when you knead it. You roll it thin, place petals, and press gently so the cornstarch hugs each curve.
Listen for the tiny clicks as petals touch the dough. Notice the soft change when a dew-speckled surface dries into a matte finish. The visual rhythm comes from repeating small shapes: disks of dough, blooms arranged, and the steady shrinking as moisture leaves.
Before you start, consider rhythm and space. Clear a small, sunlit patch of table. Lay a towel under your work, and keep a shallow bowl of water nearby to dampen fingers if needed. If you have explored floral textures elsewhere, you might carry ideas forward from projects like bioplastic suncatchers with flowers, where capturing translucence felt rewarding. In this cornstarch method, you capture delicacy in a soft, matte form.
Materials You’ll Need
- Cornstarch, plain and food-grade (easy to find)
- Water, warm to the touch (helps bind the mixture)
- White glue or clear school glue, optional for extra strength (substitute-friendly)
- Fresh petals and small flowers, dry and clean (best gathered earlier in the day)
- Nonstick surface or parchment paper (keeps shapes from sticking)
- Rolling pin or smooth bottle (small and simple)
- Small cookie cutter or round lid to cut shapes (optional)
- Soft brush or cotton swab for smoothing and removing bits (gentle touch)
- Thin paper towel or clean cloth for pressing and drying
- Fine sandpaper, optional for smoothing after drying
- Clear matte or satin sealer, optional for protection and longevity
Notes: Many items come from the pantry. Glue adds durability but keeps the texture slightly less powdery. If you prefer an all-natural version, skip the glue and rely on cornstarch and patience. I include glue sometimes when I need pieces to last longer in displays.
STEP-BY-STEP DIRECTIONS:
- Mix the base into a smooth dough.
Warm a small cup of water. Stir a cup of cornstarch into three quarters of a cup of warm water. The mixture should feel like soft clay. Add a teaspoon of white glue if you want stronger pieces. - Knead until it feels silky.
Dust your surface with cornstarch. Turn the dough out and knead gently. It should stop sticking and feel satiny. If it tears, add a few drops of water. If it feels too wet, sprinkle cornstarch. - Roll thinly and calmly.
Place the dough on parchment. Use a rolling pin or smooth bottle to roll it into a thin, even sheet. The sheet should feel cool and have a smooth skin. Thinner sheets dry faster and look more delicate. - Use cutters or freehand shapes.
Choose a small cookie cutter or a clean lid. Press it into the dough with gentle, steady pressure. Lift the shape slowly so the edges remain crisp. Set each disk on another piece of parchment. - Arrange petals with care.
Place a petal in the center of each disk. Lay it flat or slightly curved, depending on the flower. Press with a fingertip or the back of a spoon. You want the cornstarch to lightly embrace the petal without flattening its detail. - Add layers for depth, if you like.
For fuller blooms, layer two or three disks with petals between them. Gently press the edges to join. Keep the pressure soft so the petals keep their texture. I often stack roses this way for a sculpted look. - Smooth edges and remove excess powder.
Use a soft brush to sweep away cornstarch dust. Smooth the rim with a damp fingertip if needed. Work slowly so you do not smear color off delicate petals. - Let pieces dry slowly.
Place your creations on a clean towel in a warm, low-humidity spot. Drying takes 24 to 72 hours depending on thickness. Turn pieces once or twice to encourage even drying. The surface will shift from slightly glossy to matte as it dries. - Check for firmness before handling.
Gently test an edge after a day. If the piece yields, give it more time. When fully dry, it should feel light, firm, and slightly porous. If you used glue, it will feel more rigid. - Sand and refine, if desired.
If you see rough spots, use very fine sandpaper to smooth them. Work gently in one direction. This step brings a soft finish and removes small bumps. - Seal for protection.
If you wish to protect color and dust, apply a clear matte sealer in thin coats. Hold the can at least a foot away and spray lightly. Allow full drying between coats. Sealing adds a slight sheen and helps pieces resist moisture. - Arrange and enjoy.
Place the preserved flower in a frame, shadow box, or a tiny nest of dried moss. Use tweezers for delicate placement. Sit with the arrangement and notice how it slows you down.
Using Cornstarch Flowers Preservation in Everyday Life
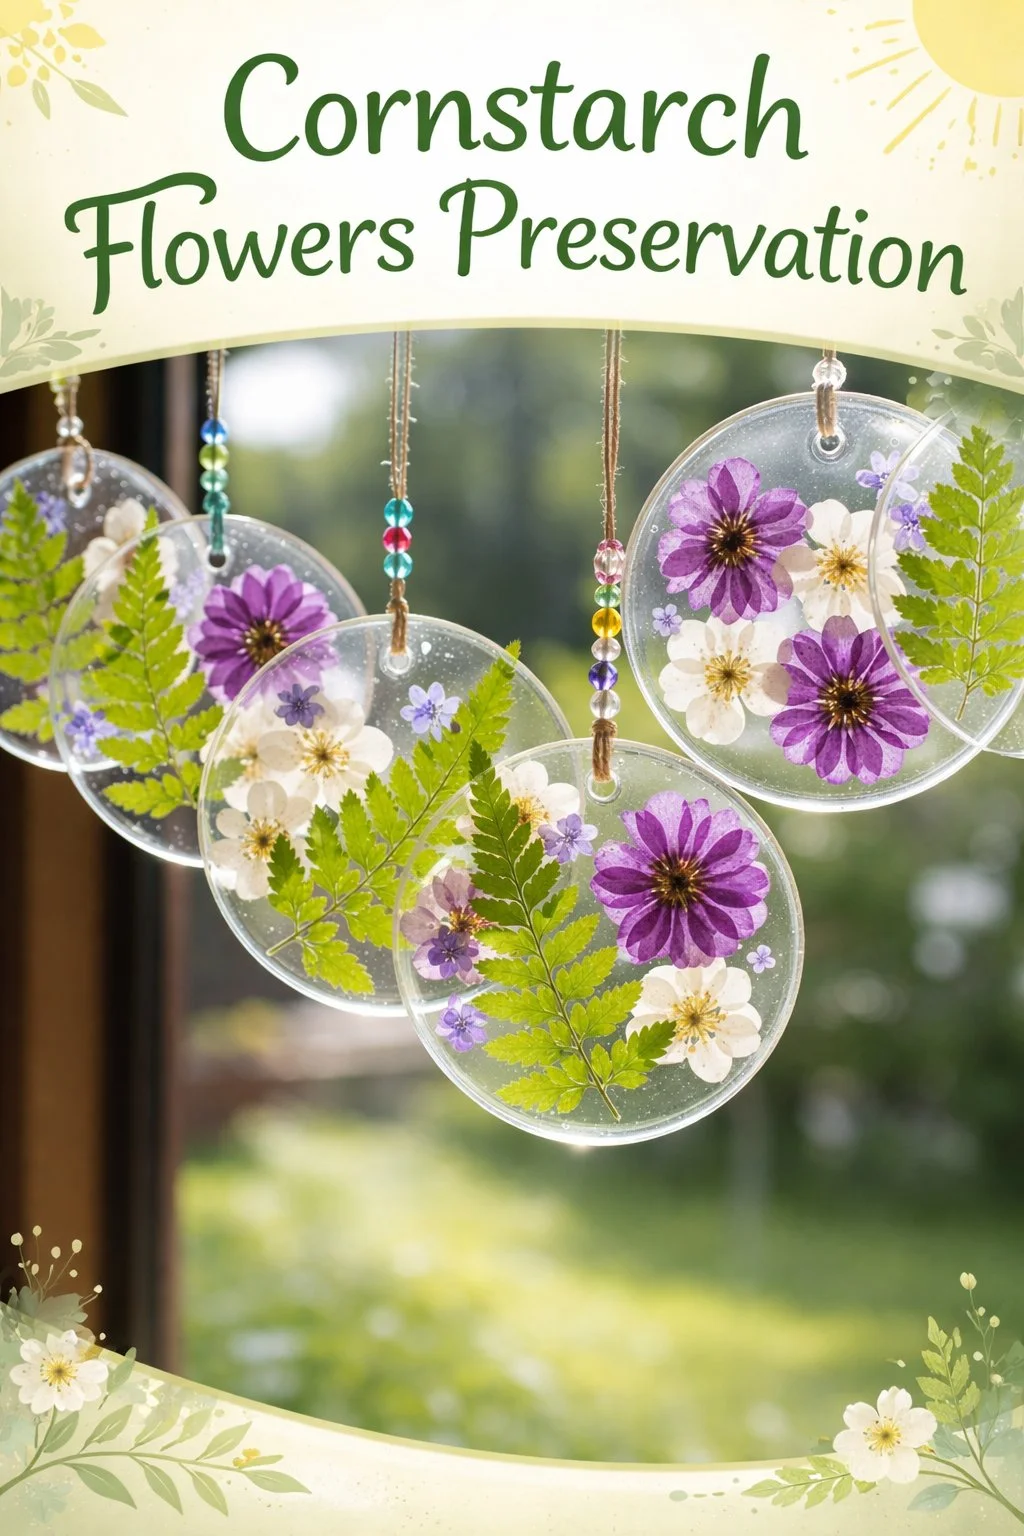
Preserved cornstarch flowers slip into quiet corners around the home. I often tuck a single bloom into a small matchbox, then press it into a shelf of books for a pleasant surprise when I open the volume. You can float a few in a shallow bowl of dried rice for a simple table accent, or glue a trio to a card for a slow, tactile greeting.
These pieces work beautifully in light, low-humidity displays. They pair well with glass-fronted shadow boxes or linen-lined frames. If you enjoy combining materials, a preserved cornstarch petal looks lovely next to a pressed, translucent suncatcher. Try a gentle arrangement inspired by projects like crystal flowers, where structure and shimmer meet softness.
Because the pieces remain lightweight, you can attach them to a thin ribbon to make a quiet, hanging charm. You can also use small magnets to display them on a metal board at calm moments where you will see them often.
How to Store or Reuse Cornstarch Flowers Preservation
Store your pieces in a dry box lined with acid-free tissue. Choose a shallow container so pieces lie flat and avoid stacking heavy items on top. Keep silica gel packets nearby for extra dryness, especially in humid climates.
If a piece absorbs a small amount of moisture, place it in a warm, dry spot and let it sit until it firms up. Do not microwave or oven-dry unless you have a well-tested method for thin pieces. Heat can cause cracking and color change.
You can reuse small shards or imperfect pieces as embellishments. Crumble a tiny fragment and mix it into a dry floral display for texture. Glue tiny chips to handmade cards, or embed them lightly into a clear resin tile for a mixed-media keepsake. When reusing, sand edges and seal as needed to prevent dust.
If color fades over time, you can carefully enhance edges with a soft watercolor wash or a very light dusting of pigment powder. Test on a scrap disk first. Be honest with your displays. These pieces look best when they feel honest and a little fragile.
Gentle Tips & Variations
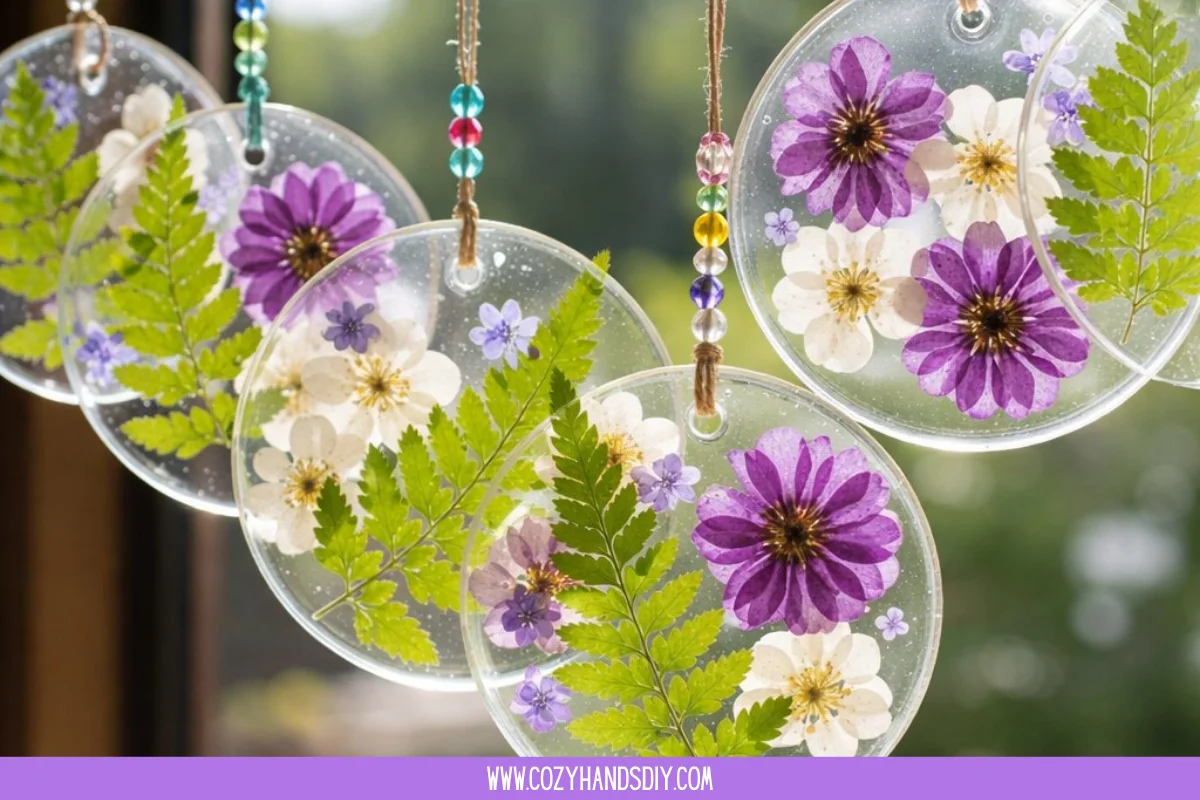
- Invite texture: Try mixing a teaspoon of fine cornstarch with a touch of arrowroot for a slightly different hand. This small swap changes how the dough dries and can give a softer surface.
- Use thin petals: For translucent, delicate pieces, choose thin petals like pansies or primroses. Thicker petals like peonies need extra drying time and careful pressing.
- Play with negative space: Cut small windows from the dough before placing petals. The contrast between dough and open space highlights petal edges.
- Experiment with scent: Lightly scent the drying space with a single drop of essential oil on a cotton ball placed nearby. Do not apply oil to the pieces directly. A faint scent can make the practice feel ceremonious.
- Try partial sealing: If you want to preserve natural texture but add longevity at the center, brush a tiny heart of diluted glue at the base of layered petals. It gives structure without changing the whole surface.
These suggestions invite curiosity rather than impose rules. Pick one idea and try it slowly. Notice what pleases your eyes and your hands.
FAQs About Cornstarch Flowers Preservation:
Will cornstarch react with the flower color and change it?
Most fresh petals keep their color when dried in cornstarch, but some pigments may shift slightly. Cooler drying and limited handling helps keep hues true. Always test one petal first if color fidelity matters.
How long will preserved cornstarch flowers last?
With careful storage in a dry container away from direct sun, pieces can hold well for years. Humidity remains the greatest risk. Use silica gel and keep them in a cool, stable space.
Can I preserve whole small flowers, not just petals?
Yes. Tiny flowers like alyssum or baby’s breath can work well. They need more careful drying and sometimes a light internal support like a thin wire base. Avoid dense, moisture-rich blooms.
Is this safe for children to make?
The dough is non-toxic when using food-grade cornstarch and basic white glue, but supervise small children. They may inhale fine powder or eat the dough. Keep the work area calm and avoid small parts that pose choking hazards.
Can I add color to the dough itself?
Yes, natural powders like beet or turmeric give soft tones. Use tiny amounts and mix slowly. The color affects drying time, so allow for longer drying when you add pigments.
A Gentle Note Before You Go
This practice rewards patience and attention. Each preserved piece carries a memory of the moment you made it: the pressure of a finger, the scent of a garden, the slow shift from wet to dry. Keep your hands soft and your movements steady. If something breaks, treat it like a lesson, not a failure. You can rework, reuse, and find beauty in the imperfections.
Take time to place your creations where you can see them in small, unhurried moments. Let them remind you to slow your breath and notice the texture of life around you.
Conclusion
If you want to deepen your understanding of drying and preserving flowers, this guide complements more technical resources like The Art of Drying Flowers: Methods and Preservation Tips, which explores a variety of drying methods. For practical advice on drying techniques and plant selection, consider this helpful resource, Drying Flowers – HGIC@clemson.edu.
PrintCornstarch Flowers Preservation

A calming DIY method to preserve flower petals using cornstarch, creating beautiful and delicate floral accents.
- Prep Time: 15 minutes
- Cook Time: 0 minutes
- Total Time: 45 minutes
- Yield: Varies based on number of petals used
- Category: Craft
- Method: DIY Craft
- Diet: N/A
Ingredients
- Cornstarch, plain and food-grade
- Warm water
- White glue or clear school glue (optional)
- Fresh petals and small flowers
- Nonstick surface or parchment paper
- Rolling pin or smooth bottle
- Small cookie cutter or round lid (optional)
- Soft brush or cotton swab
- Thin paper towel or clean cloth
- Fine sandpaper (optional)
- Clear matte or satin sealer (optional)
Instructions
- Mix the base into a smooth dough.
- Warm a small cup of water. Stir a cup of cornstarch into three quarters of a cup of warm water.
- Knead until it feels silky.
- Roll thinly and calmly.
- Use cutters or freehand shapes.
- Arrange petals with care.
- Add layers for depth, if you like.
- Smooth edges and remove excess powder.
- Let pieces dry slowly.
- Check for firmness before handling.
- Sand and refine, if desired.
- Seal for protection.
- Arrange and enjoy.
Notes
Glue adds durability but alters texture slightly. For an all-natural version, skip the glue. Store pieces in a dry box with acid-free tissue.