

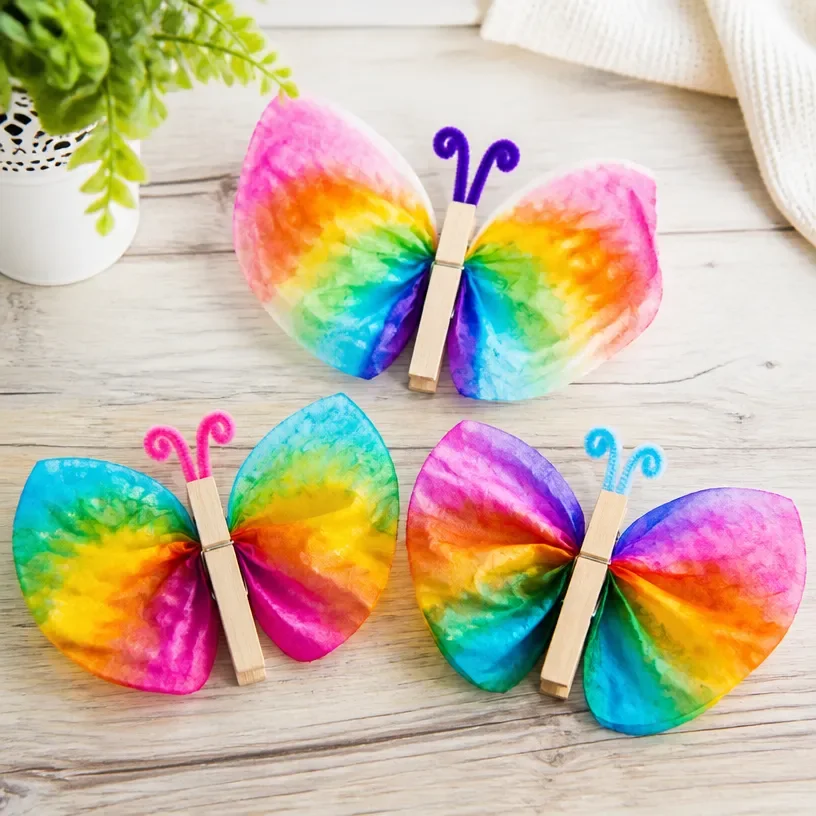
The tactile feel of smooth coffee filters, ready for transformation into delicate butterflies, brings an immediate sense of calm. As you hold each filter, you can almost anticipate the vibrant colors and soft textures that will soon emerge. The act of DIY Watercolor Butterflies Using Coffee Filters offers a simple and soothing escape, allowing creativity to flow gently through your fingers. With each stroke of color and fold, the worries of the day seem to melt away, leaving only the joy of creation. You may also find Diy Rainbow Dahlia Garland Coffee Filters useful.
The Heart Behind This DIY
Creating DIY Watercolor Butterflies Using Coffee Filters allows you to embrace the process of slow making. The sensory richness of watercolor blending with the lightweight texture of the filters encourages mindfulness. As you soak the filters with water and color, the vibrant hues swirl and merge, creating a calming rhythm that’s almost meditative. This project offers a precious opportunity to slow down, cultivate focus, and enjoy the beauty of transformation. The simplicity of the materials and the ease of the process make it accessible for everyone, fostering a supportive space for creativity. You may also find Diy Watercolor Coffee Filter Garland Tutorial useful.
You may also find Chromatography Coffee Filter Butterflies Calm useful.
A Gentle Look at the Process
The journey of making these butterflies begins with intention and a few thoughtful movements. Imagine the soft sound of water, the gentle brush strokes of color, and the way each filter interacts with the pigments. As you prepare for this creative journey, you’ll notice a rhythmic flow that accompanies each step. The simple act of layering colors invites a sense of playfulness, encouraging you to explore without fear. Embracing this creative flow helps instill a feeling of calm as you anticipate the beautiful results. You may also find Chromatography Coffee Filter Butterflies useful.
Materials You’ll Need
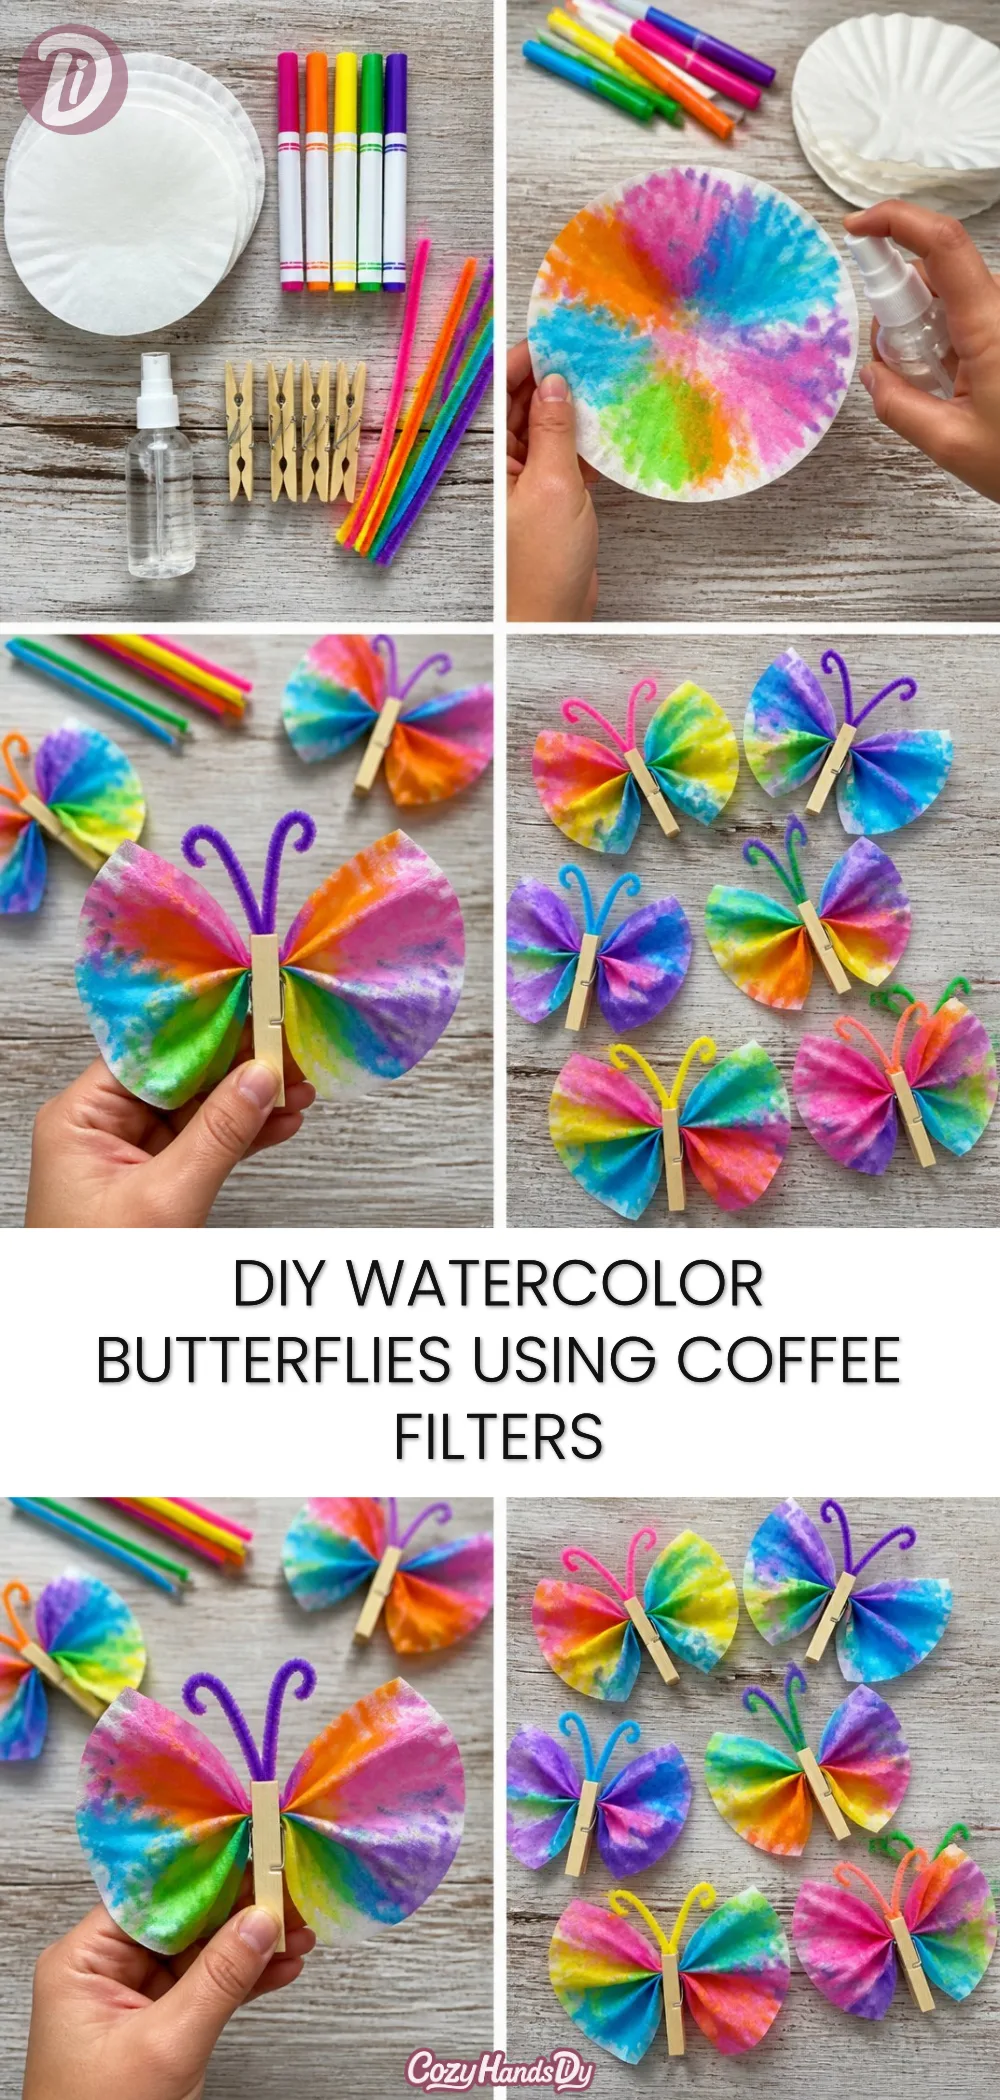
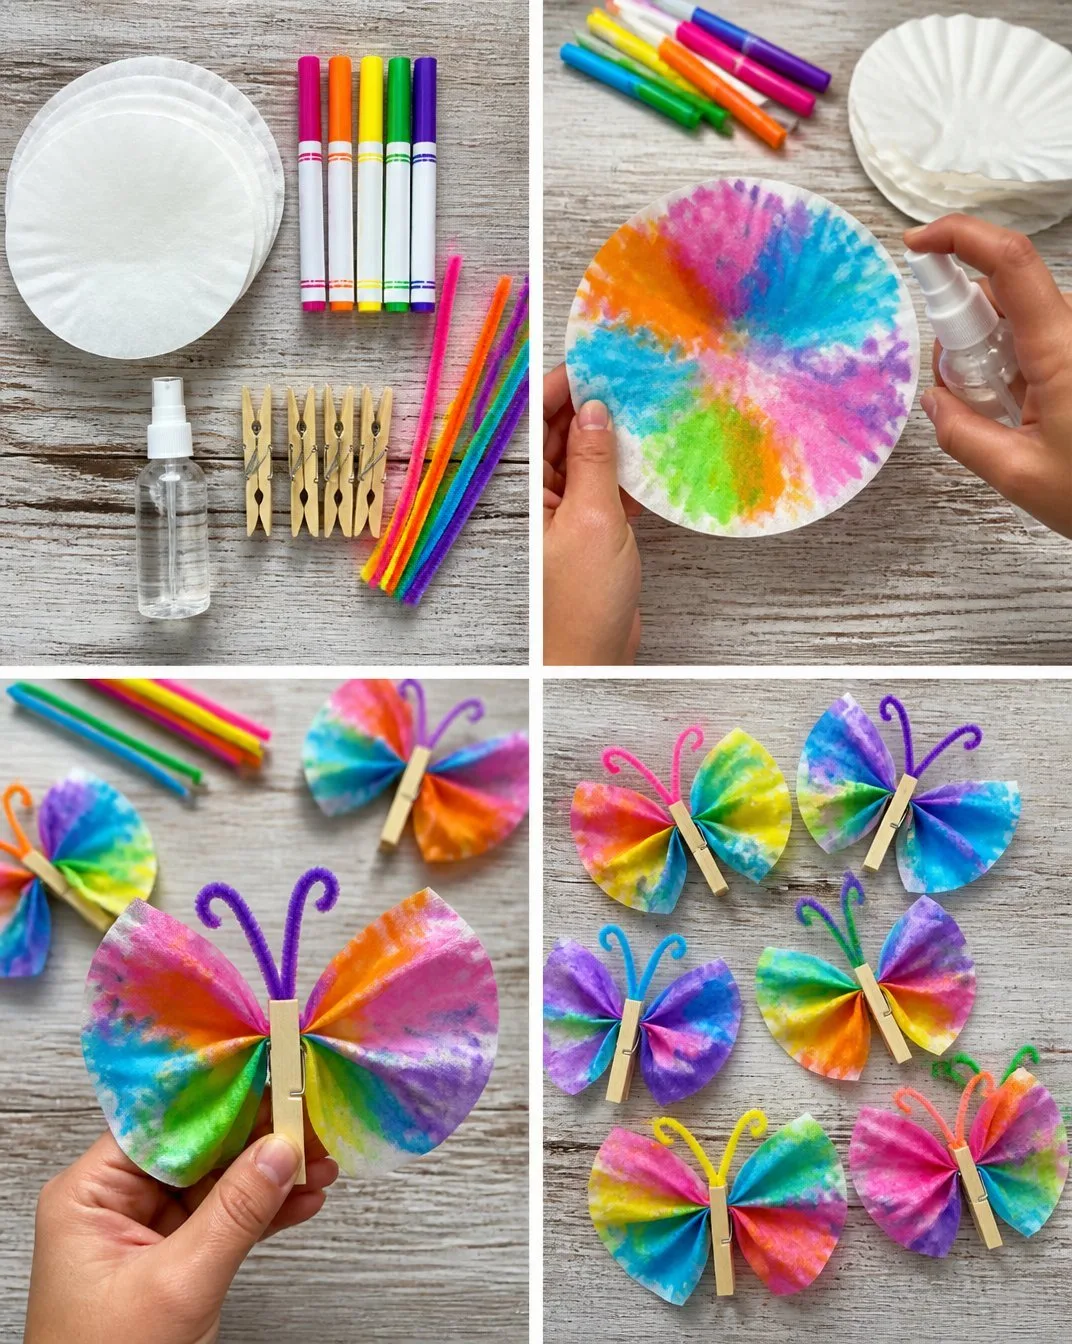
- White coffee filters (easy to find)
- Washable markers in various colors
- Water in a small bowl or spray bottle
- Pipe cleaners (optional for creating antennae)
- Scissors
- Soft paper towels (for drying)
Gather these materials, and you will be ready to dive into a world of color and creativity. The options are simple yet abundant, allowing for various creative expressions.
Step-by-Step Directions
- Begin by taking a clean, dry coffee filter and laying it flat on your workspace.
- Using washable markers, draw vibrant designs on one side of the filter. Don’t hesitate to layer colors for a dynamic effect.
- Once your design is complete, carefully sprinkle or spray the filter with water. Observe as the colors begin to bleed and merge.
- Allow the filter to dry completely on a paper towel. You can speed up the drying process with a gentle fan.
- After it’s dry, fold the filter in half, then fold it in half again to create a quarter circle.
- Pinch the folded filter at the center and attach it securely with a pipe cleaner if you’re using one.
- Shape the ends of the filter to resemble butterfly wings by gently rounding them.
- Finally, gently unfold your filter to reveal your beautiful butterfly.
Using DIY Watercolor Butterflies Using Coffee Filters in Everyday Life
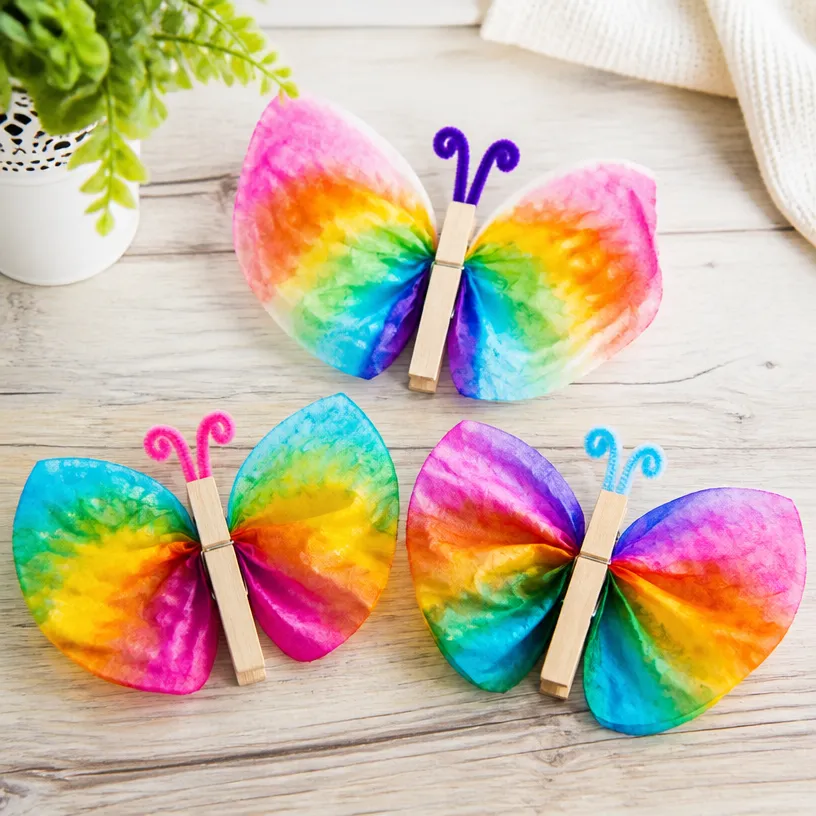
The finished butterflies bring a touch of whimsy and color to any space. You can hang them in windows to catch the light or use them as unique decorations for parties and gatherings. Some may choose to attach them to greeting cards, bringing joy to the recipient. The vibrant designs also lend themselves well to seasonal decor, such as springtime displays or summer celebrations.
How to Store or Reuse DIY Watercolor Butterflies Using Coffee Filters
Storing your DIY Watercolor Butterflies is straightforward. If you want to preserve their vibrant appearance, keep them flat in a protective box or folder. Gently layer them between sheets of parchment paper to prevent any crushing. You can also refresh their colors by adding new designs or water whenever inspiration strikes, encouraging continuous creativity.
Gentle Tips & Variations
- Experiment with different types of color application, such as sponging or using brushes, to change the texture of your designs.
- Consider using other materials like glitter or sequins to add a touch of sparkle to your butterflies.
- Try creating a themed series based on colors you associate with different emotions, allowing your intuition to guide your choices.
- Invite a friend to share this experience as a calming social activity, fostering connection through creativity.
- Don’t hesitate to repurpose worn-out or misprinted filters every mark holds potential for beauty.
FAQs About DIY Watercolor Butterflies Using Coffee Filters
Can I use any type of markers for this project?
It’s best to use washable markers, as they blend beautifully with water, creating the desired watercolor effect without permanent stains.
How long do the butterflies last?
With proper storage, your butterflies can last indefinitely. Avoid excessive moisture to maintain their vibrancy.
Is this project suitable for children?
Absolutely! This project is family-friendly and a delightful way for children to explore colors while enhancing their fine motor skills.
Conclusion
In this guided experience of crafting DIY Watercolor Butterflies Using Coffee Filters, you’ve embraced the beauty of creativity at a gentle pace. Allow each butterfly to serve as a reminder of the peaceful moments spent making. For more inspiration on similar projects, consider exploring Coffee Filter Butterflies: The Classic Craft Using Washable Markers or check out Coffee Filter Butterfly – Crafts by Amanda – Animal Crafts for Kids. Keep the joy of making alive, and may your creative journeys continue to unfold beautifully.
PrintDIY Watercolor Butterflies Using Coffee Filters
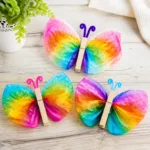
A soothing DIY project that transforms simple coffee filters into beautiful watercolor butterflies, perfect for decoration and mindfulness.
- Prep Time: 15 minutes
- Cook Time: 0 minutes
- Total Time: 15 minutes
- Yield: 10 butterflies
- Category: Crafts
- Method: DIY
- Cuisine: N/A
- Diet: N/A
Ingredients
- White coffee filters
- Washable markers in various colors
- Water in a small bowl or spray bottle
- Pipe cleaners (optional for creating antennae)
- Scissors
- Soft paper towels (for drying)
Instructions
- Begin by taking a clean, dry coffee filter and laying it flat on your workspace.
- Using washable markers, draw vibrant designs on one side of the filter.
- Once your design is complete, carefully sprinkle or spray the filter with water.
- Allow the filter to dry completely on a paper towel.
- After it’s dry, fold the filter in half, then fold it in half again to create a quarter circle.
- Pinch the folded filter at the center and attach it securely with a pipe cleaner if you’re using one.
- Shape the ends of the filter to resemble butterfly wings by gently rounding them.
- Finally, gently unfold your filter to reveal your beautiful butterfly.
Notes
Experiment with different color applications and invite friends to enjoy this creative activity together.