

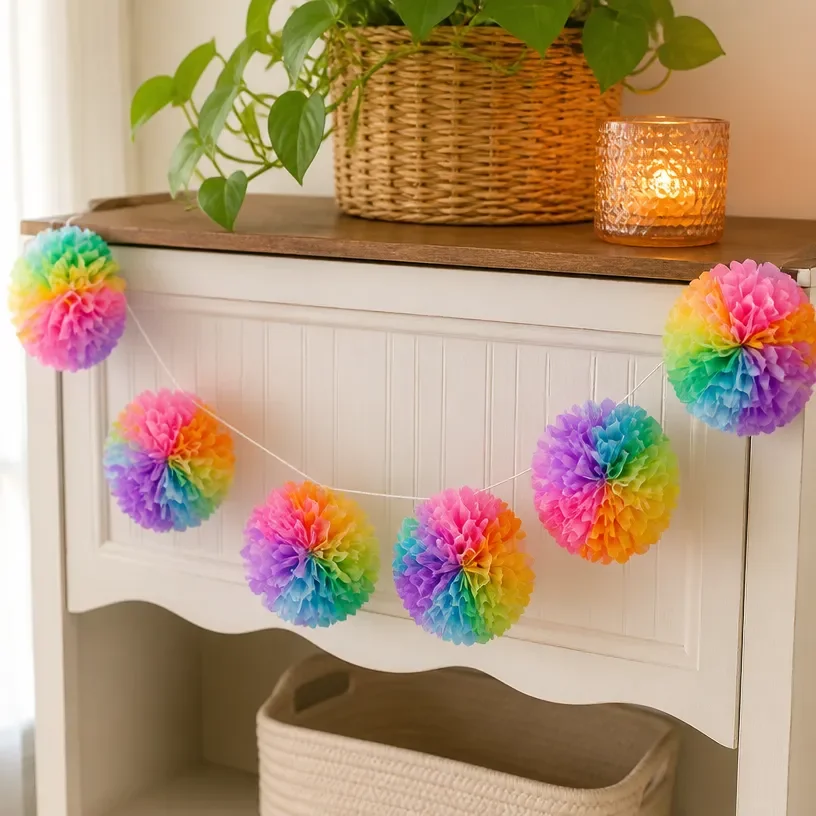
The delight of creating something beautiful often starts with a simple material. As you sit quietly, feeling the textured surface of coffee filters, you can almost sense the transformation waiting to happen. Making a DIY Rainbow Dahlia Garland using coffee filters invites a soft, mindful rhythm into your day. Each petal you shape offers a chance to breathe deeply, focus on the moment, and immerse yourself in the soothing act of crafting. You may also find Diy Watercolor Coffee Filter Garland Tutorial useful.
Why Make This DIY Rainbow Dahlia Garland Using Coffee Filters
Crafting the DIY Rainbow Dahlia Garland using coffee filters is about more than just the final product; it’s an experience of calm, creativity, and joy. This project encourages you to slow down and appreciate the gentle artistry of making. Each colorful petal crafted from simple materials becomes a reflection of your intention and care, turning your space into a vibrant haven. The act of twisting and folding coffee filters can be meditative, allowing your thoughts to settle like petals floating gracefully on water. You may also find How To Make A Rainbow Apple Bouquet From Coffee Filters useful.
You may also find Rainbow Coffee Filter Ghost Garland Cozy useful.
A Gentle Look at the Process
Before diving into the materials, let’s take a moment to appreciate the flow of this creative journey. As you prepare to make the DIY Rainbow Dahlia Garland, imagine the swirling motions of your hands as they mold the delicate coffee filters. You might also hear the soft rustle of the filters as you layer them, a soothing soundtrack to guide you. This gentle process encourages you to be present, focusing on the textures and colors that come to life in your hands. You may also find Coffee Filter Rainbow Apple Bouquet useful.
Materials You’ll Need
Gathering your materials for this DIY will help set the tone for your experience. Here’s what you will need:
- Coffee filters (white or colored)
- Food coloring (for a rainbow effect)
- Water
- Scissors
- Twine or string (for hanging)
- A cup or bowl (for dyeing)
- Optional: A spray bottle for added color effects
These materials are easy to find and can often be gathered in a single trip, allowing you to prepare for a cozy crafting session.
Step-by-Step Directions
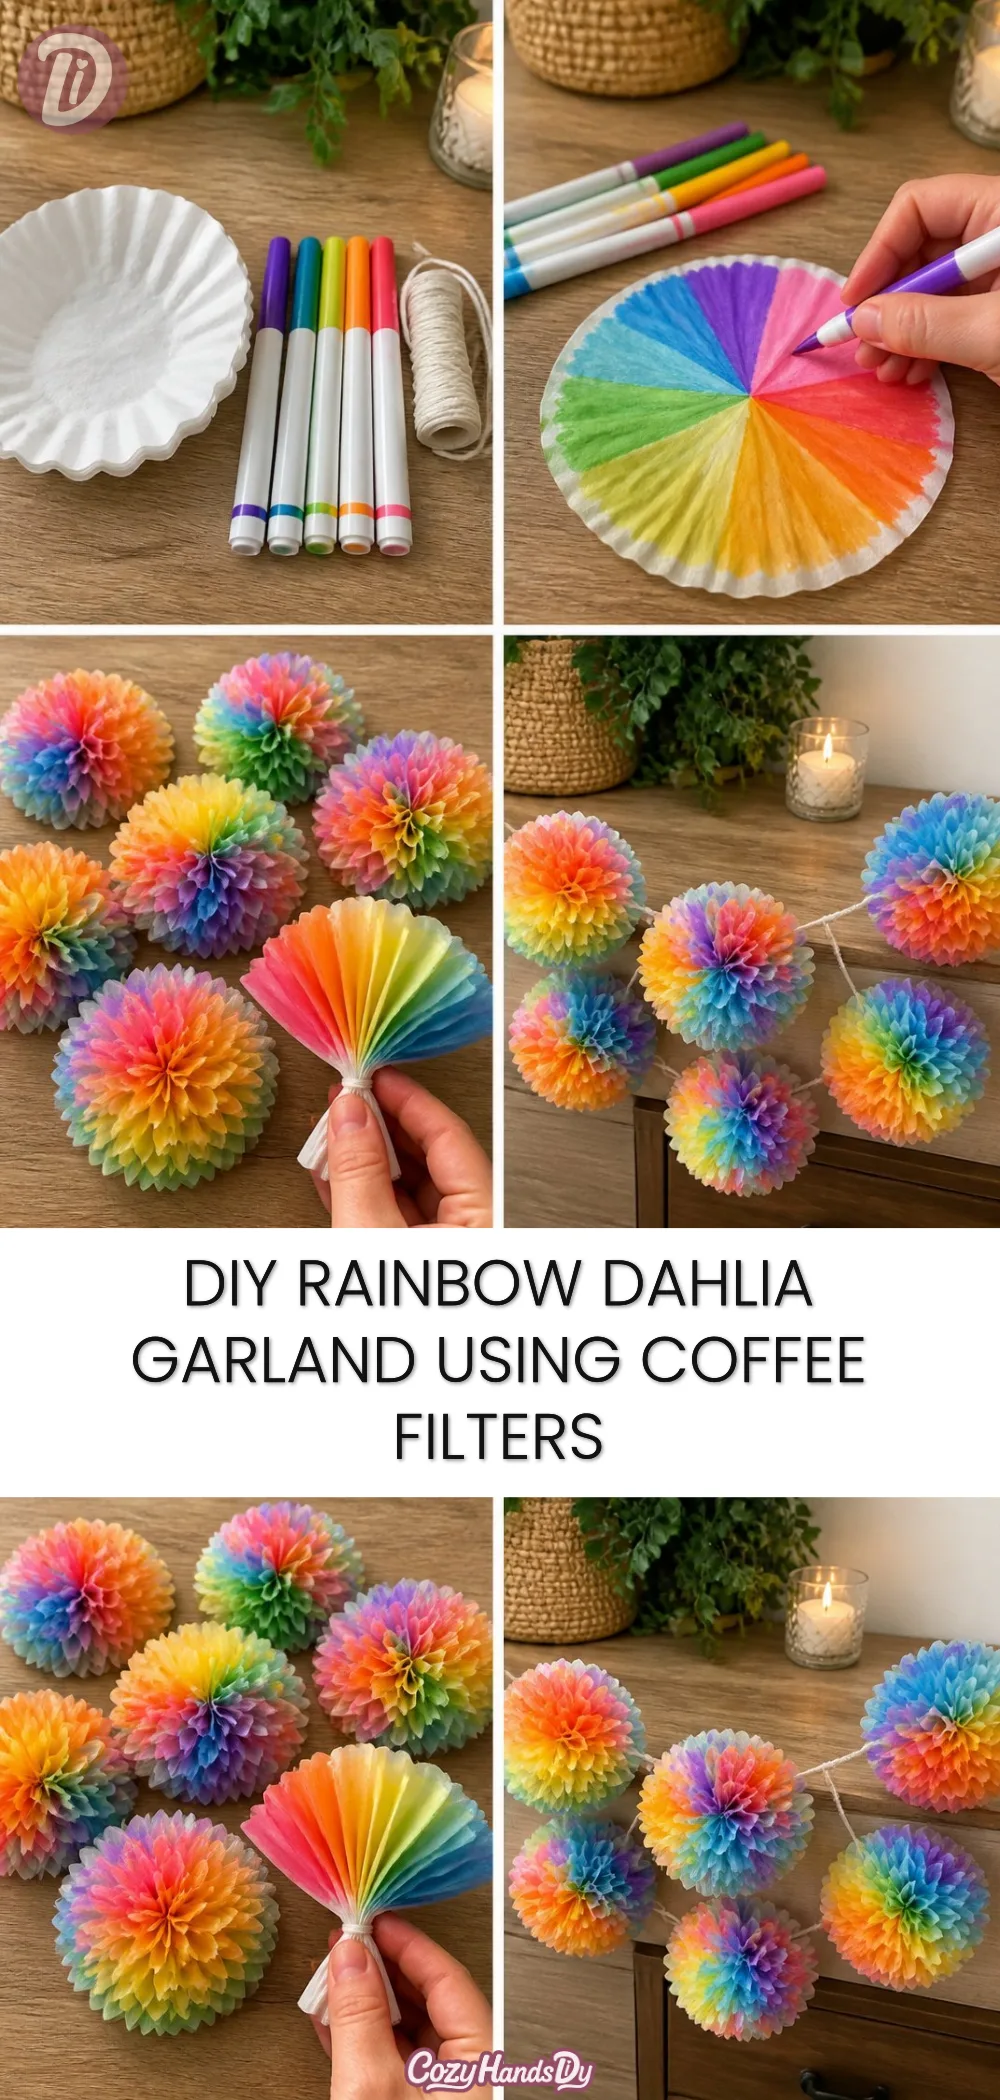
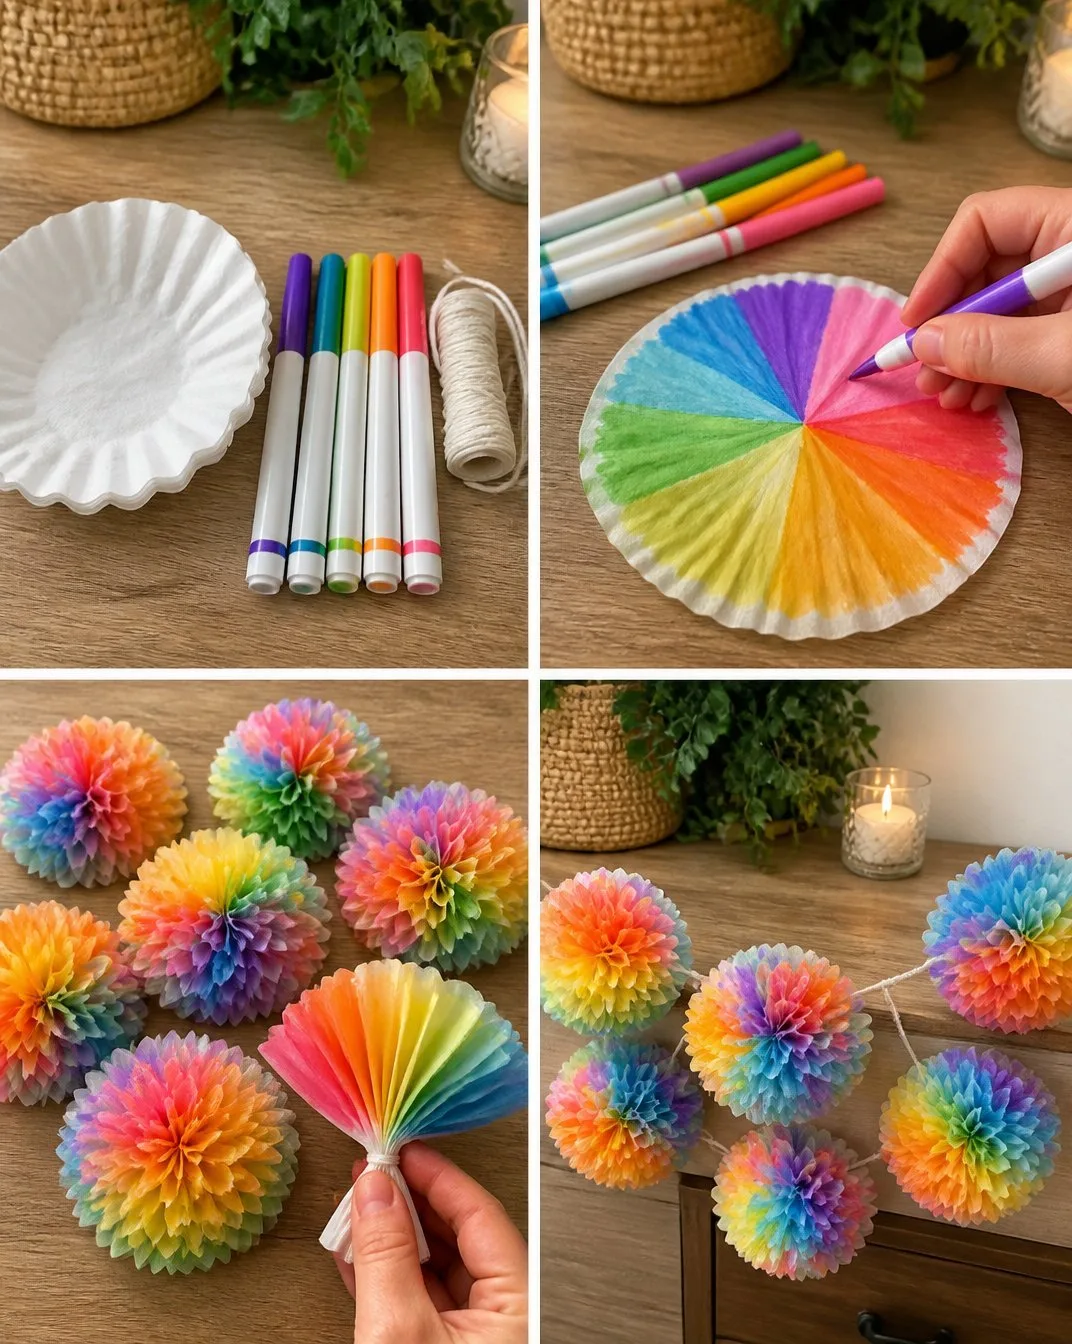
Prepare the Filters: Start by flattening out the coffee filters. You can gently separate them to ensure they lie flat.
Dye the Filters: In a bowl, mix food coloring with water to create your desired shades. Use a spray bottle to mist the filters, or dip them into the dye for a more saturated color.
Dry the Filters: Lay your dyed filters flat on a towel or drying rack. Allow them to dry completely, which might take a few hours. Enjoy the sight of vibrant colors as they dry.
Shape the Petals: Once dry, take one filter and fold it in half. Fold it in half again to create a smaller shape. Cut petal shapes into the edges, being creative with the design.
Layer the Petals: Take several shaped filters and layer them on top of one another. You can start with larger petals at the bottom and work your way up to smaller ones.
Secure the Layers: Once layered, hold them together tightly and secure the base with twine or string. You can twist the string around a few times for stability.
Attach to String: Continue adding petals to the string to create a garland, spacing them out to your liking as you tie each one in place.
Hang and Enjoy: Find a perfect spot to display your colorful garland, allowing its beauty to brighten your space.
Using DIY Rainbow Dahlia Garland Using Coffee Filters in Everyday Life
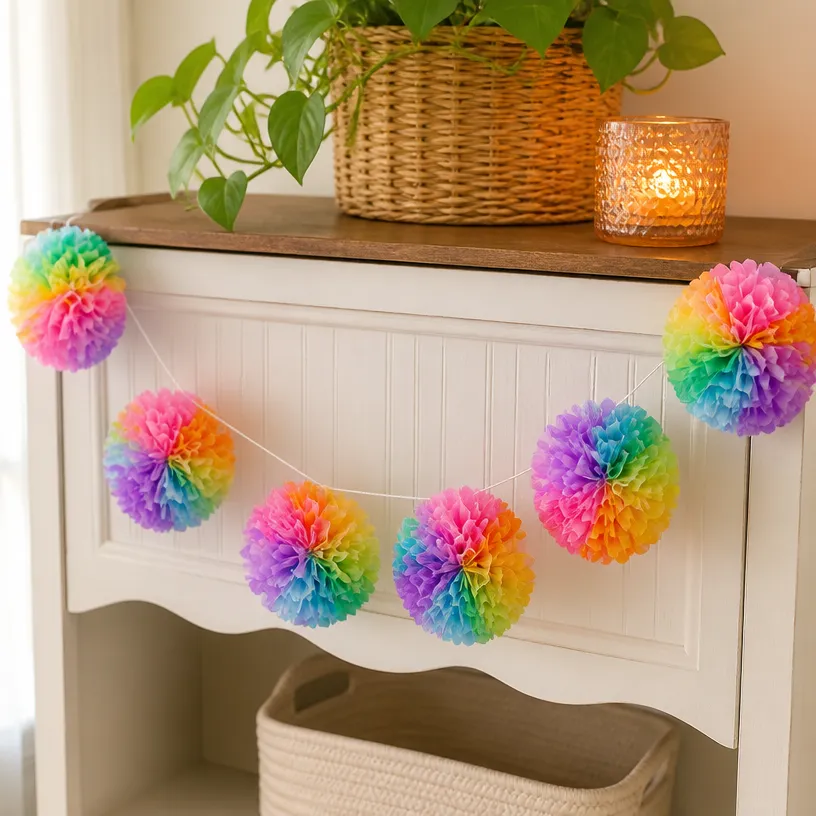
The finished DIY Rainbow Dahlia Garland can add vibrancy to any room. Whether you hang it in a nursery, drape it over a mantel, or use it to brighten up a workspace, this garland brings a unique touch of joy. Its colors can complement the seasons or simply serve as a reminder of your creative spirit each day. You can invite guests to stop and admire the art, making it a centerpiece of conversations and warmth.
Keeping It for Later
When the time comes to store your DIY Rainbow Dahlia Garland, do so with care. Gently fold the garland and place it in a box or a felt pouch to protect the delicate petals. If you want to reuse the garland for different seasons, consider changing the backdrop or pairing it with other decor to refresh its look. This way, you hold onto the work of your hands while keeping it relevant to your home’s evolving story.
Gentle Tips & Variations
- Consider using different shades of one color for a subtle ombre effect.
- Try adding embellishments, like beads or sparkle, to your garland for a touch of whimsy.
- Use vibrant food coloring to create a dramatic contrast if you prefer bolder hues.
- You can experiment with the shapes of the filters, creating unique designs like hearts or stars.
FAQs About DIY Rainbow Dahlia Garland Using Coffee Filters
Can I use other materials to dye the coffee filters?
Yes, you can explore natural dyes like beet juice or turmeric for a different but equally lovely palette.
How long will the garland last?
If stored properly, your garland can last for a long time. Just keep it away from direct sunlight and moisture to maintain its colors.
Can I involve kids in this project?
Absolutely! This project is perfect for little hands. Just supervise them while using scissors or dyes.
Conclusion
Creating a DIY Rainbow Dahlia Garland using coffee filters is a gentle journey that invites creativity and mindfulness. As you immerse yourself in this calming craft, consider exploring more ideas to enhance your space. For additional inspiration, check out these resourceful links: 34 DIY Nursery Decor Ideas for Girls and DIY Fringed Tissue Paper Garland – South Lumina Style. Take your time, enjoy the process, and let your creativity bloom.
2 thoughts on “DIY Rainbow Dahlia Garland Using Coffee Filters”