

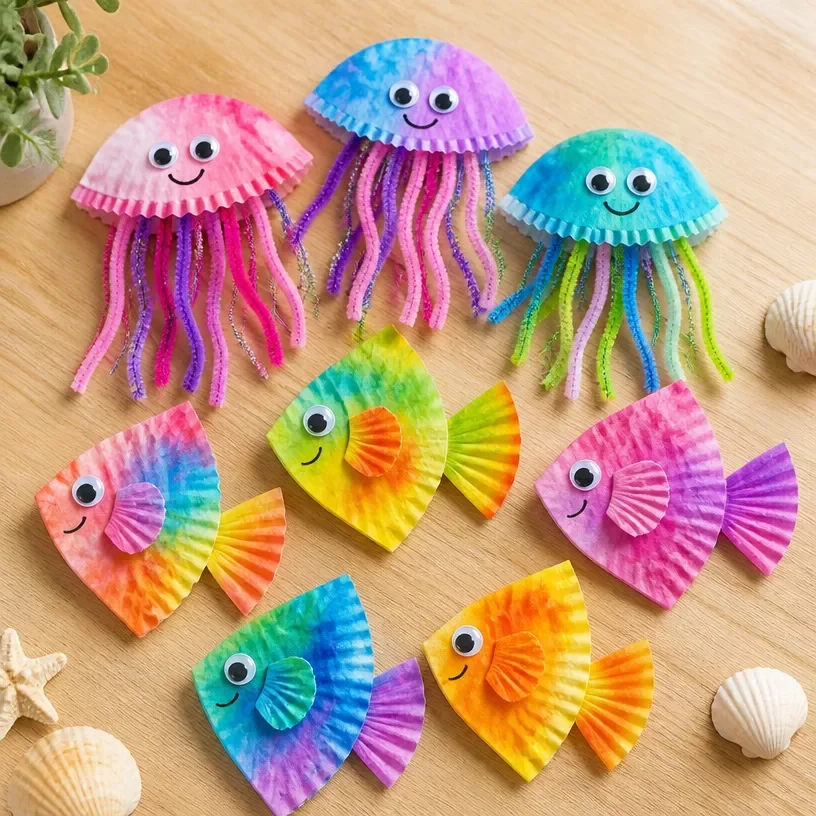
Creating DIY ocean creature crafts using coffee filters invites a calm and gentle presence into our creative space. The soft texture of the filters, paired with vibrant colors, can soothe the mind and inspire a playful spirit. As you dive into this project, the delicate process of transforming simple materials into enchanting sea creatures provides a grounding experience, inviting you to focus solely on the rhythmic movements of creation. With each fold and swirl, the colors blend, creating a mesmerizing visual effect reminiscent of ocean waves dancing in sunlight. You may also find Diy Rainbow Dahlia Garland Coffee Filters useful.
Why Make This DIY Ocean Creature Crafts Using Coffee Filters
Crafting these ocean creatures fosters a sense of tranquility and mindfulness. As we immerse ourselves in the flow of making, the repetitive motions can quiet the mind, bringing us into a centered space. The vibrant colors and soft materials stimulate our senses, providing warmth and joy with each creation. This DIY project is not just about the finished piece; it’s about reconnecting with our creative essence and the calming energy it brings. You may also find Bright Hanging Ocean Creatures useful.
You may also find Crispy Diy Coffee Filter Tie Dye Flowers useful.
A Gentle Look at the Process
Before you gather your materials, let’s explore the gentle rhythm that crafting these ocean creatures encourages. The act of cutting, coloring, and assembling invites you to slow down and savor each movement. Feel the smoothness of the coffee filters as you work with them. The sound of scissors gliding through paper, the brush strokes of paint, and the delicate folding make up a sensory symphony that enhances the crafting experience. You may also find Diy Coffee Filter Dragonflies useful.
Materials You’ll Need
- Coffee filters (basket-style)
- Water-based markers or dye (easy to find)
- Scissors
- Pipe cleaners
- Googly eyes (optional)
- Glue (optional)
- A container for dyeing (if applicable)
- A flat surface for drying
Gather these supplies in a comfortable workspace, allowing yourself the freedom to explore and create.
Step-by-Step Directions
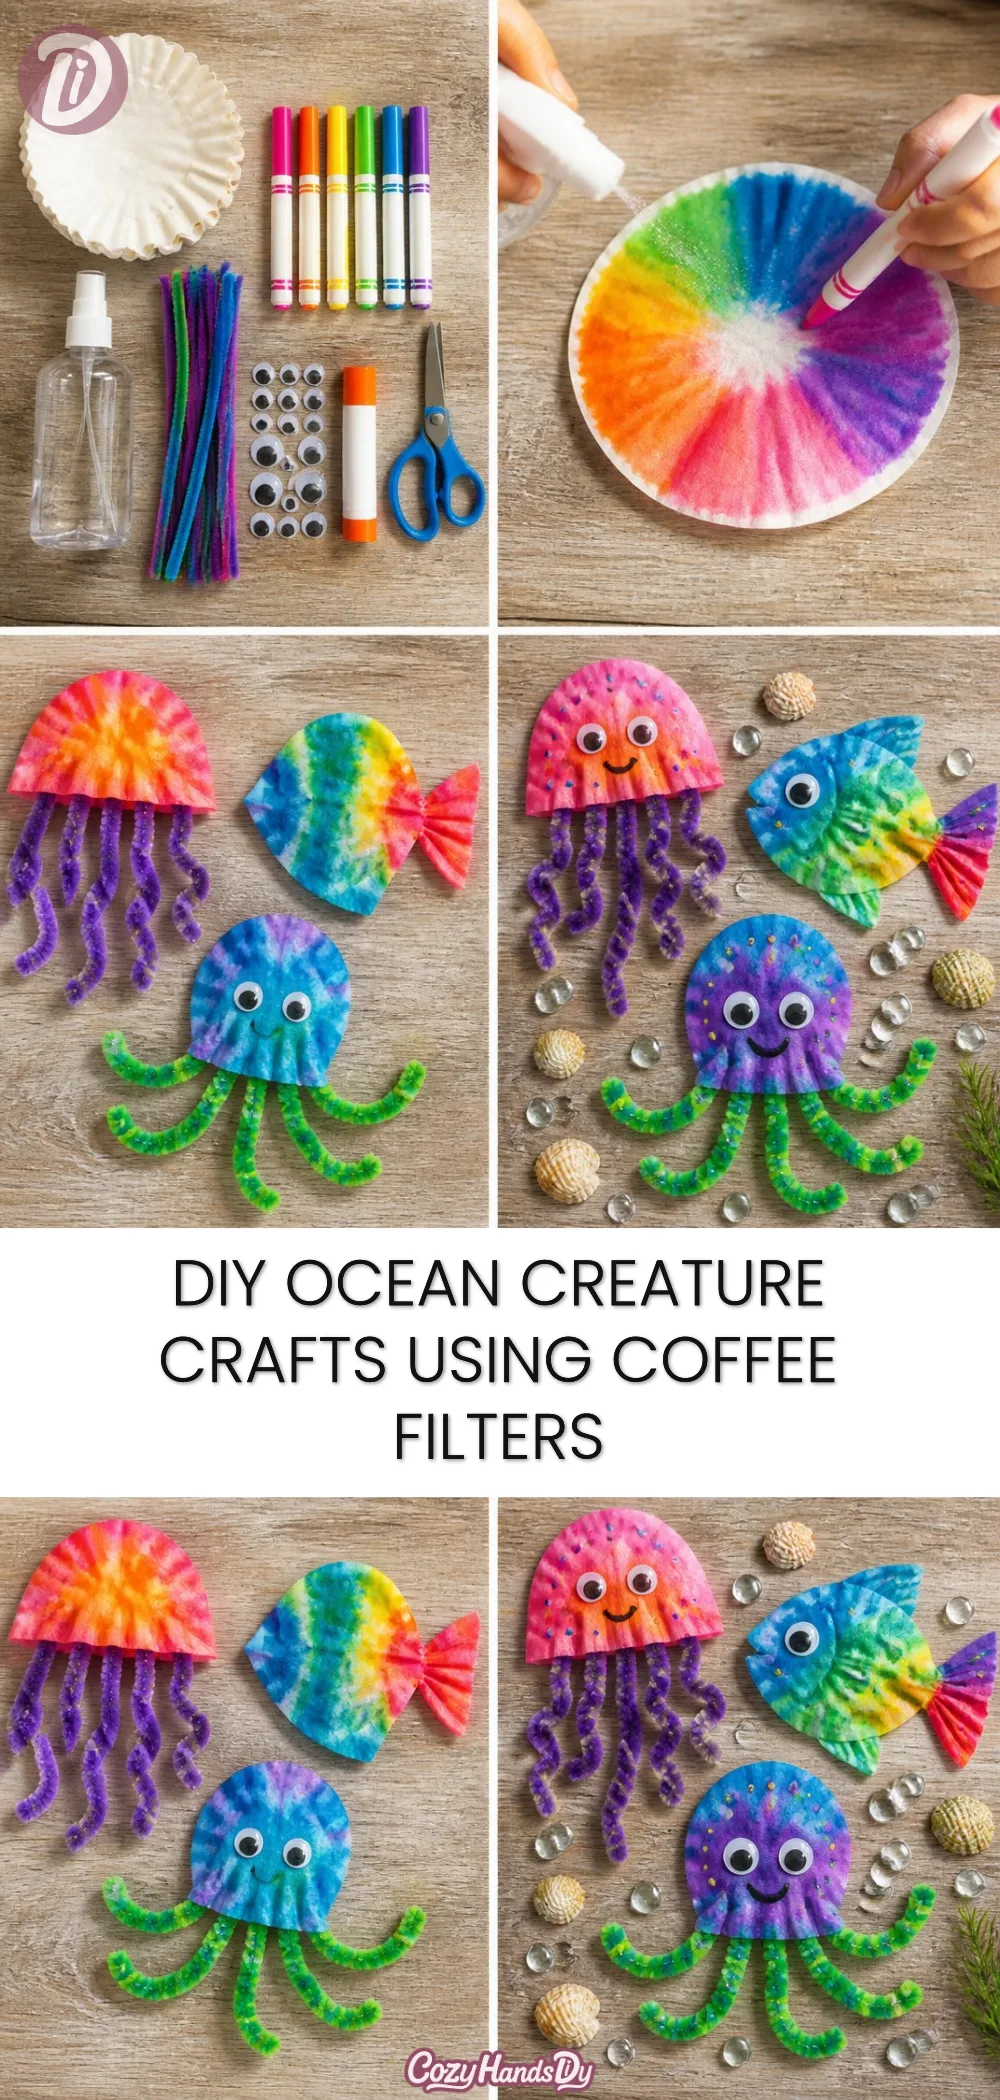
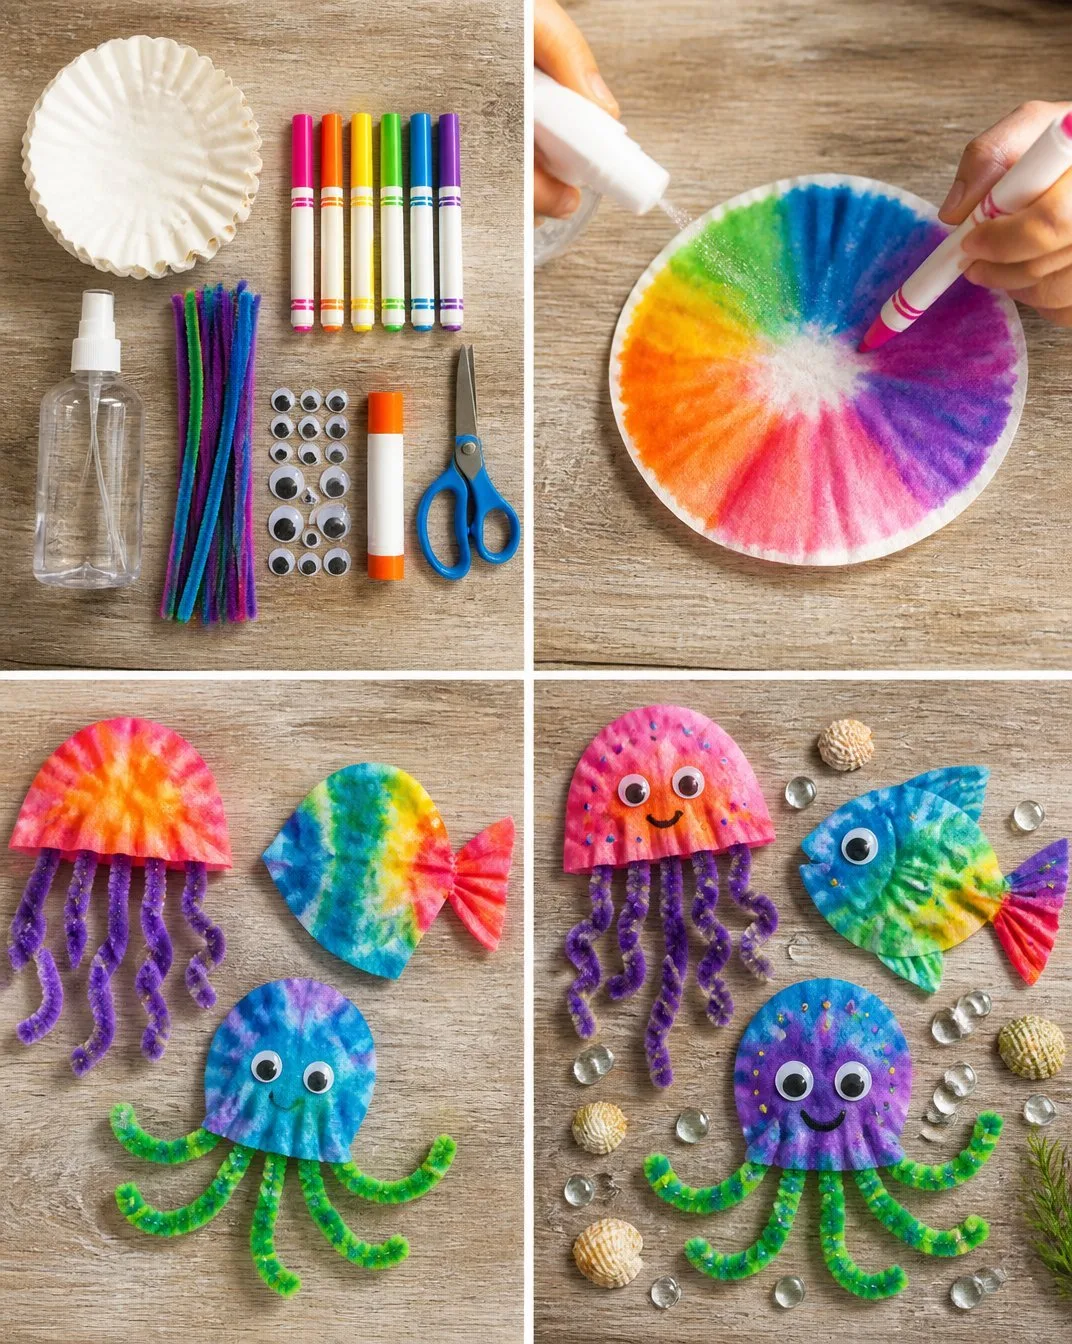
- Prepare Your Workspace: Lay out your materials on a clean, flat surface, ensuring you have enough space to move freely.
- Create Ocean Backgrounds: Use markers or dye to color the coffee filters. Consider blue and green hues for an ocean vibe. Dip the filters in lightly colored water for a soft wash effect, if desired.
- Dry the Filters: Place the colored filters flat on a surface for drying, allowing the colors to settle and blend.
- Cut for Shapes: Once dry, fold the filters gently. You can cut different shapes such as fish, jellyfish, or sea turtles. Each cut brings a new creature to life.
- Assemble Your Creatures: Use pipe cleaners as tentacles or legs. Secure them by pushing them through the center of the filter shapes. Twist to hold in place.
- Add Features: Use glue to attach googly eyes or create features with colored paper. Let your imagination guide you.
Enjoying the Finished Piece
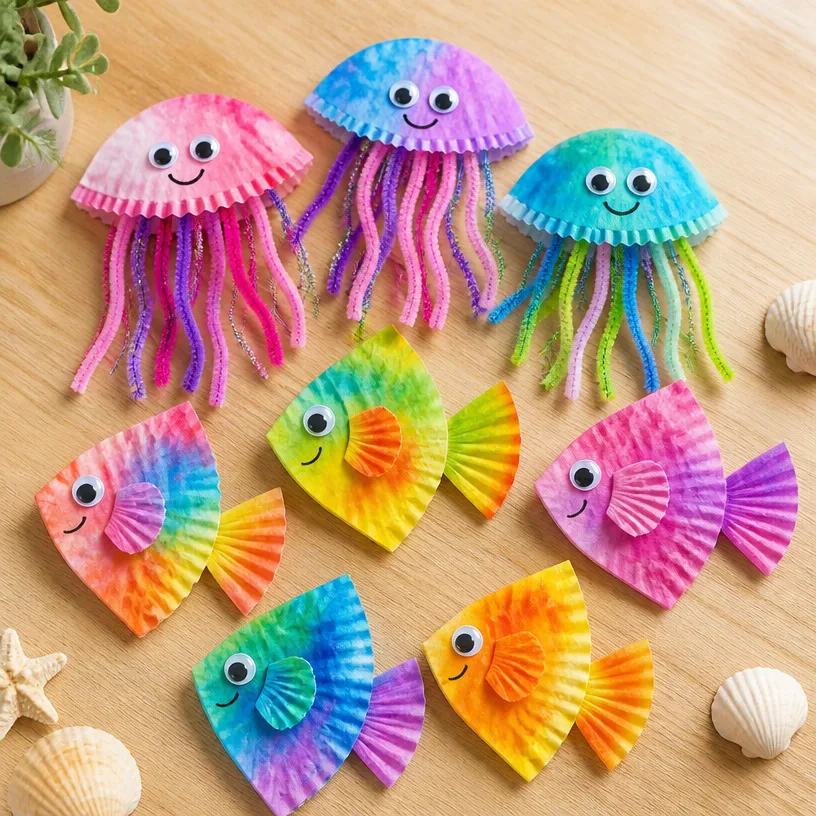
Once your creations are complete, find a special place to display them. You can hang them in a window where sunlight filters through, transforming your colorful ocean creatures into whimsical suncatchers. Alternatively, create a mobile that dances softly in the breeze. Each piece radiates joy and warmth, reminding you of the calm moments you spent crafting them.
Keeping It for Later
To ensure your ocean creatures stay vibrant, store them in a cool, dry place. If you’re using coffee filters for different crafts later on, they can also be gently washed if painted with non-permanent dyes. Simply soak them briefly and lay them flat to dry, preserving your materials for future projects.
Gentle Tips & Variations
- Explore different creatures: Try making a colorful octopus or bright starfish using the same technique but varying the shapes.
- Invite others: This DIY can be a soothing group activity, perfect for family bonding or a quiet gathering with friends.
- Experiment with embellishments: Consider adding glitter or sequins for texture and sparkle, making each piece unique.
FAQs About DIY Ocean Creature Crafts Using Coffee Filters
Can I use different materials instead of coffee filters?
Yes, thin paper or cardstock can be used. Just be mindful of how they absorb colors.
Are these crafts suitable for young children?
Absolutely! Supervision may be needed for cutting, but the coloring and assembling are gentle activities.
How can I extend the life of my finished crafts?
Display them in a dry, indoor space away from direct sunlight to prevent fading.
Conclusion
Crafting with coffee filters opens a world of creativity that soothes and inspires. These ocean creatures become not only artistic expressions but also treasured memories of the time spent making them. For additional inspiration, check out the Ocean Craft: Sea Animal Coffee Filter Suncatcher for Kids + Pattern to enhance your marine-themed projects. You might also enjoy the Easy Coffee Filter Jellyfish Craft (Simple for Kids!) for more fun with coffee filters. Enjoy the process, embrace your creativity, and let your unique touch shine through in every piece you create.
PrintDIY Ocean Creature Crafts Using Coffee Filters
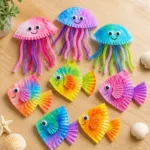
A calming DIY project involving coffee filters to create enchanting ocean creatures.
- Prep Time: 15 minutes
- Cook Time: 0 minutes
- Total Time: 15 minutes
- Yield: Multiple ocean creatures
- Category: Craft
- Method: Crafting
- Cuisine: N/A
- Diet: N/A
Ingredients
- Coffee filters (basket-style)
- Water-based markers or dye
- Scissors
- Pipe cleaners
- Googly eyes (optional)
- Glue (optional)
- A container for dyeing (if applicable)
- A flat surface for drying
Instructions
- Prepare Your Workspace: Lay out your materials on a clean, flat surface.
- Create Ocean Backgrounds: Use markers or dye to color the coffee filters.
- Dry the Filters: Place the colored filters flat on a surface for drying.
- Cut for Shapes: Fold the filters gently and cut different shapes.
- Assemble Your Creatures: Use pipe cleaners as tentacles or legs.
- Add Features: Use glue to attach googly eyes or create features with colored paper.
Notes
To extend the life of your finished creations, store them in a cool, dry place.