

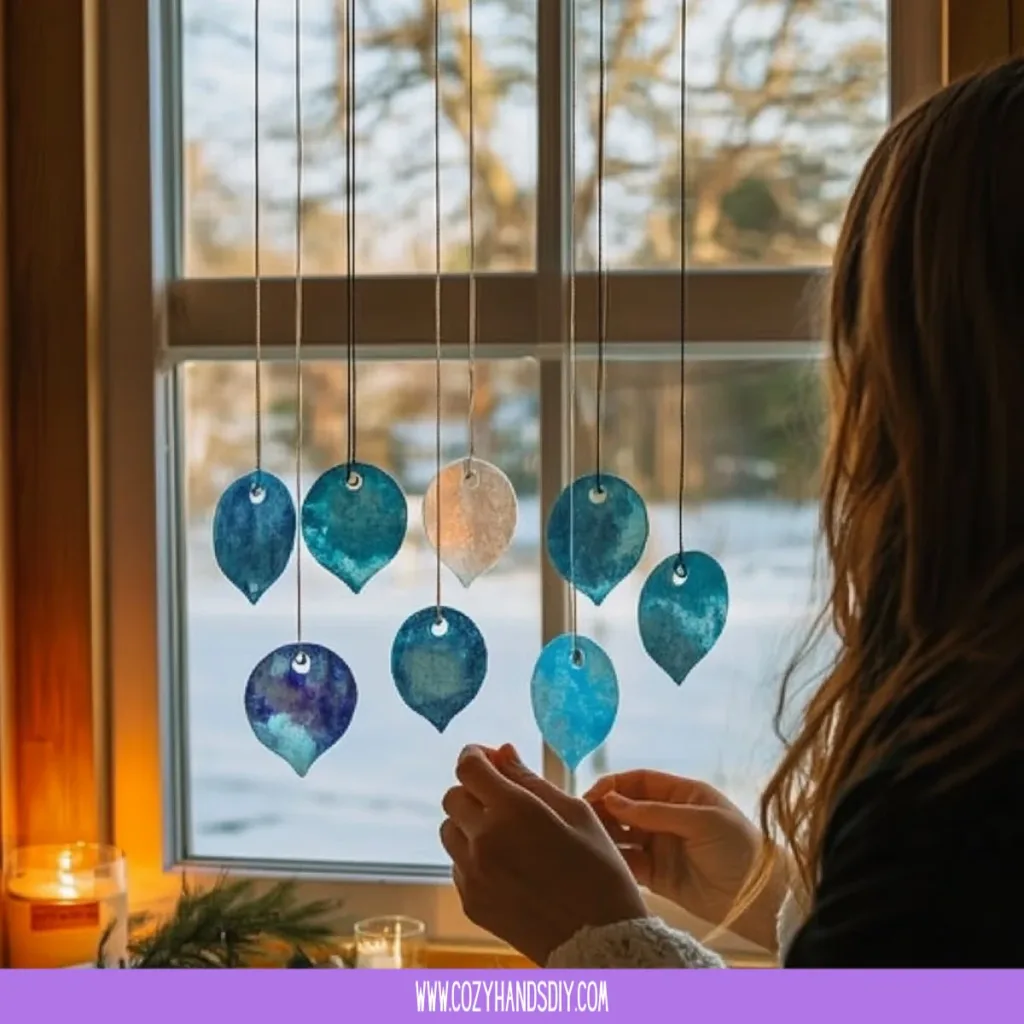
A warm slice of afternoon light slips through the window and hits the table where crayons rest like little stones of color. I run my thumb along a softened edge, feel the wax give a little, and breathe out. Making DIY Melted Crayon Sun-Catchers asks me to slow down, to notice how light drinks color, how warmth changes texture, and how small hands or my own careful fingers can shape something simple into a quiet object that catches the day. If you want a companion project that grows from those same easy moments, you might enjoy the blue crayon suncatchers tutorial we tried last spring.
Why DIY Melted Crayon Sun-Catchers Feels Comforting to Create
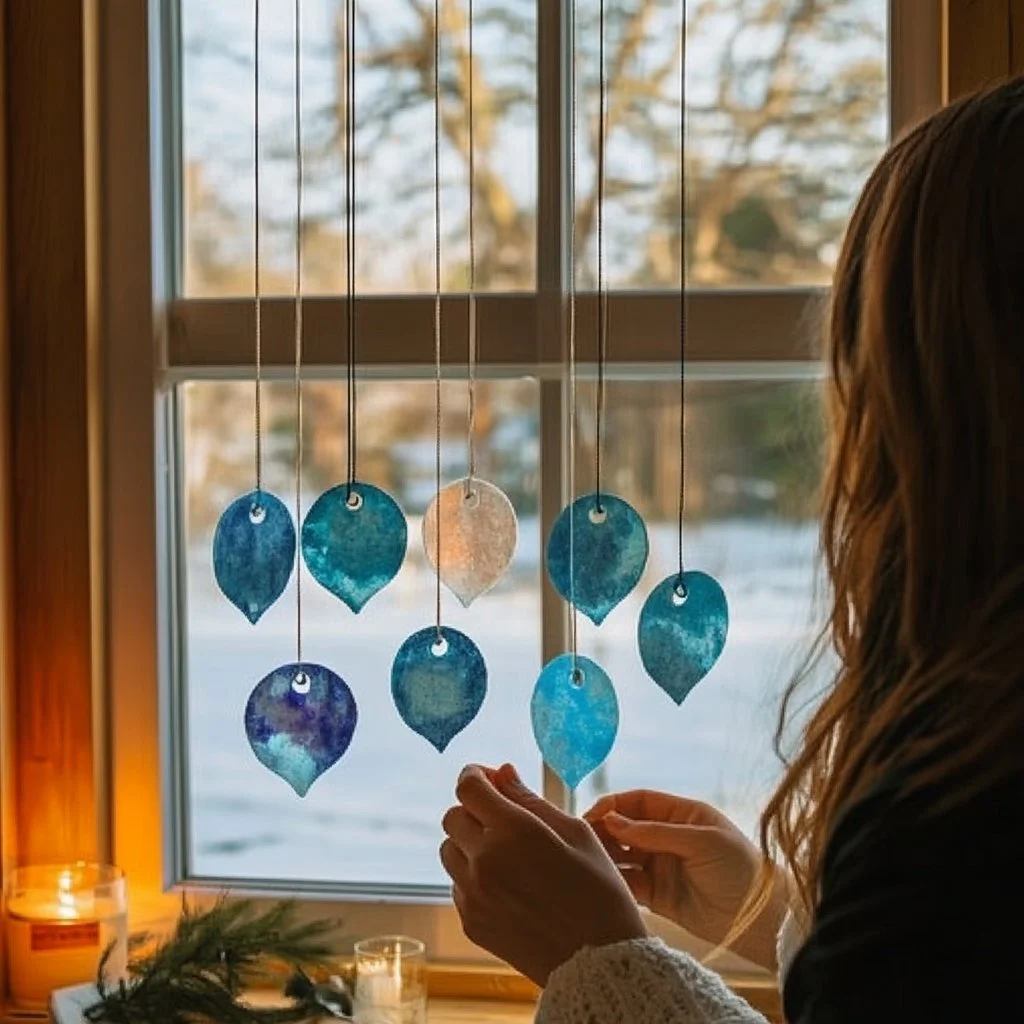
There is a very soft pleasure in watching a hard crayon become liquid and then a new, luminous thing. You follow an honest, visible change. The wax melts, the colors pool, and then cool into glassy panes that throw color across the room.
This project asks for slow attention rather than speed. You listen to the low hum of a hair dryer or the quiet tick of a hot plate. You feel warmth through your hands when you move a cooled piece to trim edges. Those small sensory moments help tether you to the present.
It also sits well with small rituals. A cup of tea, a tray for scraps, a scrap fabric under your work these little details make the making feel gentle and cozy. I turn the finished pieces toward the window like placing a photograph. The light brings them alive in a different way every hour, and that steady, changing beauty is quietly calming.
Crafting something that reacts to light connects you to routine and to change. That interplay keeps the act of making meaningful beyond the craft itself. Over time, a few sun-catchers in the window can become markers of seasons, afternoons, and conversations had at the table.
A Gentle Look at the Process
Before we gather tools, let us look at how this comes together. You soften crayons, let color mingle in shallow molds or on wax paper, and guide the molten wax into a thin, translucent field. You cool, trim, and add a small loop to hang it by a window.
The work moves with a natural rhythm. There is gentle heat, a tactile stickiness as you peel the paper off a crayon, the smooth glide of melted wax redirected with a spoon or toothpick. The sound stays soft. When I make these with my child, we count breathes between steps and hum a tiny tune as the colors settle.
This project plays well with other small crafts. If you like experimenting with different textures, try pairing a finished sun-catcher beside a reading nook or near a bowl of dried fragrance beads. For an idea that blends clean lines with color, peek at a different spin on suncatchers in the green crayon raindrops guide, which shows how a shape shift can change the whole feeling of the piece.
Materials You’ll Need
- Old crayons, peeled (easy to find; use broken bits or the end pieces)
- Wax paper or a silicone baking mat (nonstick surface)
- Small cookie cutters or shallow molds (optional; choose simple shapes)
- A hair dryer or a hot plate (hair dryer gives controlled heat; hot plate works for adult supervision)
- A metal spoon or heat-safe spatula (for moving wax)
- Scissors or a craft knife for trimming (sharp and used carefully)
- Parchment paper or a baking tray if using the oven (optional)
- String, fishing line, or thin ribbon for hanging (choose a color that feels soft)
- A small hole punch or a heated skewer to make a hole while warm
- A shallow tray to catch drips (helps keep your workspace calm)
- Wet wipes or a small bowl of soapy water (for quick cleanup)
- A small mat or cloth to protect your table (optional but soothing)
- A candle or tealight if you want to experiment with gentle heat for adults only (use with caution)
- A cozy playlist or a timer to help keep the pace steady
A note on substitutes: If you do not have molds, you can make freeform shapes by pouring wax into a ring of aluminum foil on wax paper. If you enjoy combining scents with sight, try a short project like the aroma stones project later in the week; the two crafts pair well on a sunny shelf.
Step-by-Step Directions
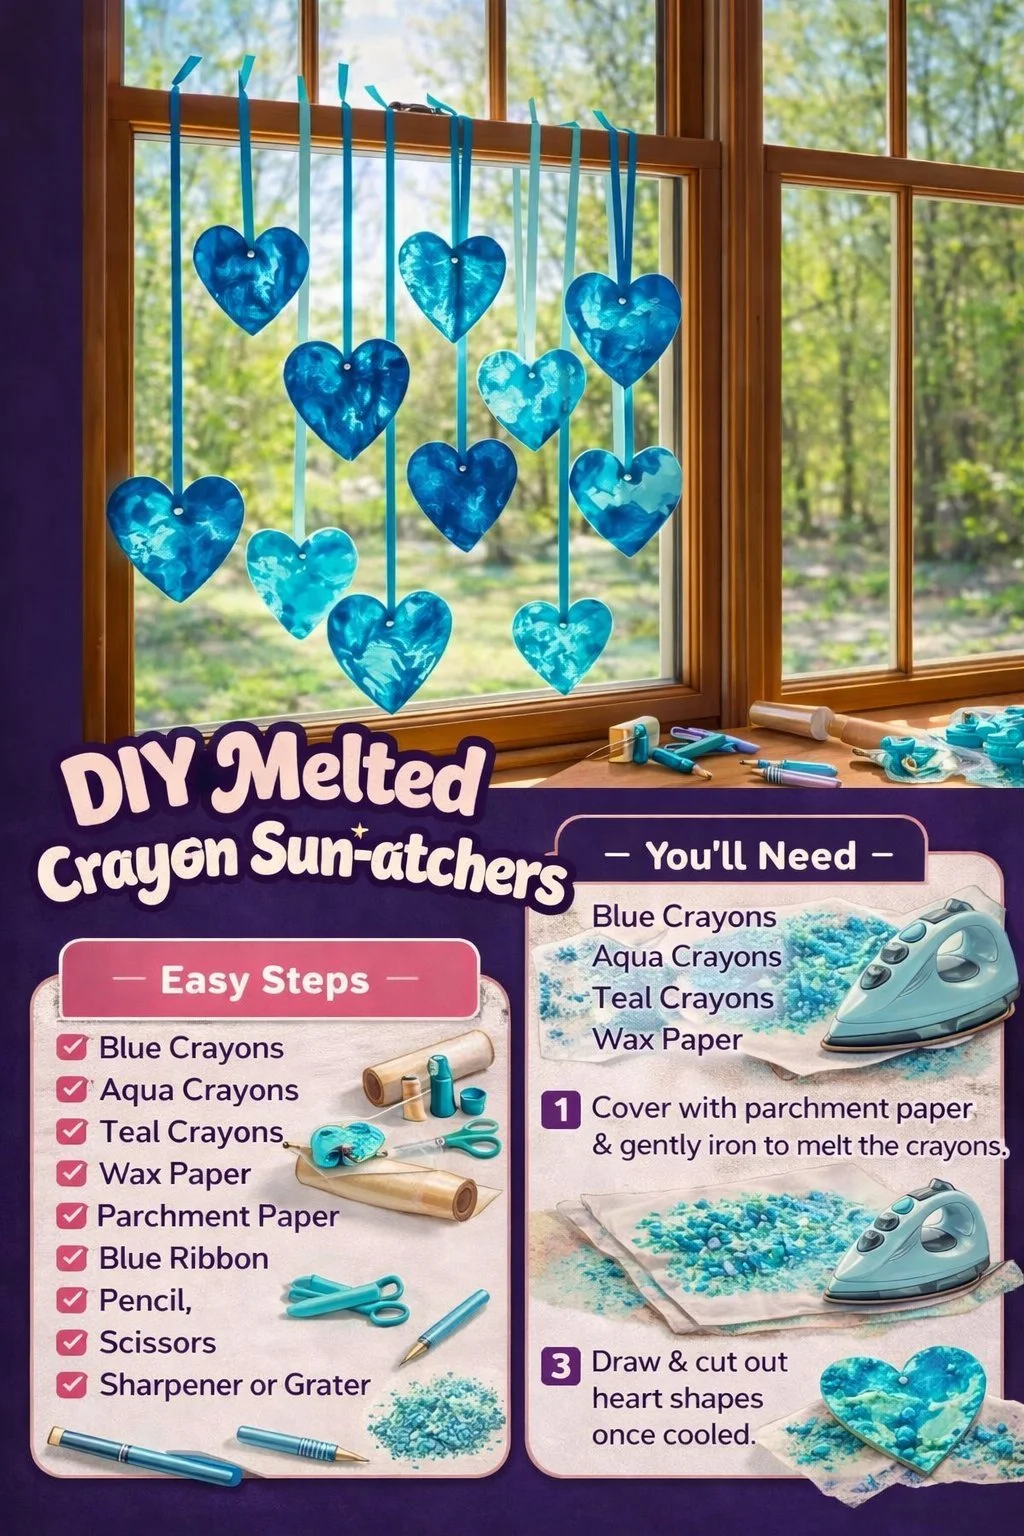
- Peel your crayons and sort bits by color.
Lay a small tray of colors beside you. Notice how the wax warms under your fingers as you remove paper. - Prepare your work surface with wax paper.
Smooth it flat and anchor the edges with a little tape. The paper makes a soft, nonstick base for the wax. - Arrange cookie cutters or molds on the wax paper.
Press them gently so they sit flat. If you work freeform, shape a foil ring to guide the wax. - Melt small crayon pieces with a hair dryer.
Aim low heat and move the dryer in slow circles. Watch the wax liquefy and pool; the motion feels a little like watching a small stream. - Guide the melted wax into the mold using a spoon.
Do this in gentle dabs. Let colors meet at the edges rather than fully mixing for a stained-glass look. - Add layers if you want depth.
Let the first layer cool until tacky, then add another pour. The layers build a soft thickness that catches light differently. - Let the pieces cool completely.
Leave them undisturbed. Cooling feels patient; sometimes I set a timer and take three slow breaths before returning. - Remove the mold or peel away the foil.
Work slowly and lift at an angle. If a corner resists, warm the back briefly with the hair dryer and try again. - Trim edges with scissors or a craft knife.
Move with slow, deliberate cuts to get a smooth silhouette. The trimmed edge will feel cool and solid in your hand. - Make a small hole near the top while wax is warm.
Use a heated skewer or small hole punch carefully. Thread string or fishing line and tie a neat knot. - Hang in a sunny window and watch color move.
Notice how the light changes during the day. Keep the suncatcher near a place you sit, so it becomes part of your quiet view.
Safety note: Work in a ventilated room and keep a bowl of cool water nearby if you use a candle or hot plate. Supervise children closely. I often set the hot tool on a folded towel while it cools to protect the table.
Bringing DIY Melted Crayon Sun-Catchers Into Your Space
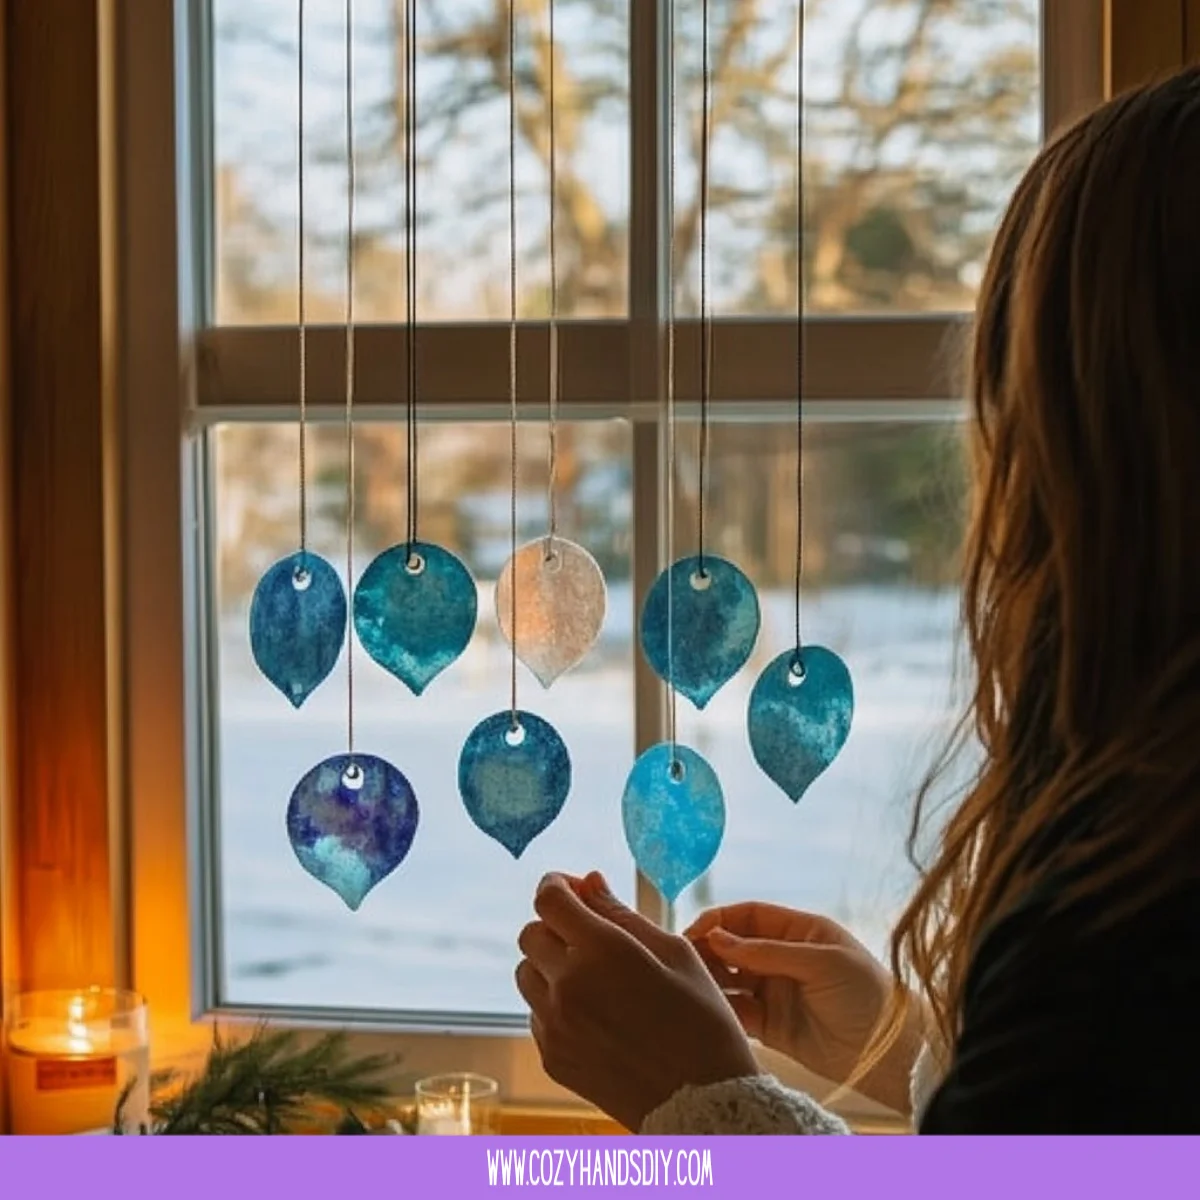
A finished sun-catcher wants a gentle place. I hang one by the kitchen sink where mornings feel brighter, and another near the reading nook where afternoon light melts into evening. They make small, shifting paintings that require no effort from me beyond a soft glance.
Use a hook in the window frame or a small suction cup if you prefer no nails. Mix heights for a relaxed display. If you have several pieces, hang them in a line and allow them to catch the same beam of light; the layered colors mingle and feel like an easy installation.
You can also place a sun-catcher on a bookshelf, leaning against a clean pane of glass, or hang one from a lamp when the light is off for a subtle, stationary color piece. For a nature-rich corner, suspend a suncatcher near a small pot of plants; the color and leaf movement create a gentle duet.
If you enjoy blending techniques, try combining a crayon sun-catcher with a translucent bioplastic piece for textural contrast. This pairing shows how weight and edge change the way light travels through the materials, and you can learn more about making bioplastic together with a simple recipe at the bioplastic suncatchers recipe.
How to Store or Reuse DIY Melted Crayon Sun-Catchers
If you want to keep your sun-catchers fresh for seasons, store them flat in a cool, dry box between sheets of tissue paper. Wrap each piece lightly to avoid scratches. Keep them away from direct heat or windows during transport, because prolonged heat can soften the wax again.
You can reuse or repurpose the wax pieces if they break or if you grow tired of a color. Return broken bits to a small jar and later remelt them for new pours. This feels resourceful and keeps the craft gentle on waste.
If a suncatcher gets dusty, wipe it softly with a dry microfiber cloth. Avoid strong cleaners. For tiny scratches, a warm touch from a hair dryer at low heat can sometimes smooth a rough spot; keep your hands clear and warm only briefly.
When making new pieces, use old bits from past suncatchers mixed with fresh crayons. The combined colors gain a kind of lived-in depth that feels comforting. I keep a small “recycle jar” for wax scraps and label it so the whole family knows where to add bits.
Gentle Tips & Variations
- Invite shadow play: Place small, thin natural items like dried leaves on your wax just before it fully sets, then gently lift them away after cooling. They leave faint impressions that look like memories in glass.
- Try a soft palette: Limit your palette to two or three related colors for a calm, sophisticated result. The limited range helps the eye rest.
- Make mini charms: Pour tiny amounts into a silicone ice cube tray to make small charms for cards, gifts, or a keychain. They cool fast and feel sweet in the palm.
- Work outdoors on a still day: A gentle breeze can cool the wax beautifully and adds a fresh smell to the experience. Use a low table and anchor your paper with small weights.
- Practice safe heat transitions: If you need to remelt wax, do it in short bursts and never leave a heat source unattended. A slow, steady approach preserves the wax surface and keeps you relaxed.
These suggestions are invitations. They aim to open a small path for your creativity rather than set strict expectations. Try one, adapt it, and notice how it shifts the way your project feels.
What I’ve Learned While Making This
I learned that patience changes the result more than any tool. A slow pour gives cleaner color boundaries. Quick heat gives messier blending but can also yield soft, cloudlike patterns.
I learned to keep a small bowl of warm water and a cloth nearby. If wax gets on the table, a gentle warm cloth takes it away calmly. I also learned to label my molds; over months, you notice which shape becomes a favorite and which needs a tweak.
Working with little ones taught me to assign them one happy job, like sorting colors or holding the mold rim steady. That focus keeps them engaged and gives you a steady rhythm for the more heat-sensitive steps.
Finally, I learned to accept imperfection. A slightly uneven edge becomes part of the story. Each piece keeps a trace of the making moment, and that makes them feel more like companions than objects.
FAQs About DIY Melted Crayon Sun-Catchers:
Will melted crayon sun-catchers melt again in sunlight?
They can soften if exposed to prolonged, high heat. Keep suncatchers away from cars, hot windowsills, or direct afternoon heat. For durability, place them where they see light but not constant, intense warmth.
Can children help with this project?
Yes, with adult supervision. Give children safe tasks like peeling crayons, arranging colors, or threading string. Keep hot tools and open flames under close watch and handle all melting yourself or together with clear boundaries.
How do I make cleaner holes for hanging?
Make the hole while the wax is still warm and slightly flexible. Use a heated skewer or push a small round tool through gently. If the hole cracks, warm the edges and smooth them with a fingertip or tool, then try again.
What happens if colors mix and create a muddy look?
That can happen with too much blending. Let the wax cool slightly between pours, or limit the number of colors in a single pour. Sometimes a muddy mix still looks lovely, like an abstract watercolor, so try to see it as a different kind of beauty.
Can I use crayons with glitter or additives?
Glitter can add sparkle in the sun, but metallic or wax mixes may melt differently. Test a small scrap first. Always pay attention to cleanup because glitter moves easily and can scatter.
A Gentle Note Before You Go
Sit with a finished piece for a moment. Turn it slowly so the light skims a new angle. Notice a small detail you did not expect. These quiet discoveries make the project feel lived-in and kind.
If you gift a suncatcher, wrap it simply and include a short note about the light that found it. People often tell me they enjoy receiving a slow-made object that asks nothing and gives color.
Keep a small basket for scraps and a jar for spent crayons. Over time, those jars become a palette of memory and possibility. When you return to the work, you carry that quiet history with you.
Conclusion
If you want step-by-step inspiration from another maker, this melted crayon sun catcher – kid’s art project shows a playful approach that can spark new ideas.
For a different way to make suncatchers using delicate shavings, this Suncatcher Craft for Kids Using Crayon Shavings offers a gentle, kid-friendly method you might enjoy trying on a slow afternoon.
PrintDIY Melted Crayon Sun-Catchers

Create beautiful sun-catchers from melted crayons that capture light and color, providing a calming addition to your home decor.
- Prep Time: 15 minutes
- Cook Time: 20 minutes
- Total Time: 35 minutes
- Yield: 4-6 sun-catchers
- Category: Craft
- Method: Crafting
- Cuisine: N/A
- Diet: N/A
Ingredients
- Old crayons, peeled
- Wax paper or a silicone baking mat
- Small cookie cutters or shallow molds (optional)
- A hair dryer or a hot plate
- A metal spoon or heat-safe spatula
- Scissors or a craft knife
- Parchment paper or a baking tray (optional)
- String, fishing line, or thin ribbon
- A small hole punch or a heated skewer
- A shallow tray to catch drips
- Wet wipes or a small bowl of soapy water
- A small mat or cloth to protect your table
- A candle or tealight (for adult supervision)
- A cozy playlist or a timer
Instructions
- Peel your crayons and sort bits by color.
- Prepare your work surface with wax paper.
- Arrange cookie cutters or molds on the wax paper.
- Melt small crayon pieces with a hair dryer.
- Guide the melted wax into the mold using a spoon.
- Add layers if you want depth.
- Let the pieces cool completely.
- Remove the mold or peel away the foil.
- Trim edges with scissors or a craft knife.
- Make a small hole near the top while wax is warm.
- Hang in a sunny window and watch color move.
Notes
Work in a ventilated room and supervise children closely when using hot tools.