

The moment you roll a cool, smooth stone between your fingers, you might feel time slow down, and a deep breath might come easily. This tactile connection, combined with the gentle scent that wafts up from a warming aroma stone, creates a calm sanctuary in your busy day. DIY Aroma Stones can become more than just a fragrant decoration; they can infuse your space with tranquility and provide a soothing moment of mindfulness. With each stone, you craft a little piece of peace that whispers to your senses and offers a familiar comfort.
The Heart Behind This DIY

Creating DIY Aroma Stones holds an emotional value that invites you to pause and engage with your surroundings. The process is simple, yet it allows your mind to settle. As you work with the clay and essential oils, you engage multiple senses. You feel the soft texture of the clay, hear the gentle sound of your hands shaping it, and experience the soothing aroma that begins to fill the air. Each step acts as a gentle reminder to be present, to slow down, and to create with intention.
In a world bustling with noise and distraction, making something with your hands taps into a basic human need for creativity and connection. The rhythm of the process calms the mind. You may find that as you focus on the task, thoughts become clearer, worries drift away, and a cozy warmth settles in your heart. Aromas evoke memories and emotions, grounding you in a moment of peaceful creation. The act of making these stones not only results in a fragrant charm for your space but also serves as a therapeutic ritual that nurtures your spirit.
A Gentle Look at the Process
The journey of creating DIY Aroma Stones begins with your own two hands. You will discover the joy of molding, mixing, and crafting as you move through each step. The soft clay welcomes your touch, taking shape beneath your fingers. Allow the process to flow naturally as you gather materials, roll, cut, and prepare your stones.
As you work, notice the textures shifting. The clay is dense yet malleable, while the essential oils add a sweet, comforting fragrance that becomes layered as you integrate them into your blend. Each stone takes on its unique form, much like your creative journey there’s no rush, just a gentle unfolding.
Let the sounds of your crafting area wrap around you. The quiet pat of the clay against your work surface, the delicate peel of an essential oil dropper, and even the sigh of contentment as you step back to admire your work could elevate the experience into a soothing ritual.
Materials You’ll Need
- Air-dry clay (easy to find and very forgiving)
- Essential oils of your choice (lavender, citrus, or your preferred scent)
- A rolling pin (or something to flatten the clay)
- Cookie cutters or small molds (every shape tells its story)
- A baking sheet lined with parchment paper (for easy clean-up)
- Optional: Paint or sealant for finishing touches
As you gather your materials, allow yourself to notice each item. Each one plays a part in your journey, comforting you through the act of creation.
Step-by-Step Directions

- Start by feeling the air-dry clay in your hands. Roll a small amount into a ball, then flatten it gently into a disc.
- Use a rolling pin to smooth the clay to about half an inch thick, engaging with its coolness.
- When ready, select a cookie cutter or mold. Press it into the clay to create shapes and forms that delight you.
- After cutting out your stone shapes, gently poke a small hole in each stone using a skewer or similar tool. This will hold the essential oils.
- Set your shapes on the baking sheet lined with parchment paper and allow them to dry according to the manufacturer’s instructions. This quiet waiting time provides a lovely moment of anticipation.
- Once dry, choose your beloved essential oils. Add a drop or two into each hole. The scent will slowly release into the air, creating a calming atmosphere.
- If desired, once the stones are fully set, consider painting or sealing them to enhance their appearance, but let their natural beauty shine through.
With each step, breathe deeply, letting the tranquillity of the making process wash over you.
Enjoying the Finished Piece
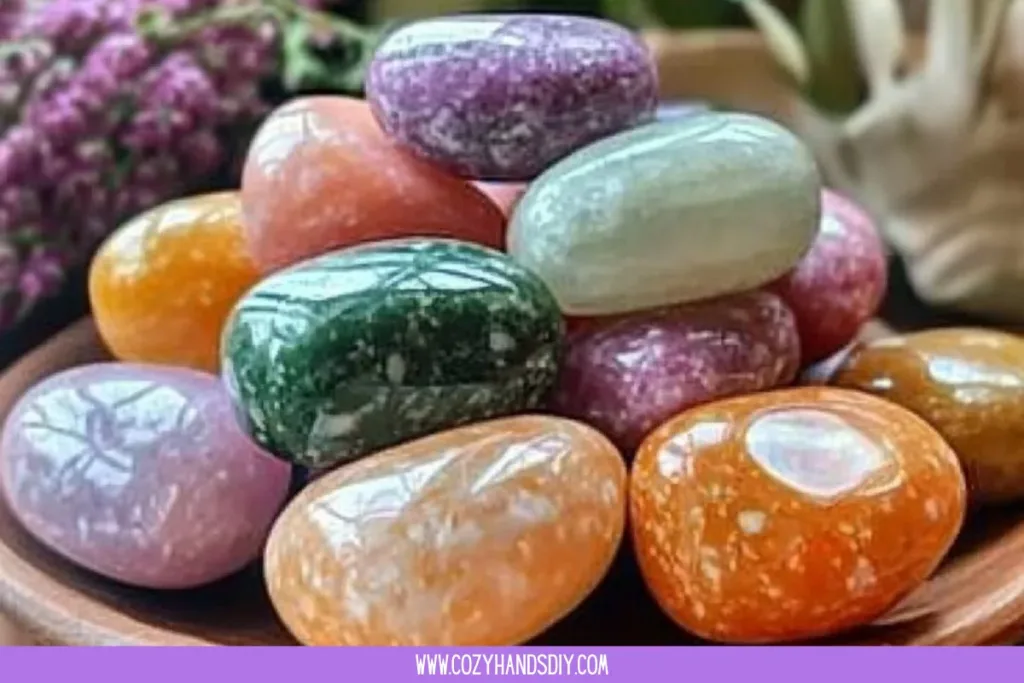
As you complete your DIY Aroma Stones, take a moment to admire their unique shapes and colors. Each stone can be placed in various spaces around your home, offering a gentle reminder of your creative experience. Set them on a bedside table, an office desk, or a nook in your living space where you find solace.
The scent released from the stones can enhance your daily routine. Lightly scented air encourages relaxation and reflection, making it easier to unwind after a long day. You might even find joy in incorporating these stones into your rituals placing one beside a candle during a quiet evening, creating a peaceful atmosphere for a meditation session, or using them to enhance your yoga practice.
How to Store or Reuse DIY Aroma Stones
Your DIY Aroma Stones can last a good while if cared for with gentle attention. Store them in a cool, dry place when not in use. Keeping them in a cloth bag or on a small tray helps preserve their scents and delicate forms. Over time, if you find their fragrance fading, simply add another drop of essential oil to refresh their aroma.
These stones can also be a delightful reminder of a moment in time. Invite your friends or family to join in making them together, sharing both the craft and the joy of scent. Each stone becomes a vessel for memories, bringing families together in a shared creative space.
Small Ways to Make It Your Own

As you embrace the process of making your DIY Aroma Stones, consider these gentle invitations to personalize your experience:
- Play with colors: Use colored air-dry clay to bring more life to your stones. Mixing colors can create unique shades that represent your personality.
- Experiment with scents: Blend different essential oils for a custom aroma. Perhaps a mix of lavender and sandalwood calls to you, or a zesty combination of lemon and mint.
- Add personal touches: Use small textured items, like leaves or lace, to imprint designs onto your stones before they dry. Each imprint adds a beautiful story.
- Gift the joy of creating: Share the crafting process with a friend or loved one. The simple act of making together can deepen your bonds.
- Create a theme: Consider making stones that represent seasons or special moments in your life. Think spring florals or autumn spices, capturing time in a gentle way.
Explore More Mindfulness Crafts
If you enjoyed this calming project, you’ll love our full collection of mindfulness crafts. These hands-on DIY recipes are designed to slow things down, encourage focus, and turn simple materials into peaceful, creative moments you can enjoy anytime.
FAQs
Can I use any type of clay?
While air-dry clay works wonderfully, you can use other types as well, but keep in mind that baking clay may require a different process. Air-dry clay offers ease and still gives you beautiful results.
How long will the scent last?
The scent longevity varies based on the essential oils. Refresh the scent whenever you feel it fading by adding another drop to the stones.
Are there any safety concerns with essential oils?
Some essential oils may cause sensitivities in certain individuals. Always ensure you’re using pure, quality oils and do a patch test if you’re unsure.
Can I use these stones outdoors?
While the aroma may fade faster outdoors, feel free to bring them outside during calm moments. Just be mindful of moving them back inside to preserve their scent.
What if my stones break?
This can happen, but a gentle touch can usually resize them or even allow for new shapes to emerge. Embrace the imperfections; they tell a story.
DIY Aroma Stones

Craft your own soothing aroma stones to enhance your space with calming scents and tranquility.
- Prep Time: 15 minutes
- Cook Time: 240 minutes
- Total Time: 255 minutes
- Yield: 10 aroma stones
- Category: Craft
- Method: Crafting
- Cuisine: N/A
- Diet: N/A
Ingredients
- Air-dry clay
- Essential oils of your choice (lavender, citrus, or preferred scent)
- A rolling pin
- Cookie cutters or small molds
- Baking sheet lined with parchment paper
- Optional: Paint or sealant for finishing touches
Instructions
- Roll a small amount of air-dry clay into a ball, then flatten it gently into a disc.
- Smooth the clay to about half an inch thick using a rolling pin.
- Select a cookie cutter or mold and press it into the clay to create shapes.
- Poke a small hole in each stone using a skewer to hold the essential oils.
- Place the shapes on a baking sheet lined with parchment paper and allow them to dry according to the manufacturer’s instructions.
- Add a drop or two of your chosen essential oils into each hole once dry.
- If desired, paint or seal the stones to enhance their appearance.
Notes
Store in a cool, dry place and refresh the aroma with additional essential oils as needed.
A Gentle Note Before You Go
Creating your own DIY Aroma Stones offers more than just a beautiful home fragrance. The process draws you into a sanctuary of creativity, gently wrapping you in calm and connection. Take time with each step, engage your senses, and allow the ritual of making to envelop you.
As you experience these moments of crafting, remember that each stone holds the essence of your creativity and intention. Let these simple creations serve as reminders to slow down and find comfort in the little things. Each aroma stone becomes a piece of peace in your home, inviting a warm, calming presence that enriches your everyday life. Embrace the joy of your craft, and enjoy letting your personal touch shine through each unique piece.
Find Daily Cozy DIY Inspiration on Pinterest
For even more gentle DIY ideas, creative inspiration, and cozy hands-on projects, follow Cozy Hands DIY on Pinterest. We share new crafts daily, save-worthy visuals, and calming recipes you can come back to whenever you need a little creative peace.