

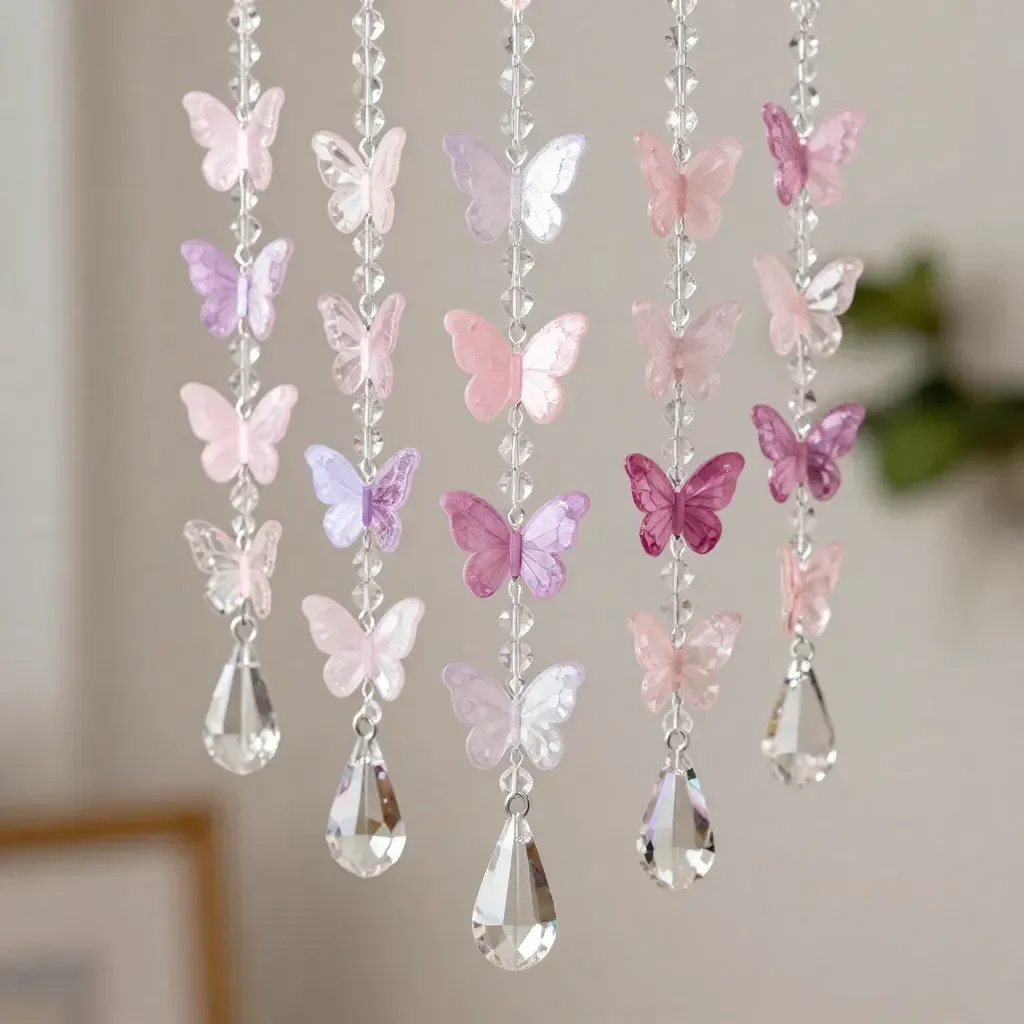
Creating a DIY Floral Crystal Wind Chime invites you to experience a gentle, calming moment. Picture yourself in a quiet corner of your home or garden, the soft sound of tinkling crystals harmonizing with the rustle of leaves. This project not only allows you to express your creativity but also brings a touch of serenity to your space. With each delicate crystal catching the light, you are not just crafting an object; you’re weaving a memory, a moment of peace into your day. You may also find Diy Aromatic Gems Natural Scented Crystals useful.
The Heart Behind This DIY
The DIY Floral Crystal Wind Chime serves more than a decorative purpose. It encourages mindfulness and offers a sensory experience. As you create each piece, the textures of the materials engage your hands, grounding you in the present. This kind of crafting can help soothe your mind and offer a break from daily hustle. The rhythm of working with your hands, whether you’re stringing beads or arranging flowers, allows a subtle flow of calm. Not only do you end up with a lovely creation, but you also gain tranquility in the process, making this DIY truly comforting to create. You may also find Diy Bioplastic Suncatchers Natures Window Art 2 useful.
A Gentle Look at the Process
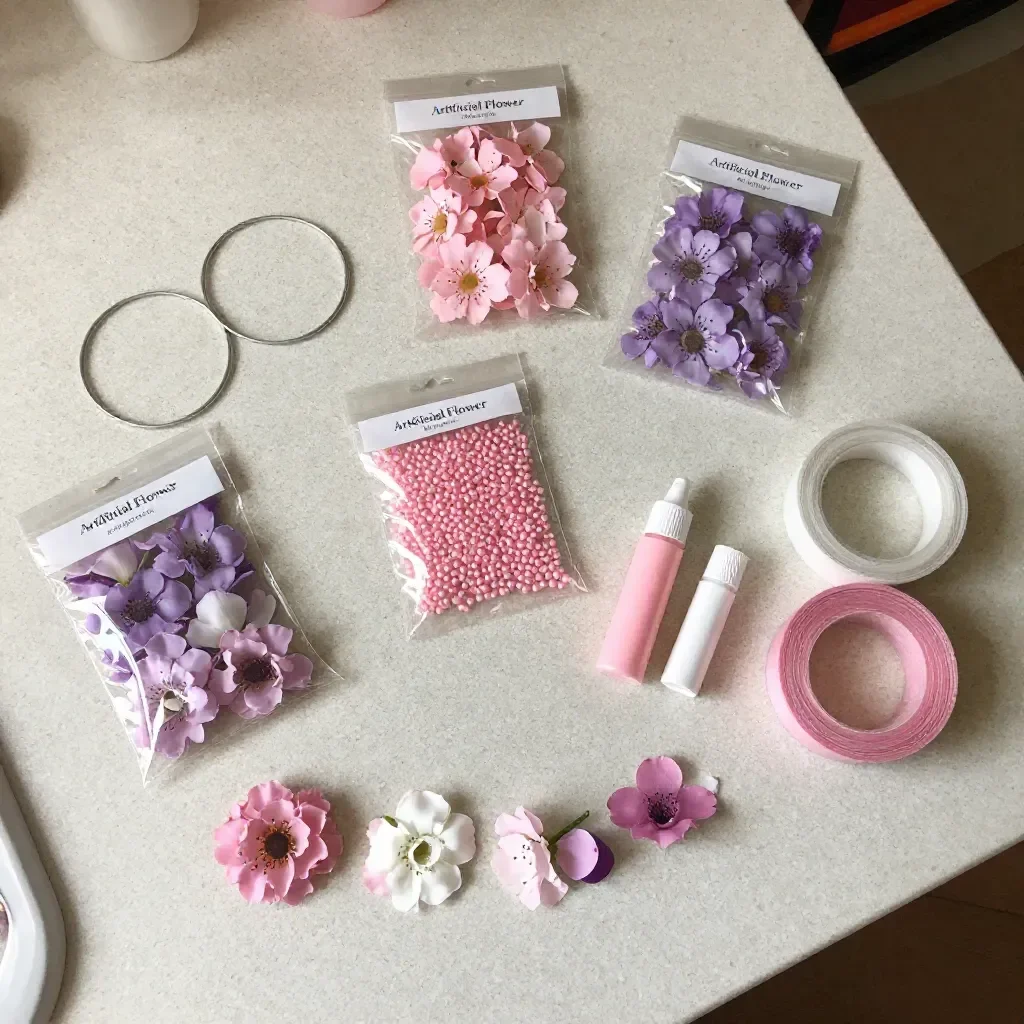
Before beginning, it’s helpful to understand the gentle flow of this DIY project. Gathering your materials sets the stage. As you lay out your crystals, strings, and floral elements, notice how the colors and textures come together. Each step of assembling your chime invites a moment of reflection and delight. You’ll find the rhythm of stringing, tying, and arranging to be as satisfying as the final piece. The playful sounds of the crystals clinking softly against one another echo the joy of your creation. You may also find Diy Bioplastic Suncatchers Natures Window Art useful.
Materials You’ll Need
To create your own DIY Floral Crystal Wind Chime, gather the following materials: You may also find Diy Cornstarch Glass Floral Cozy useful.
- Crystal beads (various shapes and sizes)
- Floral elements (dried flowers or floral foam)
- Twine or fishing line
- A hoop or frame (wooden or metal)
- Scissors
- Optional: A small weight (e.g., a washer) for balance
This list includes easy-to-find items, and feel free to use what resonates with you from your crafting stash.
Step-by-Step Directions
Start by cutting your twine or fishing line into lengths of about 12-18 inches. Prepare several pieces for stringing your crystals.
Take one length of twine and thread a crystal bead through the middle, allowing it to rest at the center.
Tie a secure knot just above the bead to keep it in place. Feel the smooth texture of the bead as you work.
Add a variety of beads to your string, mixing shapes and colors for a pleasing visual rhythm.
Continue to build your strand with beads, leaving about 2-3 inches of space at the bottom for the floral elements.
Once you reach the desired length, tie a final knot, ensuring everything is secure.
Repeat this process to create multiple strands, varying the lengths for an organic look.
Attach each strand to the hoop or frame. Space them evenly for balance.
Incorporate dried flowers into the design by wiring them to the hoop or tucking them between strands.
Finally, create a loop at the top of the hanging chime for easy display, ensuring it can catch the gentle breeze.
Enjoying the Finished Piece
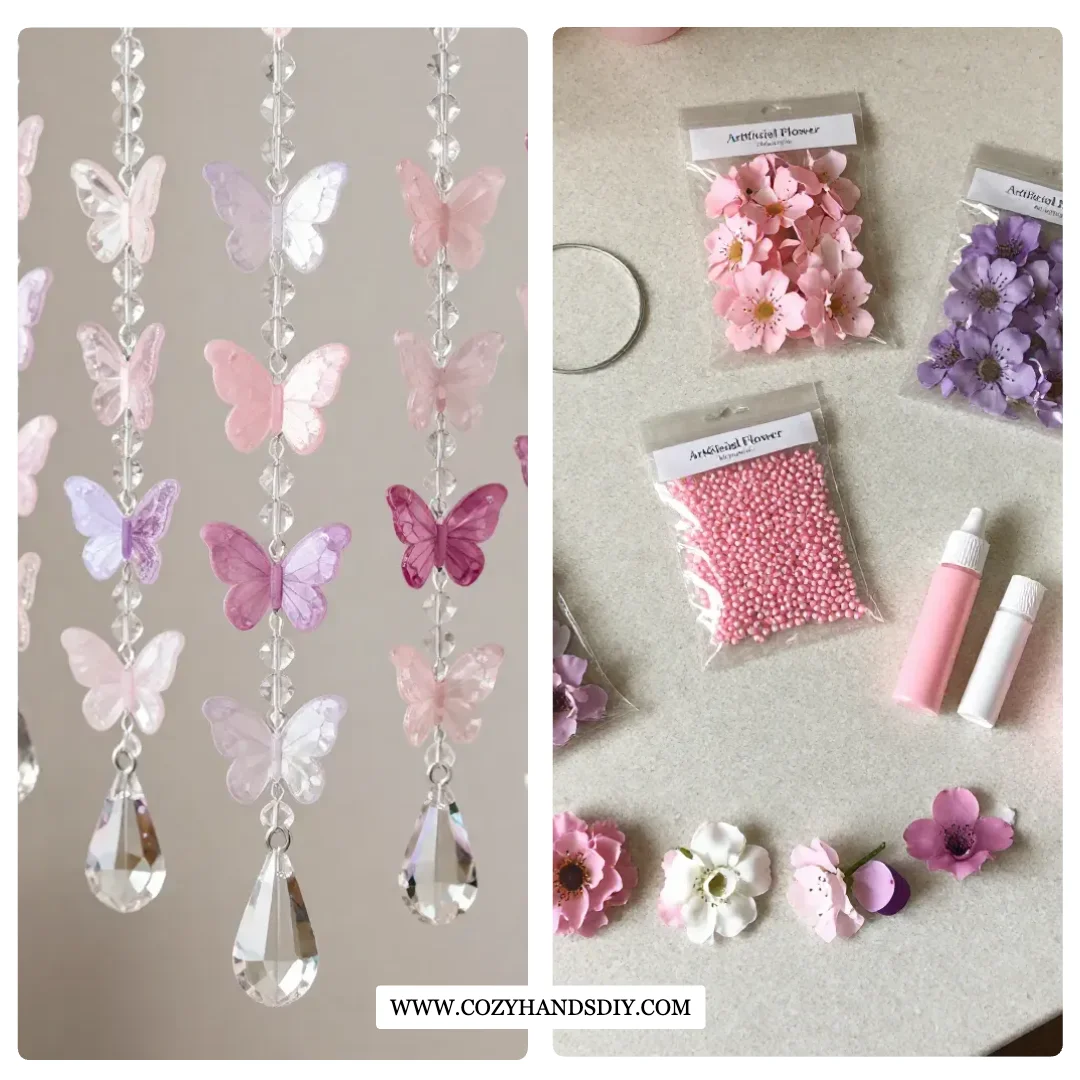
Placing your DIY Floral Crystal Wind Chime in a serene spot enhances its beauty and charm. Hang it where sunlight dances through the crystals, creating a spectacle of colors and reflections. When the wind blows, the sound of the chime becomes a soothing melody, inviting you to pause and appreciate the beauty around you. Whether it’s outside by a window or inside near a peaceful corner, this chime becomes an embodiment of your creative journey.
Keeping It for Later
To preserve the beauty of your DIY Floral Crystal Wind Chime, consider how to store it when not in use. Gently clean the crystals to maintain their shine, and store your chime in a soft cloth bag or box. If you wish to reuse it for future seasons, delicate handling ensures it remains a cherished piece. You can even update the floral elements to match different times of the year, allowing for versatility in its beauty.
Gentle Tips & Variations
- Consider using colored fishing line for a whimsical twist that might catch the light in unexpected ways.
- Mix in other elements from nature, like twigs or feathers, to add variety to your design.
- If you love experimenting, try creating smaller chimes to group together for a unique display.
- Personalize your design by adding charms that hold meaning or represent memories.
- If you’re feeling adventurous, explore different shapes for your base, like a heart or star, to imbue distinct charm.
FAQs About DIY Floral Crystal Wind Chime
How long will my wind chime last?
With gentle care, your wind chime can last for several seasons. Keeping it in a sheltered spot helps protect it from harsh weather.
Can I use fresh flowers instead of dried ones?
While fresh flowers can be beautiful, they won’t last as long. Dried flowers are recommended for longevity, but feel free to experiment!
What’s the best way to hang my wind chime?
Choose a location that allows gentle breezes to reach your chime. A porch or outdoor space is ideal, but a sunny window also works beautifully.
Can I add more crystals if I want a fuller sound?
Absolutely! The more crystals you include, the richer the sound. Just ensure they are well-balanced so your wind chime hangs nicely.
Is this a suitable project for children?
Yes! With supervision, children can help with stringing beads and adding flowers, fostering creativity and teamwork.
Conclusion
Creating a DIY Floral Crystal Wind Chime is a gentle reminder of the joy found in simple, creative moments. As your chime sways in the breeze, it can evoke a sense of calm and beauty. If you’re seeking additional projects that combine creativity and relaxation, you might enjoy exploring this charming diamond painting wind chime or browse through these DIY wind chime projects for more inspiration. Embrace the process, and allow your creative spirit to shine.
PrintDIY Floral Crystal Wind Chime
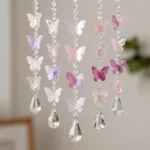
Create a beautiful Floral Crystal Wind Chime that brings serenity and joy to your home or garden.
- Prep Time: 15 minutes
- Cook Time: 0 minutes
- Total Time: 15 minutes
- Yield: 1 wind chime
- Category: Craft
- Method: Crafting
- Cuisine: N/A
- Diet: N/A
Ingredients
- Crystal beads (various shapes and sizes)
- Floral elements (dried flowers or floral foam)
- Twine or fishing line
- A hoop or frame (wooden or metal)
- Scissors
- Optional: A small weight (e.g., a washer) for balance
Instructions
- Start by cutting your twine or fishing line into lengths of about 12-18 inches. Prepare several pieces for stringing your crystals.
- Take one length of twine and thread a crystal bead through the middle, allowing it to rest at the center.
- Tie a secure knot just above the bead to keep it in place. Feel the smooth texture of the bead as you work.
- Add a variety of beads to your string, mixing shapes and colors for a pleasing visual rhythm.
- Continue to build your strand with beads, leaving about 2-3 inches of space at the bottom for the floral elements.
- Once you reach the desired length, tie a final knot, ensuring everything is secure.
- Repeat this process to create multiple strands, varying the lengths for an organic look.
- Attach each strand to the hoop or frame. Space them evenly for balance.
- Incorporate dried flowers into the design by wiring them to the hoop or tucking them between strands.
- Finally, create a loop at the top of the hanging chime for easy display, ensuring it can catch the gentle breeze.
Notes
Customize your wind chime with charms or different shapes for the base. Consider using colored fishing line for added whimsy.