

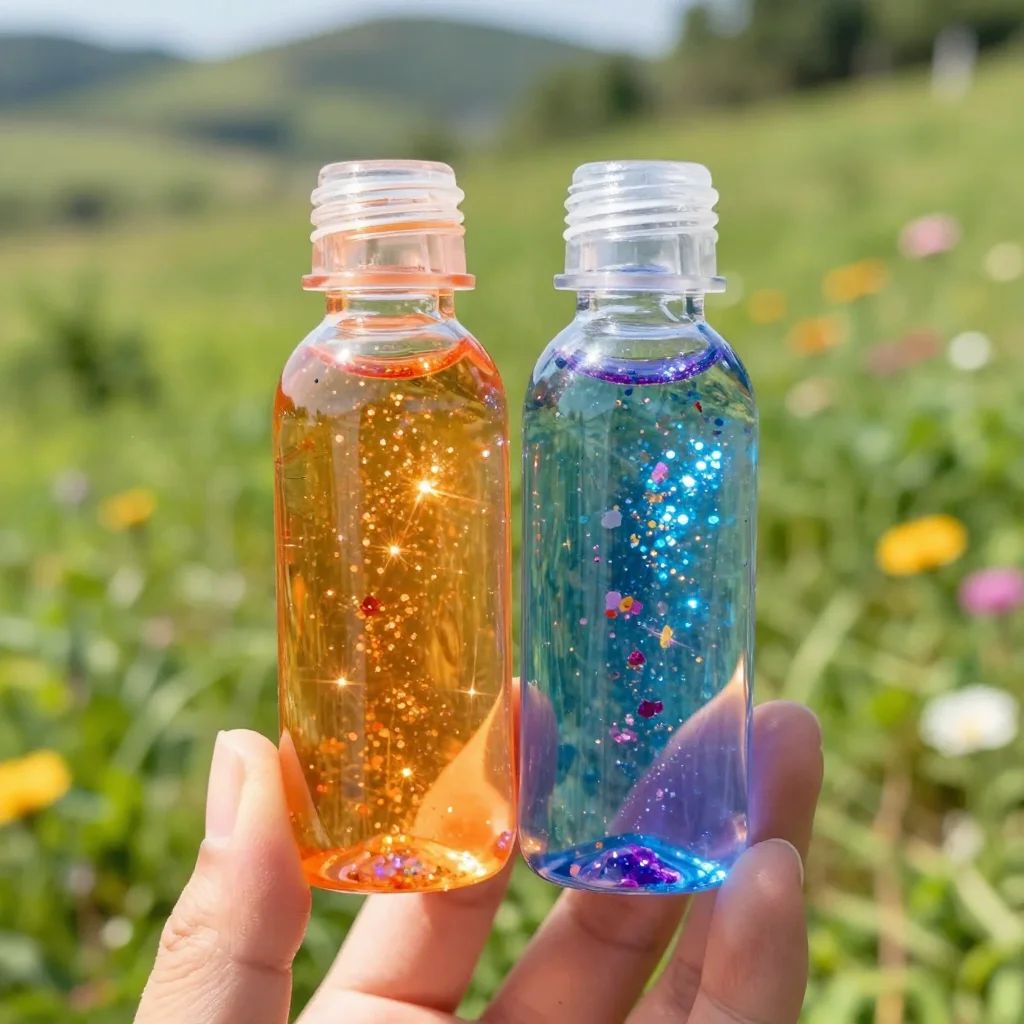
As you settle into your crafting space, take a moment to embrace the soft sounds around you. Maybe it is the gentle rustle of your materials or the quiet movement of your hands as they prepare to create something special. The tranquility builds as you gather the supplies for your DIY Dual Sensory Bottles, a project designed to nurture your senses and invite calm into your day. The simple act of filling each bottle with colors and textures becomes a meditation in itself, a reminder of the beauty found in small, thoughtful moments.
The Heart Behind This DIY
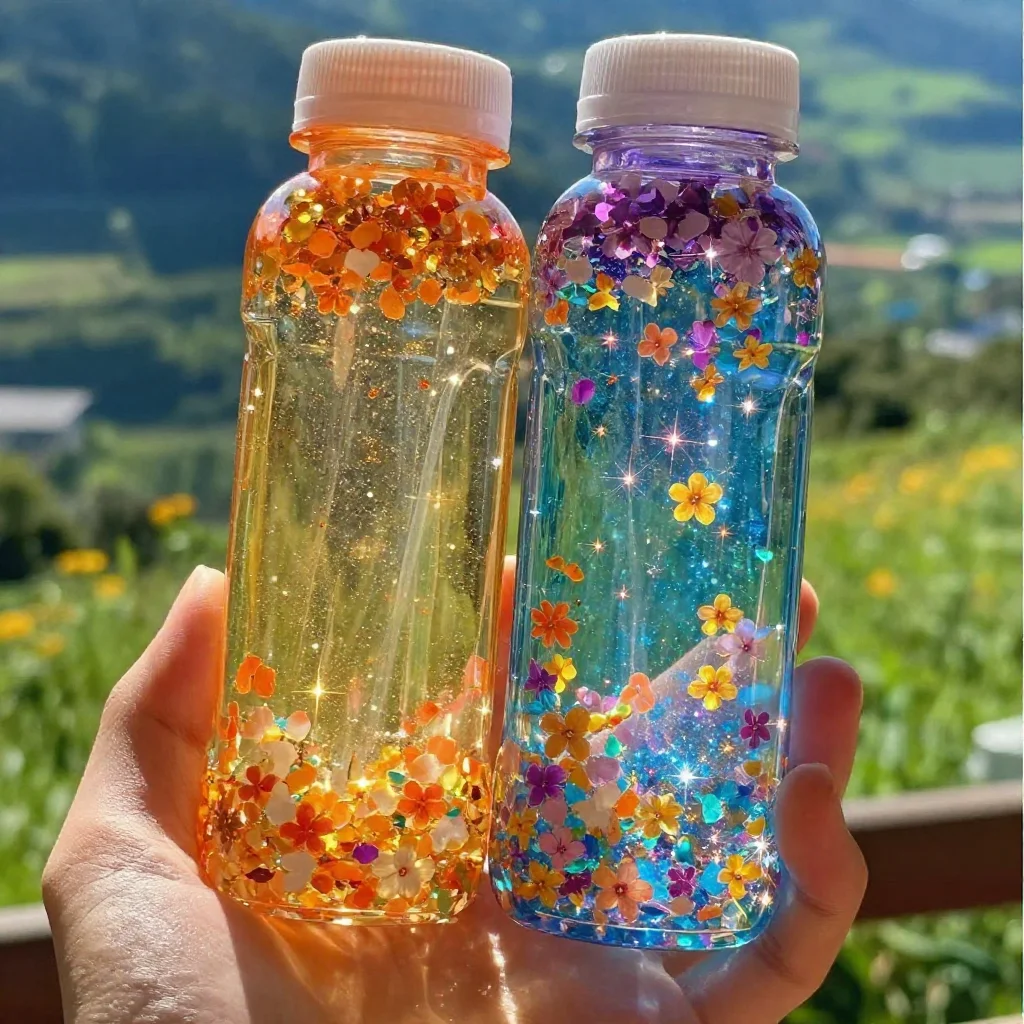
Creating DIY Dual Sensory Bottles provides a sanctuary for the mind. With each step, you engage with the physical world, finding joy in the textures and visuals you combine. The process slows you down, inviting you to notice the little details how the light dances through liquid, or how the grains of sand cascade smoothly.
These sensory bottles serve multiple purposes. They capture attention, helping you focus on a single element in a chaotic moment. They introduce a meditative quality, allowing your thoughts to settle as you watch the contents swirl and blend. Engaging with such projects fosters mindfulness, where you become fully present in your actions.
Moreover, these bottles can be soothing during stressful times, bringing a peaceful sensory experience right into your hands. Building these bottles becomes not just about the end product, but about embracing creativity and self-care through the process of making.
A Gentle Look at the Process
As you prepare to create your DIY Dual Sensory Bottles, imagine the textures you will experience. Picture the smoothness of the bottle in your hands, the softness of the fillers, and the refreshing movement of the liquids as they flow. Each action unfolds slowly, as you find your own rhythm in this creative flow.
You’ll start with simple planning, selecting colors and items that resonate with you. Think about the sounds that will accompany each bottle when shaken. This entire experience invites you to move gently, to listen and observe as you craft something meaningful. The steps that follow will blend these sensory moments into a delightful process of creation, connecting your mind and body peacefully.
Materials You’ll Need
- Clear plastic bottles with lids (easy to find in most homes or stores)
- Water (or other liquids)
- Food coloring (optional, for visual effect)
- Glitter or sequins (adds sparkle)
- Smaller items for filling (like beads, sand, small stones, or even rice)
- Funnel (optional, to help with pouring)
- Tape (to secure the lid, ensuring no spills)
When you gather these materials, know that you can feel free to substitute items based on what is available to you. Each choice shapes the final sensory experience.
Step-by-Step Directions
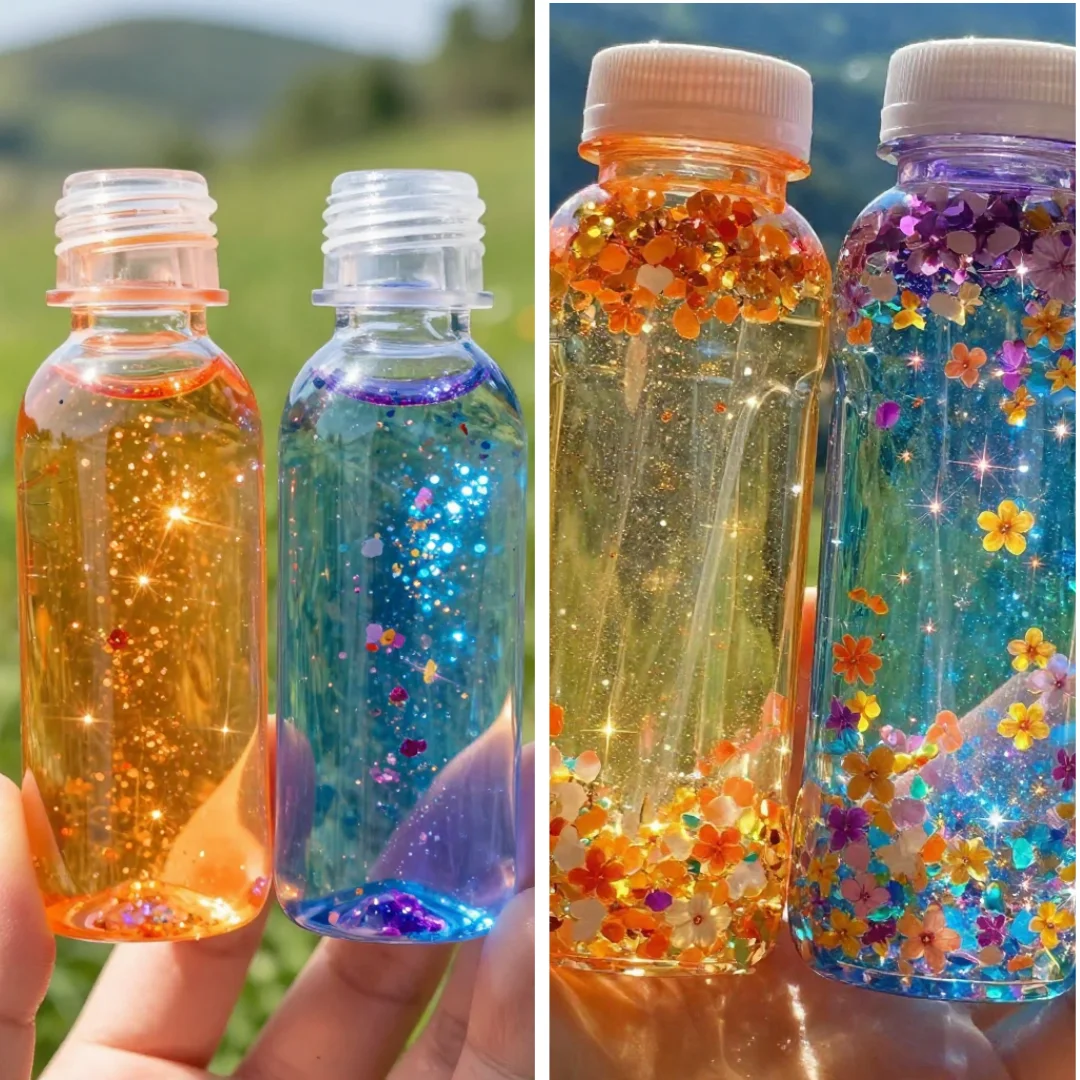
Begin by selecting the first bottle you want to decorate. Hold it in your hands, feeling its weight and texture. This is your canvas.
Using the funnel, pour in your chosen fillers. You might add a layer of rice for a soothing sound, or stones for a more tactile experience. Layering different colors creates visual interest.
Next, add a few drops of food coloring to the water (or if you prefer, another liquid). You might want to experiment by mixing colors and observing how they blend.
Gently pour the colored liquid into the bottle. Notice the way it swirls as it mixes with the fillers, creating a beautiful watercolor effect.
If desired, sprinkle in glitter or sequins. Watch as they catch the light, dancing through the liquid with a gentle shimmer.
Secure the lid tightly. You can use tape for added protection, making sure everything stays contained during use.
Give the bottle a gentle shake. Observe the movement and enjoy the calm that washes over you as your creation comes to life.
Consider making a second bottle with different colors or fillers to contrast with the first. This allows you to explore more sensory textures and experiences.
Using DIY Dual Sensory Bottles in Everyday Life
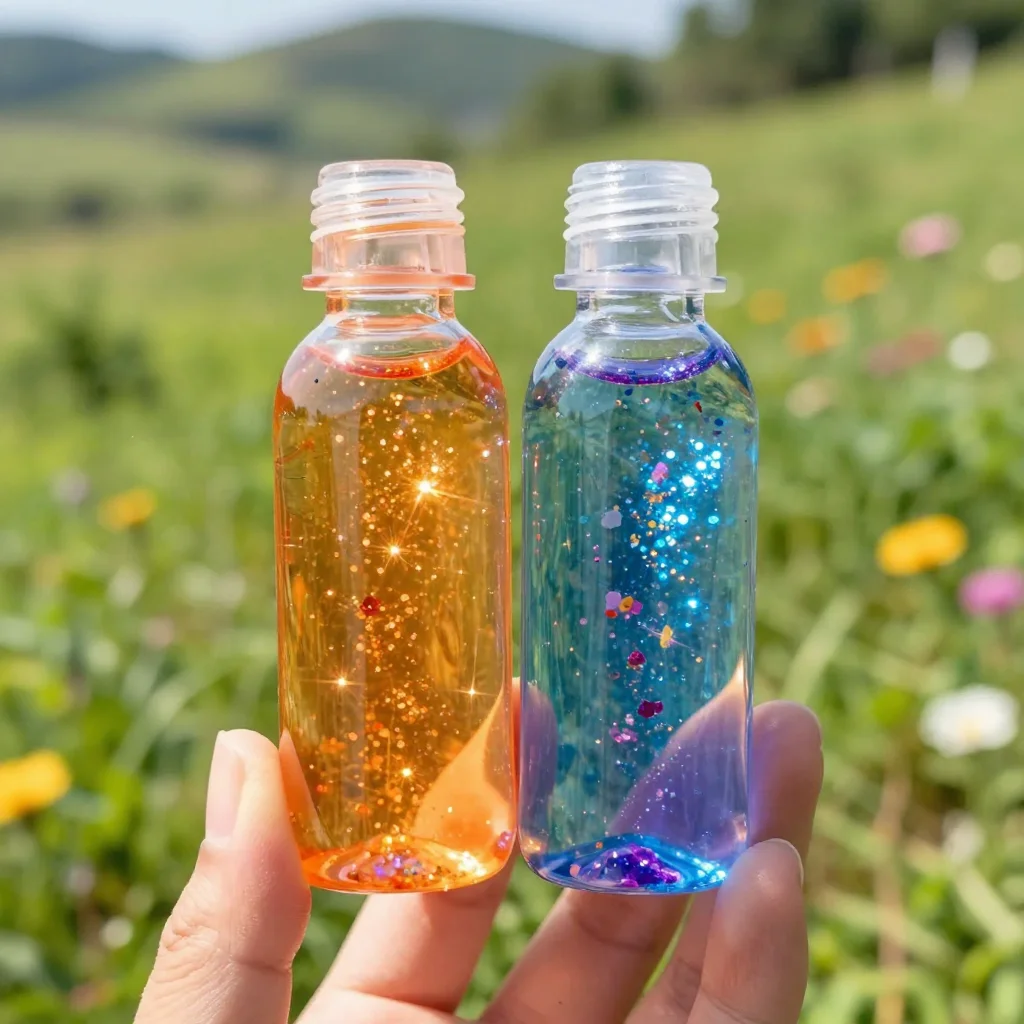
Once completed, your DIY Dual Sensory Bottles can fit beautifully into various aspects of your routine. They can serve as calming tools during moments of stress, providing a tangible way to focus and breathe. Place them on a desk while you work or keep them nearby during meditation.
Children may find wonder in shaking them, captivated by the movement and sounds. These bottles can be a special part of a calming corner, drawing attention and offering peaceful engagement. Whether displayed on a shelf or used in active play, your creations invite a moment of reflection and delight into each day.
Making This DIY Last
As you enjoy your sensory bottles, remember that they do require some gentle care. If stored away from direct sunlight and heat, they will maintain their vibrant appearance for a long time. Periodically check the seals to ensure everything remains secure.
If you want to switch things up, consider reusing the bottles. Simply clean them out and take the opportunity to create something entirely new. This process promotes sustainability while continuing to engage your creative spirit.
Calm Customization Ideas
- Try using essential oils in the liquid for added sensory experience. Just a drop can introduce calming scents that enhance the overall effect.
- Experiment with themes. Create a beach bottle with sand, tiny shells, and blue liquid, or a garden bottle with green beads and flower petals.
- Consider different bottle sizes. Small ones can be perfect for pockets, while larger combinations can become art pieces in your home.
- Personalize each bottle with labels or decorations that reflect your personality or the purpose behind each creation.
- Include family in the process. Making these bottles together can cultivate shared moments and deepen bonds.
FAQs About DIY Dual Sensory Bottles
Can I use my sensory bottles with children?
Absolutely! They can be wonderful tools for calming young minds. Just supervise their use closely, especially if using small items that could pose a choking hazard.How do I clean the bottles if I want to change the contents? Rinse out your bottles with warm, soapy water. Use a bottle brush if needed to get into the corners. Once cleaned, allow them to dry completely before refilling.
Will the colors in the bottle fade over time?
Yes, the colors may fade if exposed to direct sunlight for prolonged periods. To prolong their vibrancy, store them in a shady place.
How can I make the DIY process more relaxing?
Set the mood with calming music or soft lighting. Take your time and allow yourself to enjoy each step of the process without rush.
Conclusion
Creating DIY Dual Sensory Bottles offers a path to both relaxation and creativity. Through the simple combining of materials, you tap into the soothing powers of sight, sound, and touch. The process is not just about making something to display, but about nurturing a mindful, gentle space within yourself.
As you reflect on your creations, consider exploring further sensory projects to deepen this experience. You might find joy in making layered sensory bottles by checking out this guide on layered sensory bottles or venture into learning how to build a sensory bottle suited for specific needs through this thoughtful resource.
Allow your senses to guide you as you embark on new crafting adventures, connecting to the calming essence of mindful making.
PrintDIY Dual Sensory Bottles
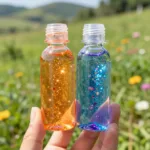
A calming and creative project to make dual sensory bottles that engage the senses and promote mindfulness.
- Prep Time: 10 minutes
- Cook Time: 0 minutes
- Total Time: 10 minutes
- Yield: 2 bottles
- Category: Craft
- Method: Crafting
- Cuisine: N/A
- Diet: N/A
Ingredients
- Clear plastic bottles with lids
- Water (or other liquids)
- Food coloring (optional)
- Glitter or sequins
- Smaller items for filling (beads, sand, stones, or rice)
- Funnel (optional)
- Tape
Instructions
- Begin by selecting the first bottle you want to decorate.
- Using the funnel, pour in your chosen fillers.
- Next, add a few drops of food coloring to the water.
- Gently pour the colored liquid into the bottle.
- If desired, sprinkle in glitter or sequins.
- Secure the lid tightly.
- Give the bottle a gentle shake.
- Consider making a second bottle with different colors.
Notes
These bottles can be used as calming tools and can require gentle care to maintain their appearance.
2 thoughts on “Dual Sensory Bottles with Rice and Petals”