

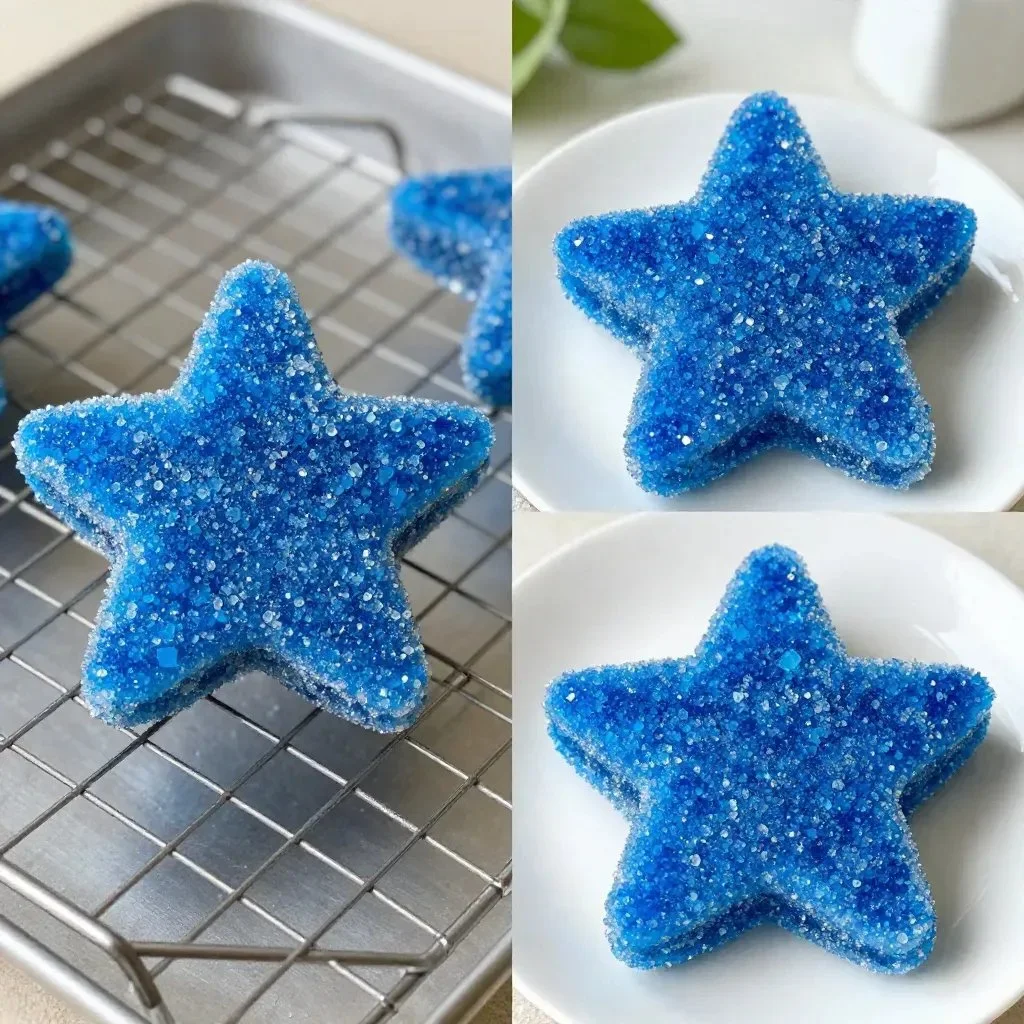
The sunlight streams softly across the surface of the water, casting sparkles that dance with joy. As you turn your gaze downward, the gentle sway of the waves reveals a hidden world of beauty beneath the glimmering forms of crystal sea stars resting upon the sand. It whispers stories of the ocean’s depths and invites your hands to create something equally magical. The process of making your own crystal sea star can become a meditative experience, leading you toward the calming embrace of creativity. You may also find Bright Green Crystal Seashell Experiment useful.
The Heart Behind This DIY
Creating a crystal sea star is not merely about crafting; it’s about connecting with your surroundings. The experience of shaping your sea star can transport you to tranquil coastal moments, where the sound of the waves calms your mind. Each step of the journey encourages you to embrace the present, focusing on the textures and colors of the materials. The gentle act of pouring, mixing, and observing the crystals form brings a soothing rhythm to your day. Engaging in this process helps clear the mind, making space for reflection and relaxation. You may also find Crystal Growing Seashell Experiment useful.
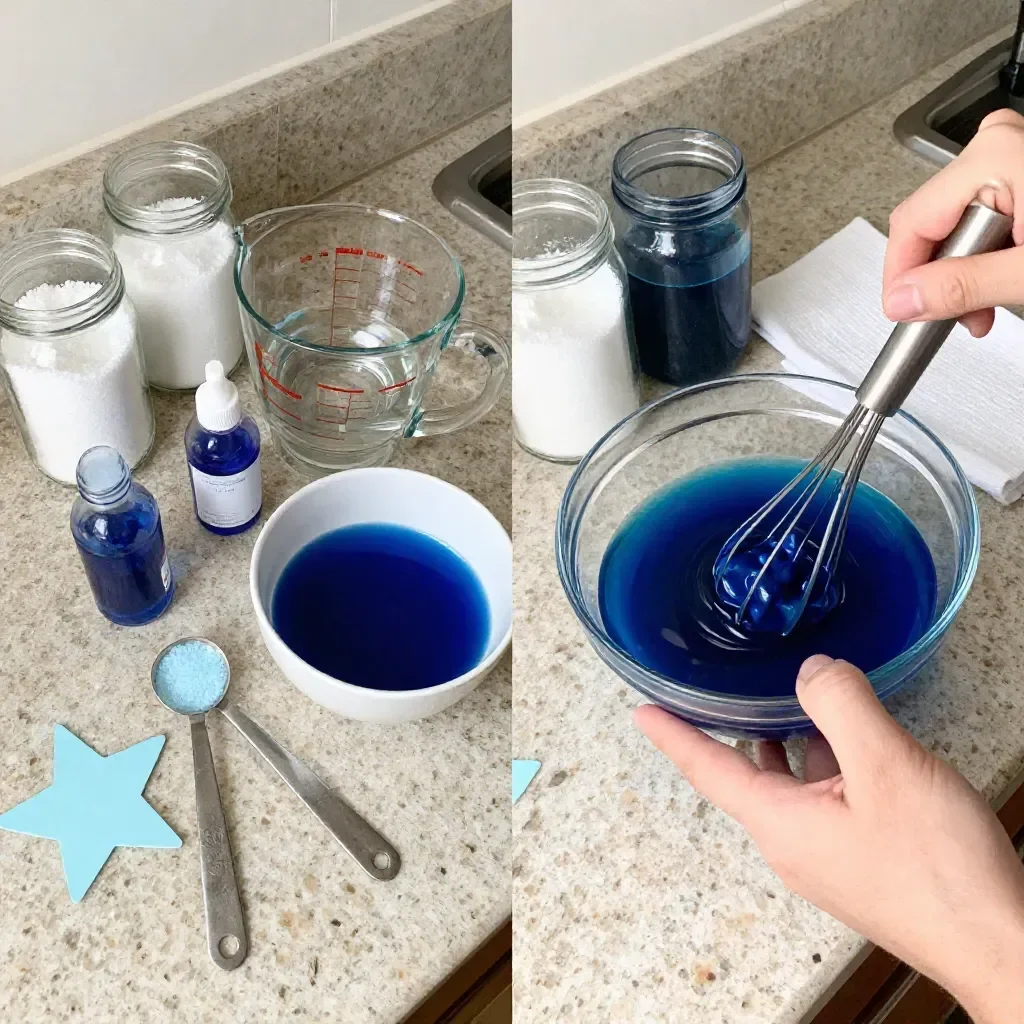
A Gentle Look at the Process
Before you dive into making your crystal sea star, it’s lovely to envision how this activity flows. Imagine the sensation of smooth crystals as they slip through your fingers. As you mix your ingredients, listen to the soft sound of the stirring, and watch how the colors blend. It’s a sensory adventure that can draw you fully into the moment, leading to a beautiful sense of calm. The materials gather neatly around you, creating a comforting workspace where your creativity can unfold. You may also find Crystal Seashell useful.
Materials You’ll Need
- A sea star mold (easy to find in craft stores)
- Epsom salt
- Water
- Food coloring (optional for added vibrancy)
- A mixing bowl
- Stirring stick
- Measuring cup
- Optional: glitter for an extra touch of sparkle
The materials are straightforward and allow for substitutions based on what you have at home. This DIY encourages improvisation, inviting you to make it uniquely yours. You may also find Diy Crystal Seashells 2 useful.
Step-by-Step Directions
Prepare Your Workspace: Set your materials on a clean, flat surface. This keeps everything organized and accessible.
Mix the Salt and Water: Measure one cup of Epsom salt and one cup of water into the mixing bowl. Stir gently until the salt dissolves completely. The texture of the salt offers a soothing tactile experience.
Add Color (if desired): Incorporate a few drops of food coloring into the mixture. Stir slowly, watching how the color spreads through the clear liquid, creating a beautiful swirl.
Pour Into the Mold: Carefully pour the mixture into your sea star mold. Allow yourself to take in the sight of the liquid smoothly filling the shape, giving you a sense of anticipation.
Let It Dry: Place the mold in a quiet spot away from vibration or disturbance. Let it sit undisturbed for several hours or overnight, depending on the humidity of your environment.
Reveal Your Creation: Once dry, gently remove the sea star from its mold. Enjoy the tactile sensation of the smooth, hard surface against your fingers as you hold your finished piece.
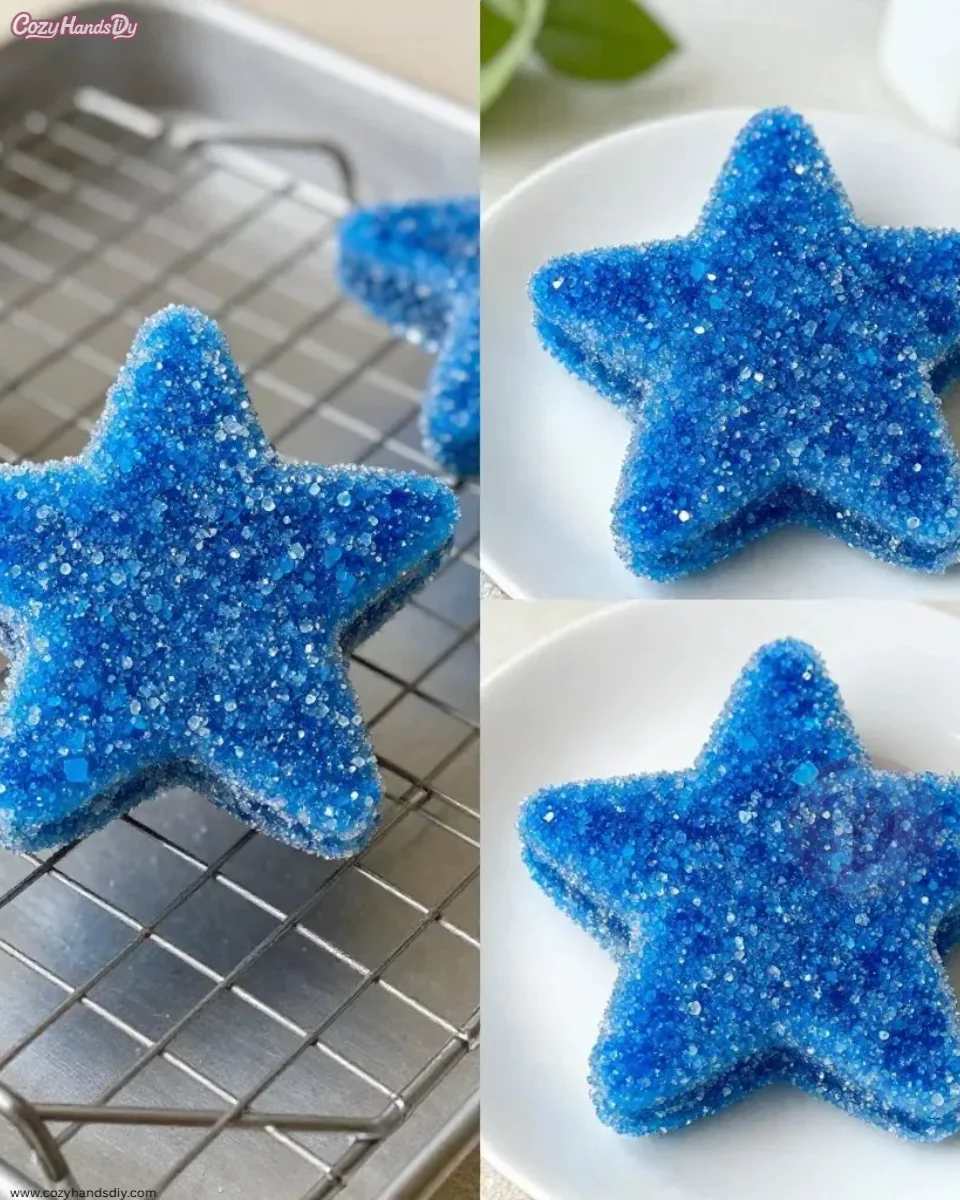
Enjoying the Finished Piece
Your crystal sea star can serve as an eye-catching decoration in your home. Place it on a windowsill where sunlight can illuminate its crystalline facets, or use it as a centerpiece on a table. Each time you see it, you can recall the peaceful experience of making it. Alternatively, consider gifting your creation to a friend who would appreciate the joy it brings. It offers not only visual delight but also a moment of warmth and creativity that can be shared.
How to Store or Reuse Crystal Sea Star
To keep your crystal sea star looking its best, store it in a dry place away from direct sunlight for extended periods. If you ever wish to refresh its appearance, you could create a new one using the same mold, allowing the process to become a cherished ritual. The gentle act of making can transform your space and offer a refreshing creative outlet.
Gentle Tips & Variations
- Experiment with different colors of food coloring as you create. Layering colors can produce beautiful effects, changing your mood with each creation.
- Consider adding fine glitter to the mixture before pouring it into the mold for an enchanting sparkle when light hits it.
- You could explore other sea-inspired shapes, like shells or starfish, diversifying your creative practice.
FAQs About Crystal Sea Star
How long does it take for the crystal sea star to dry completely?
Generally, it takes several hours to overnight for the sea star to dry completely, depending on your room’s humidity.
Can I use table salt instead of Epsom salt?
While Epsom salt is preferred for its crystal-forming properties, table salt can be used as a substitute, though it may not create the same visual effects.
What if I don’t have a mold?
You can use any shallow container or create your own shape using aluminum foil or other materials around the house.
Conclusion
The journey of making a crystal sea star is about more than just the end product. It invites you to slow down, reflect, and engage with the sensations of creativity. This simple yet fulfilling DIY captures a moment of peace and beauty, making it a delightful experience for anyone looking to bring a bit of the ocean’s magic into their lives.
To further explore unique crystal-themed creations, check out the beautiful Kailani – Crystal Sea Star Hair Pins Set of 5 – ADORA by Simona. You could also brighten your space with the charming magnetic fridge magnet shaped like a crystal sea star.
PrintCrystal Sea Star DIY
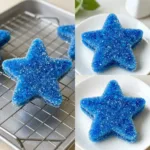
A soothing DIY project to create your own crystal sea star using simple materials, perfect for relaxation and creativity.
- Prep Time: 10 minutes
- Cook Time: 0 minutes
- Total Time: 480 minutes
- Yield: 1 crystal sea star
- Category: Craft
- Method: DIY
- Cuisine: N/A
- Diet: N/A
Ingredients
- A sea star mold
- 1 cup Epsom salt
- 1 cup water
- Food coloring (optional)
- Mixing bowl
- Stirring stick
- Measuring cup
- Optional: glitter
Instructions
- Prepare Your Workspace: Set your materials on a clean, flat surface.
- Mix the Salt and Water: Measure one cup of Epsom salt and one cup of water into the mixing bowl. Stir until dissolved.
- Add Color (if desired): Incorporate food coloring into the mixture and stir slowly.
- Pour Into the Mold: Carefully pour the mixture into your sea star mold.
- Let It Dry: Place the mold in a quiet spot to sit undisturbed for several hours or overnight.
- Reveal Your Creation: Once dry, gently remove the sea star from its mold.
Notes
Store the crystal sea star in a dry place away from direct sunlight. Experiment with colors and consider adding glitter for extra sparkle.
1 thought on “Crystal Sea Star Becomes Cozy Calm”