

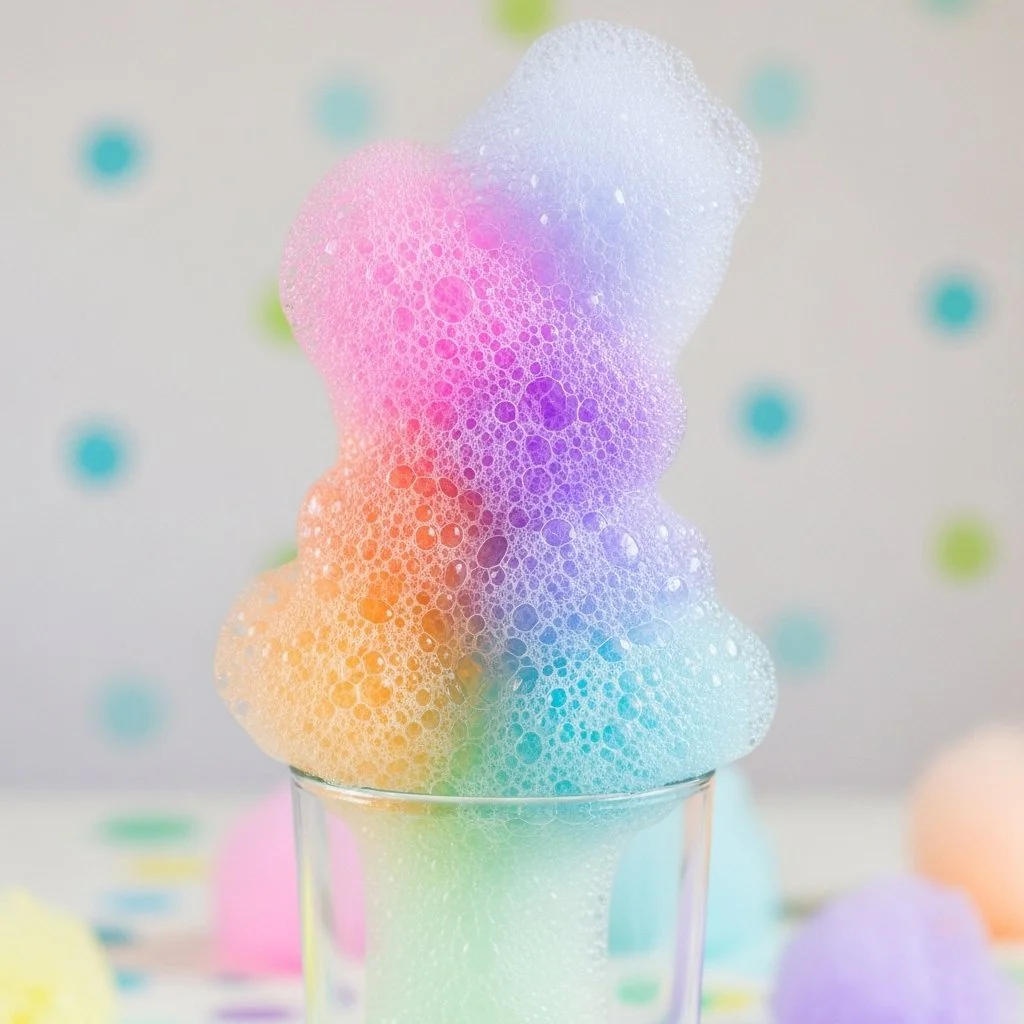
A cool tray holds a slow bloom of foam. Tiny beads of color ripple up like gentle fireworks. My fingers rest on the rim, feeling the soft ridges of the bowl, while the scent of baking soda and vinegar floats faint and clean. This is the moment when the Color Burst Foam Eruption Science Experiment becomes more than a quick trick. It becomes a quiet lapse of curiosity, a small ritual that asks only for attention and calm hands before the colors unfurl.
Why Color Burst Foam Eruption Science Experiment Feels Comforting to Create
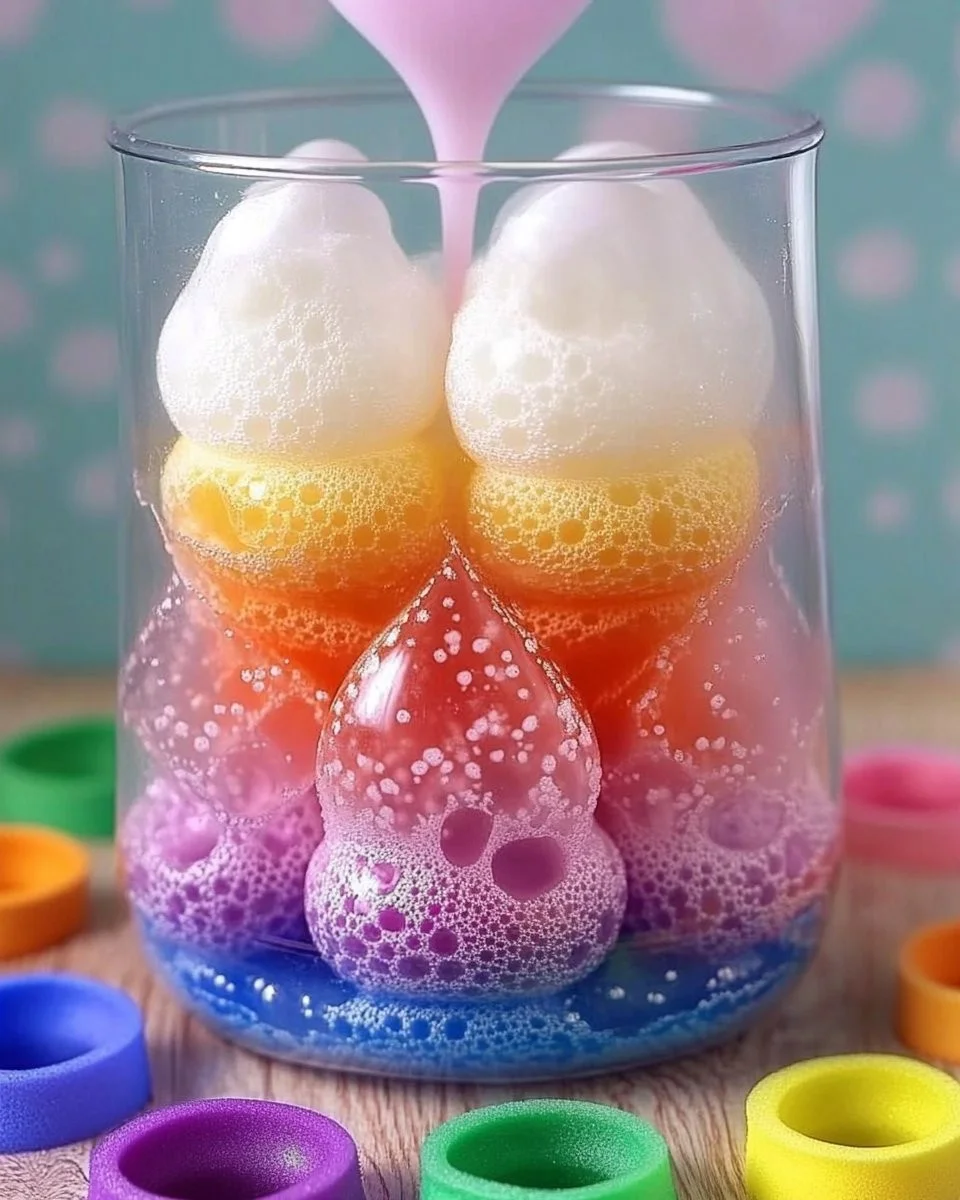
This experiment asks you to move slowly and watch carefully. The fizz begins as a small hush and grows into a soft, laughing spill of foam. The textures shift under your palms from powder to slushy paste to airy froth. Those shifts invite a focus that quiets the mind.
Making a Color Burst Foam Eruption fits well into a slow afternoon. You can time it with a cup of tea or a window of stillness. The colors bloom and separate. They do not demand perfection. That gentle unpredictability helps you practice acceptance. You plan and prepare, then you watch the chemistry take its own path.
I have made this on rainy mornings and sunny afternoons. Once, my young neighbor and I lined up spoons of color on a baking tray and counted the tiny drips before we poured. The rhythm of scooping and pouring felt like a shared breath. The experiment brings small tactile pleasures: the coolness of water, the grain of baking soda, the soft fizzing against skin-safe bowls. Those textures and sounds anchor you in the present.
The project also connects to familiar play. If you have tried other fizzy explorations, you may notice familiar echoes. For more ideas that pair well with this, try a cozy salt volcano variation to extend the sensory play with different grains and shapes: gentle salt volcano project.
A Gentle Look at the Process
I like to think of this as a slow demonstration. You mix simple parts, arrange a few color wells, and then invite the reaction. The motion stays soft. You whisk until pasty. You pour vinegar in a controlled stream. Bubbles gather and lift, carrying color in shimmering ribbons.
Sound matters. The first little pop feels like a shy laugh. Then a steady fizz grows like a soft rain on the windowpane. You will hear tiny crackles and watch the foam climb the sides of a container. Those small noises serve as cues. They tell you when to pause and when to simply observe.
The chemistry behind the show is pleasantly simple. Baking soda (a base) meets vinegar (an acid). They exchange ions and produce carbon dioxide gas. The gas seeks escape and forms bubbles. When you add a foaming agent, like dish soap or liquid soap, those bubbles stabilize into creamy foam that carries dyes and pigments. If you want to see how similar fizzy reactions can look in different setups, you might enjoy the techniques used for colorful baking soda and vinegar displays: colorful baking soda and vinegar reaction ideas.
What You’ll Use to Make Color Burst Foam Eruption Science Experiment
- Baking soda (easy to find)
- White vinegar (common household item)
- Liquid dish soap or gentle liquid castile soap (creates creamy bubbles; substitute-friendly)
- Food coloring or liquid watercolors (choose gentle, washable colors)
- Small cups or shot glass-sized wells (for color)
- A shallow tray or baking sheet with raised edges (contains spills)
- A mixing bowl (plastic or glass)
- A sturdy spoon or spatula (for mixing)
- Optional: pipettes or droppers (for controlled color placement)
- Optional: measuring spoons (useful if you like repeatable amounts)
- Optional: safety goggles and gloves (handy for extra-careful children)
I like to use a white tray so the colors pop and so I can notice subtle tones. A shallow tray helps the foam spread slowly, which feels more meditative than a tall vase where the eruption escapes quickly.
If you want to keep things tidy, set down a towel or paper under the tray. I often set aside an extra bowl of water to rinse tools between colors. For a child-centered session, use food-safe, washable colors and offer simple gloves for hands that like to explore.
Step-by-Step Directions
Place your tray and mixing bowl on a flat surface. Keep a towel nearby. Let light fall softly across the tray.
Spoon 1 cup of baking soda into the bowl. Run your fingers gently through the grains. Notice the dry, powdery texture.
Add 2 to 3 tablespoons of liquid soap to the baking soda. Stir slowly until the mixture becomes thick and slightly glossy. The soap helps create stable foam that carries color.
Add a small splash of water, one tablespoon at a time. Mix until the texture becomes a paste that still holds some air. You want something scoopable but not runny.
Spread the paste into the tray in a low, even layer. Smooth with the back of a spoon. Leave soft peaks for the foam to lift.
In small cups, mix a few drops of food coloring with a little vinegar. Use separate cups for each color. Dilute with a splash of water if you prefer paler tones.
Arrange the color cups around the tray for easy reach. Take a moment to breathe and notice the smells. Observe the contrast of bright color against pale paste.
With your spoon, make shallow wells or pockets in the paste where you want the foam to erupt. These will guide the flow of bubbles. Think of them as tiny launchpads for color.
Pour the colored vinegar into a well slowly. Watch the first fizz begin at the point of contact. Step back slightly to just observe.
If you like, use a dropper to add color directly into the foaming point. Slow drops create layered color ribbons. Faster pours make blended waves.
Repeat with other colors, spacing the pours so each eruption has room. Pause between pours to enjoy each bloom. Listen to the fizzing and feel the warm breath of chemistry.
When the foam settles, you can gently press it with a spoon to explore texture. Capture photos or keep it as a short-lived sensory play. When finished, rinse the tray and tools with warm water.
Each step keeps the pace gentle. You may pause anywhere and enjoy the feel and sight. I find that slowing the pour of vinegar yields longer, more graceful foam flows. Quick pours create lively, chaotic bursts. Both feel satisfying in different ways.
Enjoying the Finished Piece
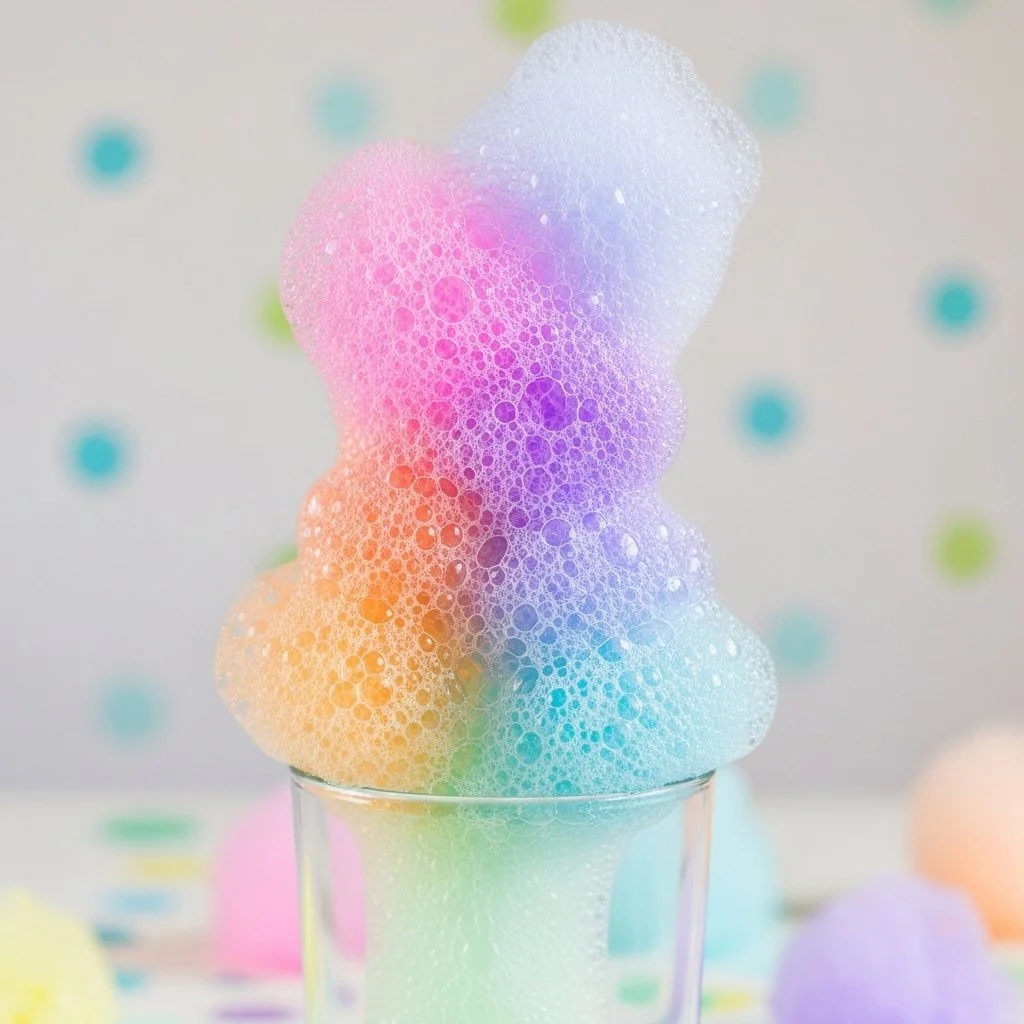
Once the eruption slows, the tray becomes a small landscape of swirls and pools. Colors float on top, sometimes mixing at the edges into new shades. You can press a fingertip into the foam and feel a soft cushion of bubbles. If you turned this into a group project, quiet conversation naturally follows as people point out favorite color blends.
The finished scene lasts briefly, which makes it feel precious. You can photograph the moment to keep a memory. A plain white plate helps the hues stay true in photos. If you prefer to extend the life of the display, try scattering lightweight confetti or biodegradable glitter on the foam for a minute. That adds a tactile contrast and a shimmer that disappears as the foam settles.
This experiment also makes a nice table activity for a cozy gathering. Place one tray per person and guide everyone to make one quiet pour. The shared rhythm becomes a low-key ritual. If you want to pair this with another colorful reaction, try a gentle cloud ornament experiment that uses similar materials for a calm craft session: colorful cloud ornaments project.
How to Store or Reuse Color Burst Foam Eruption Science Experiment
The foam itself fades within minutes to an hour, depending on room temperature and humidity. The best practice is to plan for a short-lived display and not to store the foam. That acceptance helps you enjoy it as an ephemeral, sensory moment rather than a long-term object.
If you want to reuse materials, separate solids and liquids for easy cleanup. Scoop any solid paste back into a container if it remains free from contamination. I often keep a small jar for leftover baking soda paste for one more session the next day. Add a splash of fresh vinegar when you plan to use it again.
Clean tools gently with warm water and mild soap. Avoid pouring large amounts of colored water or foam down drains at once; rinse gradually. If you used food coloring, most surfaces wipe clean easily. For persistent stains on plastic trays, let them soak in warm soapy water for a while before scrubbing.
If you want to preserve the memory, take photos at different stages. A simple phone camera captures the subtle transitions. For a tactile keepsake, press a thin layer of the paste onto a piece of thick paper, let it dry, and use the dried texture as a mixed-media base in another craft. That creates a quiet continuity between one short-lived experiment and a slower craft.
Gentle Tips & Variations
Invite scent: Add a few drops of food-grade essential oil to the vinegar cups for a gentle aromatic twist. Lavender or sweet orange work well. Keep scents light to avoid overwhelming the senses.
Try gentle foams: Swap dish soap for liquid castile soap for a milder feel on the skin. Castile soap creates softer foam and smells calmer.
Explore layered color: Place one color in a small well, wait until fizz begins, then add a second color into the same point. The colors can rise separately and layer like thin sheets.
Make it a mindful pause: Use a timer for slow intervals. Pour one color, breathe for 30 seconds, pour another. The breaks help you notice small changes.
Scale it down for small hands: Use muffin tins as tiny trays. Each child can have their own mini eruption. Use droppers for precise, sensory-friendly interaction.
These variations let you personalize the project without pressure. I learned that when I slowed down the pours and paid attention to smell and sound, children stayed engaged longer and the space felt calmer. The goal is not to perfect the chemistry but to practice gentle attention.
FAQs About Color Burst Foam Eruption Science Experiment
Will the colors stain hands or clothing?
Most liquid food colorings can leave temporary marks on skin but wash off easily with soap and water. I recommend wearing an old shirt or an apron and having a damp cloth ready. If you worry about fabric, set the tray on a washable surface or outside.
Can younger children take part safely?
Yes, with supervision. For toddlers, use larger spoons and pre-measured cups. Offer gloves if they like to touch. Keep eye contact while they pour to avoid splashes near faces. If very small children will handle materials, avoid concentrated food dyes and opt for diluted, washable colors.
Can I use other acids besides vinegar?
Vinegar offers a gentle, familiar acidity that reacts well with baking soda. Citrus juice contains acid too, but it can smell stronger and sometimes changes the color slightly. For a calm, predictable reaction, stick to white vinegar.
What makes the foam stay creamy instead of popping quickly?
The soap stabilizes bubbles by reducing surface tension. This allows carbon dioxide gas to form bubbles that hold together longer. The paste consistency also helps by trapping pockets of gas that expand gradually. Using a thicker paste gives you slower foam that feels more meditative.
How can I make eco-friendlier foam?
Choose biodegradable soap and natural food colors where possible. Use small amounts of dye, and compost any neutral, unscented paste that remains uncontaminated. Rinse tools in a sink with plenty of water to dilute runoff before it goes down drains.
Final Reflections on Making Color Burst Foam Eruption Science Experiment
The small eruptions teach a gentle lesson: some of the most delightful things in making do not last long. They invite us to notice without needing to hold on. The project offers subtle sensory rewards cool paste, bright color, soft fizz that feel like tiny acts of self-care. You do not need many tools. You only need a willingness to be present and to let the chemistry surprise you.
I encourage you to make the experiment in a quiet corner, perhaps with a friend or a child who likes slow play. Keep the pace gentle and give yourself permission to step away and return. The calm it creates can ripple into the rest of your day.
Conclusion
If you are looking for small, kit-ready options that pair well with the sensory feel of this experiment, you might enjoy the colorful bath powder kits that turn fizz into a longer soak and sensory treat, such as this playful option available online: Kids Bath Bombs Powder with Mini Unicorn Inside. For more background on volcano-style reactions and their kid-friendly variations, this guide offers clear, age-appropriate ideas and safety tips: The Ultimate Guide to Volcano Experiments for Kids (2026).
PrintColor Burst Foam Eruption Science Experiment
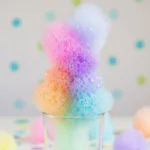
An engaging and colorful science experiment that combines baking soda and vinegar to create a mesmerizing foam eruption, perfect for a fun afternoon activity.
- Prep Time: 10 minutes
- Cook Time: 0 minutes
- Total Time: 10 minutes
- Yield: 1 tray of foam eruption
- Category: Science Experiment
- Method: Mixing and Observation
- Cuisine: Educational
- Diet: Non-Dietary
Ingredients
- 1 cup baking soda
- 2–3 tablespoons liquid dish soap
- Food coloring or liquid watercolors
- White vinegar
- Small cups or shot glass-sized wells
- A shallow tray or baking sheet
- A mixing bowl
- A sturdy spoon or spatula
- Optional: pipettes or droppers
- Optional: measuring spoons
- Optional: safety goggles and gloves
Instructions
- Place your tray and mixing bowl on a flat surface.
- Spoon 1 cup of baking soda into the bowl.
- Add 2 to 3 tablespoons of liquid soap to the baking soda.
- Stir slowly until the mixture becomes thick and slightly glossy.
- Add a small splash of water, one tablespoon at a time.
- Spread the paste into the tray in a low, even layer.
- In small cups, mix a few drops of food coloring with a little vinegar.
- Arrange the color cups around the tray for easy reach.
- With your spoon, make shallow wells in the paste.
- Pour the colored vinegar into a well slowly.
- Repeat with other colors, spacing the pours so each eruption has room.
- When the foam settles, you can gently press it with a spoon to explore texture.
Notes
This experiment may leave colors temporarily staining skin, but they wash off easily. Ensure supervision for younger children and use safety gear if desired.