

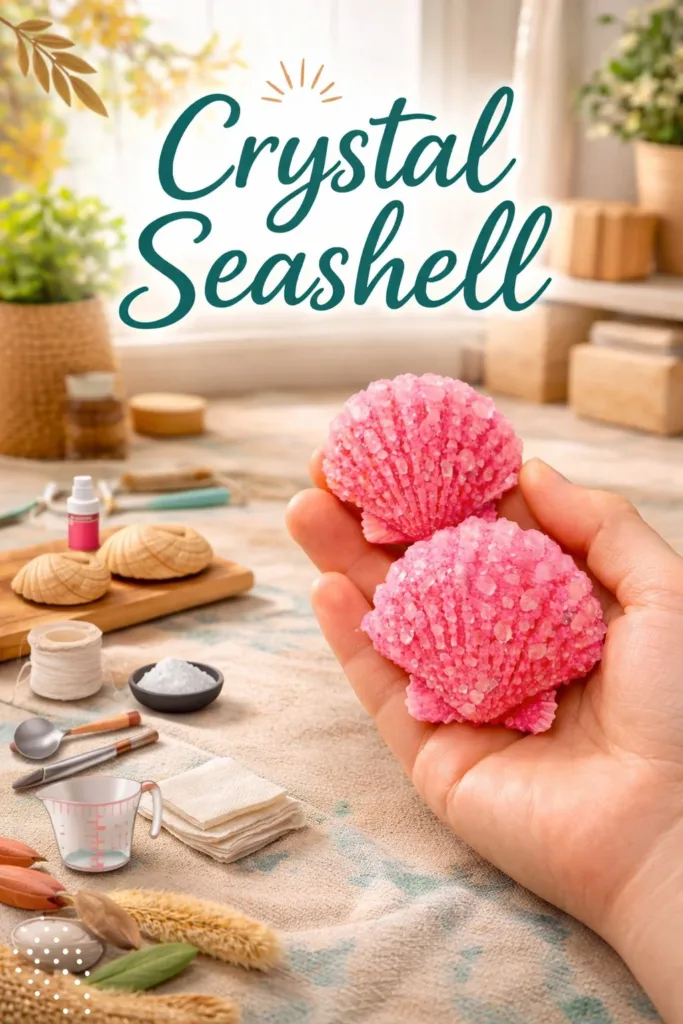
The small shell warmed in my palm felt both rough and smooth, like a tiny coastline held close. Light pooled in the shallow curves and seemed to promise something quiet. I thought of a Crystal Seashell catching that light, turning a simple moment into a slow unfolding ritual of watching mineral shapes take form and catch the eye.
Why Crystal Seashell Feels Comforting to Create
Making a Crystal Seashell invites slow attention. The project calls for patient waiting, gentle observation, and small physical actions that anchor you to the present. As salt or borax crystals bloom across a shell, you gain things that feel simple and true: texture under fingertips, the soft clink of glass jars, the hush of evening as the solution cools.
This craft often draws people back to childhood wonder. I remember stirring a sugar solution at the kitchen table, breath fogging the glass, and feeling hush settle as the mixture cleared. That quiet builds a calming rhythm. If you like a brighter, playful color, the bright green version we tried felt like catching a bit of sea glass light, and you can see a similar approach in our bright green project notes at bright green Crystal Seashell experiment.
Beyond the visual, the process feels tactile and sensory. The shell gives a familiar ridge under the crystals. The crystals form small, sharp facets that contrast with the shell’s curves. Those contrasts help you notice small details, and noticing steadies breathing and attention. This quiet, focused attention is what makes the making itself as nourishing as the finished piece.
A Gentle Look at the Process
Before you mix, imagine the movements and the sounds. You will heat water, coax a powder into a glossy, heavy solution, and spoon that warmth over a seashell. You will set jars aside and check them in the morning to see tiny crystals like frosting at the edges.
The process favors slow, gentle hands. Stirring should feel even and steady. Pouring should be calm and controlled. As a guide, think of the work as tending: you set the conditions, then you watch and wait. If you want a slightly different rhythm, try the more step-by-step approach in our other tutorial for a slightly different finish at DIY crystal seashells tutorial.
Visually, expect a gradual change. Solutions shift from cloudy to clear as they dissolve. Crystals appear first as a shimmer, then a pearled texture, then defined edges. This visual progression gives you regular small rewards that help time feel friendly rather than rushed.
Materials You’ll Need
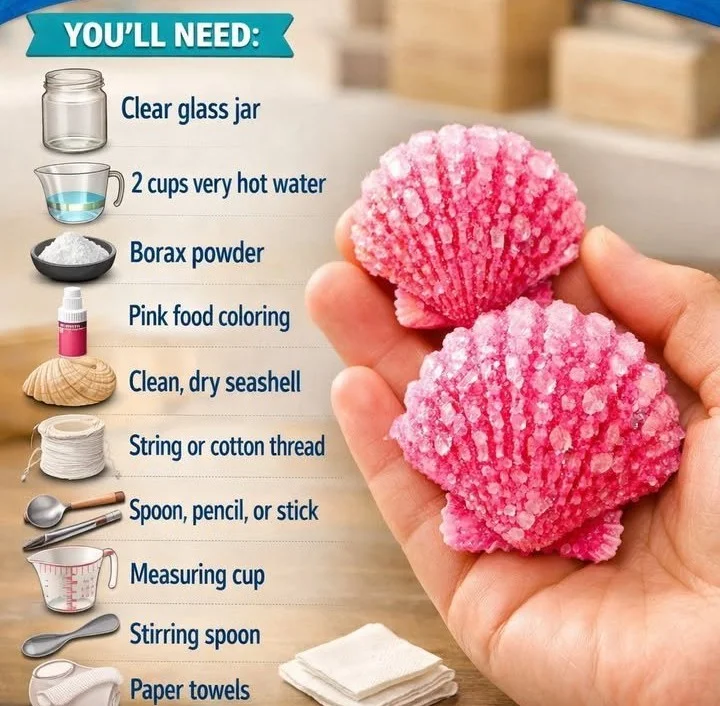
- Sea shells, cleaned and dry. (beach finds or craft store shells)
- Borax powder or alum or Epsom salt. (borax often gives strong, clear crystals; alum works well and feels gentler)
- Hot water. (very hot but not boiling; safety first)
- Clear glass jars or heatproof bowls. (easy to find; use clear so you can watch)
- Stirring spoon. (metal or wooden)
- Tweezers or tongs. (optional; helpful when removing shells)
- String and pencil or craft stick. (if suspending shells)
- Food coloring, optional. (for soft tints)
- Protective gloves and goggles, optional but recommended if using borax. (safety-first)
- Paper towels and a tray. (to catch spills)
- A quiet, flat surface to leave jars undisturbed.
If you want a visual reference for common materials and alternatives, our classic list shows another set of choices in a short guide at classic crystal seashell materials list.
Why these materials work
Water acts as the solvent. When you dissolve borax or alum into hot water, you create a solution that holds more dissolved mineral than it can at lower temperatures. As the solution cools, those minerals come out of solution and form crystals. The shell acts as a surface where crystals can begin to gather. Rougher surfaces encourage crystal growth because they offer more places for the mineral to latch on.
Safety note
Borax can irritate skin and should not be consumed. If you craft with children, supervise closely and consider alum or Epsom salt as milder alternatives. Keep children and pets away from the jars as crystals form. Work in a well-ventilated space and let solutions cool before handling.
Step-by-Step Directions
Prepare your workspace and shells.
Set a tray down to protect surfaces and lay out a clean shell.
Dry and, if needed, scrub the shell gently with a toothbrush.Heat water safely.
Warm water until it is very hot but not rapidly boiling.
Pour carefully into a heatproof mixing container.Dissolve the crystal material.
Add borax, alum, or Epsom salt slowly while stirring.
Mix until the powder no longer dissolves and the solution looks glossy.Decide whether to color the solution.
Add a few drops of food coloring if you want a soft tint.
Stir gently until the color blends evenly.Pour or suspend the shell.
You can either pour solution into a shallow dish and place the shell inside,
or tie the shell with string and suspend it in the jar with a pencil.Work slowly and notice small changes.
Watch the solution glimmer as particles move and settle.
Listen for the soft glass scrape as you set the jar down.Cover and set aside in a calm spot.
Keep the jar warm and undisturbed on a flat surface.
Avoid moving it; vibrations can change crystal growth.Check the next morning.
Look for small crystal clusters along ridges and edges.
If growth is slow, let it sit for another day or two.Remove and dry the shell.
Use tweezers or a spoon to lift the shell carefully.
Place it on a paper towel and let it dry in a quiet corner.Final touches and securing.
If you like, brush off loose crystals gently with a soft brush.
For long-term display, consider sealing with a clear, low-sheen spray.Reflect and store.
Take a moment to notice the pattern, touch a clean, safe edge, and plan where to enjoy it.
Place the shell in a display dish, on a windowsill, or tucked in a small box.Reuse leftover solution.
If you have solution left that still has dissolved material, label and store it upright.
Use it for another shell or pour it back into its container for a later project.
Each step offers a small sensory cue. The warmth of the jar in your hands, the smell of hot water, the soft scraping of a spoon, all help anchor your attention. Move at a pace that feels steady rather than hurried. If any part feels tense, pause and breathe before continuing.
Where This DIY Fits Into a Calm Routine
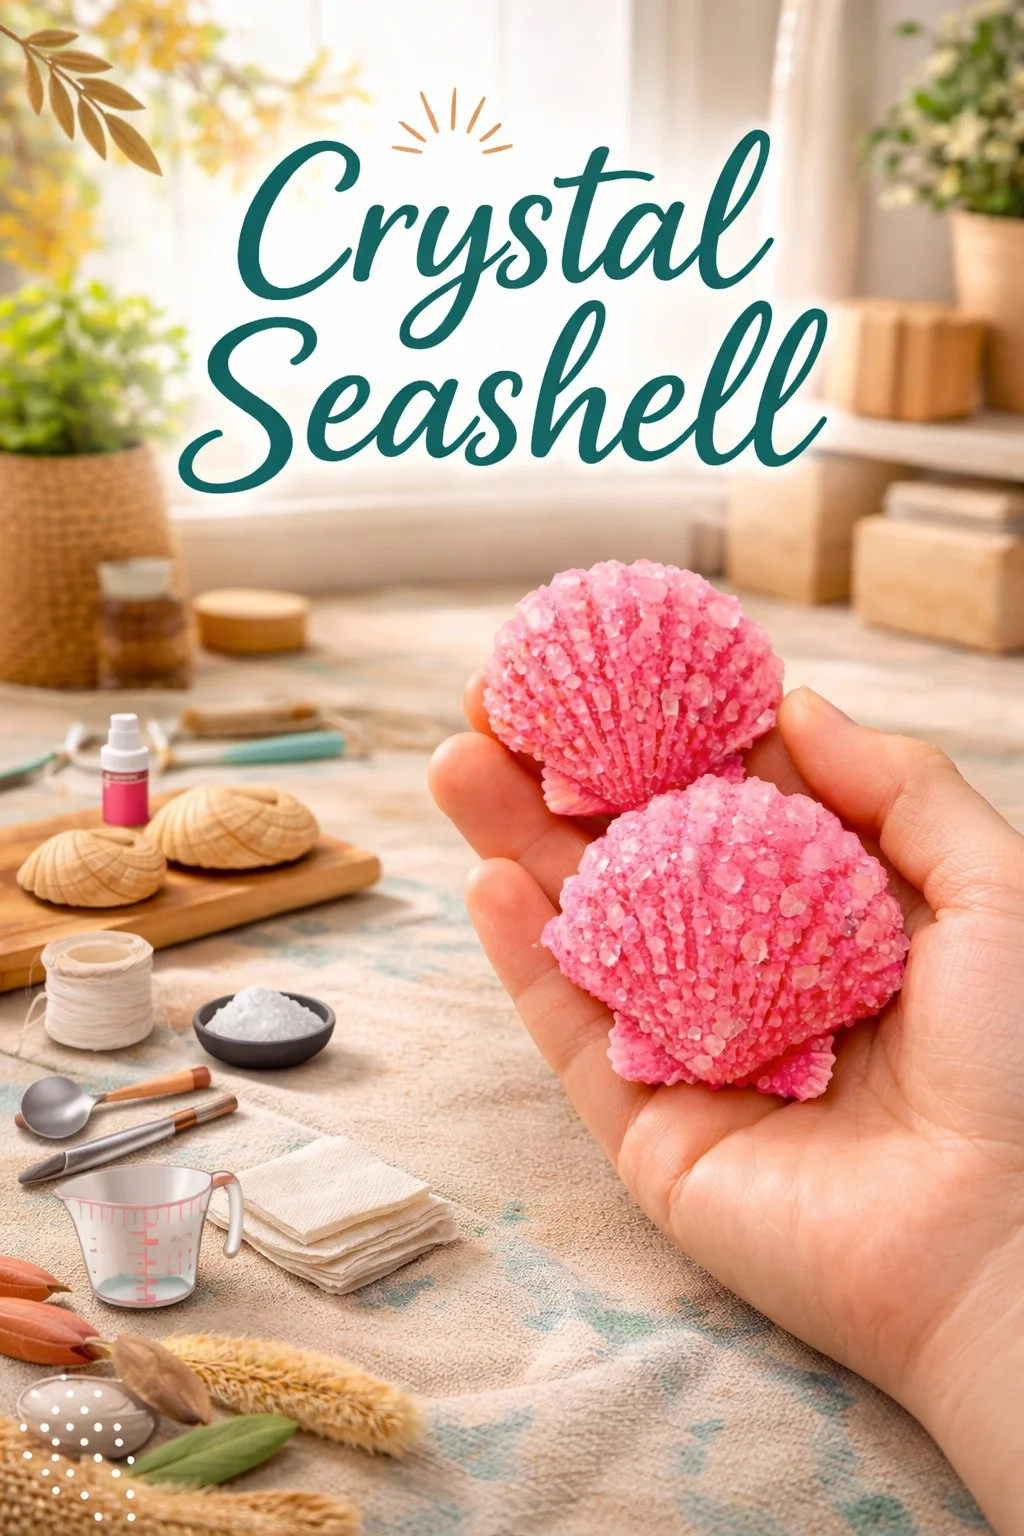
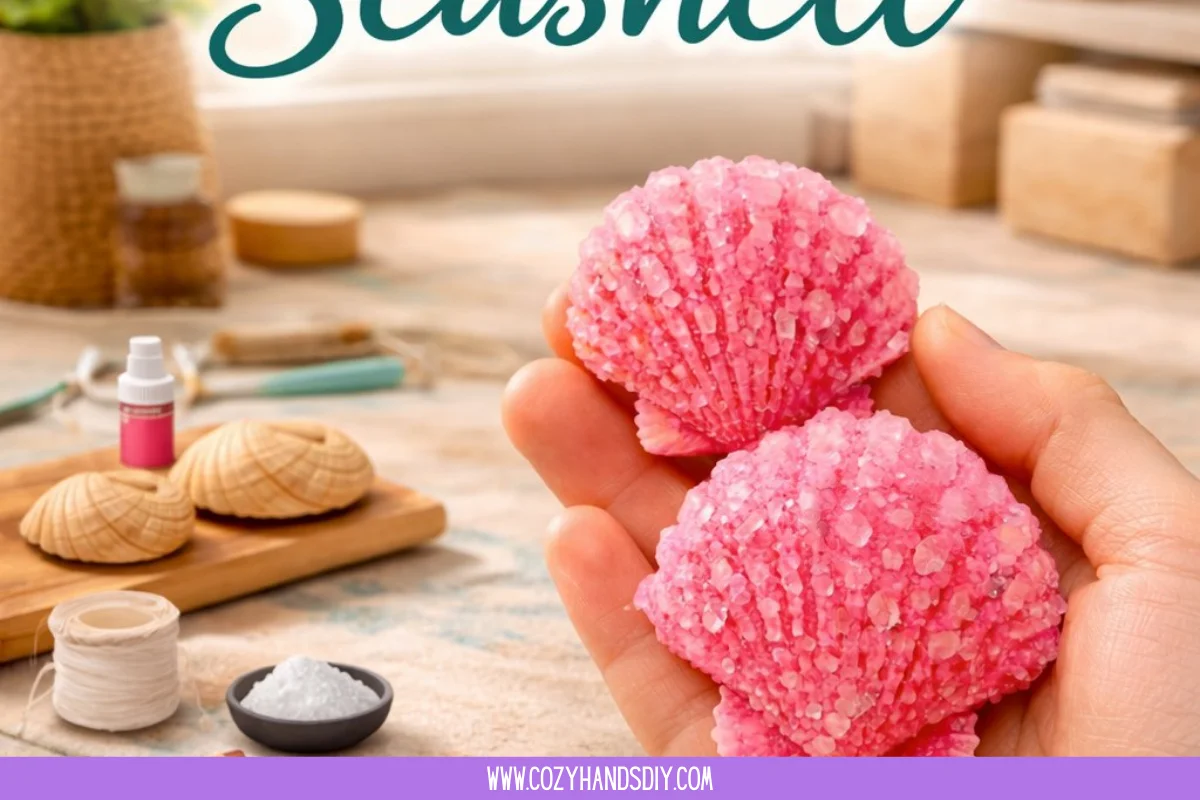
A Crystal Seashell makes a quiet companion to simple rituals. Place one by a bedside lamp and let it catch the evening light. Tuck one into a tray with a few smooth pebbles for a tactile corner you can visit when you want to breathe slowly.
I like to weave the making into a contemplative hour. I heat the water, stir the solution, and then sit with a cup of tea while the jars cool. The act of waiting becomes a pause. The finished piece can serve as a bookmark for that calm time. If you prefer a little more color or a quicker visual return, try the bright green method we experimented with and noted in our easy version at easy bright green variation.
A display idea
Group a few small Crystal Seashells in a shallow bowl. Arrange them with linen or driftwood. Keep the display in a place where natural light changes across the day. That shifting light will highlight facets and edges and give you small, gentle surprises when you pass by.
A mindful ritual
Each time you pass the shell, touch it with care. Use it as a tiny check-in: are your shoulders softened, is your breath even? Small moments like this help the object become a tool for presence rather than just decoration.
How to Store or Reuse Crystal Seashell
Store finished shells where they will avoid bumps and high humidity.
A lined box or a shallow dish with soft cloth works well.
If crystals feel loose, avoid jostling them. Wrap carefully in tissue and place between layers of fabric.
For display, keep them out of direct sunlight for long stretches to prevent any potential fading if colored dyes are present.
Reusing the solution
If your solution still looks clear and contains dissolved material, you can carefully pour it into a clean jar and label it.
Store it upright and out of reach of children and animals. Over time you can reuse it until it no longer produces strong crystal growth.
Long-term care
If you sealed your shells with spray, those coatings can dull over time.
You can gently wipe with a soft, dry cloth to remove dust.
Avoid water or harsh cleaners that may dissolve or dislodge crystals.
Safety in storage
Keep any leftover powders like borax in a clearly labeled container and out of reach.
If you use natural shells from the beach, ensure they are fully dry before storage to prevent mold.
Gentle Tips & Variations
Treat these as invitations rather than instructions.
Try different salts for different textures.
Borax tends to give sharp, glassy crystals.
Epsom salt yields softer, more velvety formations.
Each one feels different under a fingertip.Add a hint of color for subtle effects.
A drop or two of food coloring creates a wash rather than full pigment.
The dye sits mostly in the spaces between crystals and creates soft translucence.Use a shallow dish for a frosted look.
Laying the shell flat often produces more uniform coverage.
Suspending the shell encourages asymmetric, more dramatic growth.Experiment with timing and temperature.
Faster cooling can create smaller, numerous crystals.
Slow cooling often allows for larger, more well-defined crystals.Make it meditative by pairing with a sound ritual.
A gentle playlist, the rustle of leaves outside, or the rhythmic ticking of a small clock can make the waiting feel intentional.
These little variations let you keep the core ritual while exploring textures, colors, and finishes.
What I’ve Learned While Making This
I learned to slow down most when I made mistakes. One time I moved a jar to the windowsill to warm it with sun. The gentle vibration from the window popped a few crystals loose. Instead of feeling frustrated, I used that moment to notice how delicate the formations were and to adjust my care next time. That small failure taught me patience.
Another quiet lesson came from choosing shells. The more ridged, weathered shells produced a much richer tapestry of crystal clusters. Smooth shells often gave broad, glassy layers that gleamed like glazed pottery. The difference made me think differently about texture long after the project ended.
I also learned to plan for safety without losing the cozy feeling. Wearing gloves felt sensible and practical, not clinical, and letting jars sit in a low shelf kept them safe from sudden knocks. Those safety choices let me relax into the watching.
Above all, I noticed how this craft reorients the day. A predictable, small ritual reduces mental clutter. The steady stirring, the promise of morning transformation, the careful removal and drying. Those repeated acts build a tiny structure that calms the mind.
FAQs About Crystal Seashell
Q: Is this project safe to do around children?
A: You can do a child-friendly version with supervision. Use Epsom salt or sugar for milder, lower-risk crystals and keep powders out of reach. Always supervise hot water and ensure no one tastes the solution.
Q: How long does it take for good crystals to form?
A: You will often see early formation within hours, but the best, larger crystals appear over one to three days. The pace depends on the material used and how slowly the solution cools.
Q: Can I use any seashells I find on the beach?
A: Yes, but clean them well and fully dry them first. Scrub gently, rinse, and let them sit in sunlight or a warm spot to dry thoroughly before you use them.
Q: What is the difference between borax and alum?
A: Borax tends to give clearer, sharper crystals, while alum yields smaller, often more sparkly crystals. Borax requires a bit more caution, so choose alum or Epsom salt when crafting with young children or when you prefer a gentler ingredient.
Q: Can I preserve the crystals permanently?
A: You can seal the finished shell with a clear, low-sheen spray to stabilize loose crystals. Test a small area first; some sprays can slightly alter the look. Store sealed pieces away from direct humidity.
A Gentle Note Before You Go
Sit for a moment with the idea of slow making. The Crystal Seashell helps you practice a quiet patience: a little preparation, a letting-go, and then the gentle reward of something new. Keep your hands soft, your breathing even, and your expectations simple. The magic lives in the watching and small touches of care.
When you finish, let the shell live where you can see it without needing to clutch it. Let it be a gentle reminder that small, steady acts can change texture and light in the room and in you. Thank yourself for the calm you made.
Conclusion
If you want to compare methods and see a detailed walkthrough for a similar shell crystal experiment, the Shell Crystal Craft guide on Little Bins for Little Hands offers a practical reference. For a beautiful way to pair your finished seashells with home fragrance or display pieces, consider the elegant Seashell Enchanté Cup set at Anaïs Candle.
PrintCrystal Seashell Craft
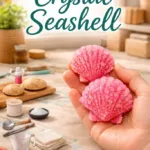
Create beautiful crystal formations on seashells using a simple solution of borax, alum, or Epsom salt.
- Prep Time: 10 minutes
- Cook Time: 72 minutes
- Total Time: 82 minutes
- Yield: 1 Crystal Seashell
- Category: Craft
- Method: Crafting
- Cuisine: N/A
- Diet: N/A
Ingredients
- Sea shells, cleaned and dry
- Borax powder, alum, or Epsom salt
- Hot water
- Clear glass jars or heatproof bowls
- Stirring spoon
- Tweezers or tongs (optional)
- String and pencil or craft stick (for suspending shells)
- Food coloring (optional)
- Protective gloves and goggles (optional)
- Paper towels
- A quiet, flat surface
Instructions
- Prepare your workspace and shells.
- Heat water safely until very hot.
- Dissolve the crystal material in the hot water.
- Decide whether to color the solution with food coloring.
- Pour or suspend the shell in the solution.
- Work slowly and notice small changes in the solution.
- Cover and set aside in a calm spot.
- Check the next morning for crystal development.
- Remove and dry the shell carefully.
- Final touches: brush off loose crystals and consider sealing for display.
- Reflect and store your finished shell carefully.
- Reuse leftover solution if applicable.
Notes
Experiment with different salts and methods for unique textures and colors. Always supervise children and handle materials safely.