

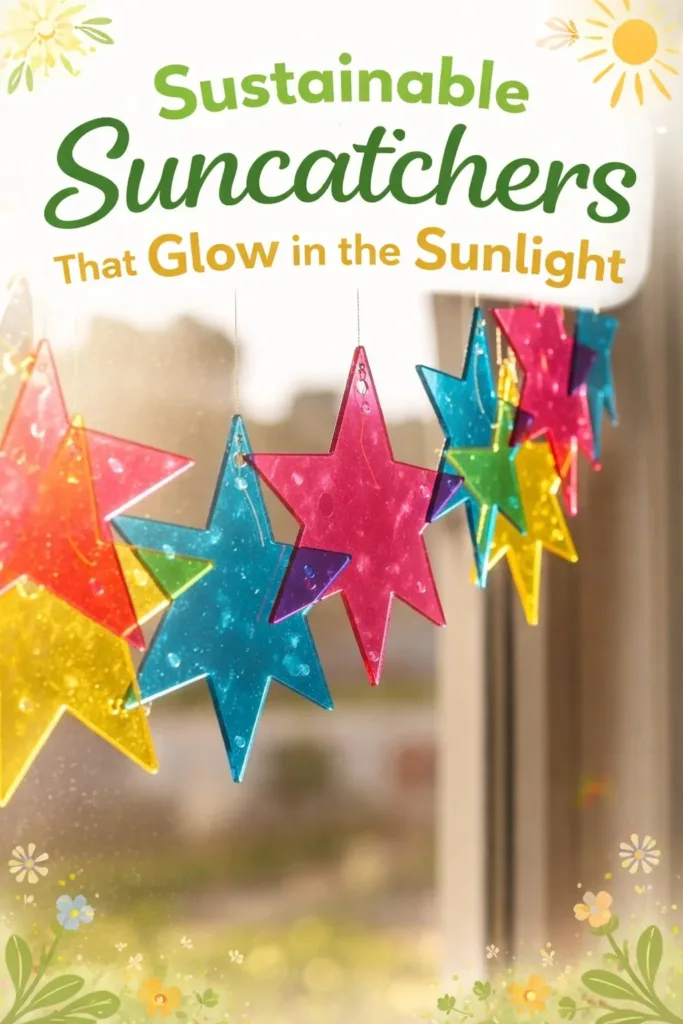
I cup a warm mug and watch the sun move across the window, noting how the light pauses on small things. A thin sheet of clear, recycled plastic catches the beam and throws tiny rainbows across the table. That slow, quiet shift of color is the heart of Sustainable Suncatchers That Glow in the Sunlight, a making moment that asks for gentle hands and steady breath. When I make these, I tune into texture, the soft click of scissors, and the slow cooling of a pliable material as it becomes firm and luminous.
I first made a suncatcher on a rainy afternoon, inspired by a project that used glow-in-the-dark powder and dried petals. If you like projects that balance craft and calm, you might also enjoy the glow-in-the-dark crystal tree guide I wrote earlier, which shares a similar slow rhythm and sensory focus.
The Quiet Joy of Making Sustainable Suncatchers That Glow in the Sunlight
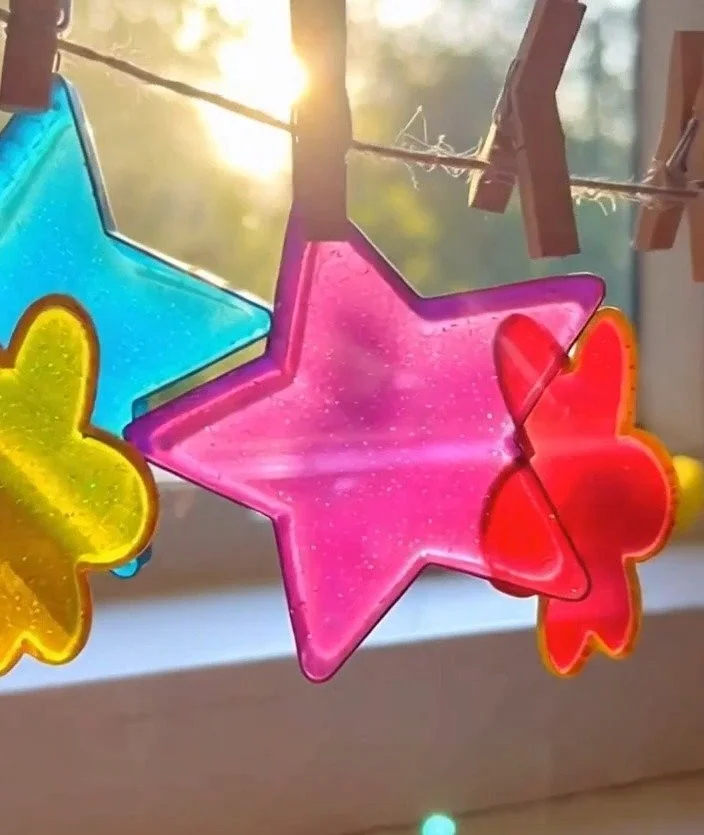
This project feels like a small ritual. You move from choosing pieces to arranging them in light, and then you wait as the material sets. The work slows the mind because it asks for small, simple choices. You notice the way a leaf presses flat, how a tiny seed bead scatters light, or how a swath of mica gives a moonlit sheen. Each act is small. Each result is gentle and bright.
Making sustainable suncatchers aligns with a quieter lifestyle. You pick materials that have lived other lives or that come from gentle sources. The process rewards patience. You feel the warmth of the mixture in your fingertips, the smoothness of a cooled sheet, and the soft tug as you hang the finished piece. That sensory thread becomes the practice, not just the object.
This craft also fits into everyday calm. A suncatcher does not scream for attention. It opens a tiny window of beauty when the sun finds it. Placing one on a kitchen window or in a child’s play corner invites slow discovery. If you want more projects that mix light and quiet, I recommend the gentle steps in my rain cloud in a jar project; it uses similar sensory ideas with a different finish.
A Gentle Look at the Process
Before you gather things, imagine the flow. The process asks you to collect, to layer, and to pour or shape. There is a warm stage where ingredients melt and become glossy. Then there is a cooling stage where you press and wait. The sound shifts from a soft simmer to a quiet stillness.
Working this way gives you small repeating movements. You stir slowly, you smooth with a finger, you press a petal into place. The rhythm is gentle and forgiving. If you choose a bioplastic base, the sheet will feel supple when warm and firm when cool. If you use recycled acrylic or thin glass, you will enjoy the heavier, clearer presence of the finished piece.
One helpful note from my own experience: lay out the elements you want to include and treat this time as a pause. It helps to keep a small towel nearby and to have a shallow tray for finished pieces. If you want more on eco-friendly choices and how they behave, check this focused guide on bioplastic suncatchers and eco-friendliness for a deeper look at materials and impacts.
Materials You’ll Need
- Bioplastic ingredients: cornstarch, water, and a touch of glycerin (easy to find; optional if you prefer recycled plastic)
- Thin recycled clear plastic sheets or old transparent packaging (reusable and sustainable)
- Natural inclusions: dried flowers, pressed leaves, tiny seeds, small feathers (optional)
- Mica powder or biodegradable shimmer powder for a pearlescent glow (substitute-friendly)
- Small glass beads or recycled bead fragments for extra light play (optional)
- Heat-safe silicone mat or parchment paper (helps with removal)
- Small saucepan and heatproof bowl for double-boiler method (safety first)
- Cookie cutters or small silicone molds for shapes (easy to use)
- Fine sandpaper for smoothing edges (optional)
- Twine, thin cork, driftwood, or brass ring for hanging (sustainable choices)
- Scissors and small tweezers for arranging details (simple tools)
- A shallow tray or flat surface to cool finished pieces on (gently flat)
- Timer or watch to track setting time (helps with patience)
These items are flexible. You can make a warm, glossy sheet in a pan, or you can warm recycled plastics carefully and press inclusions into them. I like to keep my materials on a small tray so I can move calmly through the steps without searching.
Step-by-Step Directions
Prepare your workspace so it feels calm and clear.
Keep a towel and water nearby.
Lay the silicone mat or parchment on the table.Choose your inclusions and arrange them on the mat.
Feel their textures as you sort them.
Pick a few simple elements to avoid clutter.Mix the bioplastic base if you use it.
Combine cornstarch, water, and a little glycerin.
Stir gently until the mixture becomes translucent.Warm the mixture slowly in a double boiler.
Keep the heat low and steady.
Stir with a silicone spatula until glossy and thick.Pour or spread the warm mixture onto the mat.
Work with slow, even motions.
Smooth it into a thin, even layer with the spatula.Arrange dried flowers, mica, and beads on the warm surface.
Press them lightly into the film with a fingertip or tweezers.
Notice the soft give as the elements sink in.For defined shapes, press a cookie cutter into the warm sheet.
Hold steady until the plastic cools a bit.
Lift out the cutter and check the edge.If you use recycled plastic sheets, cut your shapes first.
Warm them gently under low heat to make them flexible.
Press inclusions between two thin layers to trap them.Allow each piece to cool in a quiet spot.
Watch the surface change from glossy to matte as it sets.
This pause gives you time to breathe and notice the light.Trim rough edges with scissors or fine sandpaper.
Work with small, careful snips.
Sand softly until the edge feels smooth in your palm.Add a small hole for hanging with a heated skewer or punch.
Keep the hole near the top and centered.
Smooth the hole edge with sandpaper if needed.Thread twine or a brass ring through the hole.
Adjust the length for where you plan to hang it.
If you use driftwood, tie several pieces along the same line.Test how the piece catches light by moving it toward the sun.
Rotate slowly and notice little rainbows or a pearly sheen.
Make small adjustments to the arrangement if desired.If you want more glow, dust a tiny bit of mica or shimmer powder on top.
Brush gently with a soft brush.
A little goes a long way.Clean your workspace and store spare materials in labeled jars.
Wipe the mat and put tools away.
This final act keeps the calm going.
These steps flow at a slow, steady pace. Each motion invites you to be present. If something does not look right, you can often lift and reposition before the sheet fully cools. I learned to keep a small cup of warm water nearby to rewarm edges gently.
Using Sustainable Suncatchers That Glow in the Sunlight in Everyday Life
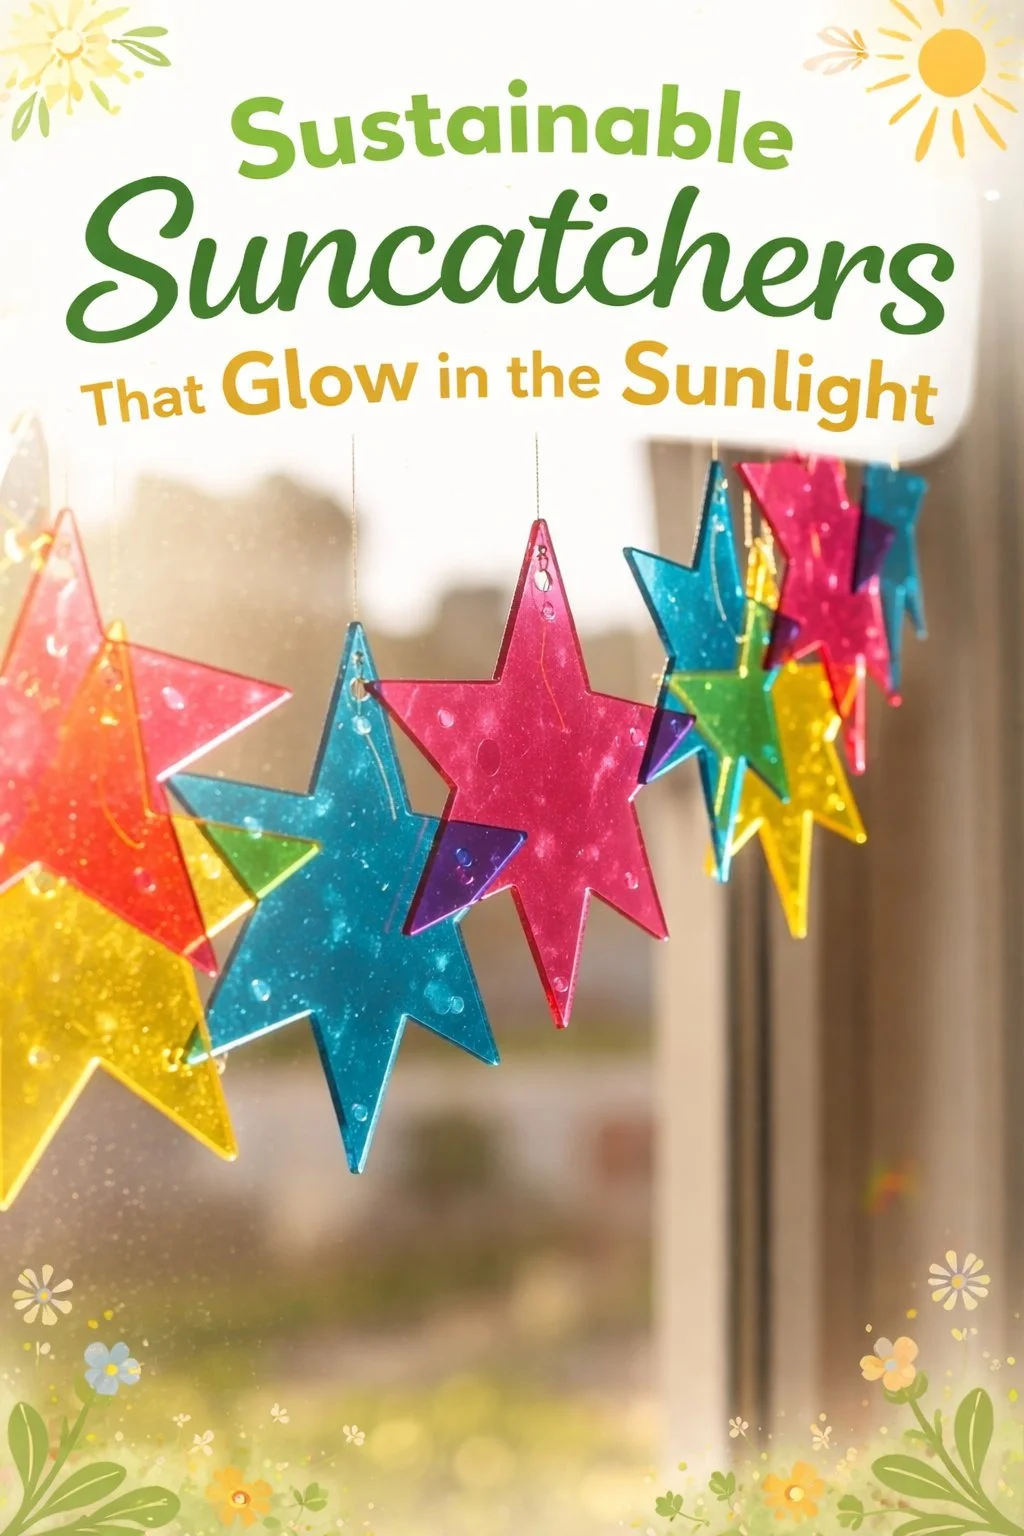

A finished suncatcher lives quietly in corners where light will find it. Hang one in a kitchen window and notice the moving colors while you wait for tea to steep. Tie one to a mobile in a child’s room and let it mark the slow passage of afternoon. Group three different shapes together and hang them from a single branch for a living sculpture.
Place a suncatcher near a reflective surface to amplify small beams of light. If you have a windowsill with morning sun, switch a piece there for a week and watch how the glow changes with the season. The piece will not only decorate; it will offer a moment of pause when the light slips across it.
I often place a suncatcher by a bedside lamp when I read. The lamp gives the piece a soft halo and the mica creates a subtle shimmer that feels like a quiet companion. These uses are gentle and practical. They invite small rituals of noticing without demanding attention.
How to Store or Reuse Sustainable Suncatchers That Glow in the Sunlight
Store finished pieces flat when possible to prevent bending.
Place them between layers of tissue paper in a shallow box.
Keep them in a cool, dry place away from direct heat.
If a piece gets dusty, wipe it with a soft, damp cloth.
Avoid harsh cleaners; mild soap and water are enough.
Let it air dry fully before rehanging.
To reuse or refresh an older suncatcher, add a tiny touch of new mica or reposition beads.
You can also cut a worn piece into small tags for gifts.
If the material breaks, compost the natural inclusions and recycle the plastic parts when allowed.
When I first learned to reuse suncatchers, I saved the bits that broke from earlier attempts. I layered them into a mosaic on a new sheet. That second life felt satisfying and gentle. Treating materials kindly extends their story.
Small Ways to Make It Your Own
- Invite a limited palette: choose two to three colors or textures and stick with them.
This keeps the work calm and focused. - Use a small found object as a center point, like a sliver of sea glass.
Let it anchor the design and build gently outward. - Try adding thin strips of recycled iridescent film for a prismatic edge.
Tuck the strips into the warm sheet so they sit flush with the surface. - Make mini sets that hang from a single ring for a group display.
The collection will feel cohesive and slow to the eye. - Keep a tiny journal of what you include in each piece.
Note where you found the materials and the day you made it.
The journal becomes part of the memory of making.
These ideas come from quiet experiments at my kitchen table. I learned that limiting options invites deeper attention. When I reduce choices, I notice textures more and make calmer decisions.
FAQs About Sustainable Suncatchers That Glow in the Sunlight:
Q: Will these suncatchers melt if I hang them in strong sun all day?
A: Most bioplastic and thin recycled plastic will handle indoor sun safely.
Keep pieces away from direct car interiors or very hot windows where temperatures spike.
If you feel the piece getting too soft, move it to a cooler spot.
Q: Are the shimmer powders safe to use around children?
A: Choose biodegradable or cosmetic-grade mica when possible.
Keep fine powders out of reach of small children and avoid inhaling them.
Apply powders with a soft brush rather than shaking them to reduce dust.
Q: Can I make these outside without a kitchen stove?
A: Yes. You can warm thin recycled plastics gently with warm water or a hairdryer in an outdoor, shaded area.
If you use a heat source, work on a stable surface and protect your hands.
Avoid open flames and keep materials steady.
Q: How long will the glow or shimmer last?
A: Pearlescent and mica effects last well, especially if sealed under a thin clear layer.
Natural inclusions like petals may fade over months but can create soft, layered beauty as they change.
Treat this work as a living object rather than a permanent monument.
Q: Is bioplastic really eco-friendly?
A: Bioplastic made from cornstarch can biodegrade in certain conditions, but outcomes vary by composting systems.
I recommend checking local rules and using bioplastic as part of a mindful practice rather than assuming complete compostability.
For deeper context, the guide on nature’s window art and bioplastic techniques shares helpful details about materials and their life cycle.
A Quiet Closing Thought
Making a suncatcher is a small, generous act. You take modest pieces and arrange them with care. You wait. You watch the sun choose how to speak through them. The process invites a soft focus, a gentle breathing in of light and texture. Your hands learn a patient cadence and your space gains a tiny, moving jewel.
If you choose to make one today, let the project be your companion rather than a task. Notice the cool of the mat, the whisper of dried petals, and the slow solidifying of the film. Keep your choices simple. Let the suncatcher be a small lamp of slow attention in your life.
Conclusion
If you want to see handcrafted pieces that inspire color and calm, the collection from Sun Glowz Hand Crafted Sun Catchers shows many ways suncatchers catch and scatter light beautifully.
For an alternate process and more on making bioplastic suncatchers at home, the detailed tutorial at DIY Bioplastic Suncatchers: Eco-Friendly Art That Shines Bright! offers a clear, stepwise approach and thoughtful notes on materials.
PrintSustainable Suncatchers That Glow in the Sunlight

A calming craft project that teaches you to make beautiful suncatchers using bioplastic and natural inclusions.
- Prep Time: 15 minutes
- Cook Time: 30 minutes
- Total Time: 45 minutes
- Yield: 4 suncatchers
- Category: Craft
- Method: Crafting
- Cuisine: Eco-Friendly
- Diet: Vegetarian
Ingredients
- Cornstarch
- Water
- Glycerin (optional)
- Thin recycled clear plastic sheets
- Dried flowers
- Pressed leaves
- Tiny seeds
- Small feathers (optional)
- Mica powder or biodegradable shimmer powder
- Small glass beads or recycled bead fragments (optional)
- Heat-safe silicone mat or parchment paper
- Small saucepan and heatproof bowl
- Cookie cutters or small silicone molds
- Fine sandpaper (optional)
- Twine, thin cork, driftwood, or brass ring
- Scissors and small tweezers
- Shallow tray or flat surface
- Timer or watch
Instructions
- Prepare your workspace so it feels calm and clear.
- Keep a towel and water nearby.
- Lay the silicone mat or parchment on the table.
- Choose your inclusions and arrange them on the mat.
- Mix the bioplastic base if you use it.
- Warm the mixture slowly in a double boiler.
- Pour or spread the warm mixture onto the mat.
- Arrange dried flowers, mica, and beads on the warm surface.
- For defined shapes, press a cookie cutter into the warm sheet.
- If you use recycled plastic sheets, cut your shapes first.
- Allow each piece to cool in a quiet spot.
- Trim rough edges with scissors or fine sandpaper.
- Add a small hole for hanging with a heated skewer or punch.
- Thread twine or a brass ring through the hole.
- Test how the piece catches light by moving it toward the sun.
- If you want more glow, dust a tiny bit of mica or shimmer powder on top.
- Clean your workspace and store spare materials in labeled jars.
Notes
Suncatchers can be made using a variety of recycled materials and can be stored flat to prevent bending.