

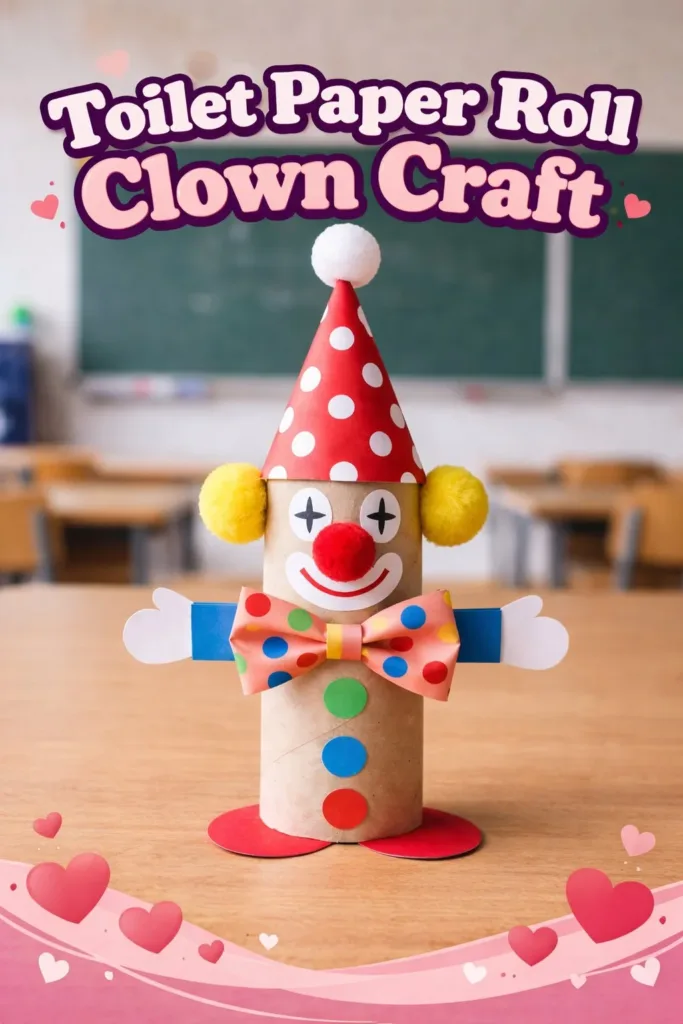
I breathe in the quiet of my craft corner, fingers warm from the cup of tea beside me, and I feel the thin papery curl of a recycled toilet paper tube under my thumb. The soft scratch of scissors on cardboard, the gentle weight of a tiny wooden bead, the bright, small smile I imagine for a clown all bring me back to the present. This Toilet Paper Roll Clown Craft invites a slow cadence: cut, fold, paint, and pause to enjoy the texture and the small victories along the way.
If you like projects that feel like a soft, steady rhythm, you might also enjoy making simple paper hearts that catch the light in the window from one of our earlier crafts.
The Quiet Joy of Making Toilet Paper Roll Clown Craft
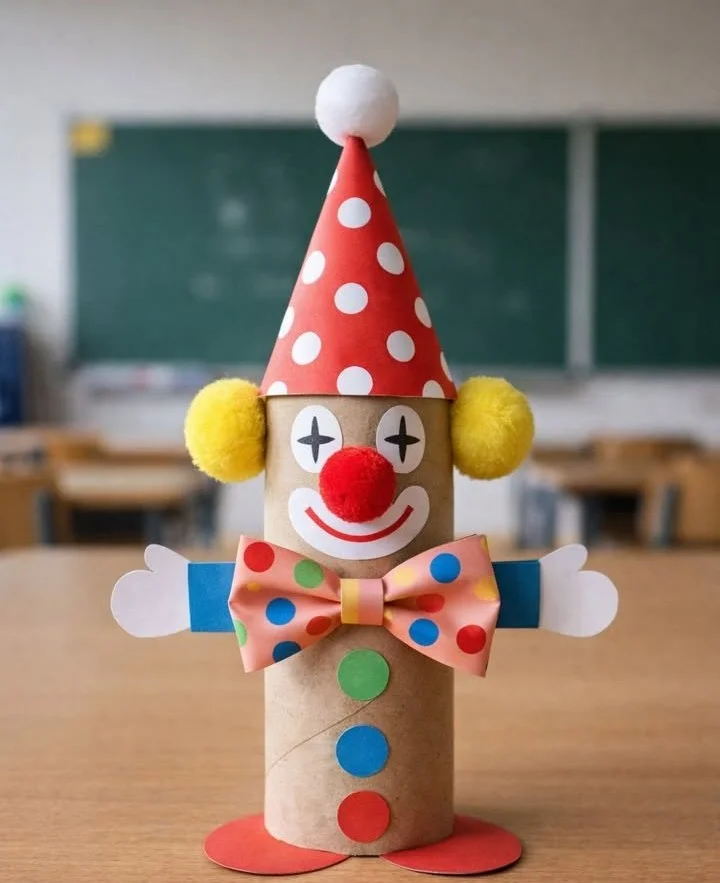
This craft sits somewhere between play and meditation. You work with familiar, friendly materials and a tiny canvas that welcomes marks and imperfections. The card tube feels smooth and hollow in your hands, and when you wrap a paper ruffle or glue on a felt nose, you notice small textures and sounds that calm the mind. The process asks you to move slowly and intentionally. You trim, pinch, and press with care and then step back to see a face emerge from simple shapes.
Making this clown can soften a busy day. The colors you choose can be warm and muted or bright and cheerful, depending on how you want to feel. If you prefer a softer palette, try pastel paints and cotton for the hair. If you seek a spark of joy, opt for bold reds and a frilly paper collar. Both make a lovely object to rest on a shelf or a small companion for storytelling by lamp light. If you like experimenting with recycled paper projects, you may find ideas that pair well with this project in a different cozy project on the site.
How This DIY Comes Together
Take a moment to imagine the rhythm before you begin. First you shape the cardboard so it becomes a gentle cylinder with a face. Then you add hair and costume in layers, feeling the difference between crisp crepe paper and soft felt. You listen for the quiet click of buttons, the whisper of glue drying, and the soft brush marks as paint settles. These small sensory details help you slow down.
You will move between sitting and leaning, between careful snipping and relaxed holding. The steps flow in a simple order: shape, paint, accessorize, and finish. Each stage offers a tiny decision, like choosing a nose or deciding whether the clown will have a painted smile or sewn thread. You can make several at once and enjoy the subtle variations as each clown develops its own personality. For ideas on tactile additions, consider how homemade suncatchers catch and diffuse light in another hands-on project.
Materials You’ll Need
- Empty toilet paper roll or paper towel roll cut to size (easy to find and recycle)
- Acrylic paints or tempera paints (works quickly and dries to a stable finish)
- Small paintbrushes, including a thin detail brush
- Glue stick and white craft glue (glue stick for paper, craft glue for heavier items)
- Scissors with a comfortable grip (safety scissors for children)
- Colored construction paper and crepe paper (for collars and hats)
- Felt scraps (soft for hair or a hat trim; optional)
- Pom pom or wooden bead for a nose (small, tactile focal point)
- Buttons, sequins, or small beads (optional decorations)
- Elastic or thin ribbon (to hang the clown gently)
- Pencil and eraser for light sketching
- Fine permanent marker or thin pen for facial details
- A scrap of cardboard for a base or hat brim (optional)
- Clear varnish or Mod Podge (optional, for a protective finish)
- A small tray or bowl to keep tiny pieces together (helps keep the rhythm calm)
Step-by-Step Directions
- Prepare your workspace.
Keep a cloth, a cup of water, and a tray for bits nearby.
Lay out the cardboard tube and breathe for a moment before starting. - Trim the tube to the height you prefer.
Use smooth, even snips and feel the tube’s edge under your fingertips.
If you make several, vary the heights for a small family of clowns. - Sketch a gentle face outline.
Lightly draw where eyes, nose, and mouth will sit.
Keep lines soft so you can change them as you paint. - Paint the base color.
Use slow, even strokes and let each coat dry.
Notice the paint sheen shifting as it dries and smooth the surface with the brush. - Add facial features with a fine brush or marker.
Paint small eyes and a simple smile, or try a stitched look with thread.
The eyes act as anchors; take care to place them evenly. - Attach a nose.
Glue a pom pom or wooden bead in the center.
Press gently and hold until the glue feels set. - Create hair from crepe paper or felt.
Cut strips and twist or fluff them to find a playful texture.
Glue in small sections so the hair looks full and lively. - Make a collar or ruffle from paper.
Fold a strip of crepe paper into a simple ruffle or cut a scalloped circle.
Glue it around the tube base for a cozy, tactile collar that invites touch. - Add a hat or embellishments.
Use a small cardboard circle for a brim and a cone of paper for a hat.
Decorate with sequins, thread, or a tiny ribbon bow. - Secure a base if needed.
Glue the tube to a cardboard disk to make the clown stand.
Press firmly and let it sit undisturbed until fully dry. - Seal and finish.
If you want extra durability, brush a thin layer of varnish or Mod Podge.
Work slowly and keep the surface smooth, feeling the brush move. - Add a hanging ribbon if desired.
Tie a loop at the back under the hat with thin elastic.
This step gives you the option to suspend the clown from a shelf or a light fixture. - Pause and personalize.
Step back and decide on one small extra detail: a painted freckle, a tiny bell, or a sewn stitch.
These small choices make the piece feel uniquely yours and complete.
Throughout this process I often set a small timer for five minutes between steps. The short pause lets glue settle and gives my hands a tiny rest. I learned to fold small pieces of scrap paper first to test color and proportion before committing to glue. That small habit keeps the making calm and reduces the urge to fix things later. If you enjoy tactile worry tools, you might like pairing this project with a slow, small stone crafting session that I wrote about elsewhere.
Enjoying the Finished Piece
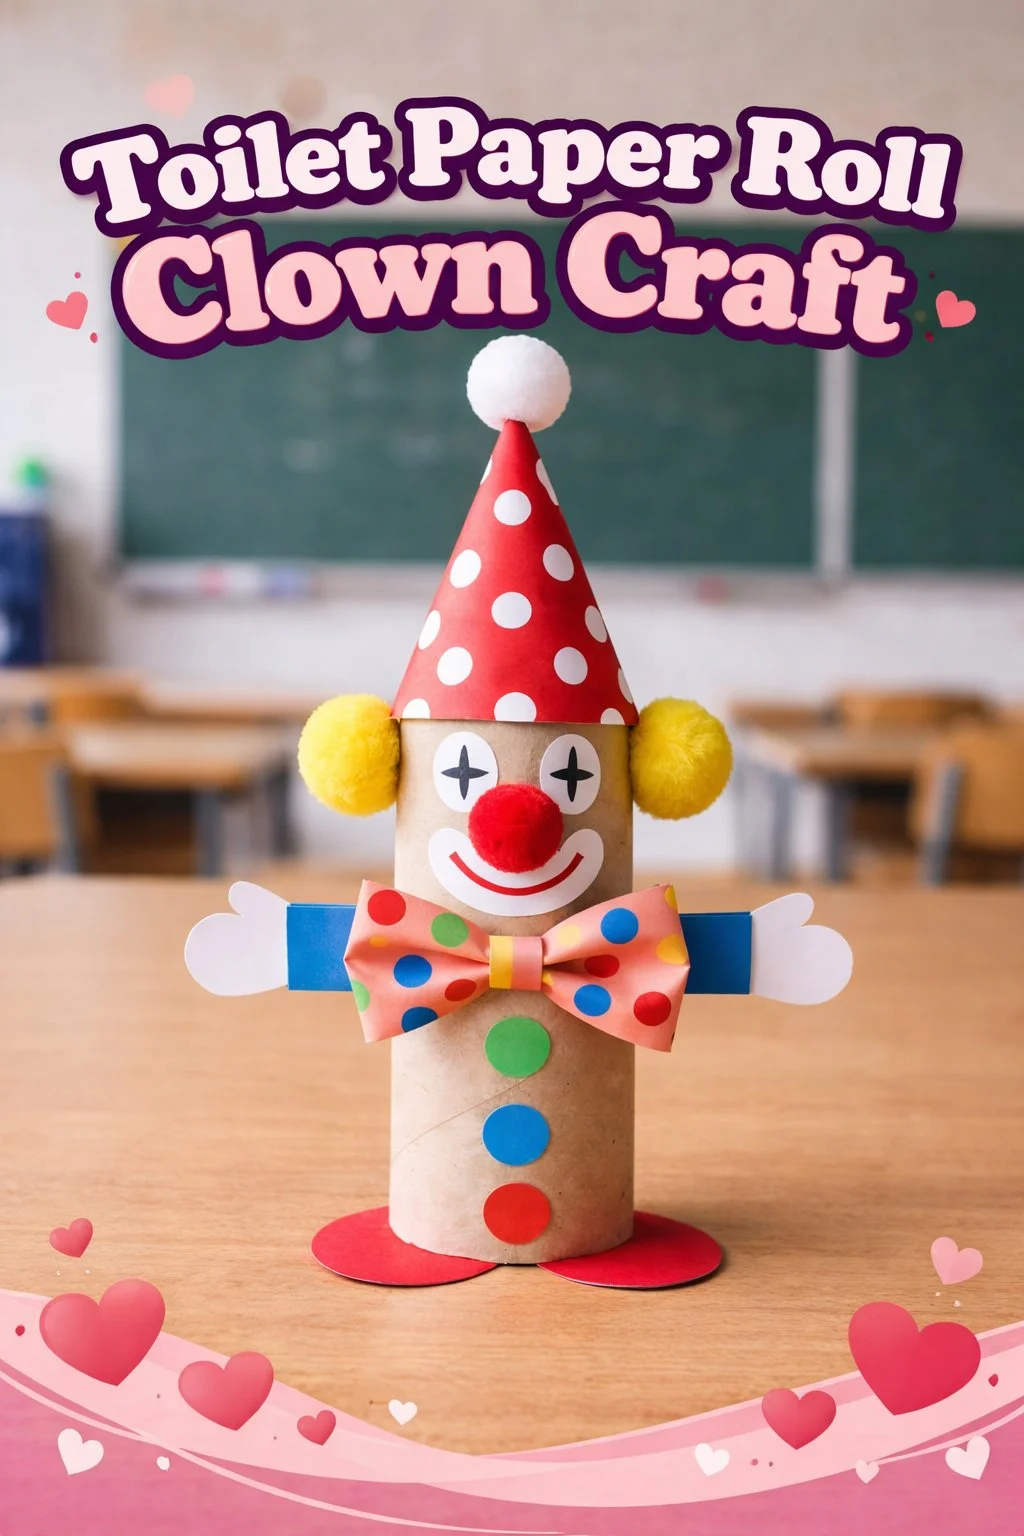
When the clown stands finished, take a moment to notice its presence. Place it where light will catch the painted features or where its small shadow can stretch across a shelf. The clown can become a gentle sentinel on a bedside table, a playful friend on a mantel, or a soft figure to tuck into a plant pot for an unexpected smile.
I like to keep one on my work table as a reminder to slow down. When I glance at it, I remember the sound of the scissors and the warmth of glue between my fingers. If you made several clowns, arrange them in a tiny scene and let them look at one another. They can prompt quiet storytelling or become a rotation of seasonal faces: richer colors in autumn, pastel shades in spring.
If you make a version intended to hang, let it sway with air currents near a window. The movement feels gentle and alive. If you add a small bell or bead, the sound will be soft and brief when the clown nudges a breeze. Allow these small sensory moments to anchor you. They turn a small object into a lived companion and bring warmth to an ordinary corner.
How to Store or Reuse Toilet Paper Roll Clown Craft
Storing these little clowns feels simple. Slip them into a shallow box lined with tissue paper and label the outside so you can open the box and choose slowly. Keep heavier objects away to avoid crushing delicate paper collars. If you want to reuse parts, remove glued bits gently with a fingernail or the tip of a butter knife; paper and felt often separate with patient coaxing.
Recycle and repurpose with care. A clown that no longer brings joy can lend its hat to another craft, or you can cut it back into pieces for collage. If you store them for a season, place a small silica pack or a folded sheet of newspaper to guard against humidity. Avoid extreme heat, which can warp glued joints. For children’s versions, use fabric glue and stronger attachments and check them occasionally for loose parts to ensure safety.
When I store seasonal clowns, I tuck a tiny note inside the box with the date and a short memory about making them. Those little reflections make the next unboxing feel like a small reunion. The objects age with us and carry gentle traces of the days we took to make them.
Gentle Tips & Variations
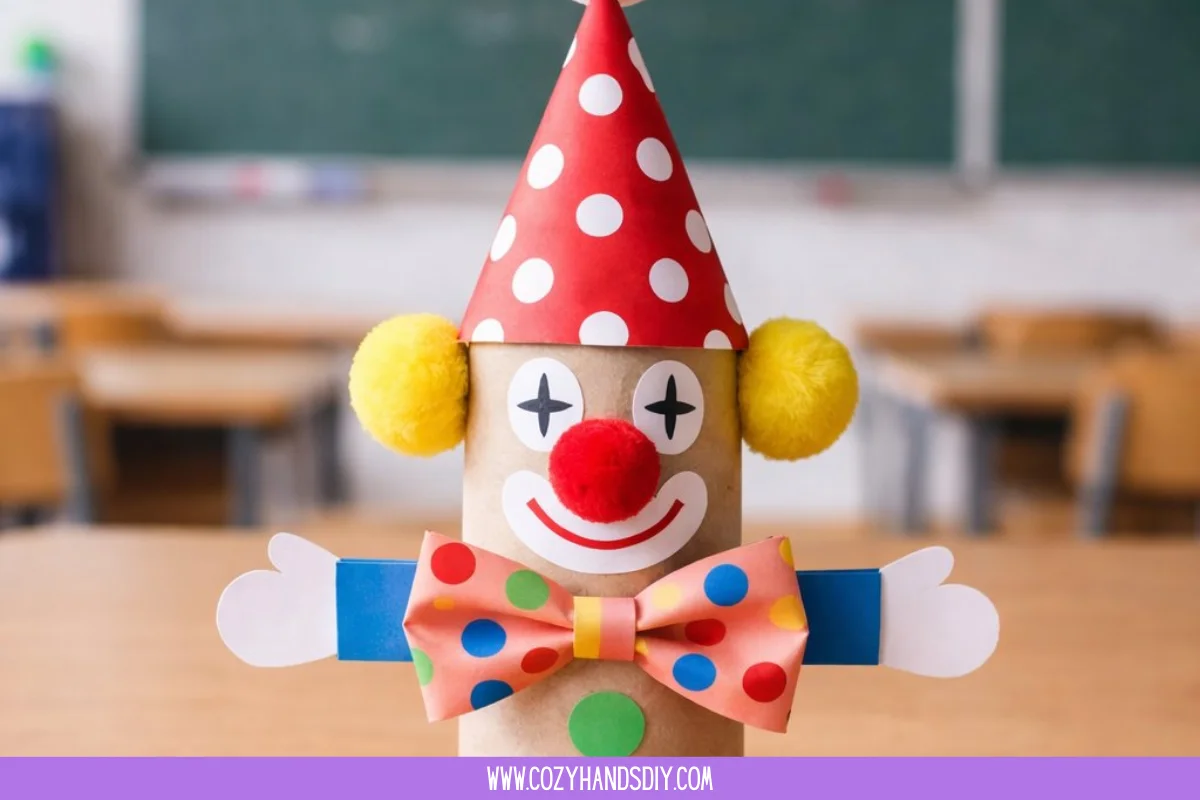
- Simplify for little hands.
Cut pre-made shapes and let children glue and paint. Use larger pom poms or buttons for noses to keep things safe and easy. This invites play without pressure. - Try different faces and moods.
Paint sleepy eyes, surprised brows, or a laughing mouth. Each expression changes the energy of the piece and teaches subtle storytelling through small marks. - Use natural materials.
Swap felt for wool scraps or replace sequins with tiny pressed flowers for an organic look. Natural fibers soften the touch and add seasonal scent when stored with dried lavender. - Make a family of clowns.
Vary heights, colors, and collars to create a small community. Place them in a line on a windowsill where the light will shift across their faces throughout the day. - Add texture with stitching.
If you sew, hand-stitch a mouth or hair onto felt. The tiny running stitches create a tactile detail that invites closer touch and slow, mindful work.
These ideas remain invitations rather than requirements. I gently suggest trying one small variation each time you make a new clown. This keeps the process fresh and helps you develop your own quiet traditions.
FAQs About Toilet Paper Roll Clown Craft
Will the paint bleed through the cardboard?
If you use watered-down paint, it may soften the tube. Use a light hand and let each coat dry fully before adding another. A thin coat of white craft glue or gesso first can help the paint sit evenly.
Is this safe for young children?
Yes, with supervision and small adjustments. Use non-toxic glue and larger decorative elements for toddlers. Keep scissors and small beads out of reach for young children and use child-safe scissors when possible.
How long will a finished clown last?
A well-made clown can last for years if you store it gently and avoid moisture and direct sunlight. Seal with a clear varnish for extra protection, but know that varnish changes the tactile feel slightly.
Can I make this project without paints?
Definitely. Collage with colored paper, felt, and markers for faces. Paper layers create rich texture without wet media, and they dry immediately so you can finish in one sitting.
How do I fix a part that came loose?
Reattach with a small dab of craft glue and hold or clamp lightly until set. For stubborn spots, a tiny strip of tape inside will provide reinforcement without altering the look.
A Quiet Closing Thought
I invite you to approach this Toilet Paper Roll Clown Craft with gentle curiosity. Let the process be a series of small gestures: a careful cut, a considered color, a soft brushstroke. The result does not need to be perfect; it needs to be made. Keep your hands slow and kind, and remember that the act of making itself offers its own quiet company.
Conclusion
If you would like a different pattern or step illustration, this simple clown puppet pattern gives clear photos and extra ideas for puppet play in a printable format Clown Puppet Toilet Paper Roll Craft – Moms and Crafters. For more inspiration on upcycling paper tubes into heartfelt projects, explore a helpful collection of recycled tube crafts that spark gentle creativity Recycled Toilet Paper Roll Crafts Archives – Creative Jewish Mom.
PrintToilet Paper Roll Clown Craft
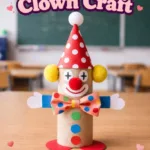
A creative and calming craft project that transforms simple materials into whimsical clown figures.
- Prep Time: 10 minutes
- Cook Time: 30 minutes
- Total Time: 40 minutes
- Yield: 1 clown
- Category: Craft
- Method: Crafting
- Diet: N/A
Ingredients
- Empty toilet paper roll or paper towel roll cut to size
- Acrylic paints or tempera paints
- Small paintbrushes
- Glue stick and white craft glue
- Scissors
- Colored construction paper and crepe paper
- Felt scraps
- Pom pom or wooden bead for a nose
- Buttons, sequins, or small beads for decoration
- Elastic or thin ribbon
- Pencil and eraser
- Fine permanent marker or thin pen
- A scrap of cardboard for a base or hat brim
- Clear varnish or Mod Podge (optional)
- A small tray or bowl
Instructions
- Prepare your workspace and gather materials.
- Trim the tube to your preferred height.
- Sketch a gentle face outline on the tube.
- Paint the base color of the clown.
- Add facial features with a fine brush or marker.
- Attach a pom pom or wooden bead for the nose.
- Create hair from crepe paper or felt.
- Make a collar from paper and glue it around the tube base.
- Add a hat or embellishments.
- Secure a base if needed by gluing the tube to cardboard.
- Seal and finish with varnish or Mod Podge if desired.
- Add a hanging ribbon if desired.
- Personalize with an extra detail at the end.
Notes
Keep all materials accessible and embrace the slow process for a mindful crafting experience.