

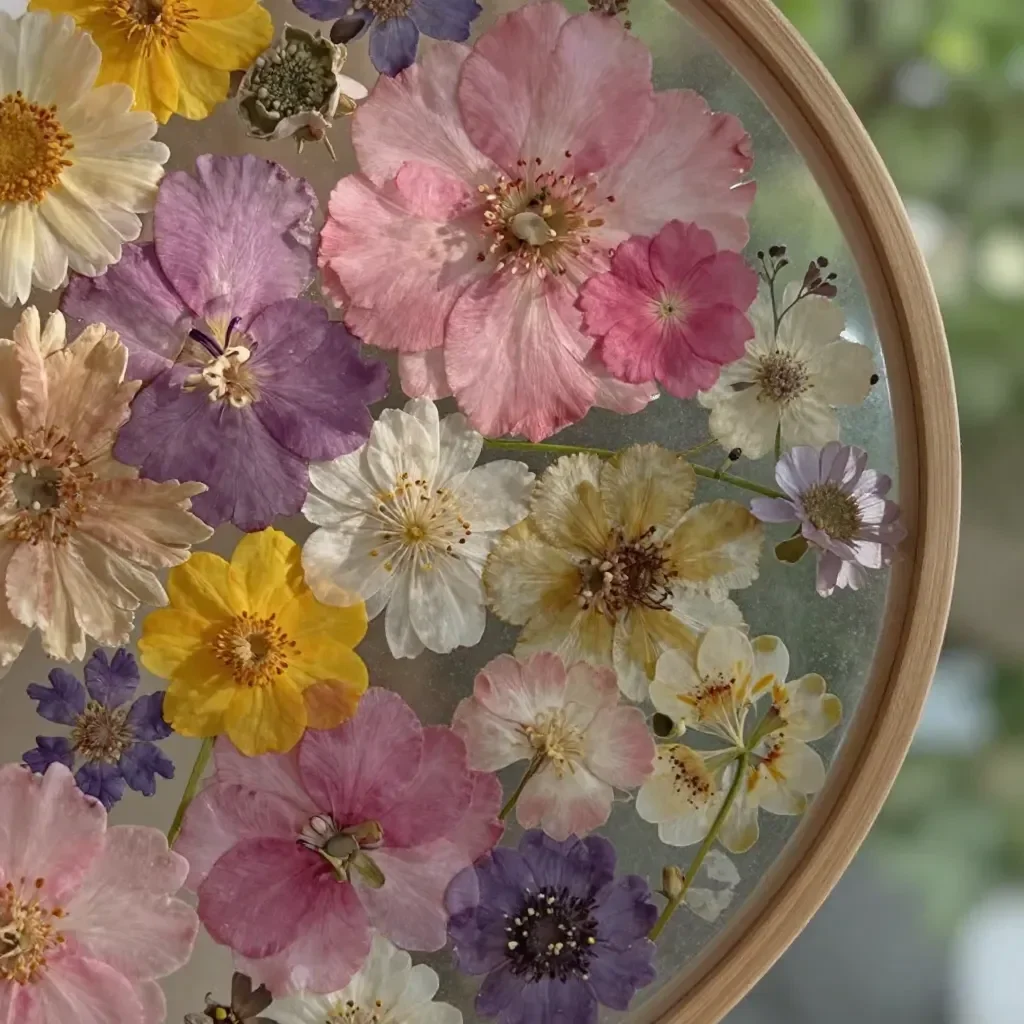
The afternoon light spills through the window, casting soft shadows as you settle into your crafting space. With gentle movements, you gather the materials for your Wedding Flower Suncatcher, ready to create something that captures not just beauty, but also cherished memories. Each element evokes textures and scents, signaling a joyful return to simpler times in your life. This project is a calming exploration of creativity, transforming dried wedding flowers into a radiant display that dances with the changing light. You may also find Bioplastic Suncatchers Natural Flowers Recipe useful.
The Heart Behind This DIY
Creating a Wedding Flower Suncatcher offers more than a pretty decoration; it invites you to slow down and appreciate the small details of your journey. As you handle the petals, their delicate nature whispers stories of love and celebration. This act of making becomes a meditation, allowing you to focus on the tactile sensation of each flower and the soft sound of supplies coming together. This project encourages mindfulness, transforming your working space into a sanctuary filled with warmth. Not only will you produce a unique piece of art, but you’ll also embrace the tranquility that comes with crafting something from the heart. For additional inspiration, check out these beautiful bioplastic suncatchers which celebrate nature’s blooms.
A Gentle Look at the Process
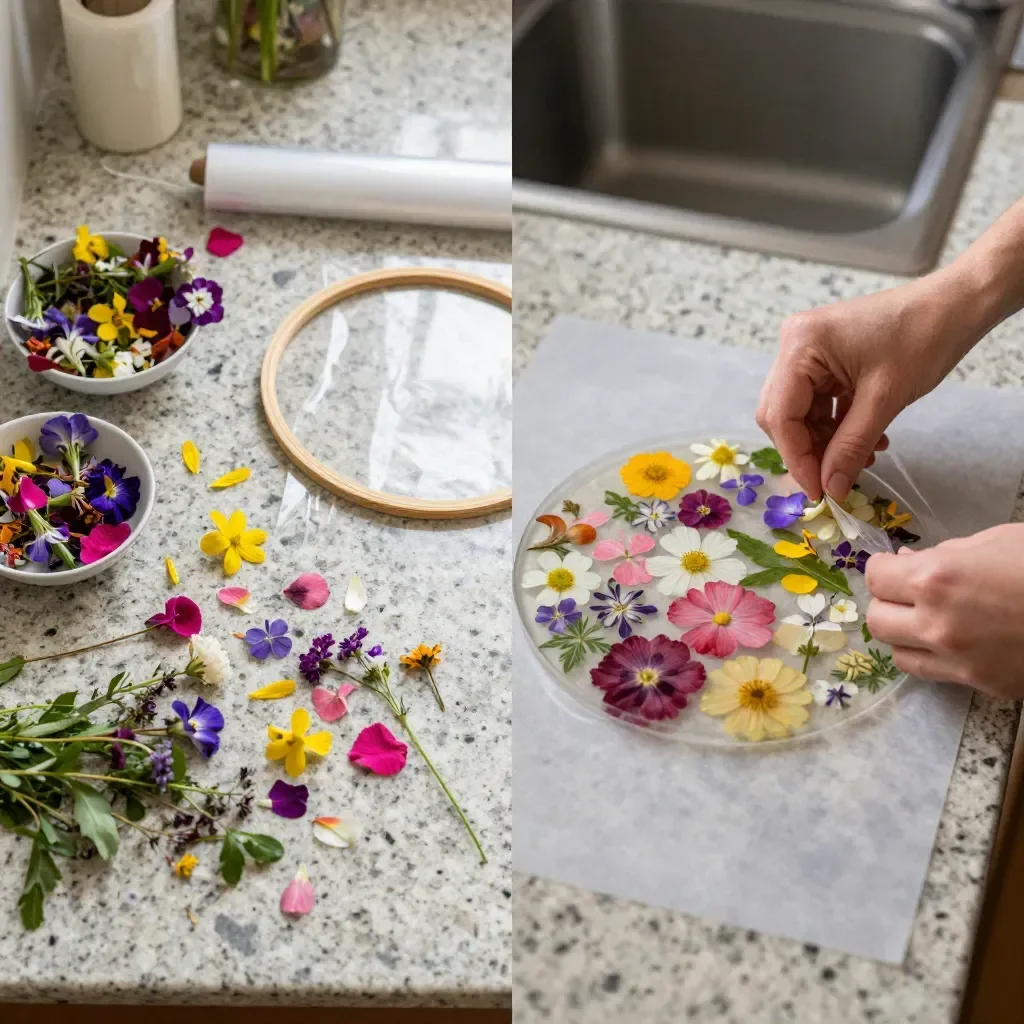
Before diving into the materials, let’s take a moment to enjoy the rhythm of creation. Imagine starting with a clean, quiet workspace, where the only sound you hear is the rustle of flowers and the soothing motion of your hands. As you prepare to assemble your suncatcher, focus on the visuals the vibrant colors of the dried flowers against the smooth backdrop of clear glue, creating a stunning contrast. The movement of applying glue, mixing ingredients, and placing each flower will guide your senses, making the experience rich and fulfilling. You may also find Clear Glue Flower Suncatchers Cozy useful.
Materials You’ll Need
Gathering your materials is part of the enjoyable process. Here’s what you will need: You may also find Cozy Melted Crayon Flower Suncatchers Transform useful.
- Dried flowers (from your wedding or any other memorable blooms)
- Clear glue or resin (look for options that dry transparent)
- A shallow tray or mold (to shape your suncatcher)
- Wax paper (to avoid sticking)
- Scissors (for trimming)
- A small stick or stirring tool (for mixing)
Having everything at hand makes the process smooth and allows you to immerse yourself fully in the joyful experience of crafting.
Step-by-Step Directions
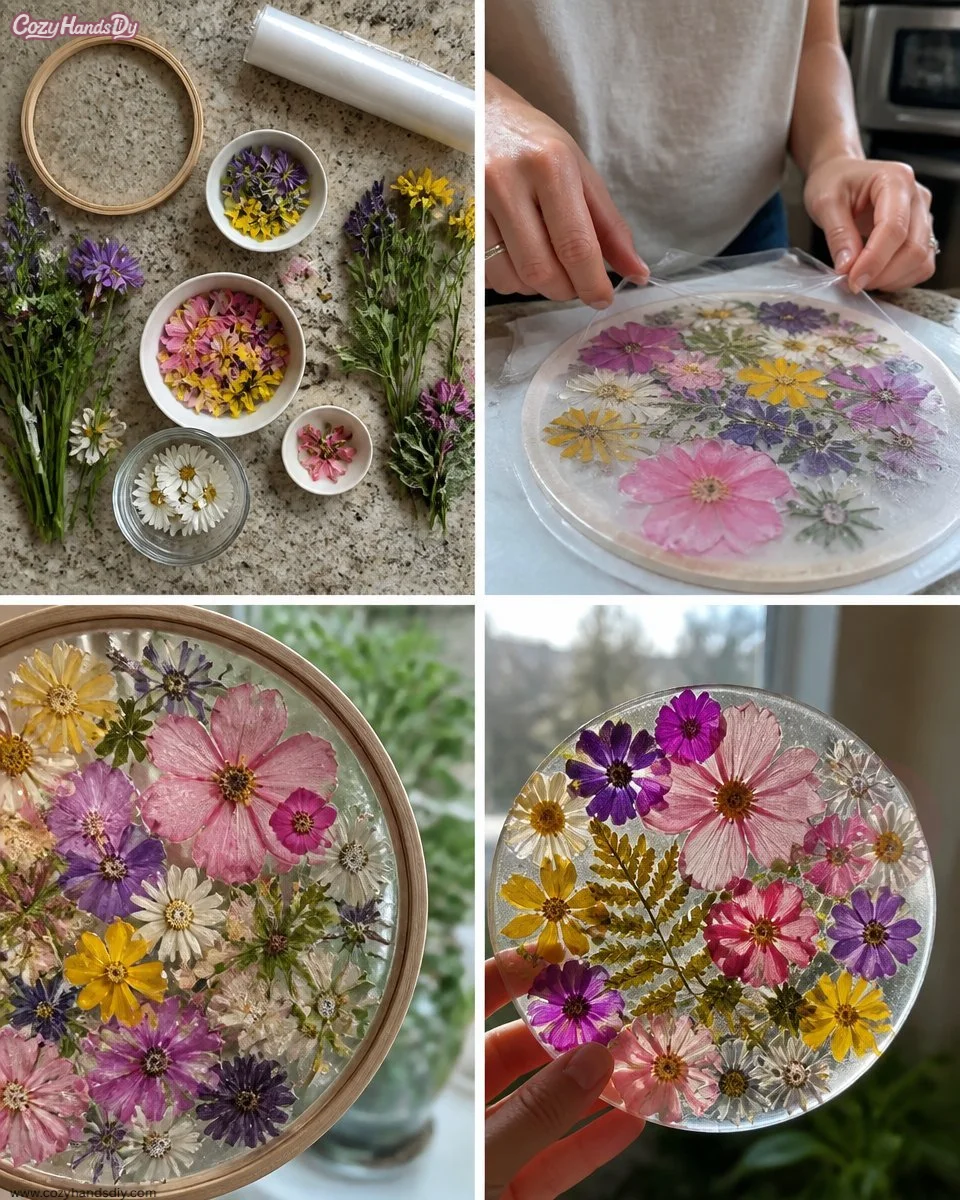
- Prepare your workspace: Lay down a clean sheet of wax paper to protect your surface.
- Mix the glue: In a bowl, combine your clear glue with a small amount of water to achieve a pourable consistency.
- Arrange the flowers: Begin placing your dried wedding flowers into the mold. Move them around until you find a pleasing layout.
- Pour the mix: Carefully pour the glue mixture over the flowers, ensuring they are fully submerged.
- Smooth out any bubbles: Use your stick to gently move around the flowers and release any air bubbles.
- Let it cure: Leave your suncatcher to cure in a warm, dry place for at least 24 hours, or until completely set.
- Remove from mold: Once cured, gently peel away the wax paper and remove your suncatcher from the mold.
- Display your creation: Choose a sunny spot to hang your suncatcher so it can catch the light beautifully.
Enjoying the Finished Piece
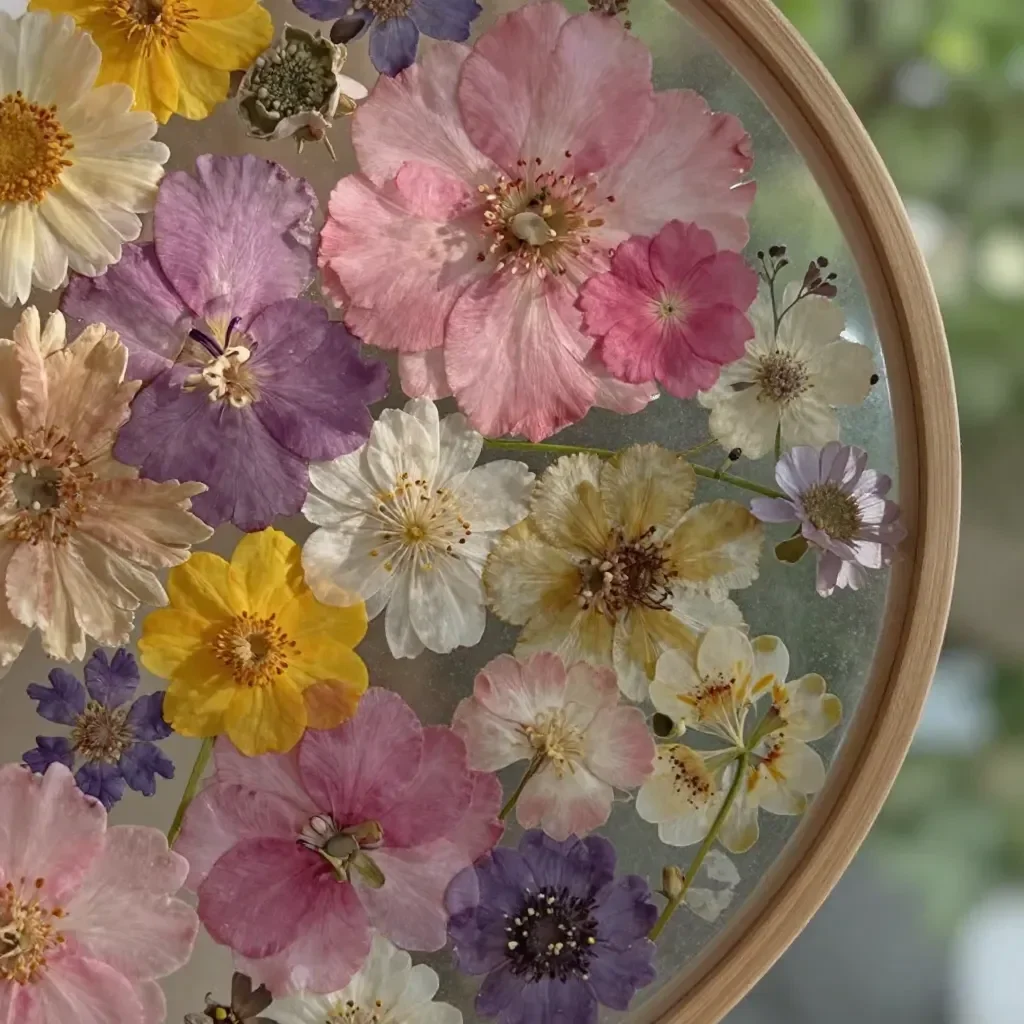
Once your Wedding Flower Suncatcher is complete, it’s time to reflect on its beauty. Each time sunlight filters through it, the colors of the flowers dance around your space, creating an atmosphere reminiscent of your special day. The suncatcher serves as a gentle reminder of cherished moments, filling your home with warmth and love. It can be displayed in a window, where it catches light, or found hanging in a peaceful corner of your home, infusing your space with elegance.
Caring for Your Finished DIY
To keep your suncatcher looking vibrant, store it in a safe place away from direct heat or moisture. When dust collects, use a soft, dry cloth to gently wipe it clean, ensuring it remains a cherished decor piece for years to come. If you ever want to change its location, be careful when handling it, as the beauty of your dried flowers could be fragile.
Gentle Tips & Variations
- Experiment with colors: Use flowers in different shades to match your home decor or seasonal themes there’s beauty in the variety.
- Layer textures: Combine flat flowers with petals that have a more three-dimensional form, such as dried roses, to create depth.
- Add personal elements: Include small trinkets or messages hidden between the flowers to make it even more personal.
- Try different shapes: Use various molds to create suncatchers of different shapes like hearts or stars for unique designs.
FAQs About Wedding Flower Suncatcher
What types of flowers work best for this project?
Dried flowers that hold their shape and color well are ideal, such as roses, lavender, and daisies.
Can I use fresh flowers instead?
Fresh flowers can work, but they must be dried properly beforehand to ensure they retain their beauty in your suncatcher.
How long do these suncatchers last?
With proper care, a Wedding Flower Suncatcher can last for many years, allowing you to enjoy the memories it encapsulates.
Conclusion
Crafting a Wedding Flower Suncatcher offers more than a decorative piece; it serves as a sentimental reminder of love and joy. As you create, you weave tranquility into your daily routine. For those inspired by flower suncatchers, consider checking out unique options available on Amazon or explore artisan pieces from Etsy that add a reflective charm to your space. Embrace the process, let your creativity flow, and enjoy the radiant gift you create.
PrintWedding Flower Suncatcher
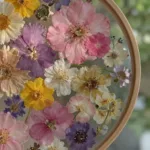
Create a beautiful Wedding Flower Suncatcher to capture cherished memories and bring light into your home.
- Prep Time: 15 minutes
- Cook Time: 0 minutes
- Total Time: 1455 minutes
- Yield: 1 suncatcher
- Category: Crafts
- Method: Crafting
Ingredients
- Dried flowers (from your wedding or any other memorable blooms)
- Clear glue or resin (look for options that dry transparent)
- A shallow tray or mold (to shape your suncatcher)
- Wax paper (to avoid sticking)
- Scissors (for trimming)
- A small stick or stirring tool (for mixing)
Instructions
- Prepare your workspace: Lay down a clean sheet of wax paper to protect your surface.
- Mix the glue: In a bowl, combine your clear glue with a small amount of water to achieve a pourable consistency.
- Arrange the flowers: Begin placing your dried wedding flowers into the mold. Move them around until you find a pleasing layout.
- Pour the mix: Carefully pour the glue mixture over the flowers, ensuring they are fully submerged.
- Smooth out any bubbles: Use your stick to gently move around the flowers and release any air bubbles.
- Let it cure: Leave your suncatcher to cure in a warm, dry place for at least 1440 minutes, or until completely set.
- Remove from mold: Once cured, gently peel away the wax paper and remove your suncatcher from the mold.
- Display your creation: Choose a sunny spot to hang your suncatcher so it can catch the light beautifully.
Notes
Store away from direct heat or moisture and clean gently with a soft cloth.