

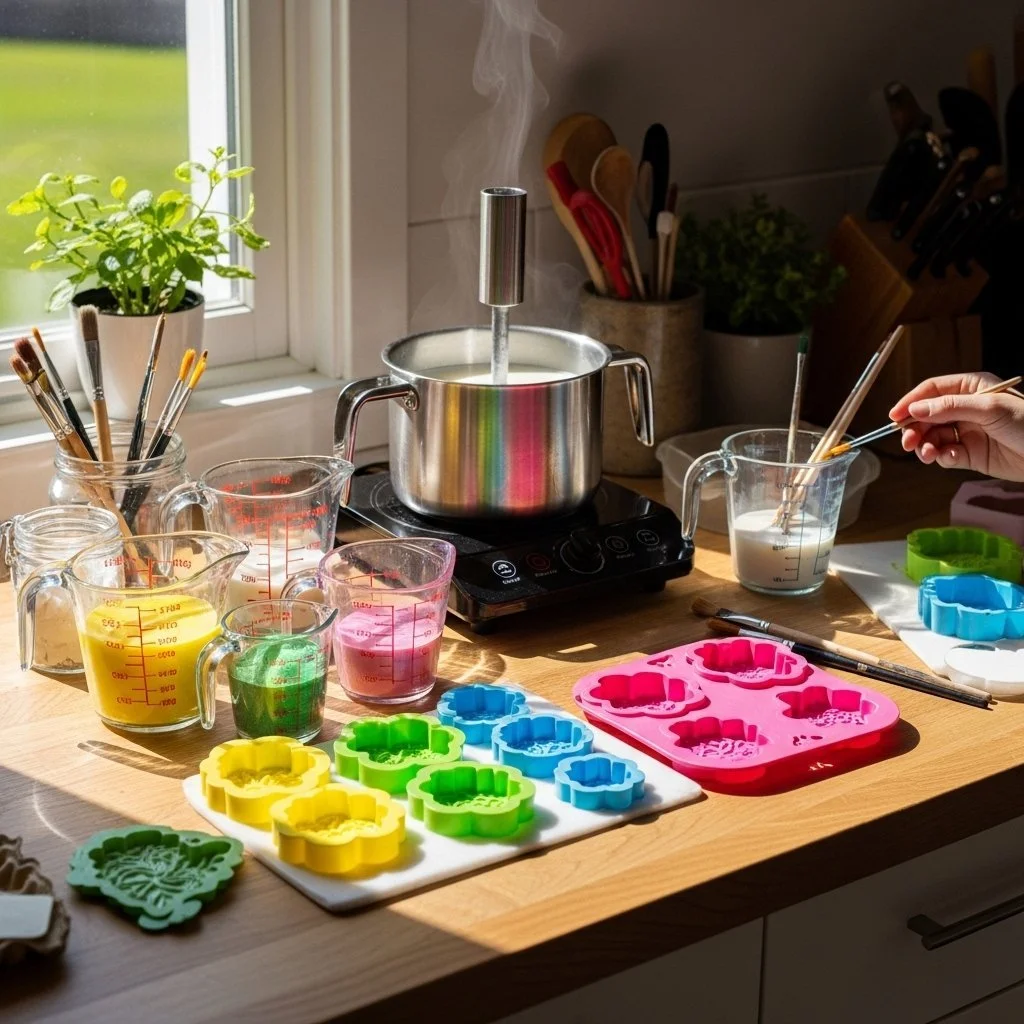
A thin, warm slice of sunlight settles on my work table, catching the raised edge of a translucent shape I made this morning. The piece feels smooth and a little springy between my fingertips as it swings on its cord. Vibrant Eco-Friendly Bioplastic Suncatchers sit in the light like small windows of color, and their gentle weight and soft glow remind me to breathe, slow my hands, and notice the moment.
The Quiet Joy of Making Vibrant Eco-Friendly Bioplastic Suncatchers
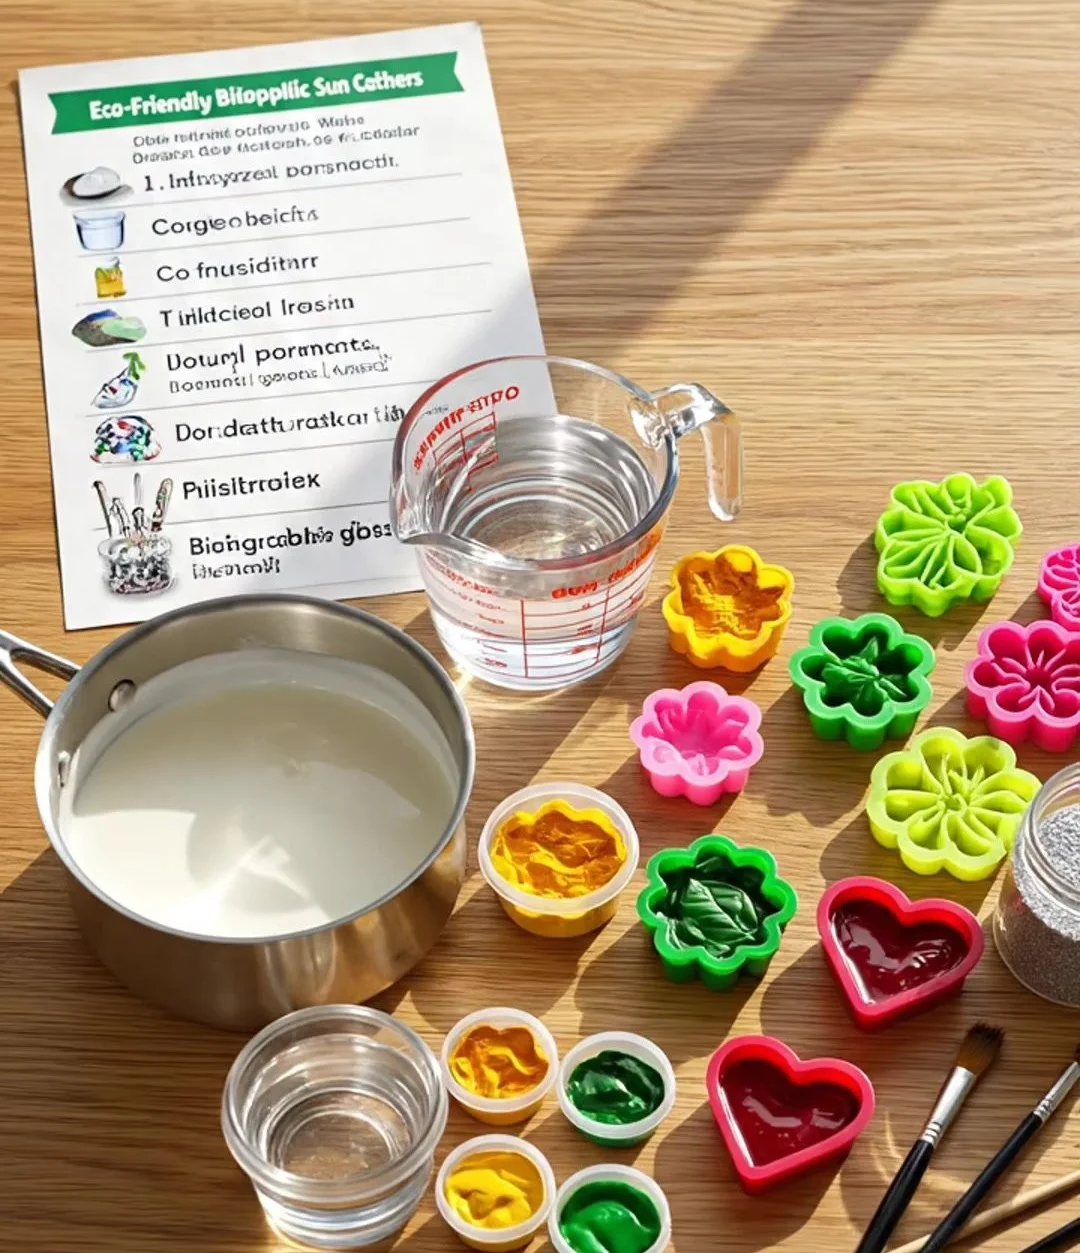
Making these suncatchers invites a slow attention that feels like a tiny kindness. When you press the warm, pliable bioplastic into a mold or pat subtle specks of pigment down with a fingertip, the craft rewards soft focus. The materials sing in small ways: a faint, comforting scent of cooked starch, the slight crackle when thin edges cool, the hush of a tool passing over a smooth surface.
This project helps you slow down because it depends on touch and timing more than speed. You learn to feel for the right thickness, listen for the quiet cooling sound, and watch how sunlight changes color through a sheet as it dries. The result looks bright in the window and carries the memory of slow, careful making. If you want the basic recipe and an overview to compare notes, you can visit my gentle project page to see what a simple batch looks like in the light: this project page.
Why this feels reassuring ties to small, lived moments. I have cooked a few batches on rainy afternoons, stirring slowly and setting pieces on a sunlit sill. Each finished suncatcher keeps the warmth of those hours inside its translucent body. They make ordinary light feel intentional and give a daily reminder that small, handmade things carry quiet care.
A Gentle Look at the Process
Before we collect a single item, it helps to imagine the rhythm. You will warm a simple mix until it becomes a glossy, gel-like batter. You will pour or spread it, press in colors or tiny dried flowers, and let the surface settle. The movement stays mindful: a slow stir, a steady pour, a soft pat. The sound stays minimal: soft bubbling as the mix heats, the low clink of glass, the whisper of paper as pieces dry.
You will also do a little waiting. Patience matters here, not as a test but as a comforting pause. As the pieces cool they change texture and color. Watching that change teaches you how heat, thinness, and pigment influence the final brightness and translucence. If you enjoy exploring small variations, you can read more about how different ingredients affect clarity and flexibility in a short materials note I keep for easy reference: learn more about the simple science behind bioplastic.
The whole process fits a quiet afternoon: you work in short beats, set the pieces to dry, return with a cup of tea, and watch the light shift. It gives room for a few small meditative pauses without rushing.
Materials You’ll Need
- Tapioca starch or cornstarch (easy to find; tapioca gives slightly clearer pieces)
- White vinegar (small amount; helps the mix set)
- Glycerin (optional; adds a little flexibility)
- Water (clean, room temperature)
- Natural food coloring or diluted acrylic ink (optional; use small amounts)
- Small silicone molds or cookie cutters (simple shapes work well)
- Nonstick baking paper or silicone mat (to protect the surface)
- A small saucepan and heatproof spatula (stirring gently matters)
- A glass measuring cup or bowl for pouring (helps with control)
- Wooden cocktail sticks or a small paintbrush for patterns (optional)
- Thin string, fishing line, or twine for hanging
- A small hole punch or a sharp skewer to make hanging holes after drying
- Dried flowers, glitter, or small pressed leaves (optional; press thin items flat)
- Sandpaper (fine grit) for smoothing edges if needed (optional)
You can substitute cornstarch for tapioca in a pinch. If you prefer a completely plant-based approach, skip glycerin; your pieces will be firmer. For color, start gentle. A little pigment goes a long way and keeps the light bright rather than muddy. For more color recipes and alternatives, you can explore my note on mixing vibrant and muted hues: color recipes and alternatives.
Step-by-Step Directions
Gather your tools and line a tray with nonstick baking paper. Keep everything within reach and take a breath before you begin.
- Arrange your molds and any tiny decorations nearby.
- Working calmly keeps the pour steady.
Measure 2 tablespoons of tapioca starch into the saucepan and add 3 tablespoons of water.
- Stir gently with a spatula until the mix looks smooth and free of lumps.
- The mix starts as a milky liquid; focus on the soft sound of stirring.
Add 1 teaspoon of white vinegar and 1 teaspoon of glycerin if you use it.
- These liquids help the bioplastic set with a bit of gentle give.
- Keep stirring slowly to combine.
Heat the pan on low to medium-low heat and stir continuously.
- The mixture will thicken slowly and then become glossy.
- When it pulls away from the sides in a lumpy, translucent mass, remove it from heat.
Transfer the hot mixture to a heatproof glass measuring cup or bowl for easier handling.
- Let it rest for a minute so it cools just enough to touch without burning.
- If you add color, mix a tiny pinch into the cup and stir until even.
Pour or spoon the bioplastic into molds or spread it on the baking paper.
- Keep the layer thin for delicate translucence; thicker layers take longer to dry.
- Smooth the surface with the back of a spoon or a small spatula in long, calm strokes.
Place any pressed flowers, glitter, or tiny bits on the surface and press them gently.
- Use a wooden stick to nudge items into place; the touch should be light, almost weightless.
- Avoid overcrowding so the light can shine through each element.
Let the pieces cool and dry at room temperature on a flat surface.
- Drying can take several hours to a day depending on thickness and humidity.
- You can rotate the tray once if drying seems uneven.
When fully dry, peel the pieces from the paper. If edges feel sharp, sand them lightly with fine-grit sandpaper.
- Smooth edges make the piece feel gentle in your hand.
- Use a small skewer to make a hole near the edge for a thread.
Thread each suncatcher with twine or fishing line and tie a small knot.
- Hang them near windows where morning or late afternoon light is soft.
- If you like, group several together to create a small mobile that moves with a breeze.
If you want more pattern ideas and tips for achieving consistent thickness or drying times, I keep a small set of notes that help when you make multiple batches: more pattern ideas and drying tips.
Bringing Vibrant Eco-Friendly Bioplastic Suncatchers Into Your Space
These suncatchers feel at home in quiet corners. They look lovely hung in a small window above a sink, where the morning light passes through colors as you rinse a cup. They also work well in a child’s reading nook, fluttering gently as someone turns a page. The color and translucence change through the day, so a single piece offers small daily surprises.
You might string three on a single cord and hang them from a curtain rod, or suspend one by the door to greet you with color when you come home. A cluster of small shapes over a bedside table gives soft reflections on the wall when the late sun filters in. If you like, place a few on a shallow tray with a small candle nearby for a calm, reflected glow at dusk. The pieces do not need elaborate displays to feel meaningful; a single suncatcher can transform plain light into a little ceremony.
When you gift a suncatcher, include a short note about the making moment, like “Made on a rainy afternoon” or “For soft morning light.” That small story deepens the quiet value of the object and connects maker and receiver.
Keeping It for Later
Store finished suncatchers flat and separate them with soft tissue or uncoated paper to avoid scratching surfaces.
- Keep them in a cool, dry place away from direct heat or prolonged strong sunlight, which can slowly fade some pigments.
- If you live in a humid climate, a small silica packet in the storage box helps prevent softening over time.
For pieces you plan to reuse in another project, keep them flat until they fully harden. Thicker pieces can bend slightly when warm and return to shape as they cool. If a piece cracks, you can gently sand the edge and use a tiny loop of thread to hang it as a partial ornament rather than repair it with adhesives. Part of the charm of these suncatchers is their handmade imperfection, so treat small marks as the story of the piece.
If you make lots, label boxes with the month and a note about color mixes so you can match pieces later. Proper care keeps them lovely for years, and the memories of the making session stay clear when you bring a piece back into the light.
Gentle Tips & Variations
- Invite texture: Press a small piece of lace, a leaf vein, or a piece of pressed fabric into the surface before it fully sets to create soft patterning. This invites touch and softens the light.
- Try layering: Pour a thin base layer, let it partially set, then add another thin layer with a different color or embedded bit. This creates depth and surprise when light passes through.
- Use natural pigments: Beet juice, turmeric water, or spinach tea give subtle, earthy hues. The colors tend to be softer but hold an organic charm.
- Make a set: Tie several small shapes on a single wooden dowel to create a tiny mobile. Place it where a draft will gently turn the pieces so the light plays quietly across the room.
- Keep a simple notebook: Jot down proportions, color ratios, or how long a batch took to dry that day. Small notes help you repeat a result you love without guessing.
Treat these as invitations. Each suggestion aims to open a new gentle path rather than demand a particular outcome. Explore one at a time and notice the small differences.
FAQs About Vibrant Eco-Friendly Bioplastic Suncatchers
Are these suncatchers safe for children to help make?
Yes. Simple batches use kitchen-safe ingredients like starch, vinegar, and water. Keep young children supervised near heat. Older children can mix, pour, and decorate with guidance. Use child-safe pigments and avoid sharp tools.
How long do the suncatchers take to dry?
Drying time depends on thickness, humidity, and air flow. Thin pieces can finish in a few hours; thicker pieces may take a full day or longer. A warm, dry room speeds drying. Patience rewards clarity and smoothness.
Will the colors fade over time?
Natural pigments fade more quickly in strong, direct sunlight. Synthetic food coloring or diluted acrylic inks hold color longer. Store pieces out of intense sun when not on display to preserve vibrancy.
Can I make very large suncatchers?
You can, but larger pieces need more careful drying to avoid curling or uneven setting. Keep the thickness consistent and dry on a perfectly flat surface. Consider making large pieces in sections and joining them gently with a small overlap.
What if my piece becomes brittle or cracks?
Small cracks sometimes happen when pieces dry too quickly or unevenly. Gentle sanding can smooth edges. For brittle results, try adding a small amount of glycerin next time to increase flexibility.
A Quiet Closing Thought
When you make a suncatcher, you slow time in the most ordinary way: by paying attention. The simple balance of warm mix, slow stirring, and steady hands offers a rhythm that soothes. Each finished piece carries the memory of those quiet minutes, a small record of calm that hangs in the window. Let the process be your companion rather than a task. Notice how light changes and how your own breath steadies while you watch.
Conclusion
If you want a slightly different method or another maker’s step-by-step photos, this lovely guide offers clear instructions and variations: DIY Bioplastic Suncatchers: Eco-Friendly Art That Shines Bright!. For a printable pattern set and a focused tutorial you can keep beside your work tray, this PDF tutorial gives simple pages to follow: PDF tutorial and printable patterns for bioplastic suncatchers.
May your hands stay gentle and your light feel kinder for the tiny colors you make.
PrintVibrant Eco-Friendly Bioplastic Suncatchers
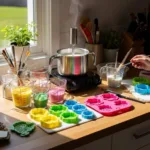
Create beautiful, translucent suncatchers using a simple bioplastic formula that invites mindfulness and creativity.
- Prep Time: 15 minutes
- Cook Time: 30 minutes
- Total Time: 45 minutes
- Yield: 4-6 suncatchers
- Category: Craft
- Method: Crafting
- Cuisine: Eco-Friendly
- Diet: N/A
Ingredients
- 2 tablespoons tapioca starch
- 3 tablespoons water
- 1 teaspoon white vinegar
- 1 teaspoon glycerin (optional)
- Natural food coloring or diluted acrylic ink (optional)
- Dried flowers, glitter, or small pressed leaves (optional)
- Nonstick baking paper or silicone mat
- Small silicone molds or cookie cutters
- A small saucepan and heatproof spatula
- A glass measuring cup or bowl for pouring
- Wooden cocktail sticks or a small paintbrush (optional)
- Thin string, fishing line, or twine for hanging
- A small hole punch or a sharp skewer
Instructions
- Gather your tools and line a tray with nonstick baking paper.
- Measure 2 tablespoons of tapioca starch and 3 tablespoons of water into a saucepan.
- Stir the mixture gently until smooth and free of lumps.
- Add 1 teaspoon of white vinegar and 1 teaspoon of glycerin if using.
- Heat the pan on low to medium-low heat, stirring continuously until the mixture thickens and becomes glossy.
- Transfer the hot mixture to a heatproof glass measuring cup or bowl.
- Pour or spoon the bioplastic into molds or spread on baking paper.
- Press any dried flowers, glitter, or decorations into the surface.
- Let the pieces cool and dry at room temperature on a flat surface.
- When fully dry, peel the pieces from the paper and sand edges if needed.
- Thread each suncatcher with twine or fishing line and hang them near a window.
Notes
For color, use small amounts of pigment to keep the light bright. Store finished suncatchers flat to avoid damage.