

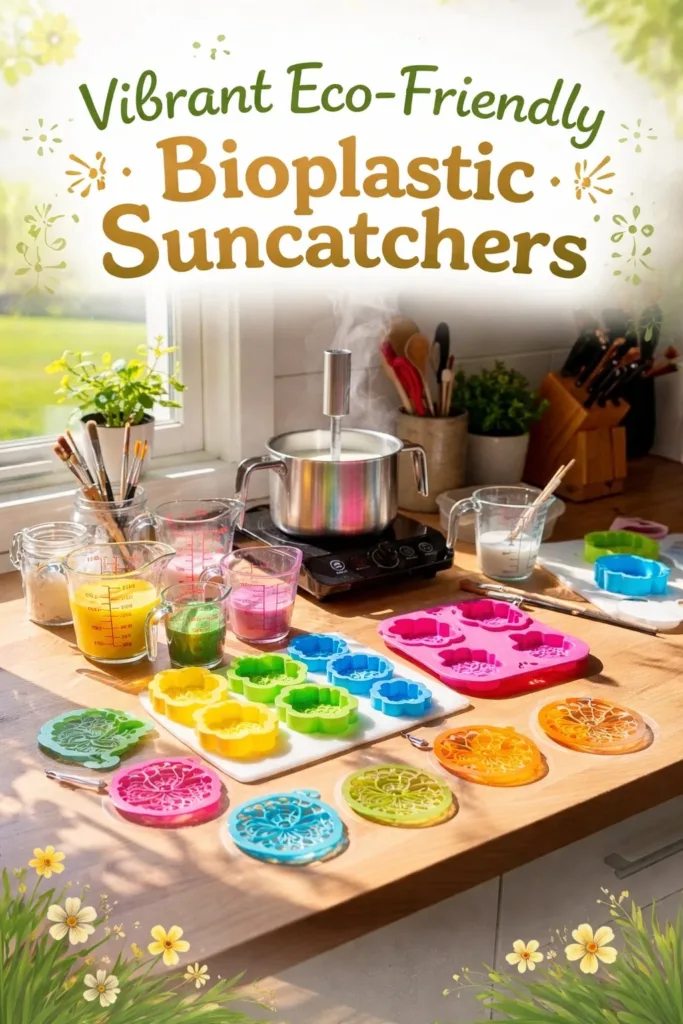
A thin sheet of color catches the light as I set it on the windowsill. I press my fingertips to the warm, slightly textured edge and feel the faint give of something made by hand. The sun holds the color like a small jewel. This is the quiet moment I return to when I make Vibrant Eco-Friendly Bioplastic Suncatchers, when sound softens and my hands tune to simple movements.
If you want a gentle project that fills the home with light and calm, you might enjoy this gentle recipe and the slow, sensory work that goes with it. For a short walkthrough on the basics, I often return to my own guide about eco suncatchers as a starting note, because a calm reference helps me settle into the process: basic eco suncatchers guide.
The Quiet Joy of Making Vibrant Eco-Friendly Bioplastic Suncatchers
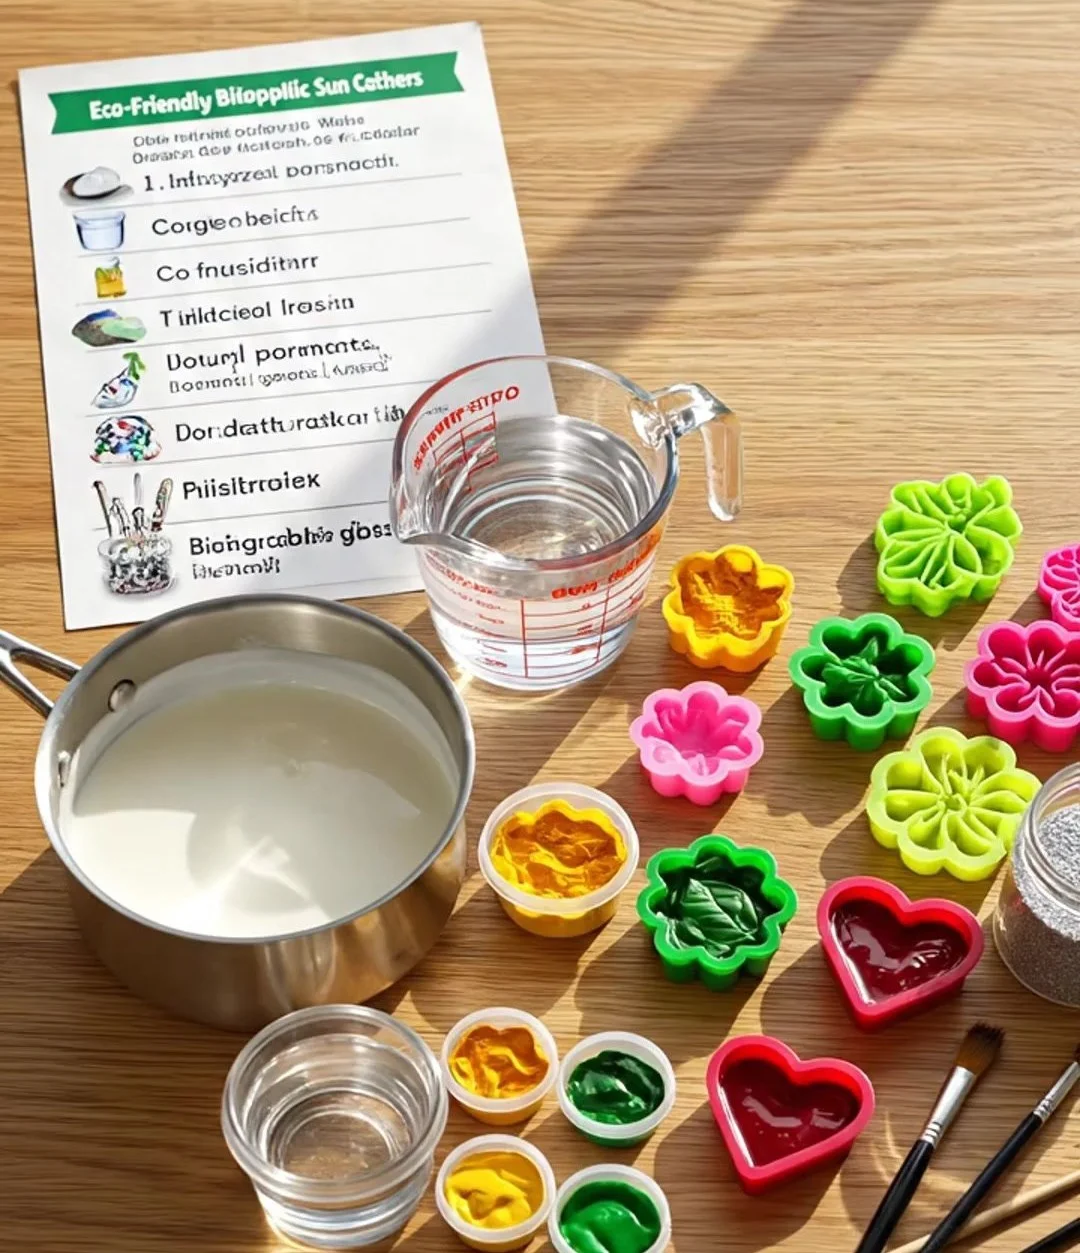
This project quietly invites you to slow down. Mixing, pouring, and watching color bloom in a warm tray becomes a small ritual. The scent is faintly warm and neutral, the sound a soft simmer. As the bioplastic cools, it tightens into a sheet that offers gentle resistance when you lift it. That tactile moment, when a cooled piece flexes between thumb and finger, carries a satisfying, grounding hum.
Vibrant Eco-Friendly Bioplastic Suncatchers give you a way to bring a calm focus to a simple craft. You choose the colors, the shapes, and the light that will pass through them. The work asks only patience and a small attention to texture and temperature. For some, the act of pouring a thin ribbon of colored mix into a tray feels like painting with water, except this painting becomes a durable, translucent object.
Making with household, plant-based materials adds another softness to the experience. Knowing that the base material comes from simple pantry items gives the work a gentle trustworthiness. You can breathe more easily while you make. Over the years, I have made many sheets, each with a slightly different edge, a different density of color, and each becomes a quiet window into that making moment. If you want a broader look at the gentle science behind these materials and how others have used them, this write-up steps through the basics with clear photos: bioplastic basics and photos.
A Gentle Look at the Process
Before you begin, picture the soft arc of movement you will use. You will stir a warm mixture until it thickens, then let the heat settle into a bowl. You will add color in drops, watching the pigment spread slowly across a shiny surface. You will hold a spoon steady, guide the mixture into a flat tray, and smooth with deliberate, quiet strokes. The whole flow moves from warm to cool, from liquid to flexible sheet.
There is a measured rhythm to this craft. Stir for a few minutes, watch small bubbles rise and pop, lift the pot and breathe in the faint warmth. Pour slowly and listen to the gentle hiss where liquid meets tray. When the sheets dry, tap them softly and hear the tiny ringing of light movement. These little sensory notes help the mind slow and the hands stay attentive.
The method works because the materials form a simple network as they cool. A natural gelling agent forms a lattice that traps water and added pigments. A plasticizer like glycerin keeps the sheet bendable so it does not become brittle. That combination gives you a translucent, hand-friendly film that survives gentle handling. If you enjoy a step-by-step visual or like to adapt measurements, I sometimes consult a colorful recipe that tests a few different color mixes and ratios: colorful recipe notes.
Materials You’ll Need
- Agar powder or gelatin (plant-based agar is eco-friendlier and sets at room temperature; gelatin works if you prefer a softer sheen)
- Glycerin (keeps the sheets flexible; easy to find at pharmacies)
- Distilled water (helps avoid cloudiness from minerals; optional but helpful)
- White vinegar or lemon juice (small amount helps the mix set and balances pH; optional)
- Food coloring or concentrated liquid watercolor (strong, vibrant pigments work best)
- Small saucepan or nonstick pan (smooth bottom helps even heating)
- Measuring spoons and a small scale (for calm, precise work)
- Silicone trays or smooth baking trays lined with silicone baking mats (nonstick surface makes removal gentle)
- Heatproof bowl and a silicone spatula (soft touch on the sheet)
- Small pipettes or droppers (to add color in controlled drops)
- Cookie cutters or small craft punches (for cutting shapes once dry)
- Needle and thin thread or small suction-cup hooks (for hanging)
- Paper towels and a small drying rack (for tidy, slow drying)
- Kitchen thermometer (helpful, not required; watch visual cues instead)
- Oven mitts and a towel (safety and warmth control)
I like to set everything out before I heat anything. There is a calm confidence that comes with a tidy workspace. If you use agar, your tray will cool faster and set without refrigeration in many climates. If you choose gelatin, the sheet develops a silky surface that feels slightly softer. Both options yield bright, lightweight pieces for the windowsill. For more on shapes and patterns I often return to a helpful page with extra design ideas: extra shapes and patterns.
- Heat the water and agar or gelatin in a small saucepan. Stir gently until the powder dissolves and the mixture becomes clear, warm, and slightly thick. Keep the heat low and steady so the mix does not scorch.
- Remove the pan from heat and add a small splash of vinegar or lemon juice. Stir in a measured amount of glycerin. It is the softening agent that keeps the final sheet flexible.
- Let the mixture cool briefly until it is warm rather than hot. Too-hot liquid can cause color to spread too quickly and smoke the pigment. Warmth helps the color settle slowly.
- Divide the mixture into small bowls if you plan several colors. Add a few drops of food coloring or liquid watercolor to each bowl. Stir with long, slow strokes so the color distributes evenly and you see the exact shade.
- Pour one color at a time into your silicone tray. Pour slowly from near the surface and let the liquid find its own shape. If you like layered color, pour in gentle arcs and stop between layers to allow slight surface tension to form.
- Use a small spoon or spatula to nudge the color into corners or to blend tiny edges. This is where the process feels most like painting; keep your movements calm and deliberate.
- Let the tray sit undisturbed. As the mix cools, you will see the surface go from glossy to slightly matte. Tiny beads of condensation may appear pat them away with a soft towel if needed.
- When the sheet feels mostly set and slightly firm to the touch, gently lift one edge to check flexibility. If it flexes without cracking, the piece is ready to remove. Use both hands and peel slowly.
- Place the fresh sheet on a drying rack or a smooth, clean surface. If you want crisp shapes, immediately press cookie cutters into the still-warm sheet and then remove the excess film.
- Allow the suncatchers to cure for 24 to 48 hours. They will continue to harden and lose surface tack. Keep them in a dust-free spot, away from direct heat.
- If you plan to hang them, make a small hole while the sheet is still slightly warm, or use a hole punch once fully cured. Thread with a thin cotton or silk thread and tie a loose loop.
- Enjoy the soft play of light. If a piece feels sticky, let it rest longer. If it becomes too stiff, a tiny brush of glycerin can restore some flexibility.
Enjoying the Finished Piece
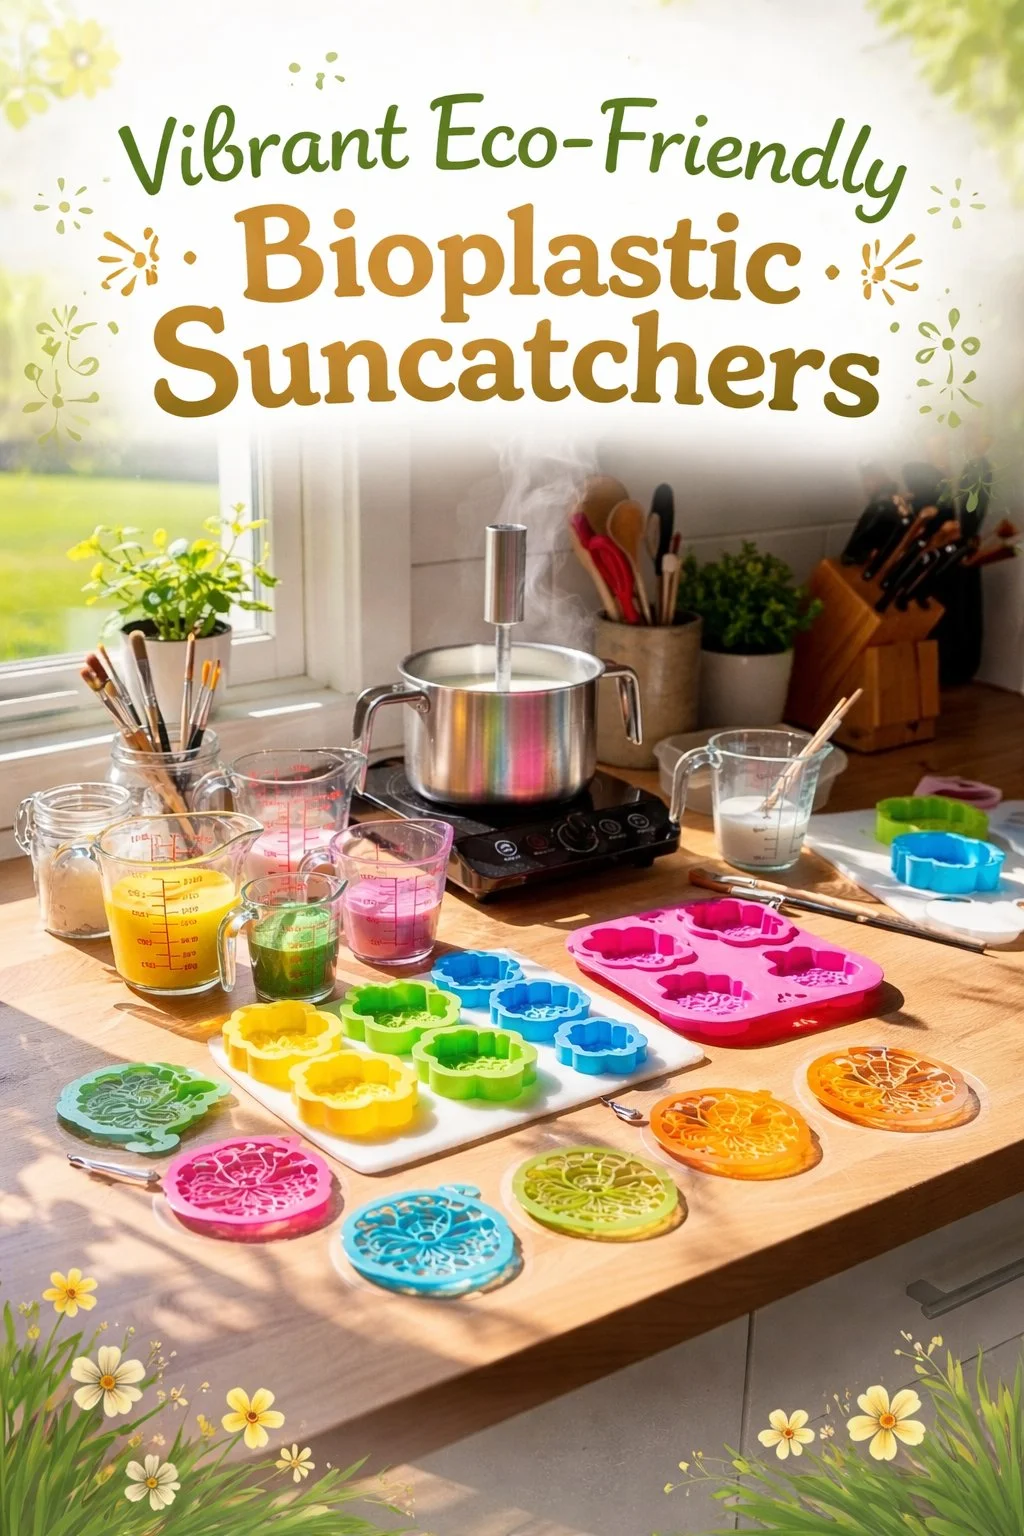
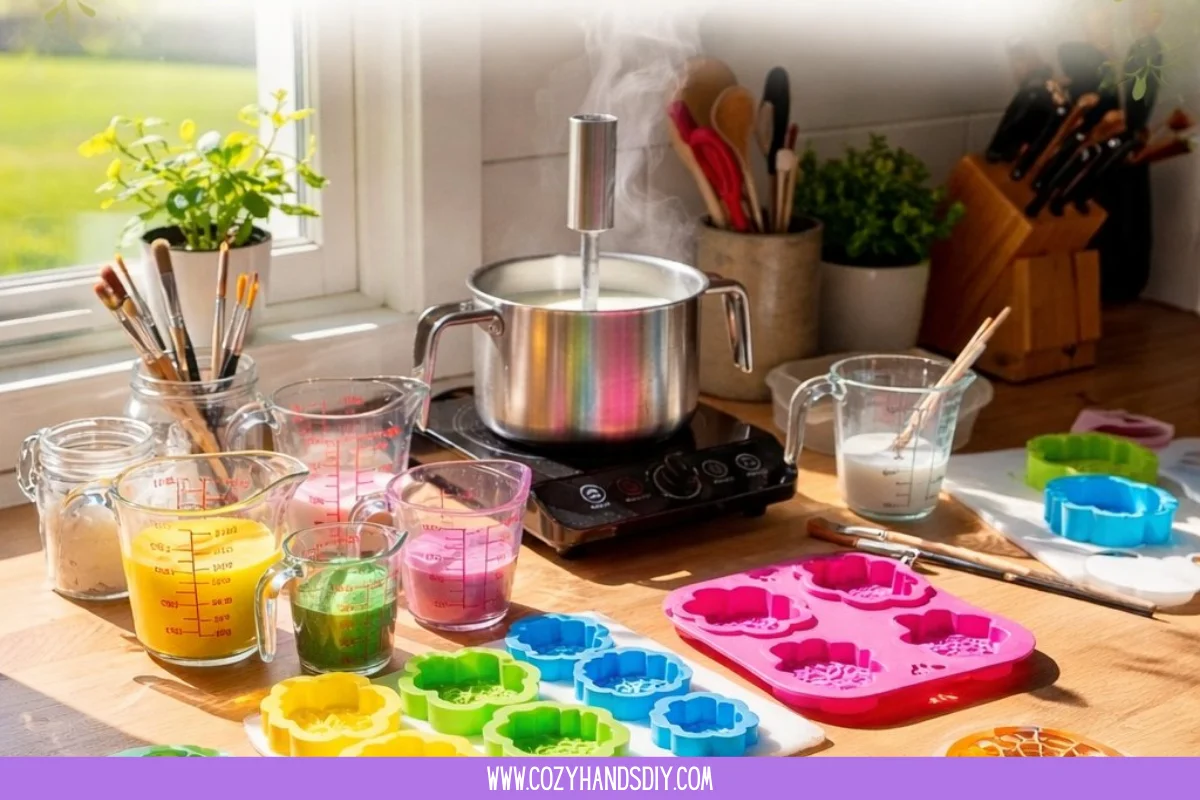
The first sun through a new suncatcher makes a quiet present out of an ordinary morning. Place one in a small window and watch a ribbon of color fall across a table. Hang several at different heights to create a soft cascade of stained glass. The light changes the mood of the objects in the room, and the suncatchers change with the day.
These pieces are great for peaceful spots. I like a small cluster by the kitchen sink, where the slow movement of water and light meet. I also enjoy a single pendant over a bedside table for a calm glow during the hour before sleep. The sheets weigh almost nothing, so even thin suction-cup hooks hold them without strain.
Because the material has slight give, little hands can hold and study the pieces. I have watched a child hold a translucent blue suncatcher up to their cheek and laugh at how their face softened through the color. Those moments remind me that this craft often becomes a soft bridge between quiet play and creative focus.
For display, a simple frame without glass works well. Lay a sheet against the inner edge and let the sun highlight its texture. If you want to switch colors with the seasons, create a small tray of several hues and rotate them slowly. The practice of changing them becomes a mindful ritual of noticing light, season, and mood.
Making This DIY Last
Store your finished suncatchers flat and away from heat. A shallow box lined with tissue paper keeps sheets from sticking together. If you stack many, place a thin sheet of parchment or silicone between each layer. Avoid folding or heavy pressure.
These suncatchers do not like very high heat. Keep them away from radiators and closed cars in summer. If a piece bends slightly, you can gently ease it back into shape at room temperature. For long-term care, a soft brush or a microfiber cloth keeps dust off the surface without scratching.
If you notice tiny clouding or a tacky surface, give the piece a few more days to cure in a cool, dry place. Small repairs are possible. A drop of warmed mixture can seal a split edge, or a touch of clear glue can reinforce a fragile loop. I keep a small repair kit with a measured bit of glycerin and a tiny pipette for such moments.
When thinking about longevity, choose darker colors for pieces that will see direct midday sun. Lighter pigments sometimes fade more quickly. For archival keepsakes, photograph the suncatcher and store the image as part of the memory. That way the feeling of the moment lives on even if the material slowly changes with time.
Gentle Tips & Variations
- Invite texture: Press dried leaves or paper lace into the warm sheet before it fully sets. The impression leaves a soft shadow and a natural motif.
- Tiny inclusions: Add a few flakes of mica or biodegradable glitter for a soft shimmer. Use sparingly to keep the light pure.
- Layered depth: Pour one thin color, let it set slightly, then pour another layer on top to build gentle depth. This layering creates subtle bands of color that read differently as the sun shifts.
- Natural dyes: Try powdered beet, turmeric, or spirulina in very small amounts for muted, earthy tones. These may change slightly as they age; treat them like living pigments.
- Cut and stitch: Cut several small shapes and stitch them together with thin thread for a mobile. The slight motion makes a calm, melodic tinkling when light moves through them.
Each suggestion feels like an invitation rather than a rule. The material responds well to small experiments, and most adjustments will yield a quiet delight. I keep a simple notebook beside my workspace to jot what I try and how the sheet turned out. Those notes make future sessions feel like a friendly conversation with past experiments.
FAQs About Vibrant Eco-Friendly Bioplastic Suncatchers
Are these suncatchers safe around children?
Yes, with care. The materials are non-toxic when made from food-safe ingredients like agar or food-grade gelatin, glycerin, and food coloring. However, the process uses heat. Always supervise children and handle hot liquids yourself. Once fully cured, the sheets are safe to hold, but small parts like threads or hooks may be a choking hazard for very young children.
How long do they last?
With gentle care, a suncatcher can keep its shape for months to years. Exposure to direct, intense sun and heat will change them faster. Store flat, avoid high heat, and give pieces time to fully cure for best longevity.
Can I make them waterproof?
The sheets resist light moisture but are not fully waterproof in the long term. Avoid soaking them. If you need more water resistance, a light coat of a clear, eco-friendly sealant designed for crafts can help, but test a small patch first. Many makers prefer to keep them naturally breathable.
What if my sheet cracks when I lift it?
Cracks usually mean the sheet dried too fast or did not have enough glycerin. A small amount of warm glycerin applied to the crack and smoothed can soften the edge. For future batches, slightly increase the glycerin or let the sheet cool more slowly.
Can I recycle the scraps?
Small scraps can be composted if you used plant-based ingredients like agar or cornstarch. If you used gelatin, check your local composting rules. Otherwise, collect scraps for small repairs or for experiments where you remix the material into new pieces.
A Quiet Closing Thought
Take your time with this work. Each stir, pour, and lift offers a slow, steady rhythm that invites quiet attention. The finished suncatchers return that calm as they catch morning and evening light and reflect the care you gave them. Making them can feel like a small, gentle ceremony you can repeat in many colors.
Conclusion
If you would like a different step-by-step approach with photos and measurements, I find this clear tutorial helpful for visual reference: DIY Bioplastic Suncatchers: Eco-Friendly Art That Shines Bright!. For a printable pattern and a guided PDF that pairs craft with simple science activities, this resource offers a friendly, hands-on guide: DIY Bioplastic Suncatchers PDF Tutorial | Fun Science Craft for Kids.
Thank you for making with calm hands. May your windows glow with soft color and your making remain a quiet, steady joy.
PrintVibrant Eco-Friendly Bioplastic Suncatchers

A calm and gentle project creating colorful bioplastic suncatchers using eco-friendly materials.
- Prep Time: 15 minutes
- Cook Time: 30 minutes
- Total Time: 45 minutes
- Yield: 4 suncatchers
- Category: Craft
- Method: Crafting
- Cuisine: Eco-Friendly
- Diet: Non-Dietary
Ingredients
- Agar powder or gelatin
- Glycerin
- Distilled water
- White vinegar or lemon juice
- Food coloring or concentrated liquid watercolor
- Small saucepan or nonstick pan
- Measuring spoons and a small scale
- Silicone trays or smooth baking trays lined with silicone baking mats
- Heatproof bowl and a silicone spatula
- Small pipettes or droppers
- Cookie cutters or small craft punches
- Needle and thin thread or small suction-cup hooks
- Paper towels and a small drying rack
- Kitchen thermometer
- Oven mitts and a towel
Instructions
- Heat the water and agar or gelatin in a small saucepan. Stir gently until the powder dissolves.
- Remove the pan from heat and add a splash of vinegar or lemon juice, then stir in glycerin.
- Let the mixture cool briefly until warm.
- Divide the mixture into bowls for coloring and add food coloring or watercolor.
- Pour one color at a time into your silicone tray.
- Use a small spoon or spatula to nudge the color into corners.
- Let the tray sit undisturbed until set.
- Gently lift one edge to check flexibility; remove if ready.
- Place the sheet on a drying rack.
- Allow the suncatchers to cure for 24 to 48 hours.
- If needed, make a small hole for hanging while the sheet is warm.
- Enjoy the soft play of light as the suncatchers catch sunlight.
Notes
This project is safe for children with supervision. Avoid direct heat and store suncatchers flat for longevity.