

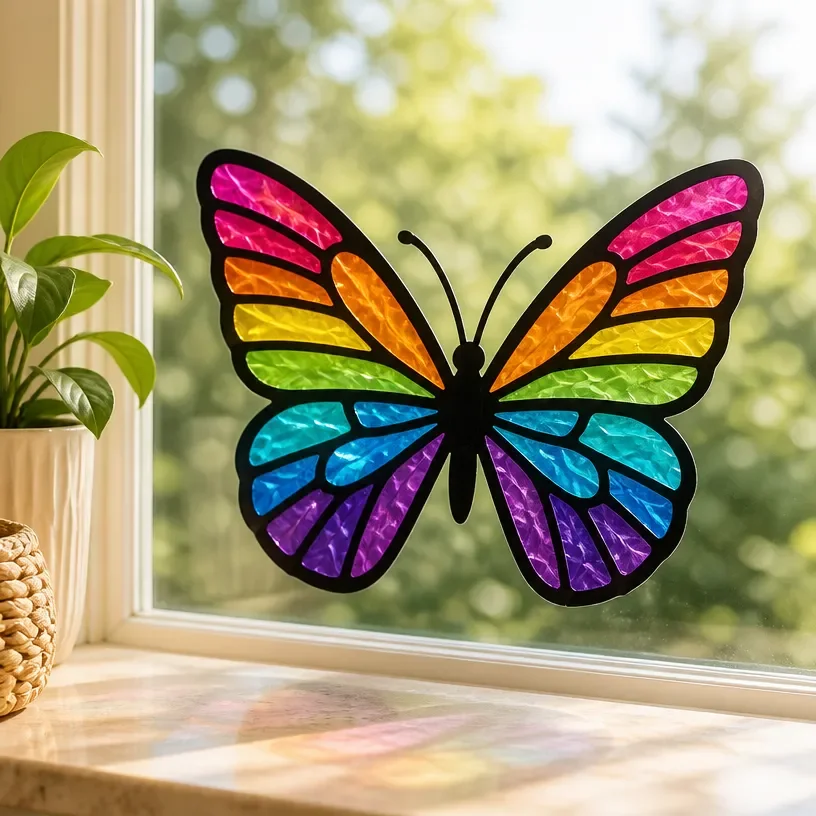
Creating art can be a soothing experience, especially when it involves the gentle interaction of light, transparency, and color. As the sun filters through a piece of transparency film art, it transforms a simple window into a vibrant canvas, casting soft patterns that dance across the room. This tactile process invites you to slow down, breathe, and immerse yourself in creativity, making it a delightful way to engage the senses while crafting something truly beautiful. You may also find Diy Bioplastic Suncatchers Natures Window Art 2 useful.
The Heart Behind This DIY
Creating Transparency Film Window Art offers more than just a visual reward; it provides a little sanctuary where you can focus your thoughts and feelings. Part of the joy in making this type of art arises from the calming nature of the materials. The smoothness of the film and the gliding motion of your brush evoke memories of childhood play with colors and shapes. This intentional focus can foster a sense of mindfulness, helping you step away from the busyness of everyday life. You may also find Diy Bioplastic Suncatchers Natures Window Art useful.
You may also find Diy Epsom Salt Window Frost Art Tutorial useful.
How This DIY Comes Together
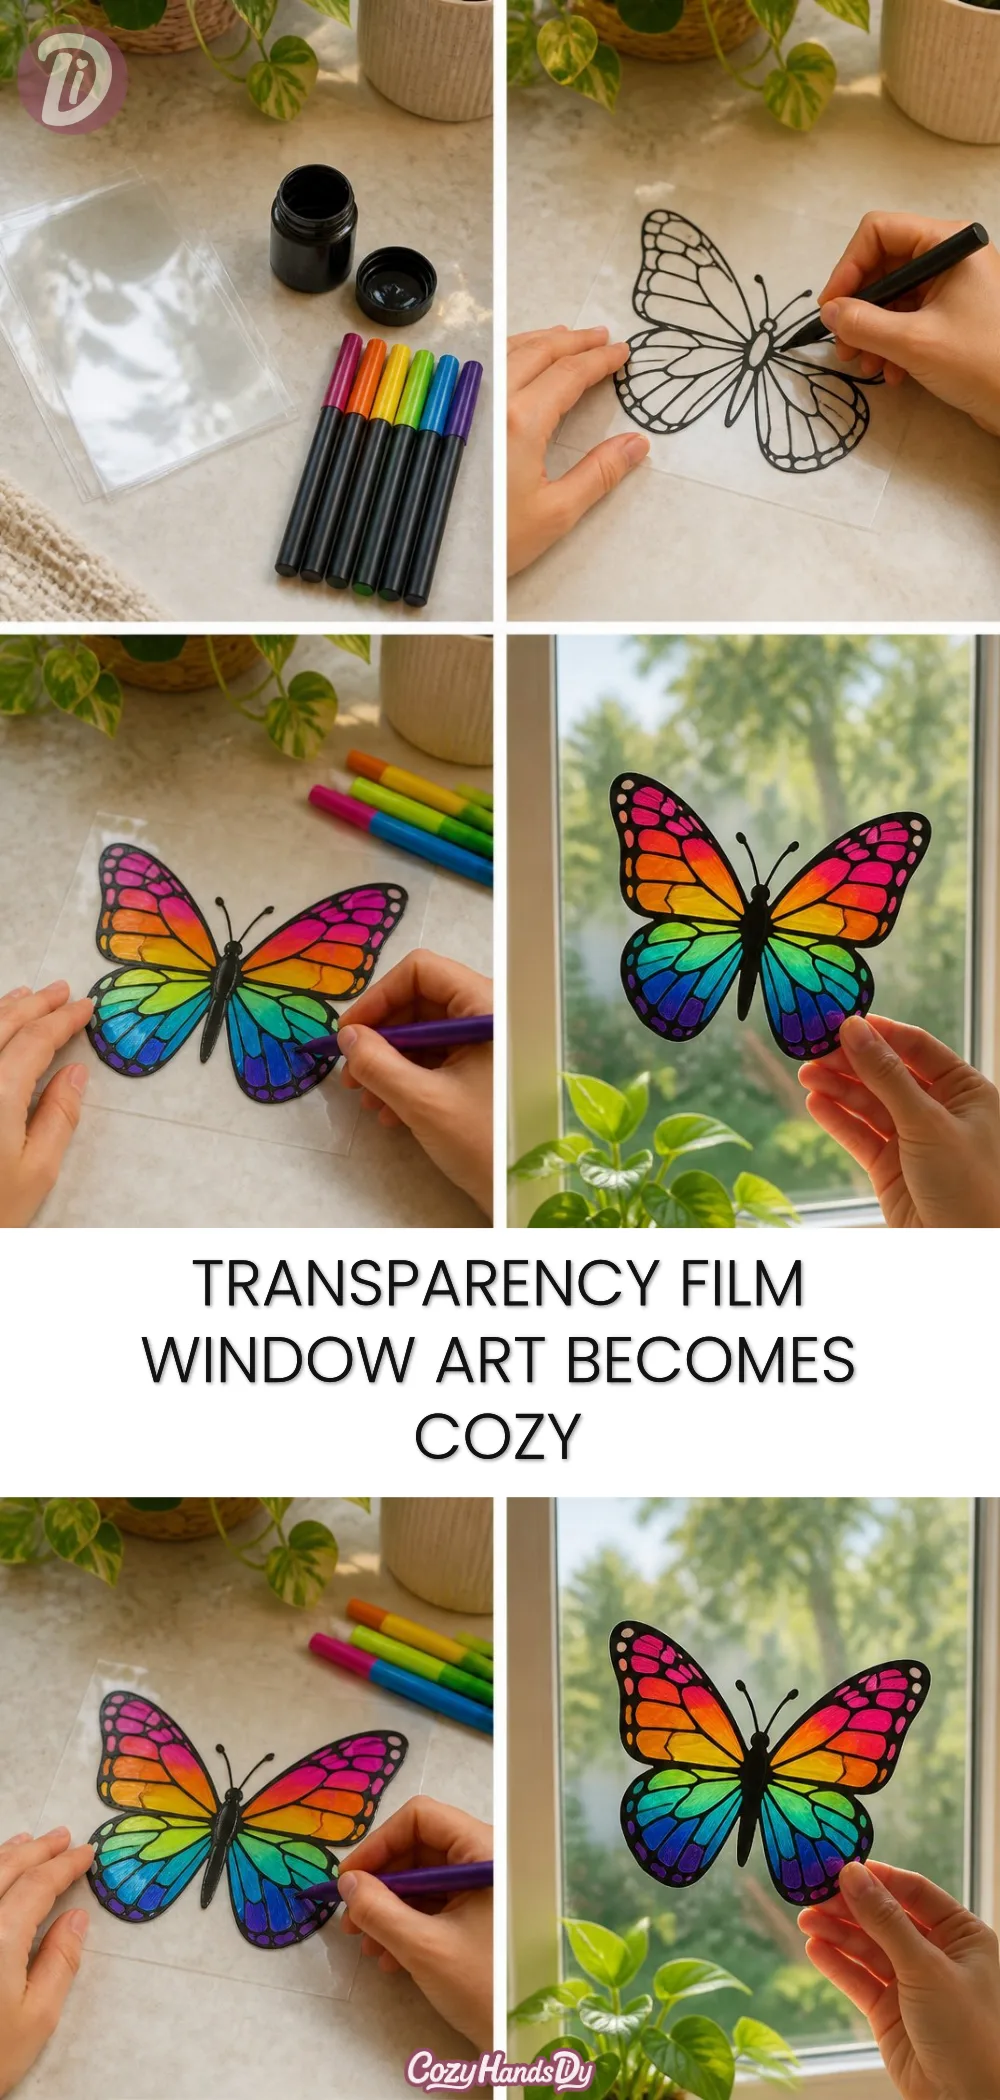
To start this art project, you’ll embrace the serene rhythm of gathering materials, prepping your workspace, and diving into the creative flow. Each part of the experience the quiet sound of the brush on the film, the visual delight of watching paint flow, and the moment of transformation as colors blend together invites you to be present and engaged. This gradual unfolding encourages a satisfying sense of progression, allowing you to appreciate each stage along the way. You may also find Epsom Salt Window Frost Art useful.
Materials You’ll Need
Gathering the right materials will set the foundation for your artwork. Here’s what you will need:
- Transparency film sheets (easily found online or at local craft stores)
- Transparent paint or markers in your chosen colors
- A soft brush for applying paint
- Water container for rinsing your brush
- Paper towels for any messes
- Optional: adhesive to secure the film if you wish to frame or hang it
Step-by-Step Directions
Prepare Your Workspace
Clear a space where you can work comfortably. Lay down some paper or an old tablecloth to catch any paint spills, and have all your materials at hand.Select Your Design
Take a moment to think about what you want to create. Simple shapes or motifs work beautifully, allowing light to play through your colors.Begin Painting
Using your brush, start applying the transparent paint to the film. Notice the way the colors flow together; allow your creativity to guide you rather than following strict rules.Layer Colors
Once your first layer dries for a few minutes, consider adding more colors on top. This layering can create depth and interest in your design.Let It Dry
After you finish painting, set the completed transparency film aside to dry completely. This could take about 20-30 minutes, depending on the thickness of the paint.Add Finishing Touches
Once dry, evaluate your art. If desired, add additional details or highlights using fine markers.
Using Transparency Film Window Art in Everyday Life
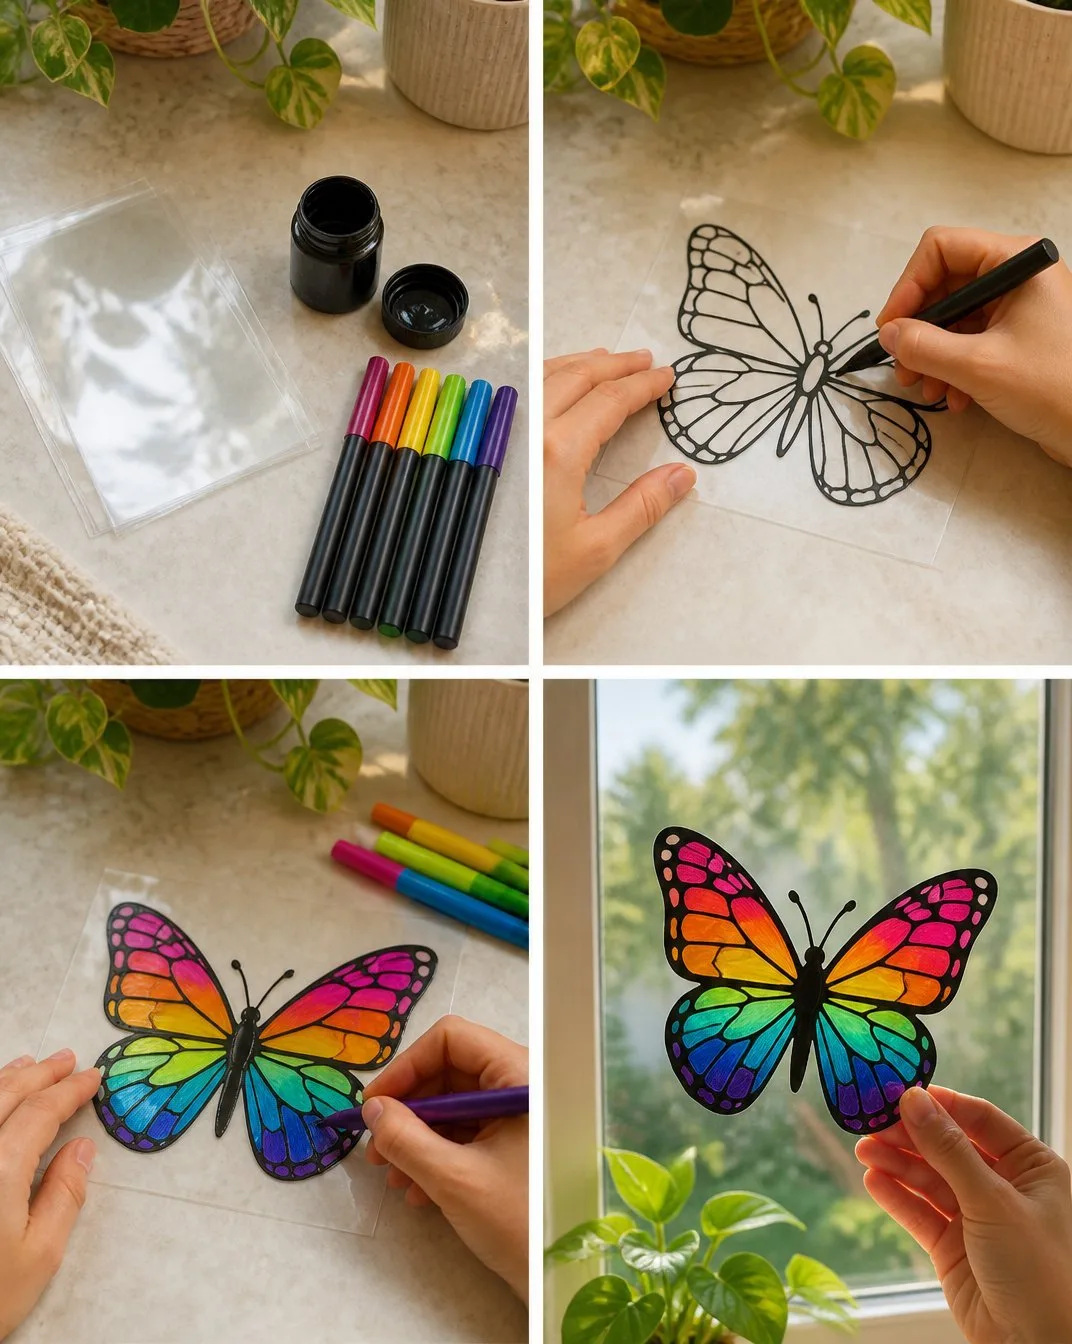
The finished piece of Transparency Film Window Art can be incorporated into your daily life effortlessly. Position it behind a window where sunlight can illuminate your colors, or hang it using clips or adhesive for a more permanent display. Its soft, colorful shadows can enrich any space, whether it’s a cozy nook in your home or a lively play area for children.
How to Store or Reuse Transparency Film Window Art
To ensure your artwork lasts, store it flat between sheets of cardboard or in a portfolio case to prevent curling. If your creativity strikes again, consider reusing the film by painting over it or creating new designs on top of older ones, transforming your art into an evolving project.
Gentle Tips & Variations
- Experiment with Mixed Media
Invite other art materials like glitter or stickers for some playful embellishments. - Create a Series
Try making several pieces to create a themed collection that can be displayed together. - Use Natural Inspirations
Draw ideas from nature, such as flowers, clouds, or seasons, to inspire your colors and shapes.
FAQs About Transparency Film Window Art
Can I use regular paint for this project?
It’s best to use transparent paint or markers as regular paint may not allow light to pass through effectively, which can diminish the desired effect.
What if I make a mistake?
Embrace the beauty of imperfection; consider it part of your project’s uniqueness. Plus, you can always layer new colors over the top.
How long does the paint last?
Transparent paints are designed to be long-lasting if stored properly and allowed to dry fully before exposure to light.
Is this suitable for children?
Yes! This project is great for all ages, though supervision may be necessary with younger children, especially with paint.
Conclusion
As you wind down your experience with Transparency Film Window Art, allow yourself to reflect on the moments of calm and creativity you enjoyed throughout the process. Art inspires a unique connection with our surroundings, and the pieces you create will bring warmth and light into your space. For more enriching ideas, explore how to create
faux stained glass paintings on transparency sheets, or learn about the intriguing work of
Anna Rotty at the New Mexico Museum of Art.