

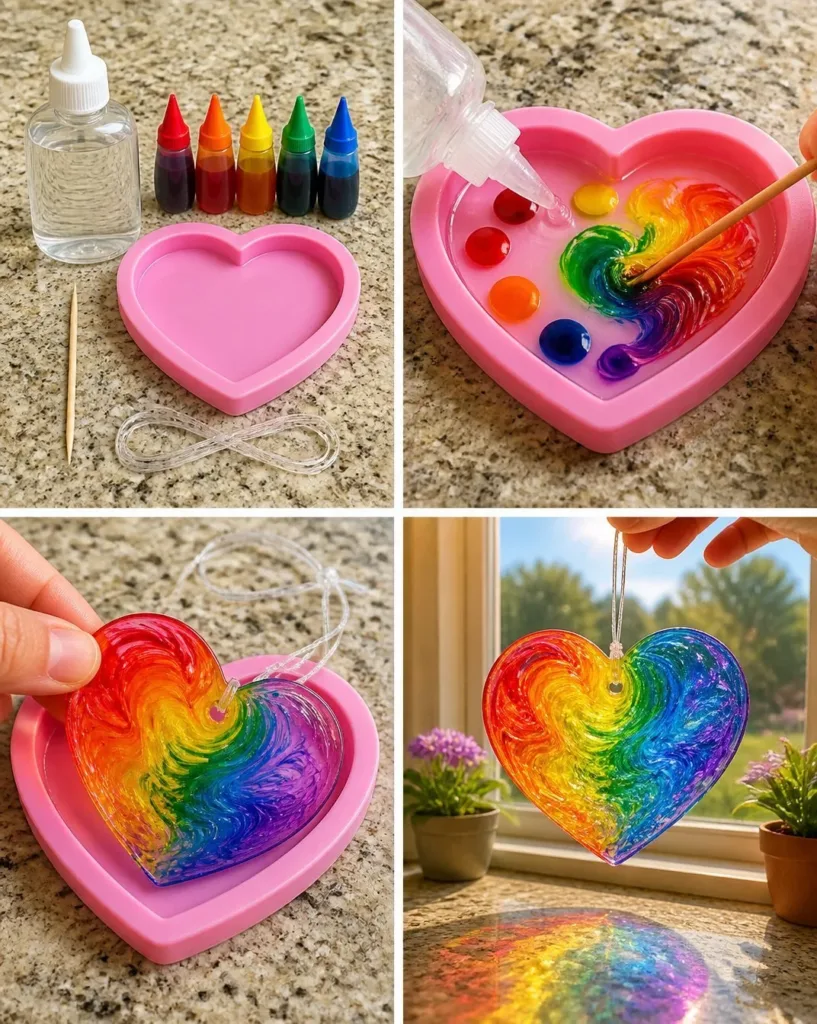
Creating Swirled Glue Suncatchers brings a sense of tranquility, like the gentle warmth of sunlight on a quiet afternoon. The mixture of colors swirling together creates a soft, mesmerizing effect, as if you are capturing a moment of light itself. Working with textures and colors invites mindfulness, allowing you to feel the smoothness of the glue and the vibrant shades blending beneath your fingertips. Each step is a moment of calm, encouraging you to be present in the process.
The Heart Behind This DIY
Making Swirled Glue Suncatchers is more than just a craft; it is a therapeutic experience. The act of creating something with your hands allows you to slow down, breathe, and focus on the simple beauty of color and texture. As you swirl the glue, you’re engaging with the material in a way that is meditative. Each motion can help clear your mind and invite a sense of peace, making it a comforting activity. The end product shines in sunlight, reflecting the vibrant joy of your efforts, connecting your space with nature’s beauty. If you’re curious about different suncatcher projects, you can explore various options like clear glue suncatchers that all offer a delightful way to brighten up a room.
A Gentle Look at the Process
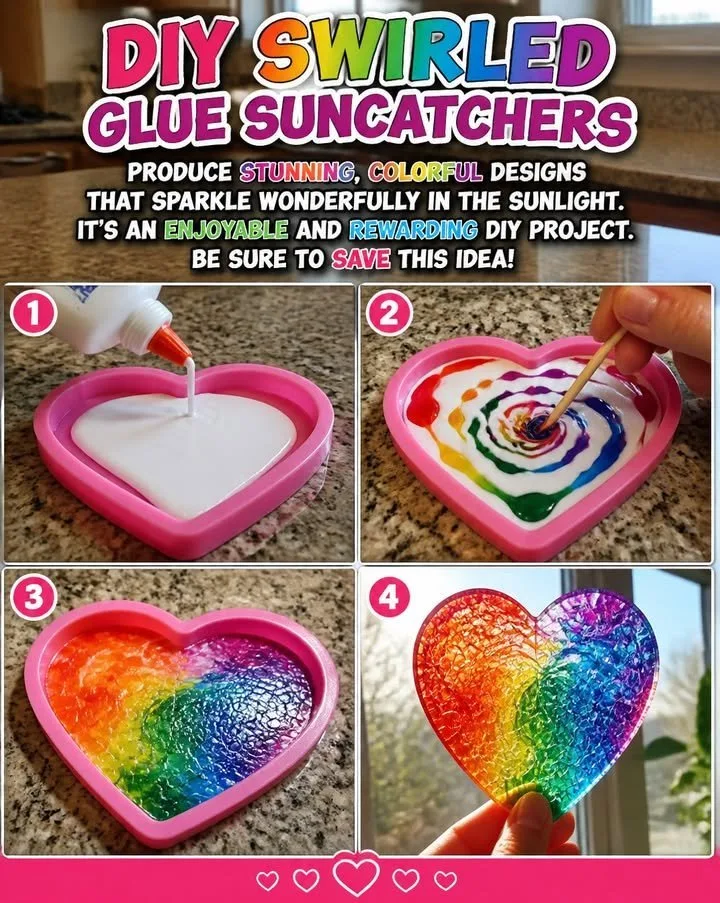
The process of creating Swirled Glue Suncatchers flows like a peaceful river, with each step inviting you to engage your senses. As you begin, the sounds of glue being squeezed and the colors mixing create a symphony of creativity. The immediate visual rhythm captures your attention, with each swirl embracing the potential of a unique design. The careful arrangement of layers adds depth and complexity, while the glue’s texture feels smooth and pliable between your fingers.
Before diving into the materials needed for this calming activity, envision the outcome: colorful, translucent suncatchers that catch the light beautifully and bring a little joy into your living space.
Materials You’ll Need
- Clear school glue (easy to find)
- Food coloring or liquid watercolors (vibrant colors)
- Wax paper or plastic sheets (for the base)
- A disposable plate or tray (for easier cleanup)
- Scissors (for trimming edges)
- Optional: Glitter (for added sparkle)
Gathering your materials can be a joyful exploration, setting the stage for the moments of creativity that follow.
Step-by-Step Directions
Prepare Your Workspace: Lay down a clean mat or newspaper to protect your surface. Arrange your materials nearby for easy access.
Create Your Base: Place a sheet of wax paper or a plastic sheet on your work surface.
Mix the Glue and Color: In a bowl, mix the clear glue with a few drops of food coloring or liquid watercolor. Stir gently until the color is fully blended.
Begin Swirling: Squeeze the colored glue onto the wax paper, creating random swirls and circles. Allow yourself to experiment with patterns, focusing on the movement and flow of the glue.
Layering Colors: If you want to use additional colors, repeat the mixing and swirling process. Layer the colors in a way that excites your senses.
Add Optional Glitter: If you wish, sprinkle a light dusting of glitter over the wet glue to create a magical sparkle effect.
Let It Dry: Allow your creation to dry completely, ideally overnight. The waiting period builds anticipation for your beautiful suncatcher.
Trim if Necessary: Once dry, carefully trim any excess edges for a polished finish.
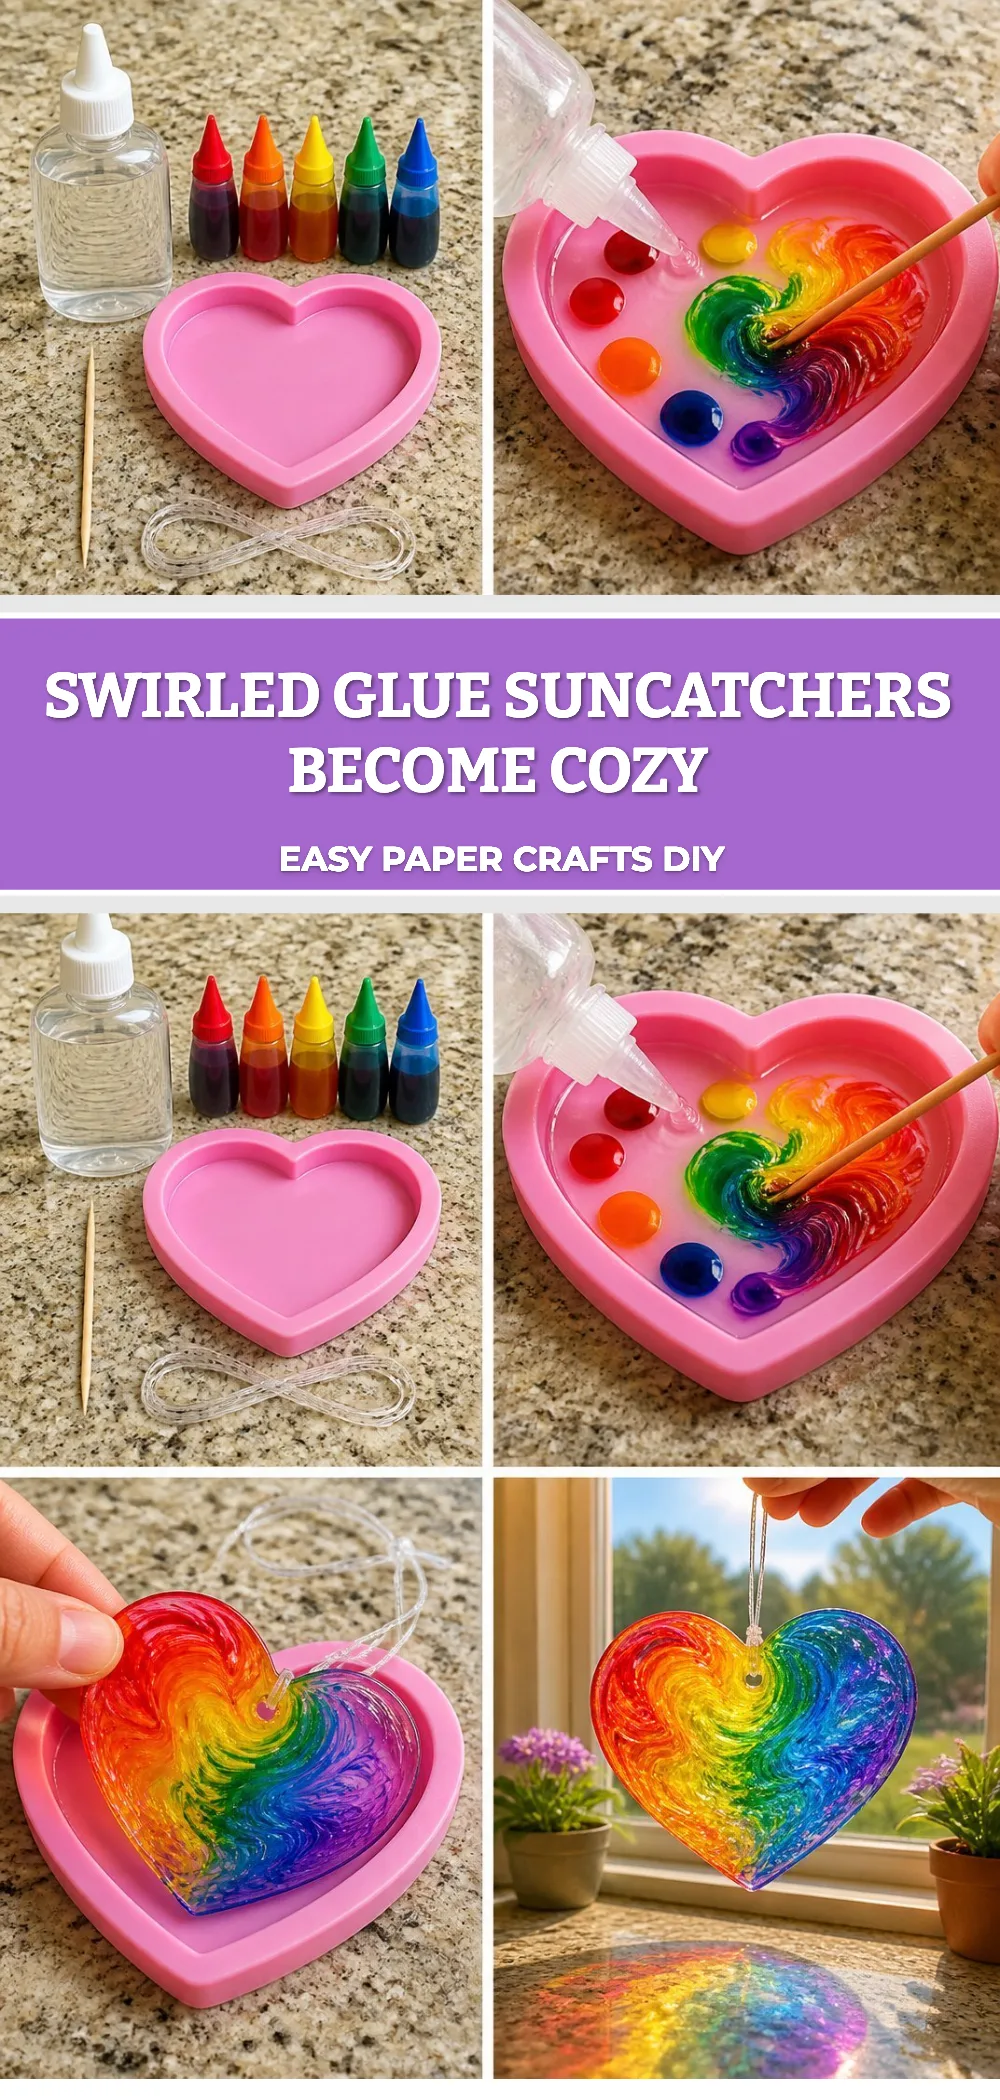
Enjoying the Finished Piece
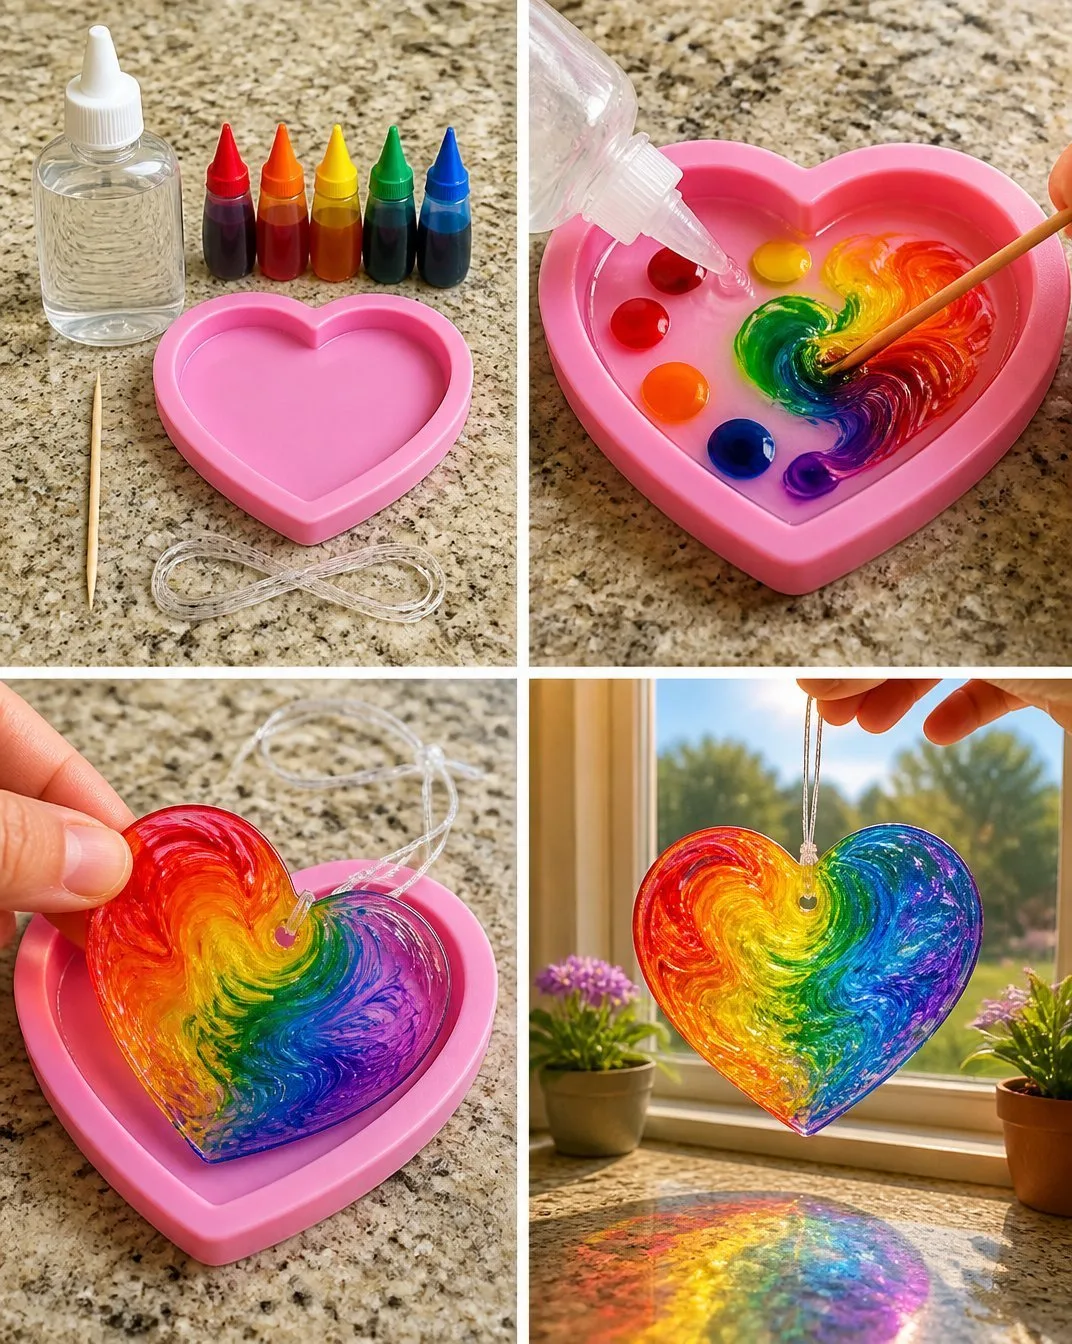
Once your Swirled Glue Suncatchers are ready, hang them in a spot where the sunlight can shine through. As the light filters through the colors, it casts cheerful patterns around the room, inviting a sense of calm and joy. They can transform a simple window into a vibrant canvas, creating an atmosphere that feels lighter, fresher, and distinctly cozy.
You can also use these suncatchers in various ways, such as decorating a child’s room, brightening up your workspace, or even as gifts. The beauty of their design makes them a thoughtful and comforting present for friends and family. Should you want to explore more variations, you might enjoy trying your hand at different swirled designs or even flower-inspired suncatchers.
Caring for Your Finished DIY
Once your suncatchers are complete, caring for them is just as simple as the crafting process itself. Keep them out of direct heat to prevent warping. If they gather dust or dirt, gently clean them with a soft cloth and mild soap. This care will ensure your creations continue to bring light and joy into your space for a long time.
Gentle Tips & Variations
Experiment with Shapes: Instead of traditional round suncatchers, try creating different shapes like leaves or stars to keep the design fresh.
Use Nature for Inspiration: Look outside for color inspiration. The hues found in flowers, trees, and skies can ignite new ideas for your suncatchers.
Try Different Bases: Instead of using wax paper, feel free to explore other porous surfaces that might lend different effects.
Incorporate Patterned Paper: Layering patterned tissue paper beneath your glue can add unique textures and surprise elements.
Create Themed Suncatchers: Make seasonal or holiday-themed suncatchers that reflect the changing moods of the year.
FAQs About Swirled Glue Suncatchers
How long does it take for the suncatchers to dry completely?
Typically, it takes about 24 hours for the suncatchers to dry thoroughly, depending on humidity and thickness of the glue.
Can I use any type of glue for this project?
While clear school glue works best due to its transparency, you could also experiment with other types, but results may vary.
Is this project suitable for kids?
Yes, this DIY is fantastic for kids with adult supervision. It’s a great way to encourage creativity while also helping them work on fine motor skills.
Conclusion
Creating Swirled Glue Suncatchers is a wonderful way to take a break from the busyness of life and enjoy the moment of crafting. Not only do they add beauty to your home, but they also provide a calming experience as you create. If you’re interested in exploring other creative projects that involve simple materials, check out this colorful DIY glue suncatcher craft or see how Elmer’s glue can be used in various suncatcher designs at Elmer’s Glue Sun Catcher. Enjoy every step of your crafting journey, and let your creativity shine.
PrintSwirled Glue Suncatchers
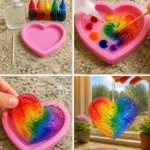
Create colorful, translucent suncatchers that beautifully catch the sunlight, bringing joy and tranquility to your space.
- Prep Time: 15 minutes
- Cook Time: 0 minutes
- Total Time: 15 minutes
- Yield: 4 suncatchers
- Category: Craft
- Method: Crafting
- Diet: N/A
Ingredients
- Clear school glue
- Food coloring or liquid watercolors
- Wax paper or plastic sheets
- A disposable plate or tray
- Scissors
- Optional: Glitter
Instructions
- Prepare your workspace: Lay down a clean mat or newspaper to protect your surface.
- Create your base: Place a sheet of wax paper or a plastic sheet on your work surface.
- Mix the glue and color: In a bowl, mix the clear glue with a few drops of food coloring or liquid watercolor.
- Begin swirling: Squeeze the colored glue onto the wax paper, creating random swirls and circles.
- Layering colors: If you want to use additional colors, repeat the mixing and swirling process.
- Add optional glitter: If you wish, sprinkle a light dusting of glitter over the wet glue.
- Let it dry: Allow your creation to dry completely, ideally overnight.
- Trim if necessary: Once dry, carefully trim any excess edges for a polished finish.
Notes
Keep suncatchers out of direct heat to prevent warping. Clean gently with a soft cloth and mild soap.