

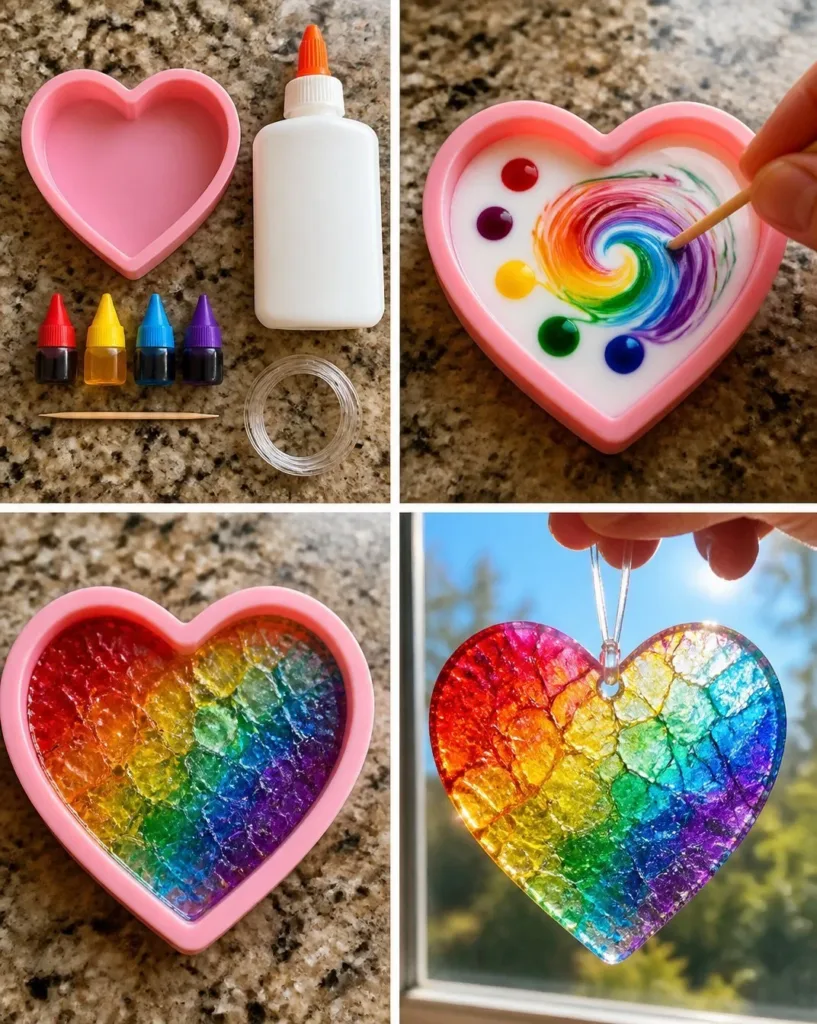
Swirled Glue Suncatchers invite you into a world of creative calm, where each movement of your hands along smooth surfaces transforms into a gentle dance. As you mix colors and shapes, the soft texture of the glue glides beneath your fingertips, creating a sensory experience that naturally draws you into the moment. Watching the light filter through your completed designs fills the space with a serene glow, reminding you of the beauty found in simple, mindful activities. You may also find Swirled Glue Suncatchers 2 useful.
Why Make This Swirled Glue Suncatchers
Creating Swirled Glue Suncatchers is a genuinely soothing experience, allowing you to explore patterns and colors while engaging your senses. The act of swirling colorful glue serves as a meditation, helping you let go of stress and immerse yourself fully in the creative process. As you contemplate each stroke, you may discover a stillness that brings a calming presence to your day, making this DIY not just a project but a precious time for self-reflection and tranquility. You may also find Swirled Glue Suncatchers useful.
A Gentle Look at the Process
Before diving into the materials, it’s worthwhile to understand the rhythm of making Swirled Glue Suncatchers. You will find that the process is a soft, flowing sequence, beginning with gathering your supplies and culminating in the joy of displaying your finished piece. Picture the colors blending harmoniously as the glue swirls; it becomes a sensory delight, evoking feelings of warmth and contentment as you transition through each step. You may also find Clear Glue Flower Suncatchers Cozy useful.
Materials You’ll Need
Gathering your materials is the first step to an enjoyable crafting experience. Here’s what you’ll need to create your Swirled Glue Suncatchers: You may also find Clear Glue Suncatchers Cozy useful.
- Clear glue (easy to find at craft stores)
- Food coloring or liquid watercolors
- Wax paper or clear plastic lids for the base
- A mixing tool (like a popsicle stick or toothpick)
- Optional: glitter for added sparkle
Step-by-Step Directions
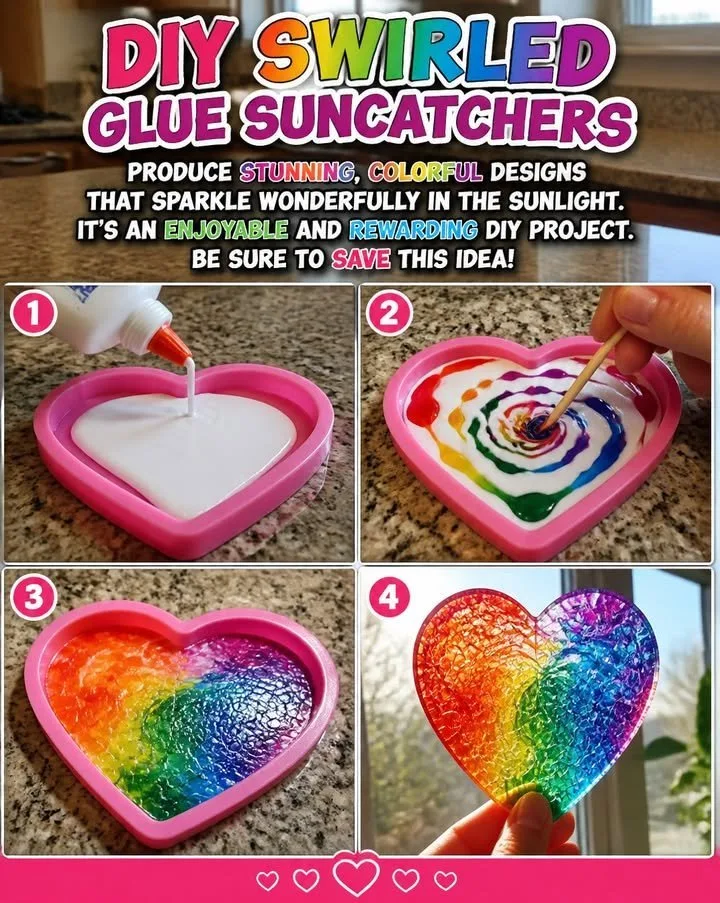
- Start by placing your wax paper or clear plastic lids on a flat surface, ensuring they are clean and dry.
- Squeeze a generous amount of clear glue onto the base you’ve prepared.
- Add a few drops of food coloring or liquid watercolors, distributing them evenly around the glue.
- Using your mixing tool, gently swirl the colors through the glue without over-mixing; let the colors create beautiful patterns.
- Allow your suncatcher to dry completely, which may take a few hours depending on the thickness of your glue layer.
- Once dry, carefully peel your suncatcher off the wax paper. The translucent colors will have created a stunning piece of art.
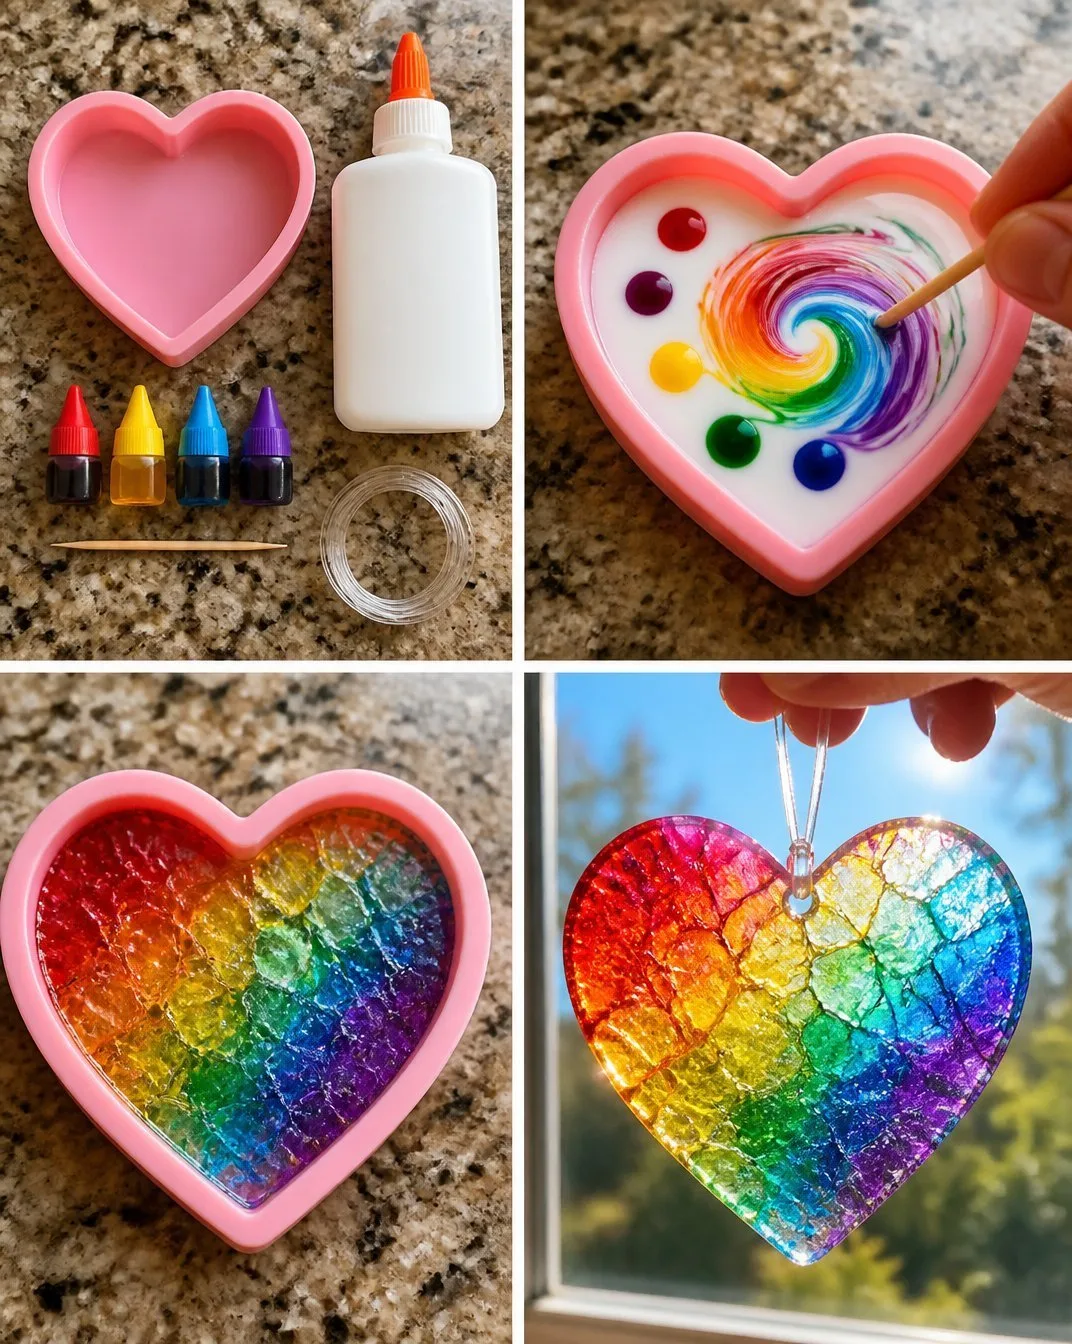
- Hang your suncatcher in a window where the sunlight can illuminate it, casting colorful shadows around your space.
Enjoying the Finished Piece
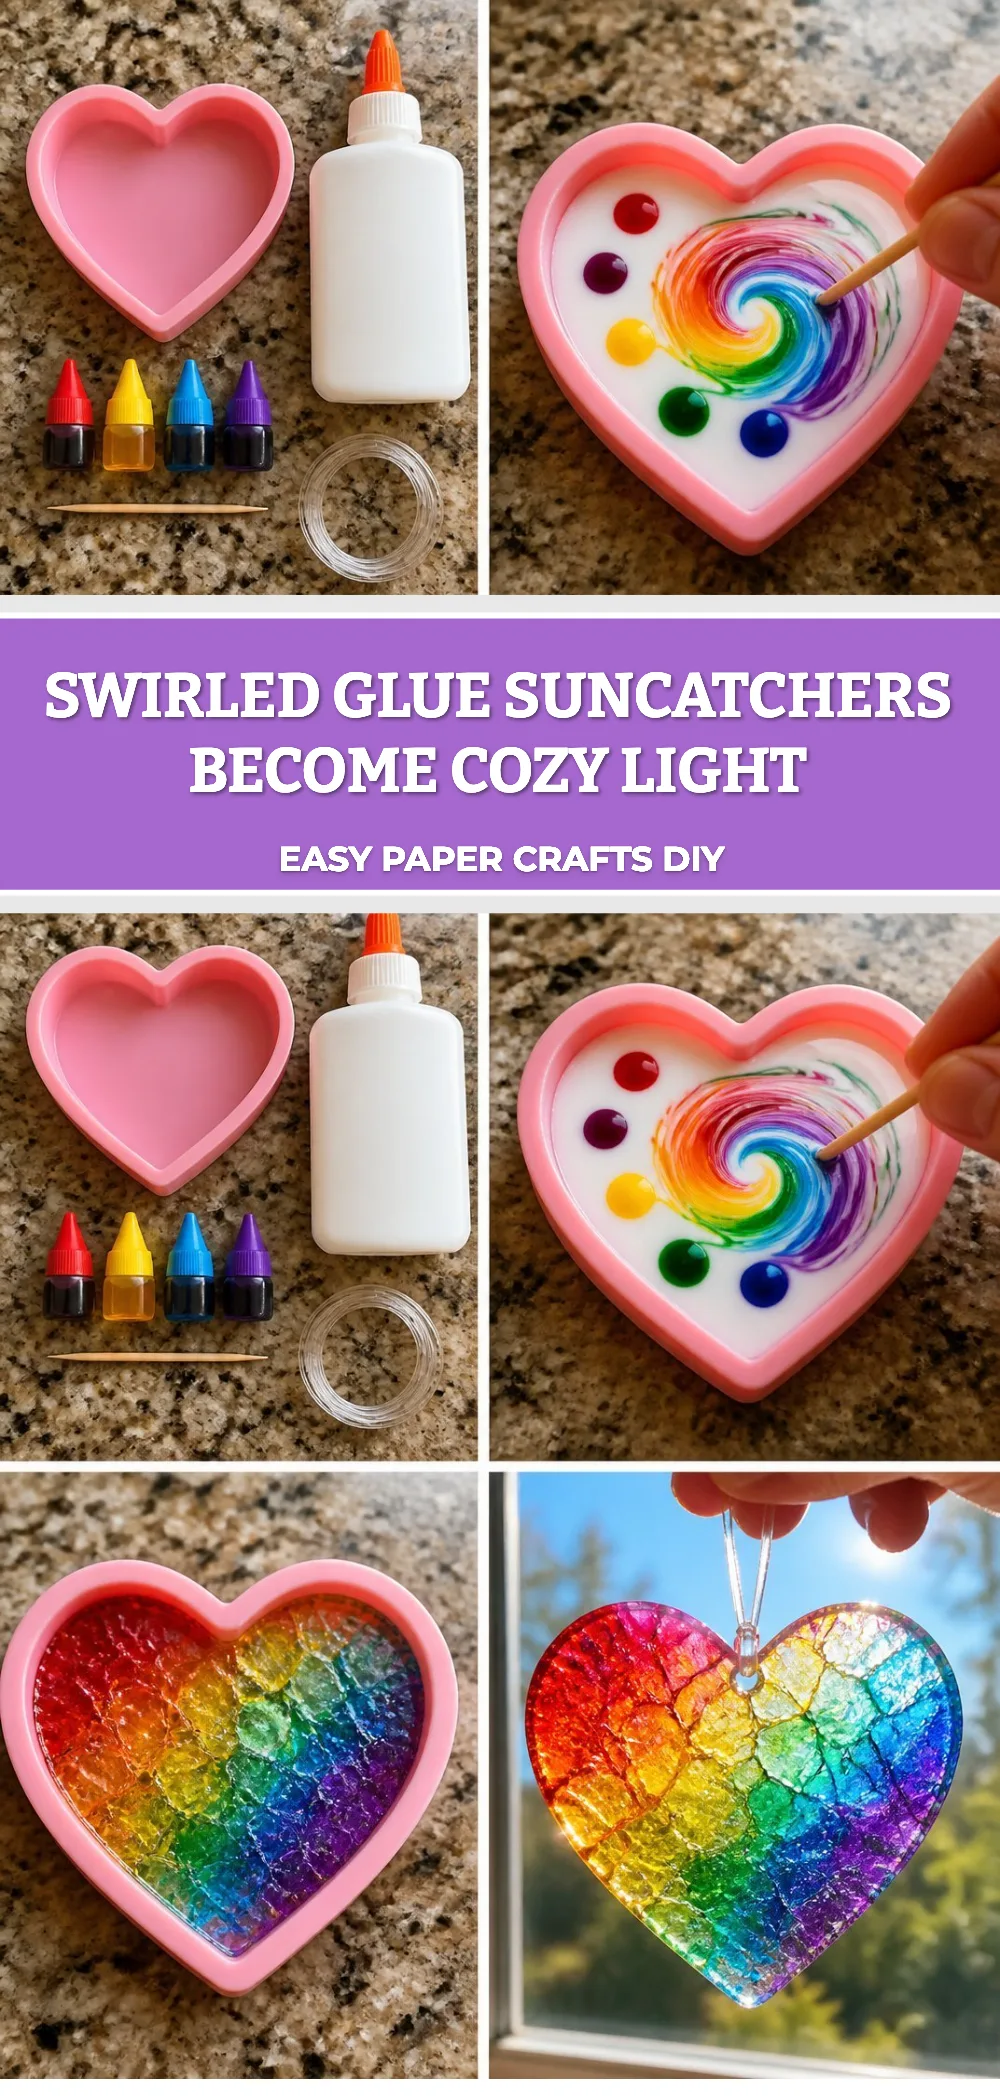
Once your Swirled Glue Suncatcher is ready, find a special place to display it in your home. The way light filters through your creation can uplift the atmosphere and inspire moments of joy. Consider hanging it in a window where the morning sun can cast vibrant colors across your space, creating a calming environment that promotes peace and mindfulness.
Keeping It for Later
If you wish to preserve your Swirled Glue Suncatchers for future enjoyment, proper care is essential. Store them flat in a protective box or frame them under glass to safeguard against dust and damage. If they begin to fade over time, try to reapply a thin layer of clear glue over your artwork to refresh its appearance without altering the original design.
Gentle Tips & Variations
- If you’re looking to personalize your suncatchers further, consider adding shapes or designs using a stencil during the swirling process.
- Experiment with different color combinations to evoke various moods or themes within your home.
- For those working with children, use safe, washable materials so everyone can enjoy this sensory-friendly activity without worry.
FAQs About Swirled Glue Suncatchers
Can I use any type of glue for this DIY?
It’s best to use clear glue, as it dries transparent and enhances the colors you choose, creating a beautiful effect that is unachievable with colored glue.
How long does it take for the suncatchers to dry?
Drying time can vary, but typically you’ll want to let your suncatchers dry for several hours or overnight for the best results.
Can the suncatchers withstand outdoor conditions?
These suncatchers are meant for indoor use; exposure to rain or extreme weather might damage them. Hanging them in a window is ideal for creating colorful effects without risking wear.
What happens if I accidentally over-mix the colors?
Over-mixing can dull the colors. If this happens, you can simply try again with a new layer of glue and colors, focusing on the swirling motion.
Conclusion
Creating Swirled Glue Suncatchers is a delightful way to engage in a calming craft while brightening your space. The gentle rhythms of mixing, swirling, and displaying your art can soothe the mind and create moments of stillness in a busy world. If you wish to explore more DIY ideas, check out this Colorful DIY Glue Suncatcher Craft or take a look at the Elmer’s Glue Sun Catcher guide for more inspiration. Embrace the process, breathe deeply, and allow your creativity to shine.
PrintSwirled Glue Suncatchers
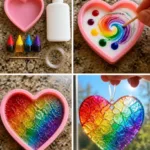
Create beautiful and calming swirled glue suncatchers that illuminate your space with colorful light.
- Prep Time: 10 minutes
- Cook Time: 0 minutes
- Total Time: 3 hours
- Yield: 1 suncatcher
- Category: Craft
- Method: Crafting
- Cuisine: DIY
- Diet: N/A
Ingredients
- Clear glue
- Food coloring or liquid watercolors
- Wax paper or clear plastic lids
- A mixing tool (like a popsicle stick or toothpick)
- Optional: Glitter
Instructions
- Start by placing your wax paper or clear plastic lids on a flat surface, ensuring they are clean and dry.
- Squeeze a generous amount of clear glue onto the base you’ve prepared.
- Add a few drops of food coloring or liquid watercolors, distributing them evenly around the glue.
- Using your mixing tool, gently swirl the colors through the glue without over-mixing; let the colors create beautiful patterns.
- Allow your suncatcher to dry completely, which may take a few hours depending on the thickness of your glue layer.
- Once dry, carefully peel your suncatcher off the wax paper. The translucent colors will have created a stunning piece of art.
- Hang your suncatcher in a window where the sunlight can illuminate it, casting colorful shadows around your space.
Notes
Store suncatchers flat in a protective box or frame them under glass to preserve them.
1 thought on “Swirled Glue Suncatchers Become Cozy Light”