

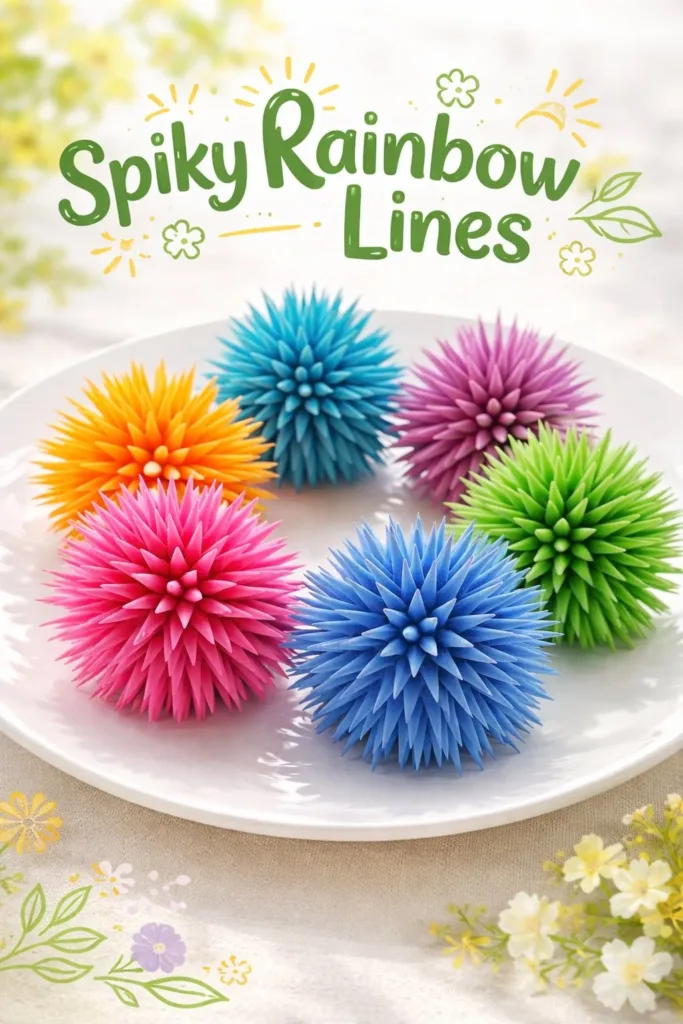
I hold a narrow brush between two warm fingers and let the bristles kiss the paper. Little spikes of color bloom in a row, each one catching the light like tiny teeth of sunlight. The pattern feels alive and quiet at once. I call this playful, soothing mark making Spiky Rainbow Lines, and I often sit with a cup of tea and a soft playlist while I make them.
The Quiet Joy of Making Spiky Rainbow Lines
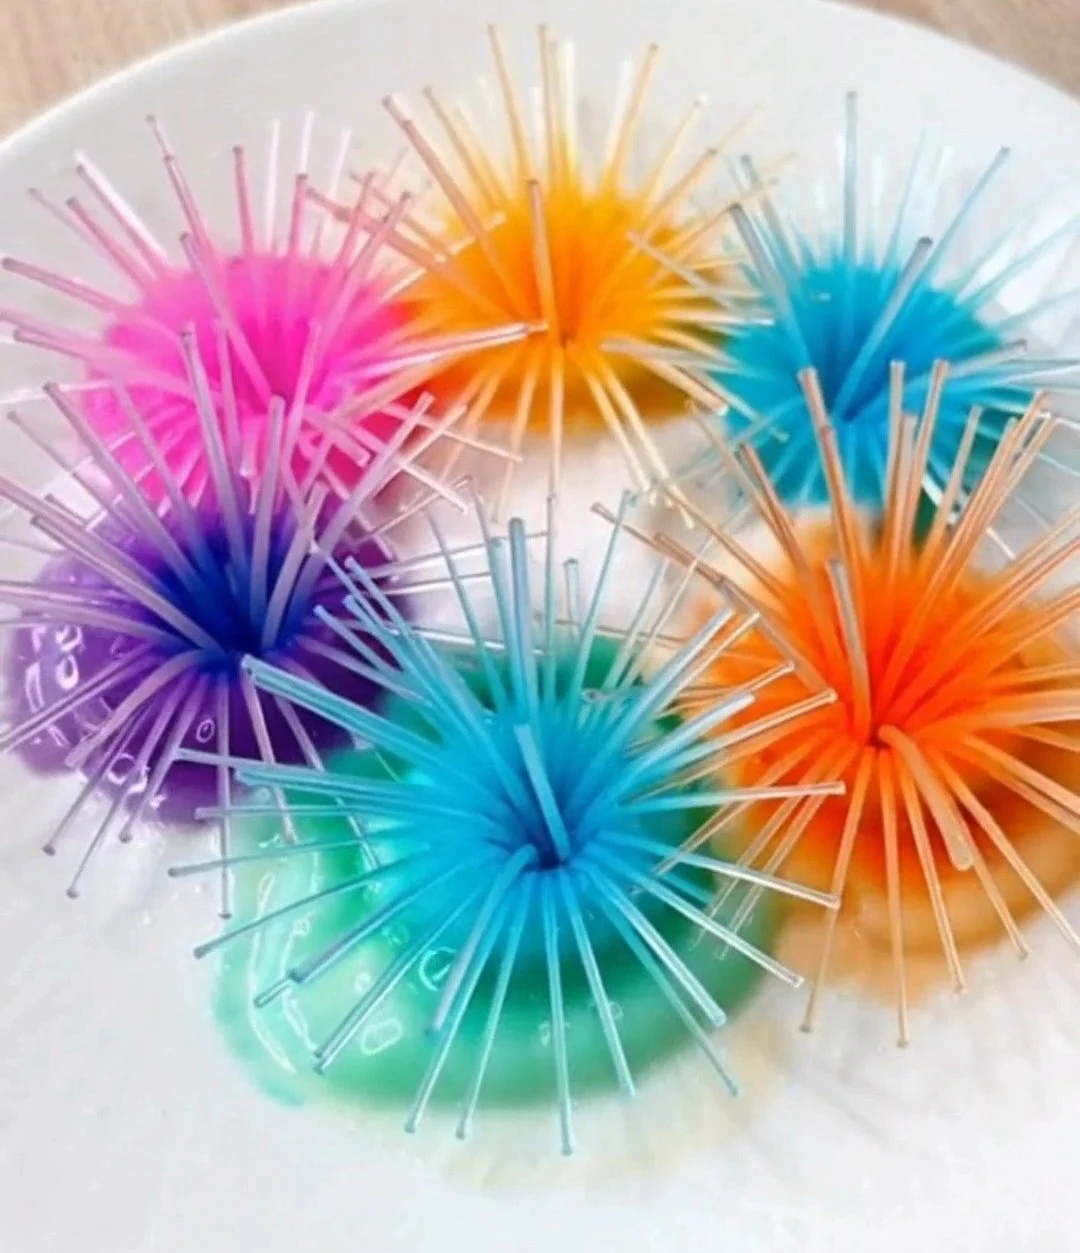
This little project folds texture, rhythm, and color into a calm practice. Spiky Rainbow Lines give you something tactile to return to when your mind wants a gentle focus. As you draw, your hands learn a steady pace. The repeated motion becomes a soft metronome for breathing. The tiny peaks and valleys of each line invite you to notice how paint pools, how paper fibers lift, or how a pen tip squeaks and then smooths.
I often think of these marks as a short ritual. They ask for slow attention, not perfection. If you enjoy small, sensory projects, you might also like the way crystals and colors transform simple ingredients into little landscapes; I wrote about a related weekend activity in a post about the baking soda rainbow crystal forest, which pairs beautifully with quiet line work. That project taught me how patient time and tiny changes give a big, gentle reward.
A Gentle Look at the Process
Making Spiky Rainbow Lines feels like moving through a soft rhythm. You create a sparse guideline or none at all, and then you let a tool tip or paintbrush make small, pointed marks. The motion is small and repeated, like knitting tiny loops with paint or ink. Each spike has a beginning and an end, and together they make a little landscape of texture.
You will notice different sounds and textures depending on your materials. A gel pen whispers on heavy paper. Watercolor brushes sigh and release pigment with a wet breath. Markers make a clearer, firmer line. Watch how the paper toys with the tool: grain will lift the tip, and the tool will slide into smoother valleys. The process rewards quiet observation and small corrections. For a fuller weekend practice, I sometimes pair this with a simple color experiment I documented in a calm recipe for a rainbow crystal forest recipe, which helps me slow down and savor the mixing of colors.
Materials You’ll Need
- Paper: medium-weight watercolor or mixed-media paper, easy to find and forgiving.
- Brushes: a small round brush and a fine liner brush for delicate spikes.
- Ink or paint: watercolors, gouache, or liquid ink work well.
- Pens or markers: fine-tipped pens or brush pens for sharper lines.
- A palette or shallow dish: for mixing soft, translucent washes.
- Water jar: warm water helps clean brushes gently.
- Paper towel or cloth: to blot and shape your marks.
- Pencil and eraser: optional, for faint guide lines.
- Ruler or straightedge: optional, for evenly spaced rows.
- Masking tape: optional, to anchor the paper and create clean edges.
- A small tray or plate to rest tools: keeps your space tidy and calm.
I keep my materials minimal. The tools above let you make a range of spikes. Watercolors give you soft, translucent color. Ink or pens give you crispness. If you want to try a subtle material swap, try a gel crayon for the peaks. You will learn softly how each tool changes the texture.
Step-by-Step Directions
Prepare your space. Tape the paper to a board if you want neat edges. Keep a bowl of warm water and a cloth close by. Set lighting so you can see color shifts easily.
Choose a color plan. Pick three to five colors that sit well together. Mix small puddles on your palette for gradual transitions. Test a stroke on scrap paper to see how the pigment behaves.
Mark faint guidelines. Use a light pencil to draw two parallel lines. Leave enough space between them for a row of spikes. This step is optional if you prefer a freeform approach.
Load your brush or pen. Dip gently and tap excess on the rim. Aim for a steady, small amount of color. Too much water makes spikes run; too little gives a dry scratch.
Make your first spike. Touch the tool to the paper and pull up quickly. Lift with a tiny flick to form a point. Pause a breath before starting the next spike.
Keep the rhythm. Make each spike similar in size and angle. If a spike looks heavy, soften it with a damp brush tip. Listen to the small, soothing sounds as paint meets paper.
Shift color gently. Let one hue trail into the next. Blend where colors meet with soft, circular strokes. Allow pigments to touch and mingle without overworking them.
Add contrast. Use a finer pen for a second pass if you want crisp edges. Make a second row beneath the first to create depth. Vary the spacing to make the pattern breathe.
Let the piece dry slowly. Avoid blowing or rushing the surface. If paper warps, press the dry piece under a heavy book with a cloth between. Observe how color settles into the fibers as it dries.
Finishing touches. Remove tape carefully for clean edges. Sign gently in a small corner. Reflect on what you enjoyed and where your hand wanted to linger.
These steps keep the practice gentle and present. Move at the pace your hands feel comfortable with. If a spike goes oddly, treat it like a thoughtful change and move on. The work invites small, deliberate choices and quiet acceptance.
Bringing Spiky Rainbow Lines Into Your Space
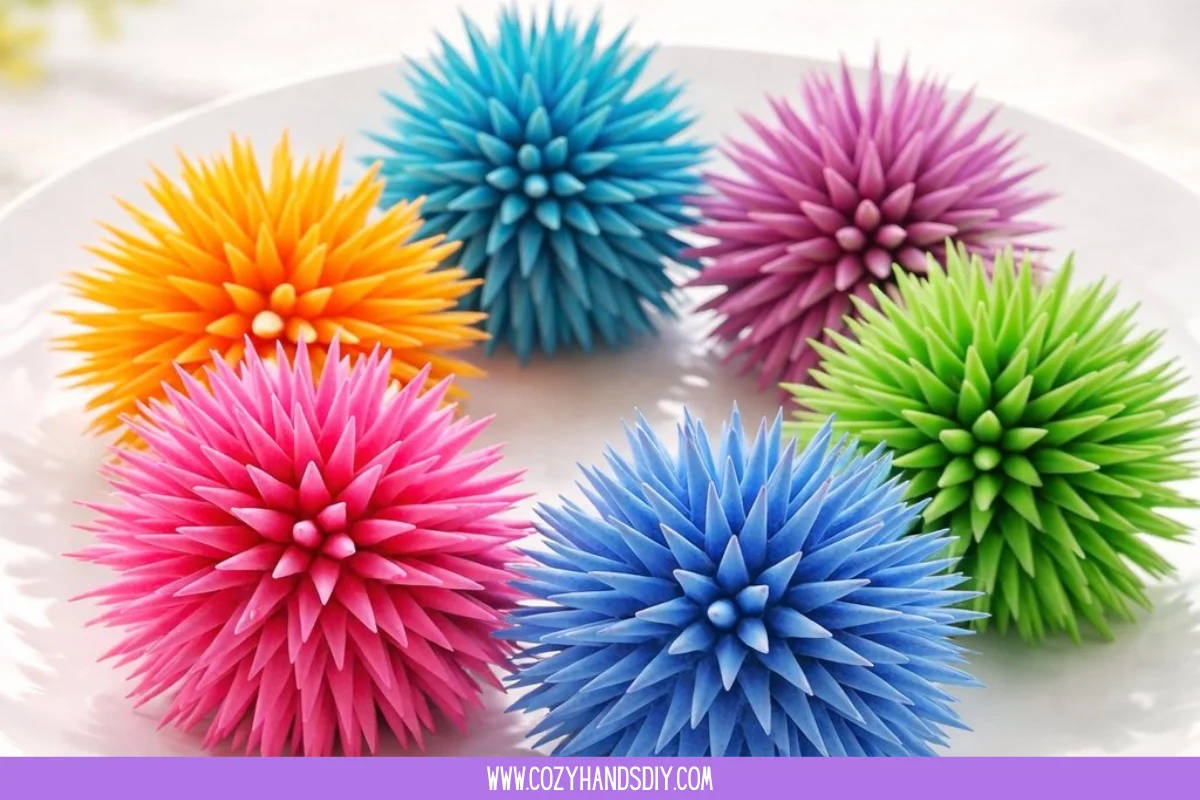
When a piece finishes, it feels like a tiny map of a calm moment. I often frame small sheets for a narrow shelf or hang them above a bedside table where morning light catches the points. Spiky Rainbow Lines also make lovely bookmarks, tags for gifts, or small cards slipped into a journal.
You can use them as headers for notes, borders for a page, or a gentle divider in a homemade zine. I like to tuck a strip of a spiky line into my sketchbook to remind myself of a short, focused practice. The tactile memory of the marks comforts me when I return to work later.
For a repeating decorative motif, consider a series of small squares, each with a different color family. When grouped, they create a quiet rhythm across a wall. If you want an eco friendly note, I often pair these displayed pieces with other small crafts like the DIY bioplastic suncatchers, which bring light and gentle sustainability alongside your paper work.
Keeping It for Later
Think of your finished work as a living object, not a final judgment. Store flat in a dry place to avoid bending. If you make many, keep them in a portfolio folder or a shallow box with acid-free tissue between pieces. For longer-term care, use a hardback folder or archival sleeves.
If you want to reuse the paper or repurpose fragments, cut strips to make tiny gift tags or decorate the spine of a handbound notebook. You can carefully glue small sections onto kraft cards for a textured set of notecards. These small acts of reuse honor the quiet effort you put in and extend the tactile pleasure.
If a piece fades, consider making a photocopy to keep the original safe and a copy to touch or display. If pigments bleed slightly over time, place the artwork away from direct sunlight. Gentle handling and a calm storage spot will keep your Spiky Rainbow Lines ready to bring softness into another moment.
What I’ve Learned While Making This
I learned that small marks ask for patience more than skill. The first time I made Spiky Rainbow Lines I rushed and the peaks blurred. Slowing down changed everything. I noticed that breathing and soft music help my hand find a steady rhythm. When I let color choices be simple, the pieces look more peaceful.
I also learned which materials partner best. Watercolor paper and a soft round brush give a warm, feathery look. Heavy ink and a fine liner make the spikes sing with clarity. Tape anchors the paper and calms my tendency to tug at the page. These small discoveries help me set up a calm, repeatable practice.
Here are a few gentle notes from my making moments:
- Paper selection matters. A toothy paper gives lovely texture but uses more ink.
- Keep your brush slightly damp, not sopping. This gives control and soft edges.
- Let mistakes teach you a new direction. A too-large spike can become a shadow or a repeat.
I often circle back to earlier projects and compare how my hand changed. I keep a small stack of experiments in a drawer. They remind me that steady practice gently shifts what we can do and how we feel while doing it.
FAQs About Spiky Rainbow Lines
Do I need any fancy materials to start?
No. You can begin with a basic pen and any decent paper. Fancy tools add options, but simple supplies help you focus on rhythm.
How long does one small piece take?
A small strip can take ten to twenty minutes at a calm pace. A larger sheet might take longer if you let colors dry between layers.
I get shaky lines. Any gentle fixes?
Try resting your forearm on the table for support and slow your breathing. Use a slightly softer tool or a wider brush to smooth the motion.
Can children join this activity?
Yes, with supervision. Offer child-safe paints and thicker paper. Let children explore freely and praise their textures, not perfection.
How do I choose colors that feel cozy?
Look for muted families like warm reds, soft greens, or dusty blues. A limited palette of three harmonious tones often reads as calm and intentional.
A Gentle Note Before You Go
Sit with the warmth of the small moment you created. Notice how your fingers remember the soft pressure of each spike. If the day feels busy, keep a strip of one piece where you can touch it and feel the memory of slow making. Spiky Rainbow Lines offer a quiet anchor. They remind us that a tiny rhythm of color and point can carry a large measure of calm.
If you ever want to explore more textures and small practices, return to your supplies in five minutes or five days. The work learns with you. Trust the small movements. Trust that each spike is a calm step toward a gentle habit of making.
Conclusion
If you want a scientific perspective on how small particles and textures interact with living systems, this study on tire tread particle toxicity to fish offers detailed research that can inform material choices for public or environmental projects. If you work digitally or use vector drawing tools to design sharp, pointed marks, this helpful discussion on making joined pen lines sharp in Affinity can guide technical adjustments for crisp digital spikes.
PrintSpiky Rainbow Lines

A calming and playful art project that combines texture, rhythm, and color through the creation of spiky rainbow lines.
- Prep Time: 10 minutes
- Cook Time: 20 minutes
- Total Time: 30 minutes
- Yield: 1 art piece
- Category: Art Project
- Method: Drawing
- Cuisine: Contemporary
- Diet: N/A
Ingredients
- Medium-weight watercolor or mixed-media paper
- Small round brush
- Fine liner brush
- Watercolors, gouache, or liquid ink
- Fine-tipped pens or brush pens
- Palette or shallow dish
- Warm water
- Paper towel or cloth
- Pencil and eraser (optional)
- Ruler or straightedge (optional)
- Masking tape (optional)
- Small tray or plate
Instructions
- Prepare your space. Tape the paper to a board if you want neat edges.
- Keep a bowl of warm water and a cloth close by.
- Set lighting so you can see color shifts easily.
- Choose a color plan. Pick three to five colors that sit well together.
- Mix small puddles on your palette for gradual transitions.
- Test a stroke on scrap paper to see how the pigment behaves.
- Mark faint guidelines using a light pencil (optional).
- Load your brush or pen. Dip gently and tap off excess.
- Make your first spike. Touch the tool to the paper and pull up quickly.
- Keep the rhythm. Make each spike similar in size and angle.
- Shift color gently and blend where colors meet.
- Add contrast with a finer pen for a second pass.
- Let the piece dry slowly and avoid rushing the surface.
- Finishing touches. Remove tape carefully for clean edges and sign your work.
Notes
This project invites a gentle approach to art-making and is suitable for all, including children with supervision.