

Creating a Snowy Wedding Lantern inspires a gentle sense of calm as you work with your hands, the textures of the materials, and the soft light that will emanate from it. Imagine the delicate flicker of a warm glow becoming a focal point in the cool, crisp atmosphere of winter celebrations. As you embark on this serene crafting journey, you’ll discover how making your own lantern adds a personal touch to your special events. This project not only captures beautiful moments but also helps to slow down and embrace the creativity within. You may also find Brighten Your Home Stained Glass Lantern useful.
The Heart Behind This DIY
The joy of making a Snowy Wedding Lantern lies in its ability to blend beauty with the simplicity of crafting. As you glue, paint, and arrange, there is an opportunity to reflect on the feelings of warmth and connection that light brings to our lives. This DIY invites you to engage your senses, focusing on the feel of the materials in your hands and the soft sounds of the work unfolding. It encourages a mindful approach, allowing for moments of reflection to seep into your day. You may also find Diy Beaded Hanging Lanterns Cozy useful.
A Gentle Look at the Process
Making this lantern offers a rhythmic flow, a meditative experience where each step feels like a gentle dance with creativity. Picture gathering your materials as a soft and straightforward ritual, where every item serves a purpose. Attaching pieces and watching them come together provides a satisfying visual rhythm. The process is both grounding and liberating, allowing your imagination to take flight while knowing exactly how to shape each element into something beautiful. You may also find Diy Glowing Jellyfish Lanterns Cozy useful.
Materials You’ll Need
Gather the following supplies to create your Snowy Wedding Lantern: You may also find Diy Hanging Cup Lanterns useful.
- A clear glass jar or vase (easy to find)
- Faux snow or white glitter (substitute with cotton or fabric for texture)
- LED tealight candle (for safety)
- Twine or ribbon (to add a rustic touch)
- Paint (white for the snow effect, optional for the jar)
- Scissors, glue, and a soft paintbrush
Having everything ready makes the crafting experience smoother and more joyful, letting you focus on the moment rather than searching for items mid-project.
Step-by-Step Directions
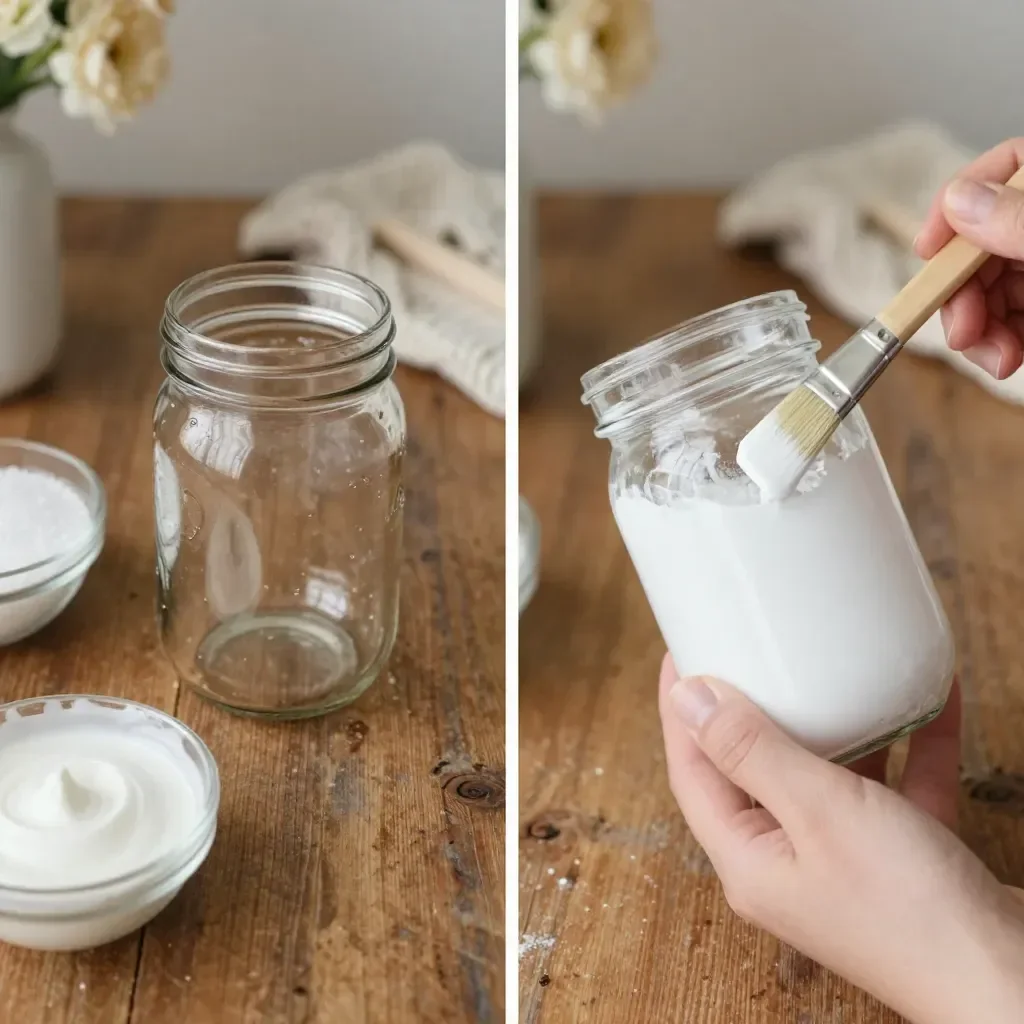
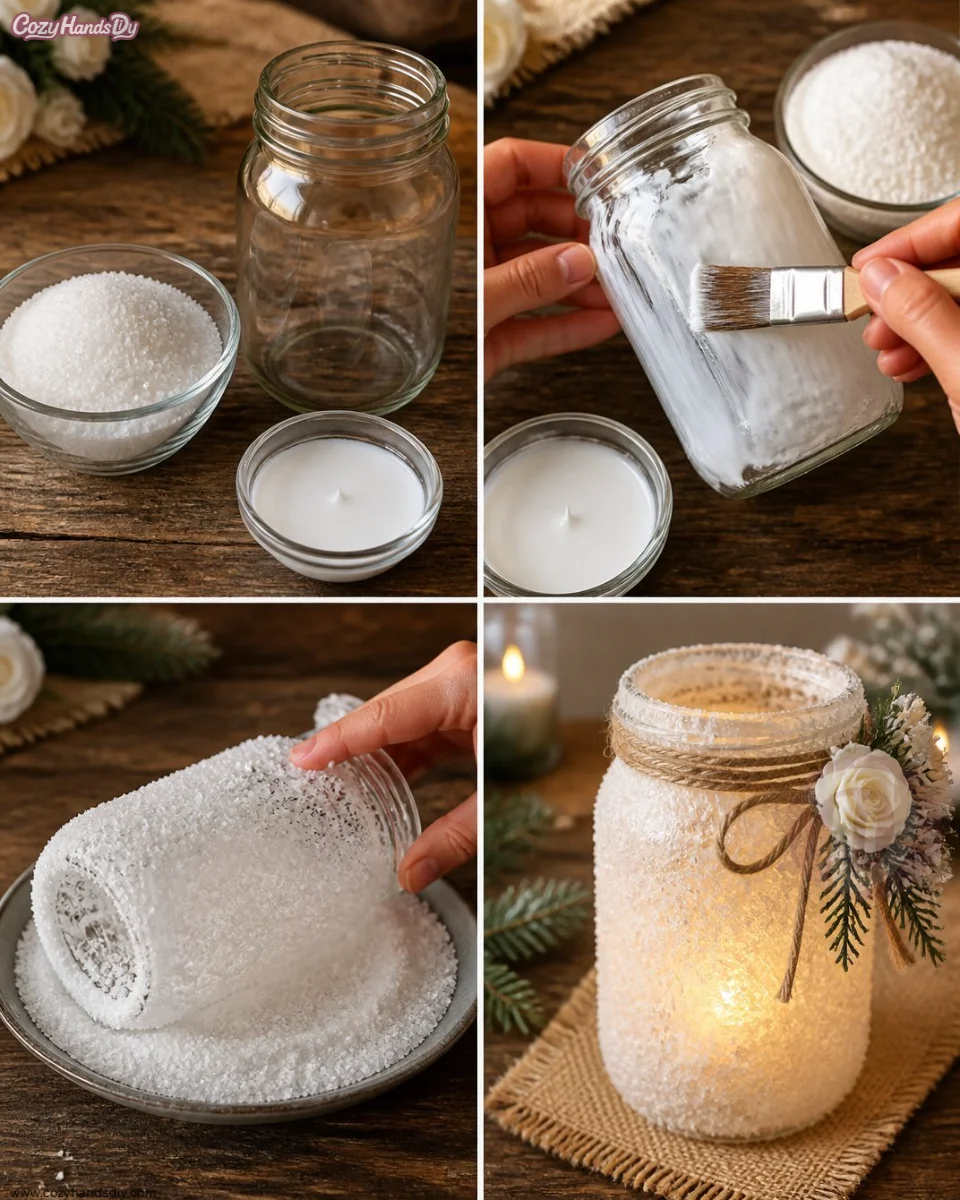
- Begin by choosing your clear jar or vase, ensuring it is clean and dry. This will be the canvas for your lantern.
- If you prefer, paint the outside of the jar white to create a snowy background. Allow it to dry completely before moving on.
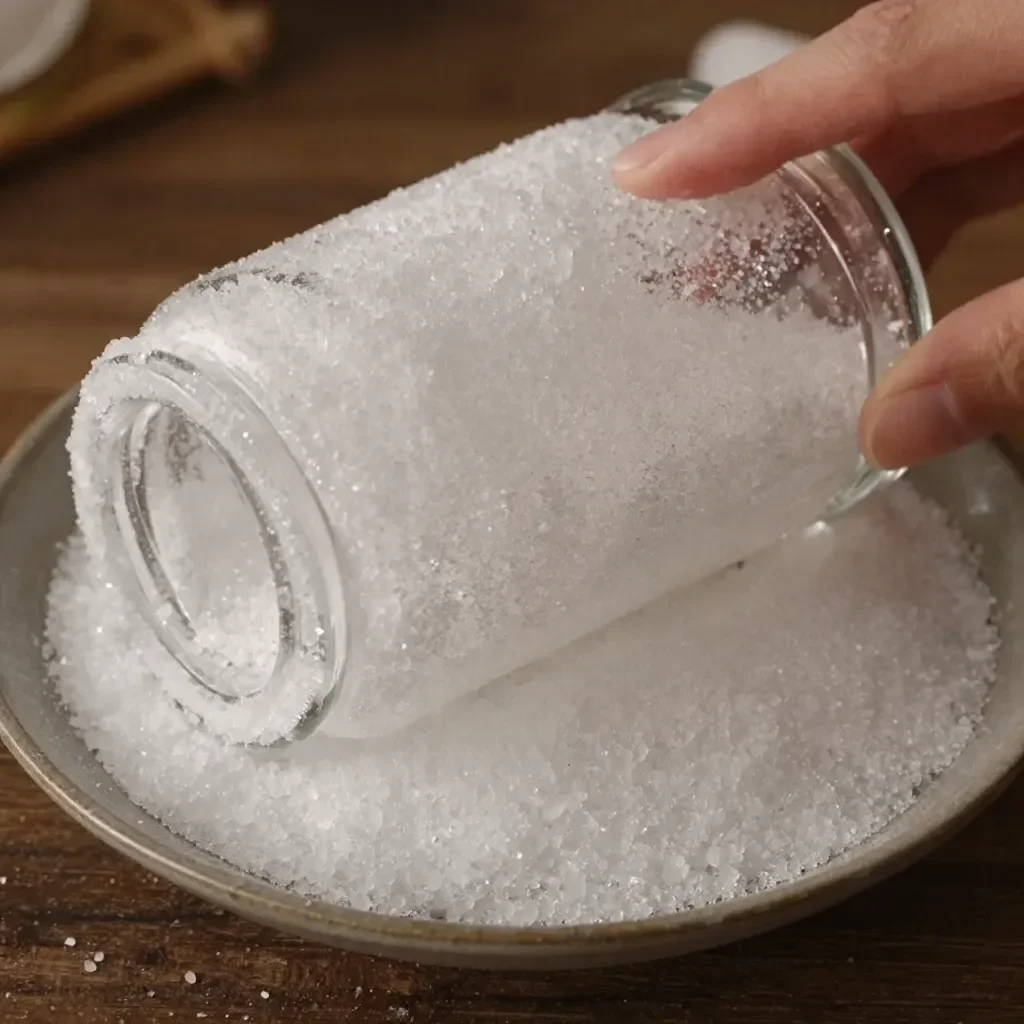
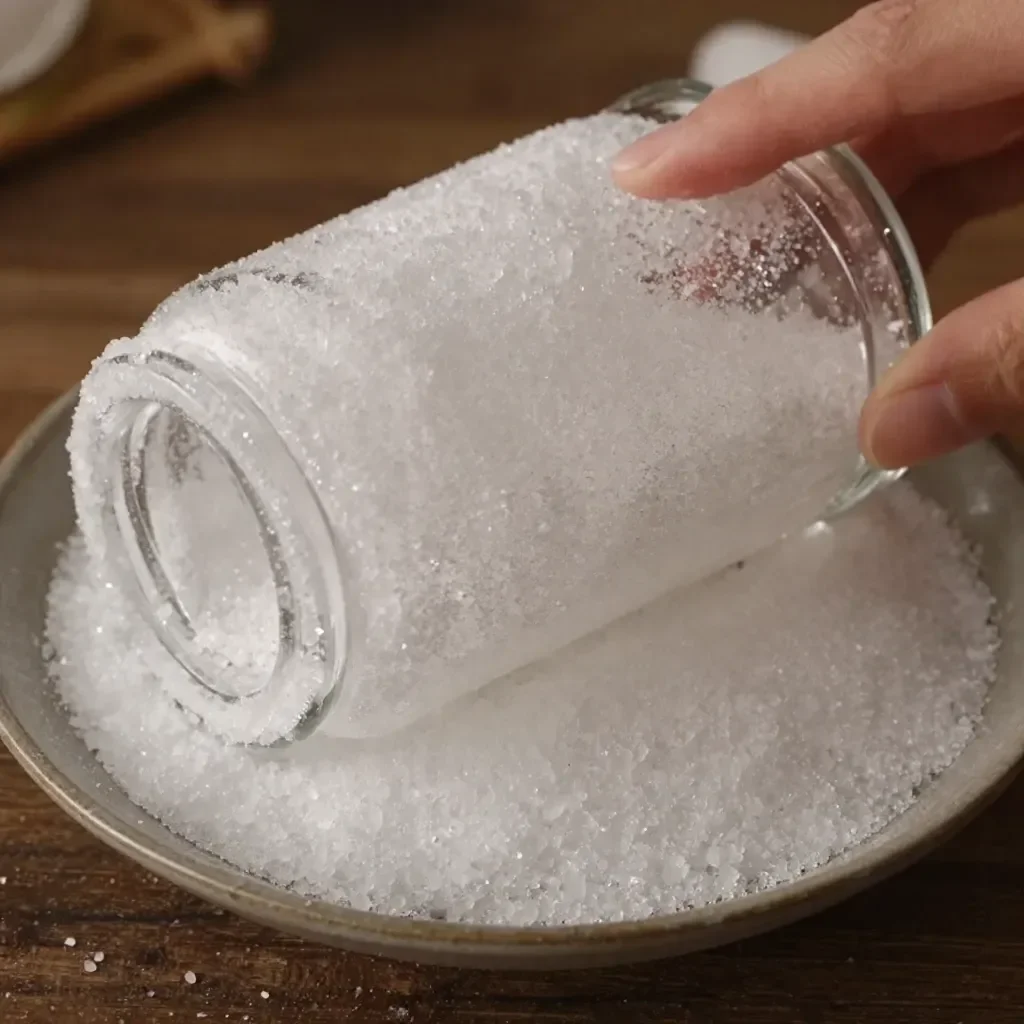
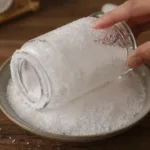
- Gently apply glue around the rim of the jar and sprinkle the faux snow or glitter to create a wintery effect. Allow it to settle while you enjoy the sensory delight of your creation.
- Place the LED tealight candle inside the jar. This light will give your lantern the enchanting glow it needs.
- Wrap twine or a ribbon around the neck of the jar, tying it in a delicate bow for an elegant finishing touch.
Enjoying the Finished Piece
Once your Snowy Wedding Lantern is complete, find a special spot to display it. Consider placing it in a window, allowing the light to shine through and illuminate your space. The soft ambiance created by the flickering LED will bring warmth and comfort to any gathering or quiet evening spent at home. You might also find it makes a beautiful centerpiece during your celebrations, blending seamlessly with festive decor.
Caring for Your Finished DIY
To keep your Snowy Wedding Lantern looking its best, store it in a cool, dry place when not in use. If you choose to use it frequently, do a gentle cleaning of the jar with a damp cloth, avoiding any harsh chemicals that could dull its shine. The lantern can last for many seasons, becoming a cherished piece that brings back memories of your creative journey.
Gentle Tips & Variations
- Experiment with different colors of paint or types of glitter to match your wedding theme or seasonal decor.
- Add small embellishments like dried flowers or twigs inside the jar before placing the candle for extra charm.
- Consider creating a series of lanterns in varying sizes to showcase together for a stunning visual impact.
- Invite friends to join you in making lanterns for a cozy crafting session that sparks creativity and joyful conversation.
FAQs About Snowy Wedding Lantern
What types of materials can I use instead of faux snow?
You can substitute faux snow with cotton balls, wool, or even crumpled white tissue paper to create a different texture.
Is it safe to use a regular candle instead of an LED?
For safety, it’s best to use an LED tealight candle since real candles can present a fire hazard, especially in glass containers.
How can I incorporate this lantern into my wedding?
Use these lanterns as centerpieces or place them along aisles for added enchantment. They can also serve as thoughtful gifts for your guests.
Can I personalize it further?
Absolutely! You can add names or meaningful dates with paint or personalized tags for a unique touch.
What if I want to reuse the materials later?
Consider removing the faux snow carefully, so you can repurpose the jar for different decorations in the future.
Conclusion
Creating a Snowy Wedding Lantern offers an intimate dance with creativity that brings warmth and comfort to any setting. Through this DIY, you’ll not only produce a lovely decorative piece but also contribute to the cozy atmosphere of cherished moments. For unique ideas, consider exploring resources like this white wood lantern or get inspired with a DIY winter terrarium decor idea. Let the light of your creation guide you to sweet reflections and joyful gatherings.
PrintSnowy Wedding Lantern
Create a charming Snowy Wedding Lantern that adds warmth and beauty to your special events with this simple DIY project.
- Prep Time: 10 minutes
- Cook Time: 0 minutes
- Total Time: 10 minutes
- Yield: 1 lantern
- Category: Craft
- Method: Crafting
- Cuisine: N/A
- Diet: N/A
Ingredients
- 1 clear glass jar or vase
- Faux snow or white glitter
- 1 LED tealight candle
- Twine or ribbon
- White paint (optional)
- Scissors
- Glue
- Soft paintbrush
Instructions
- Begin by choosing your clear jar or vase, ensuring it is clean and dry.
- If you prefer, paint the outside of the jar white to create a snowy background.
- Gently apply glue around the rim of the jar and sprinkle the faux snow or glitter.
- Place the LED tealight candle inside the jar.
- Wrap twine or a ribbon around the neck of the jar, tying it in a delicate bow.
Notes
Experiment with different colors of paint or types of glitter to match your wedding theme.