

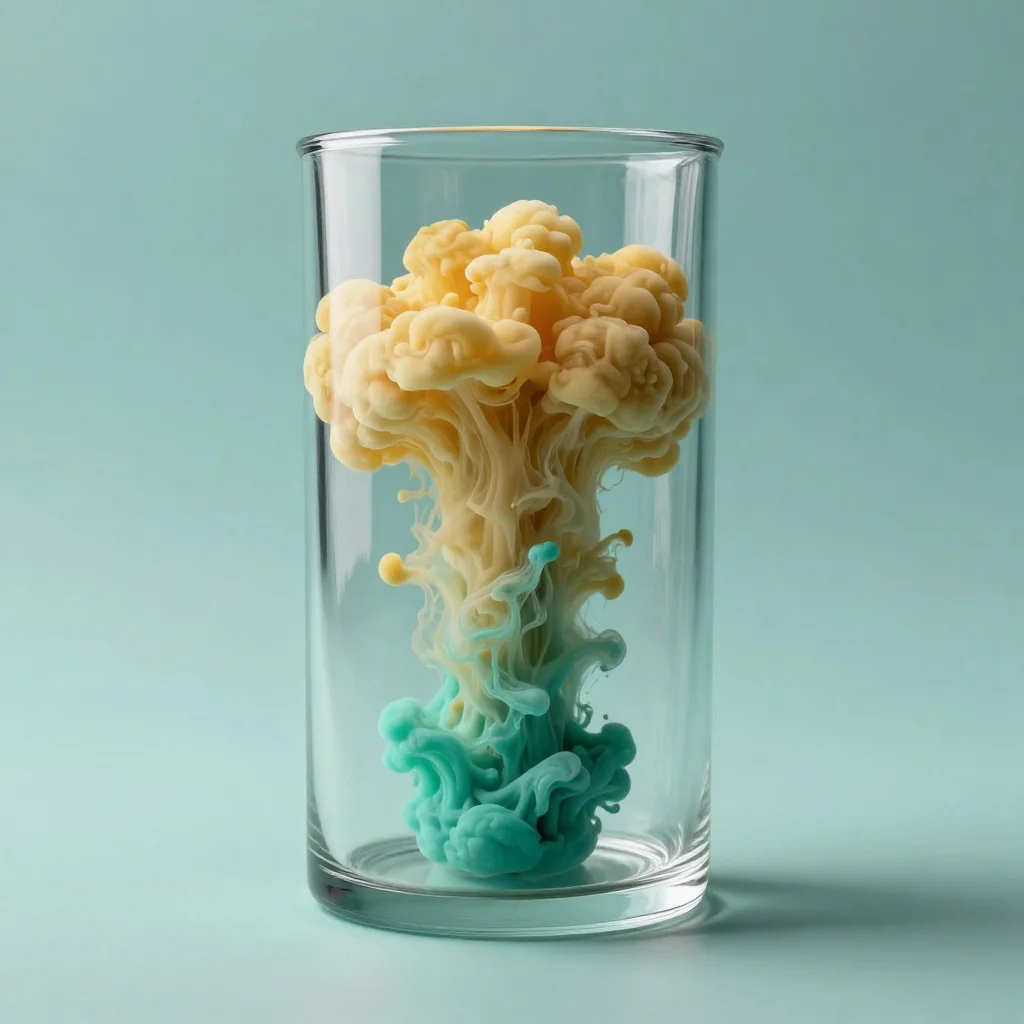
Creating a Salt Volcano evokes a profound sensory experience, one that merges sight, sound, and touch into a harmonious whole. As the warm colors of salt crystals blend together and the gentle whisper of bubbling reactions fills the air, the atmosphere becomes alive with joy and creativity. The tactile sensation of grains slipping through fingers invites a mindful connection to the process itself. This quiet activity opens space for relaxation, turning our attention to simple, beautiful moments.
The Heart Behind This DIY
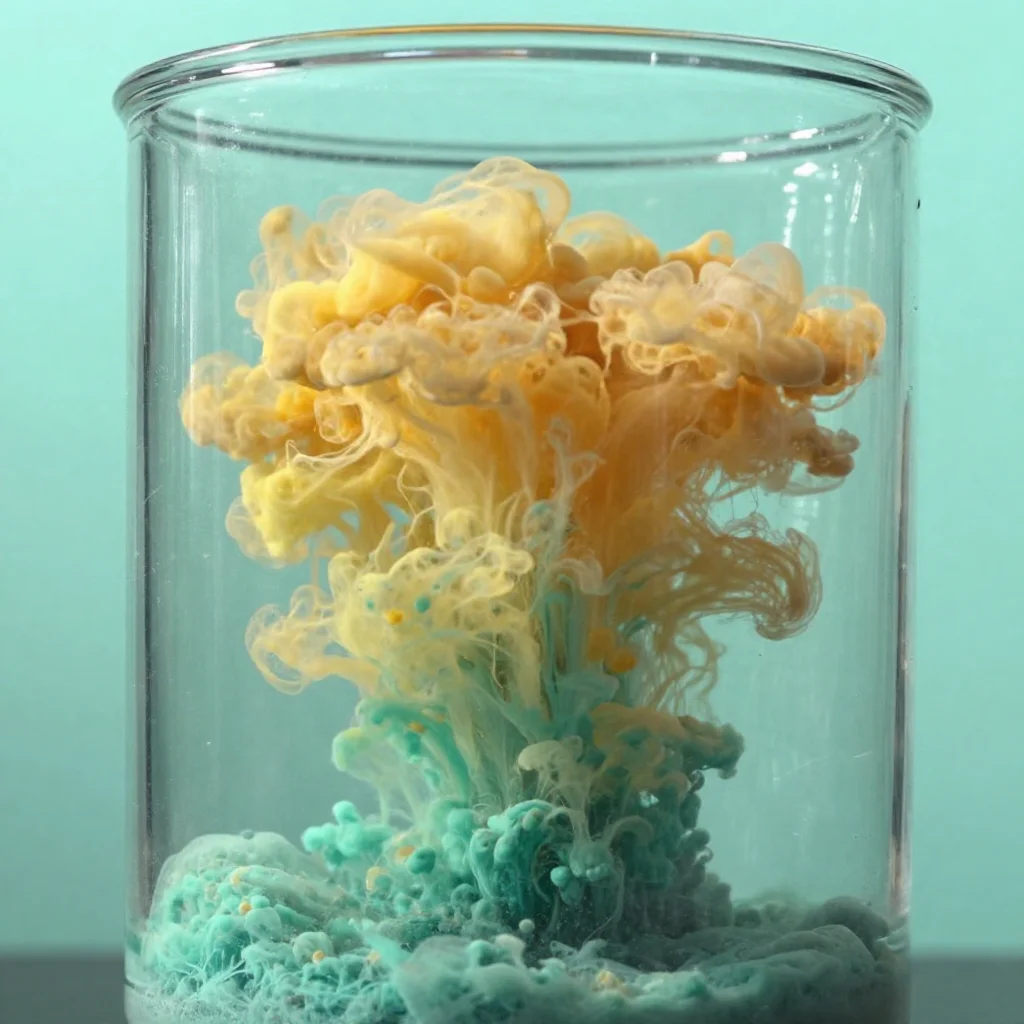
Making a salt volcano nurtures both the body and the mind. The rhythmic movements involved in pouring and mixing slow our thoughts and help us focus. This project combines a sense of discovery with the comforting act of creation, encouraging a mindful connection to our surroundings. The textured layers of salt provide a calming focus, allowing the mind to wander softly as colors blend and fizz.
As the mixture reacts, our senses awaken to the delicious smell of vinegar and the soft sound of bubbling foam. Each step in the process builds anticipation and delight. Engaging with this DIY project invites feelings of peace and satisfaction, reminding us of the joy in letting go and allowing ourselves to flow. This gentle exploration fosters an environment where we can relish creativity without pressure, transforming simple ingredients into a charming display.
A Gentle Look at the Process
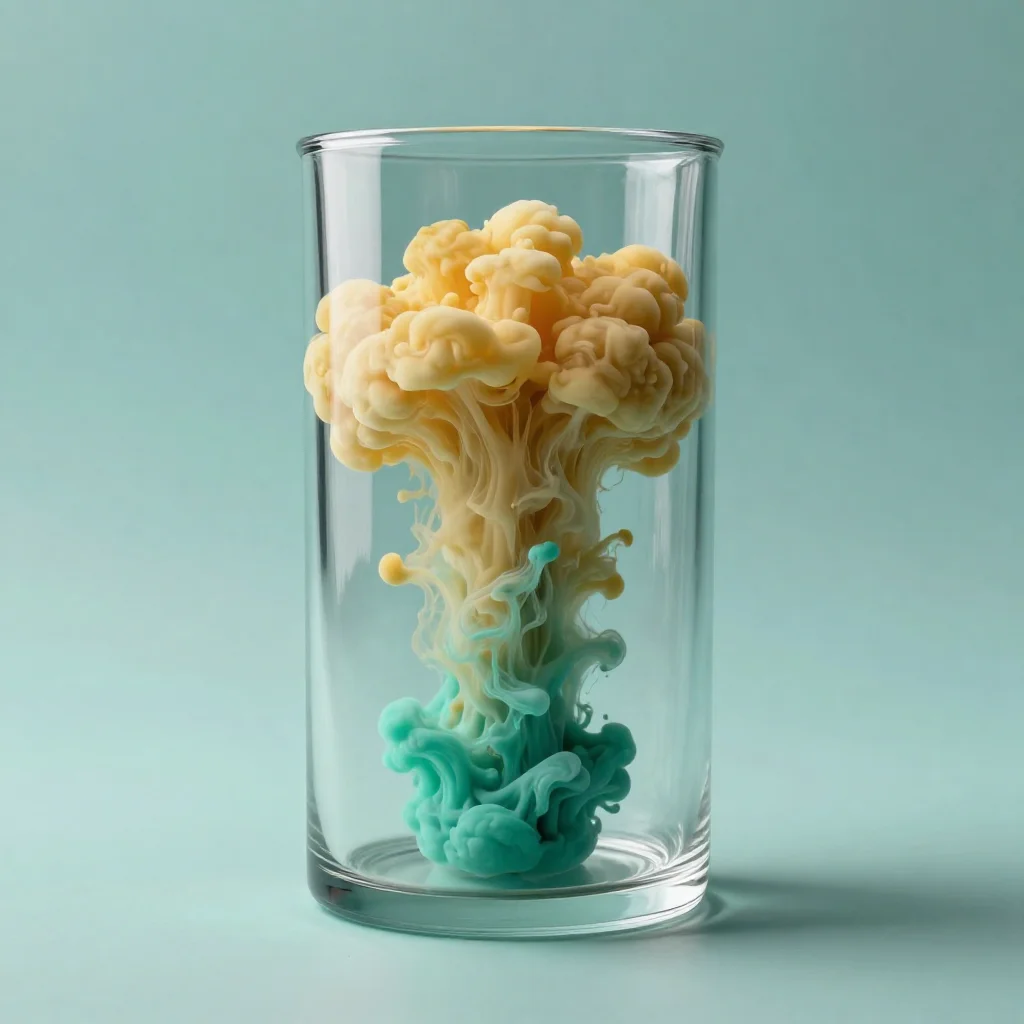
Creating a salt volcano unfolds like a dance. You start with gentle movements, pouring and layering. Then, as materials mingle, a vibrant spectacle comes to life. This soft rhythm may draw you into a meditative state, offering sensory delights throughout. The warmth of colors, the granularity of salt, and the fizz of vinegar combine in a delightful chorus.
To truly appreciate this DIY, we gather our materials with intention. Each item plays its part in this performance, and taking moments to explore textures and sounds elevates the experience. Whether you enjoy the smooth contours of a jar or the delicate crunch of salt, everything contributes to a sense of well-being. Now, let us gather the materials in a thoughtful manner.
Materials You’ll Need
- Table salt (easy to find)
- White vinegar (substitute-friendly with lemon juice)
- Baking soda (for a delightful fizz)
- Food coloring (optional, for vibrant effects)
- A clear jar or container (to showcase your creation)
- Tray or dish (to contain spills)
Gathering these materials sets the stage for a cozy creation. Each item brings its own texture and sound, enriching the careful composition of your salt volcano.
Step-by-Step Directions
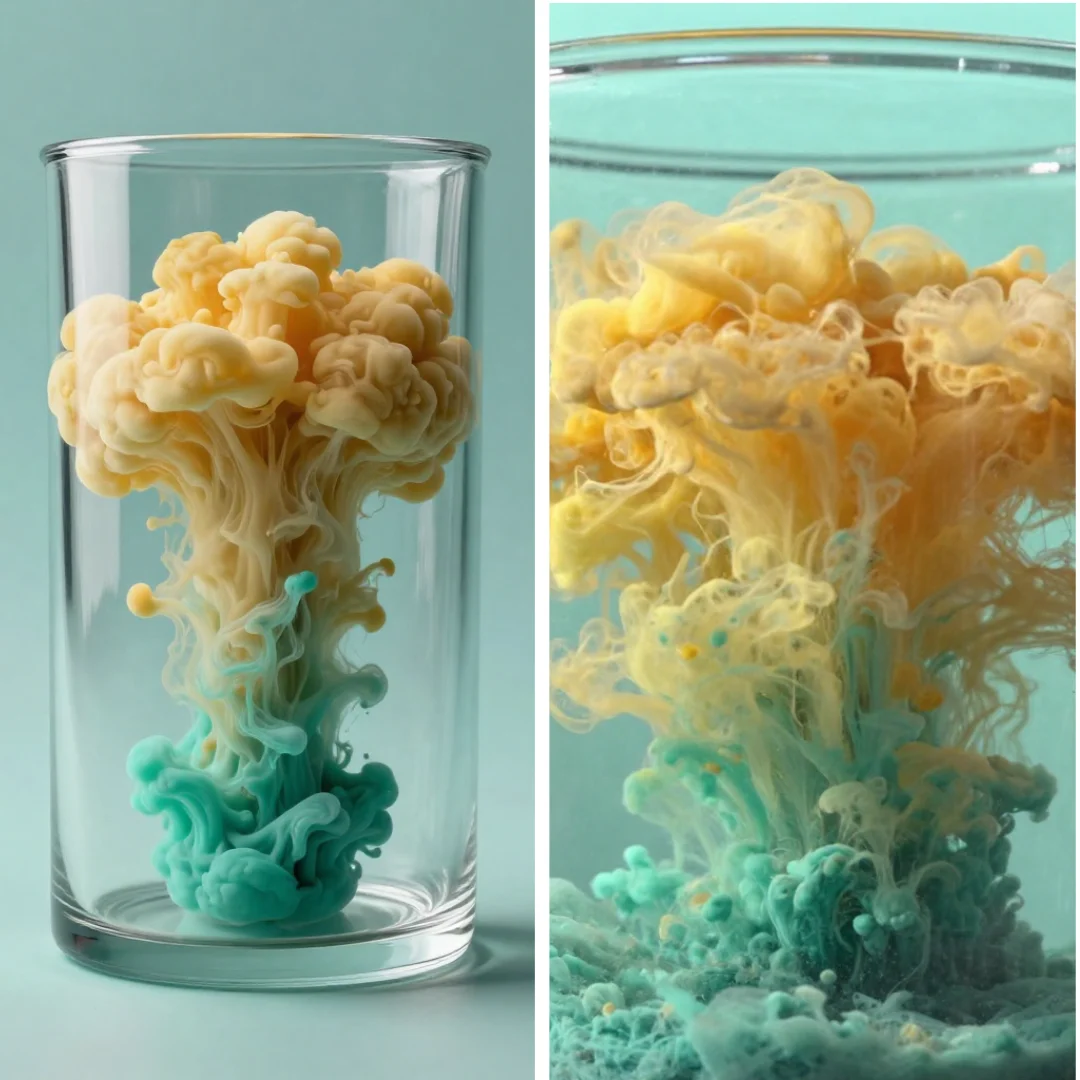
Start by placing your jar on the tray. This will catch any overflow and keep the process neat.
Pour about half a cup of salt into the jar. Notice how the grains tumble and settle, forming a comforting mound.
In a separate bowl, mix around two tablespoons of baking soda with a few drops of food coloring. The colors swirl together gently, inviting excitement.
Carefully layer the baking soda mixture on top of the salt. Watch how it creates a contrasting texture as it rests on the salt’s surface.
Slowly pour about a half cup of white vinegar into the jar. Listen as the vinegar meets the baking soda, creating a delightful fizzing sound that fills the air.
Observe the colors blend and the reaction grow. The explosion of bubbles transforms your simple creation into a lively spectacle.
Enjoying the Finished Piece
Your salt volcano is more than just a project; it becomes a centerpiece of joy. Place it where you can observe it, allowing the soothing sights and sounds to remind you of the cozy moments you spent creating it. Each bubbling eruption invites laughter and awe, turning it into an interactive display.
You can even take this delightful experience further by inviting family or friends to gather around. It becomes a shared joy, a simple reminder of the beauty found in collaboration and creativity.
Keeping It for Later
Caring for your salt volcano is simple. Store it in a cool, dry place if you want it to last. The beauty of this project lies in its potential for reuse. If you notice the colors fading, you can refresh it with new food coloring or adjust the salt and vinegar mixtures for another round of bubbling joy.
An essential part of retaining the craft is maintaining its environment. When stored properly, your salt volcano can remain a comforting piece of decor or an inspiring educational tool for kids exploring science and creativity.
Gentle Tips & Variations
Consider these gentle invitations as you reflect on your salt volcano creation:
- Experiment with different containers. Try various shapes or sizes to see how they change the eruption effect.
- Use other liquids like essential oils for added scents. This can enhance the sensory experience even more.
- Explore different color combinations. Create rainbow layers or seasonal themes to bring your volcano to life.
- Invite friends to join in and share their variations. This can foster shared moments and creative collaboration.
Each tip serves to invite exploration rather than dictate. Follow your instinct to adapt and personalize your experience.
FAQs About Salt Volcano
What is the science behind the salt volcano?
The reaction results from combining baking soda and vinegar. When they meet, they create carbon dioxide gas, leading to bubbling and fizzing effects.
Can I let my kids participate in making a salt volcano?
Absolutely! This can be a wonderful, safe activity for children. It encourages hands-on learning and observation.
How long will the reaction last?
The initial eruption is typically brief, often lasting a few minutes. You can refresh the reaction with more vinegar and baking soda to spark another burst of excitement.
Are there any safety concerns with this DIY?
This project is generally safe, but always supervise children. Keep the materials out of reach when not in use.
A Gentle Note Before You Go
Creating a salt volcano is a beautiful exercise in mindfulness, creativity, and sensory engagement. Take a moment to reflect on the textures, colors, and sounds you encountered. Allow each aspect of the process to linger in your mind, savoring the calm it brought you.
As you continue to explore with CozyHandsDIY, remember that each project offers an opportunity for grounding and enjoyment. For further inspiration, consider checking out resources that delve deeper into scientific experiments like the salt volcano through What Do We Do All Day and explore more structured science activities at Exploratorium. Embrace the creativity that flows from your hands, finding joy in both the process and the result.
PrintDIY Salt Volcano
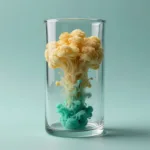
Create a sensory-rich salt volcano using common household ingredients for a delightful and educational experience.
- Prep Time: 10 minutes
- Cook Time: 5 minutes
- Total Time: 15 minutes
- Yield: 1 salt volcano
- Category: DIY
- Method: DIY Project
- Cuisine: N/A
- Diet: N/A
Ingredients
- Table salt (half a cup)
- White vinegar (half a cup, substitute-friendly with lemon juice)
- Baking soda (two tablespoons)
- Food coloring (optional)
- A clear jar or container
- Tray or dish (to contain spills)
Instructions
- Start by placing your jar on the tray.
- Pour about half a cup of salt into the jar.
- In a separate bowl, mix around two tablespoons of baking soda with a few drops of food coloring.
- Carefully layer the baking soda mixture on top of the salt.
- Slowly pour about a half cup of white vinegar into the jar.
- Observe the colors blend and the reaction grow.
Notes
Experiment with different containers and liquids for added sensory experiences. Perfect for group activities!