


The gentle feel of soft dough between your fingers can create a space filled with calm. As you knead the mix, you become aware of its smooth texture, a contrast to the busy thoughts that often swirl in your mind. This sensory experience becomes even more profound when making Salt Dough Handprint Ornaments, a project that captures both the joyful creativity of crafting and the tender memories of little hands. Every squash and press offers a soothing rhythm, allowing you to connect to the moment while crafting something cherished. You may also find Baking Soda Colorful Cloud Ornaments useful.
Why Make This Salt Dough Handprint Ornaments
Making Salt Dough Handprint Ornaments allows you to slow down and embrace the simple joys of life. As you roll out the dough, the world outside fades away, and all that remains is the soft sound of the dough pressing against your work surface. This project invites you to experience the beauty of imperfection through the handprints of loved ones, each ornament telling a story uniquely its own. Engaging in this creative process can inspire mindfulness, as each shape and detail emerges from a moment shared. To further enhance the making experience, consider exploring other sensory crafts like calming lavender play dough.
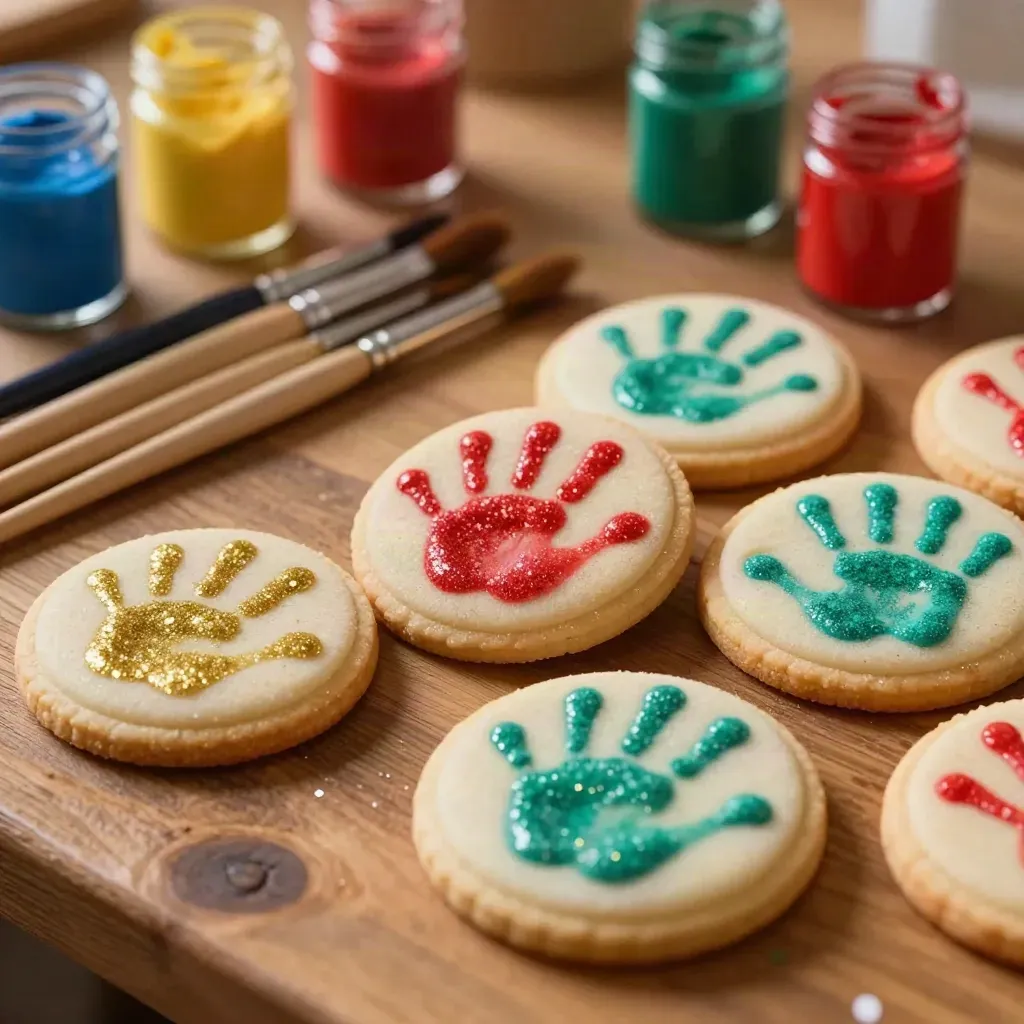
A Gentle Look at the Process
Before diving into the making, let’s explore how these ornaments come together. The process gently unfolds, starting with the preparation of a simple dough that transforms into a canvas for memories. Picture the sound of the rolling pin gliding across the surface as you flatten the dough, releasing the warmth of your hands into the mix. With each step, the anticipation builds, turning a sensory experience into a cherished craft. The creation feels like a dance, where movement, texture, and light combine harmoniously. You may also find Baking Soda Galaxy Ornaments useful.
Materials You’ll Need
Gathering materials for your Salt Dough Handprint Ornaments is part of the joy. Here’s what you’ll need: You may also find Birdseed Ornaments useful.
- All-purpose flour (easy to find)
- Salt
- Water
- Mixing bowl
- Rolling pin
- Baking sheet
- Optional paint or natural dye for decoration
- String or ribbon for hanging
These supplies help create a tangible memory that can last for years, capturing a snapshot of time in a playful way.
Step-by-Step Directions
Prepare the Dough: In a mixing bowl, combine 1 cup of flour and 1 cup of salt. Gradually add 1/2 cup of water, mixing until it forms a soft dough.
Knead the Dough: Turn the dough out onto a floured surface. Knead it gently for about 5 minutes. The dough should be smooth and pliable, reflecting warmth.
Roll Out the Dough: Using a rolling pin, roll out the dough to about 1/4 inch thickness. Enjoy the rhythmic motion as you spread it out evenly.
Make the Handprint: Press your little one’s hand gently into the dough, ensuring the imprint is deep enough to see. Each handprint will uniquely capture the moment.
Cut the Shapes: Use cookie cutters or a knife to cut the ornament’s shape around the handprint. You might choose classic circles or fun shapes that speak to your creative side.
Add Holes: Before baking, make a small hole at the top of each ornament for hanging. A straw works great for this purpose.
Bake the Ornaments: Preheat your oven to 175°F (approximately 80°C). Place the ornaments on a baking sheet and bake for about 2 hours until hard. The gentle warmth will fill the home with comfort.
Cool and Decorate: Once cool, you can paint or decorate them as you wish, adding personal touches. Maybe a sprinkle of glitter or a fun design that reflects the personality of your little one.
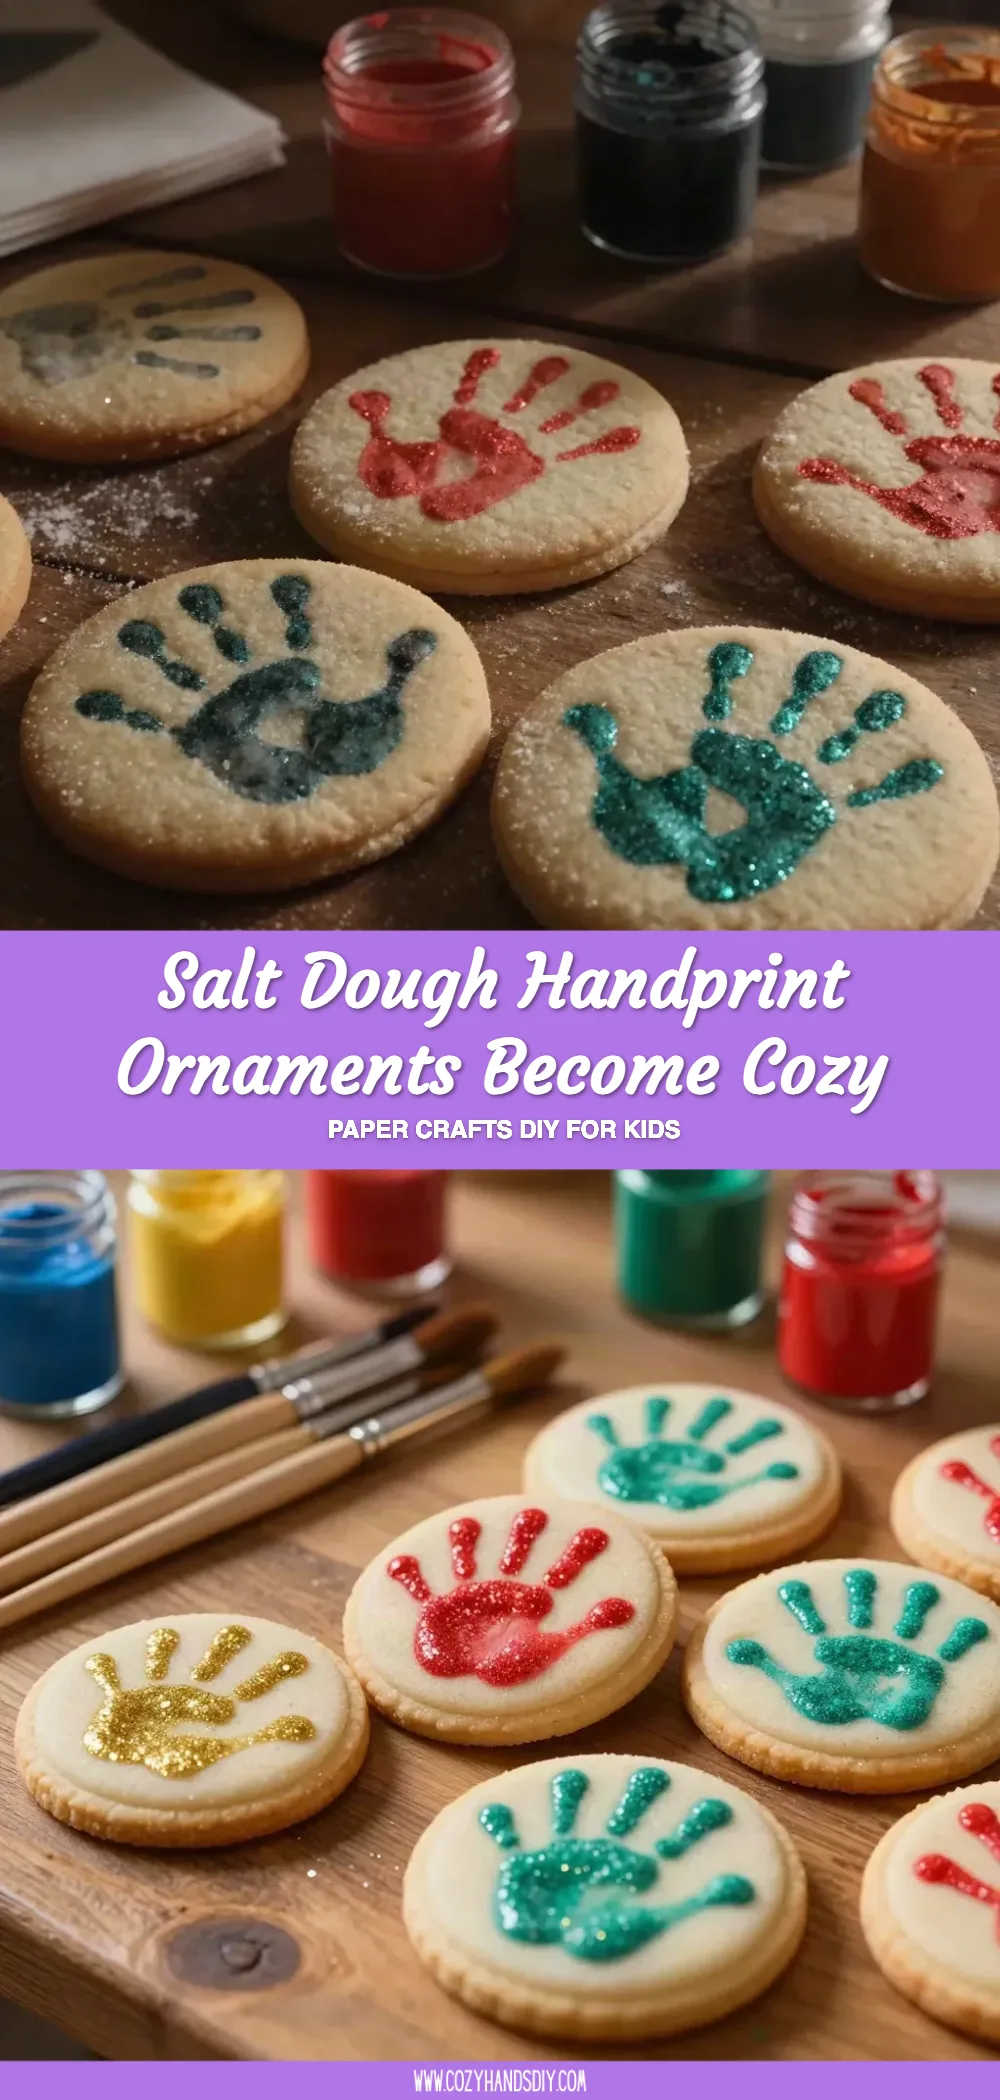
Enjoying the Finished Piece
Salt Dough Handprint Ornaments can beautifully enhance any space. You might hang them on a festive tree during the holiday season or display them on shelves throughout the year. The softness of the ornaments adds warmth to your home, serving as a daily reminder of precious moments shared. Imagine the light streaming through the windows, illuminating the handcrafted designs, evoking feelings of nostalgia and joy.
Keeping It for Later
Taking care of your ornaments ensures they remain cherished mementos. Store them in a cool, dry place away from direct sunlight to prevent any wear. If you wish to revisit this craft, consider reusing the techniques for new handprints, particularly as your child grows. This practice not only keeps the experience fresh but also highlights the changes in their little hands over time.
Gentle Tips & Variations
- Personalize It: Use natural dyes to change the color of the dough before baking, adding an extra touch of uniqueness.
- Include Pet Prints: If you have furry friends, consider capturing their paw prints for a delightful addition to your collection.
- Experiment with Sizes: Make mini ornaments or larger ones depending on the space you plan to use them in.
- Explore Texture: You can add texture to the ornaments using leaves, lace, or even stamps before baking, creating a striking visual appeal.
- Gift with Love: Consider creating these ornaments as gifts for family members, adding an extra layer of sentiment to your crafting.

FAQs About Salt Dough Handprint Ornaments
Can I paint my handprints after baking?
Yes, you can paint the ornaments once they are completely cool. This allows you to personalize them however you desire.
How long do these ornaments last?
When stored properly, Salt Dough Handprint Ornaments can last for many years, becoming treasured keepsakes.
Do I need to bake the dough?
Baking the ornaments is essential for hardening the dough and making it durable. Air drying isn’t recommended as it may lead to crumbling.
Is it safe for young children?
Yes, the ingredients are non-toxic, making this craft safe for kids to engage with. However, always supervise them while crafting.
Conclusion
Crafting Salt Dough Handprint Ornaments is more than just a fun activity; it becomes a soothing ritual that connects you to moments of joy. As you explore this creative process, don’t forget to delve into more ideas like the best salt dough for ornaments and the charming DIY salt dough handprint ornament projects you can embark on. Let each creation remind you of the importance of slowing down and embracing the little joys in life’s crafting journey.
PrintSalt Dough Handprint Ornaments

A creative and soothing craft to make Salt Dough Handprint Ornaments that capture precious moments with loved ones.
- Prep Time: 15 minutes
- Cook Time: 120 minutes
- Total Time: 135 minutes
- Yield: 10 ornaments
- Category: Crafts
- Method: Baking
- Cuisine: N/A
- Diet: N/A
Ingredients
- 1 cup all-purpose flour
- 1 cup salt
- 1/2 cup water
- Mixing bowl
- Rolling pin
- Baking sheet
- Optional paint or natural dye for decoration
- String or ribbon for hanging
Instructions
- Prepare the dough: In a mixing bowl, combine 1 cup of flour and 1 cup of salt. Gradually add 1/2 cup of water, mixing until it forms a soft dough.
- Knead the dough: Turn the dough out onto a floured surface. Knead it gently for about 5 minutes.
- Roll out the dough: Using a rolling pin, roll out the dough to about 1/4 inch thickness.
- Make the handprint: Press your little one’s hand gently into the dough, ensuring the imprint is deep enough.
- Cut the shapes: Use cookie cutters or a knife to cut the ornament’s shape around the handprint.
- Add holes: Before baking, make a small hole at the top of each ornament for hanging.
- Bake the ornaments: Preheat your oven to 175°F (approximately 80°C) and bake for about 2 hours.
- Cool and decorate: Once cool, paint or decorate them as you wish.
Notes
Store ornaments in a cool, dry place away from direct sunlight to maintain their quality.