

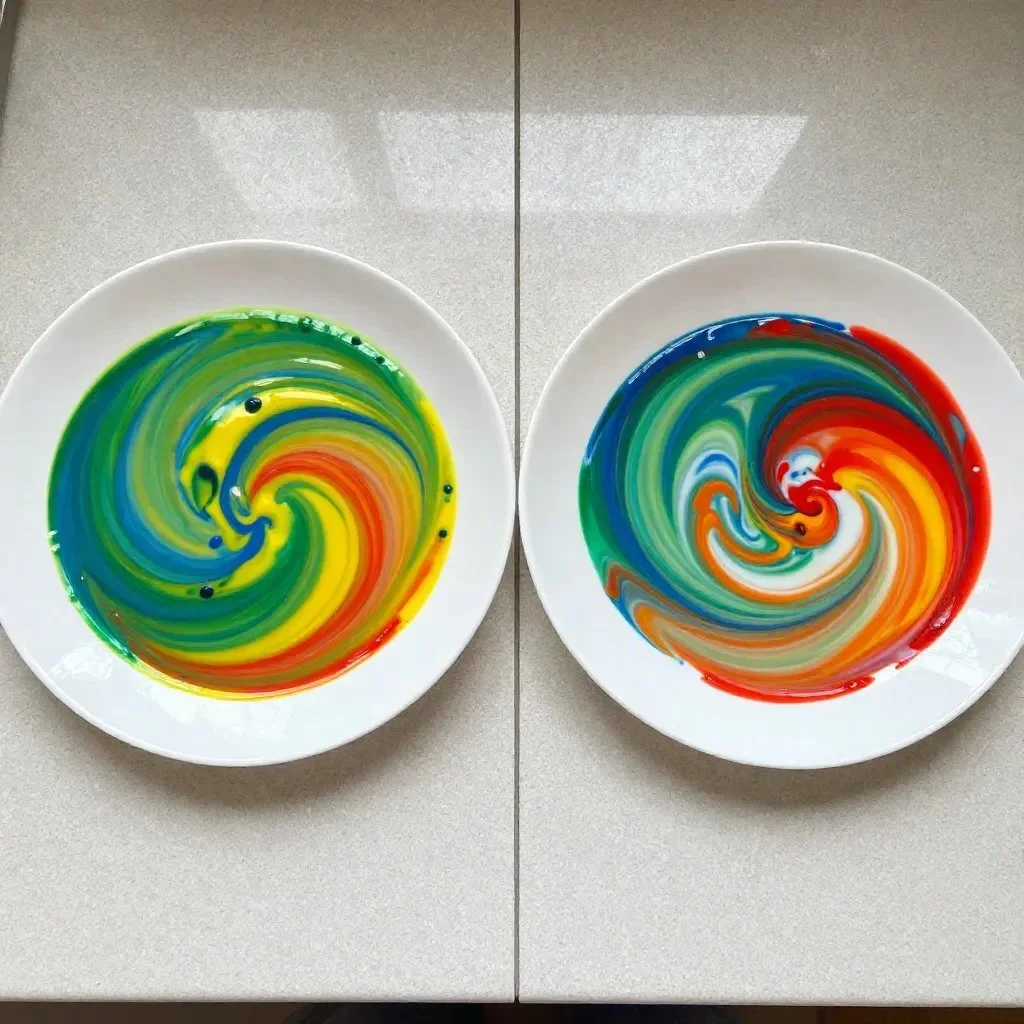
The soft swirls of milk dancing in vibrant colors create a tranquil visual experience. As the hues blend and bloom across the surface, they invite you into a mindful moment of creation. This DIY, known as the Rainbow Milk Magic Print, captures the subtle charm of simple ingredients coming together to craft something beautiful. The gentle movement and the way colors flow together can soothe your mind and inspire playful creativity, making it a wonderful project to engage in, especially with loved ones. You may also find Magical Milk Jug Lanterns Cozy useful.
The Heart Behind This DIY
Crafting the Rainbow Milk Magic Print is more than just a fun activity; it offers a soothing escape from the busy pace of everyday life. The blending of colors in milk can remind us of the beauty found in the ordinary. This project encourages us to slow down and focus on the moment, filling the space with calming creativity. The sensory experience of watching colors merge promotes mindfulness, inviting a sense of peace and exploration. Engaging in this type of hands-on creativity can foster connections, whether it’s with nature, loved ones, or even encouraging a connection with oneself. You may also find Baking Soda Rainbow Crystal Forest Rainbow Crystals useful.
A Gentle Look at the Process
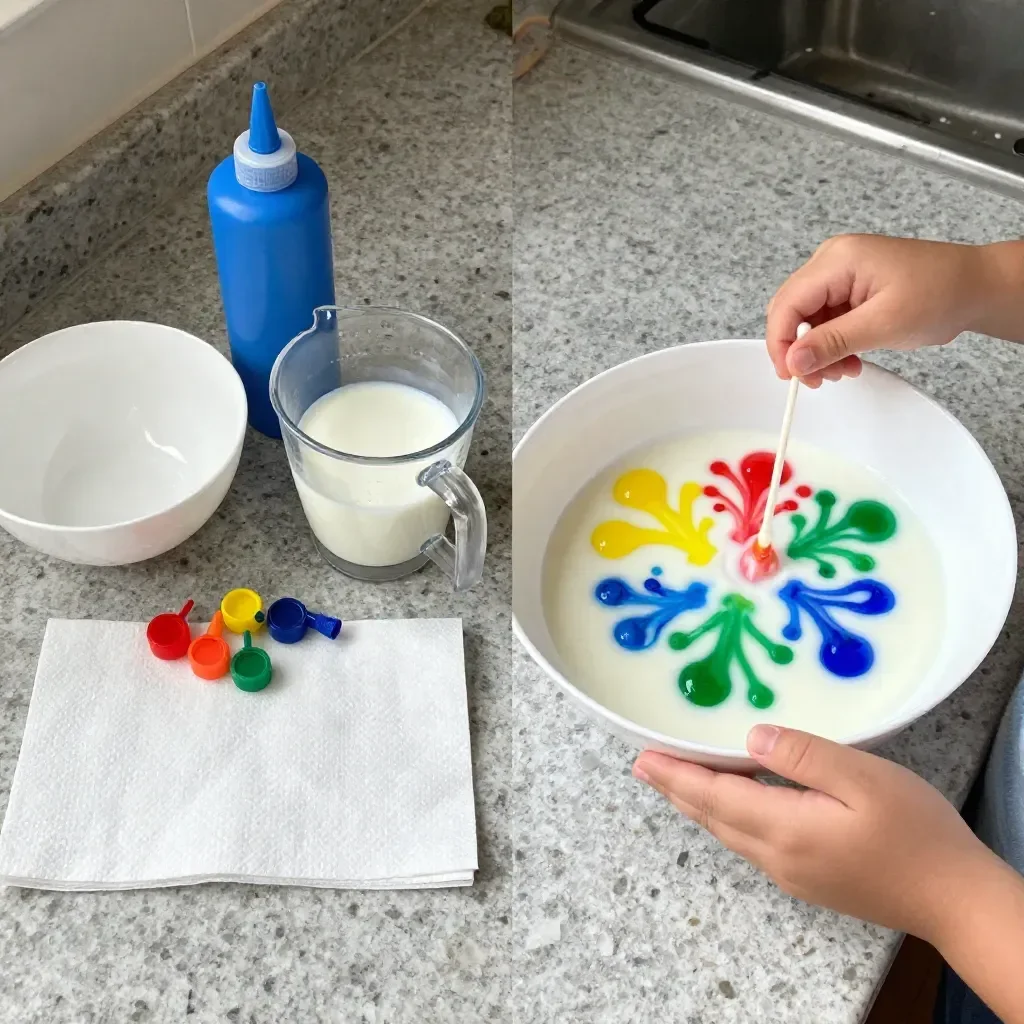
The process of making your Rainbow Milk Magic Print unfolds like a quiet performance. You’ll feel the soft tug of cotton balls against your fingertips as they dip into colors, inviting gentle anticipation of the bursts of color that will follow. As you set up, the smells of food coloring and milk intermingle, creating a sensory atmosphere. Expect to enjoy moments of exploration as colors spread, swirl, and dance across the surface of the milk. This project is not only about the final print; it’s about enjoying the tactile sensations, visual delights, and the calm rhythm of creation. You may also find Baking Soda Rainbow Crystal Forest Recipe useful.
Materials You’ll Need
- Whole milk (or any milk of your choice)
- Food coloring (liquid or gel)
- Dish soap
- Cotton balls or Q-tips
- A shallow dish or pie plate
- Paper (for printing)
Before you begin, gather everything in a cozy, well-lit space where you can comfortably create. Most of these materials are easy to find in your kitchen or craft supplies, making this DIY accessible and inviting. You may also find Baking Soda Rainbow Crystal Forest useful.
Step-by-Step Directions
- Pour a layer of milk into your shallow dish, covering the bottom completely.
- Add drops of food coloring in different spots around the milk, letting the colors settle for a moment.
- Take a cotton ball or Q-tip and dip it into dish soap.
- Gently touch the cotton to the surface of the milk in one of the color spots. Observe how the colors explode and spread away from the soap.
- Lift the cotton ball and place it on a piece of paper to create your print. Repeat this process to fill the paper with beautiful shapes and colors.
- Experiment with different color combinations and techniques, enjoying the unique patterns that emerge.
Enjoying the Finished Piece
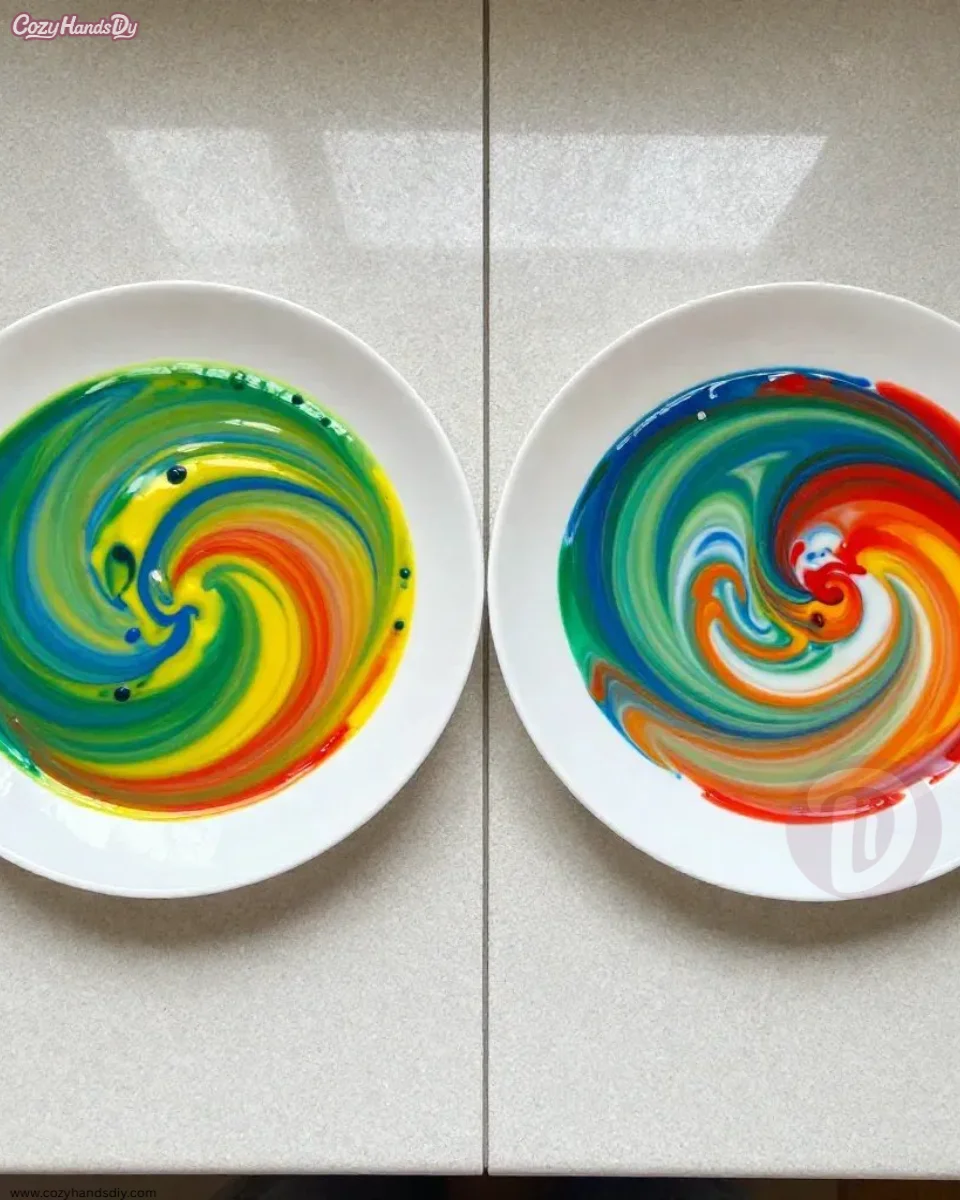
Once you have created your prints, it’s time to truly appreciate your work. These beautiful renditions can be displayed in your home as reminders of joyful moments and calming creativity. You might find happiness in framing them, turning them into cards, or simply sharing them with friends and family. They can serve as decorations that brighten up a cozy corner or a child’s room, bringing warmth and color into everyday life.
Keeping It for Later
The prints you create from your Rainbow Milk Magic project can be relatively durable if handled with care. To preserve them, allow the paper to dry completely before storing in a flat, dry place. If you want to reuse the milk mixture, consider using a fresh approach each time, as the beauty unfolds uniquely with every creation.
Gentle Tips & Variations
- Experiment with different types of milk to see how the results change; almond or coconut milk can offer unique textures and colors.
- Add an element of surprise by using glitter or iridescent powders for an extra shimmer effect.
- Invite friends or children to explore with you, creating a collaborative piece that reflects everyone’s creativity.
- Instead of paper, use canvas for a more textured surface that can be hung as artwork.
FAQs About Rainbow Milk Magic Print
What kind of milk works best for this project?
While whole milk is often recommended for its fat content, you can experiment with different types of milk to see how they affect the swirl of colors.
Can I use other colorants besides food coloring?
Yes, you can try liquid watercolors, powdered pigments, or even natural dyes from vegetables. Just be aware that results may vary.
How can I ensure a clean print?
Make sure to gently lift the cotton ball straight up without dragging it across the surface to maintain the integrity of the colors.
A Gentle Note Before You Go
Creating the Rainbow Milk Magic Print invites you to step into a moment of creativity and calm. As you explore colors blending and shifting, take your time. Allow space for reflection, savoring the tactile processes, and know that your finished creations reflect not just your artistic touch but the joy of making something unique. Let this practice of creation nurture your spirit and enhance your environment.
Conclusion
The Rainbow Milk Magic Print is a delightful way to engage in the art of making while cultivating mindfulness and creativity. If you're interested in more science-based activities, consider reading
How to Do the Magic Milk Science Experimentor discover the
Magic Milk Science Experiment – Amazing Explosion of Color!for even more inspiring projects. Enjoy your creative exploration!