

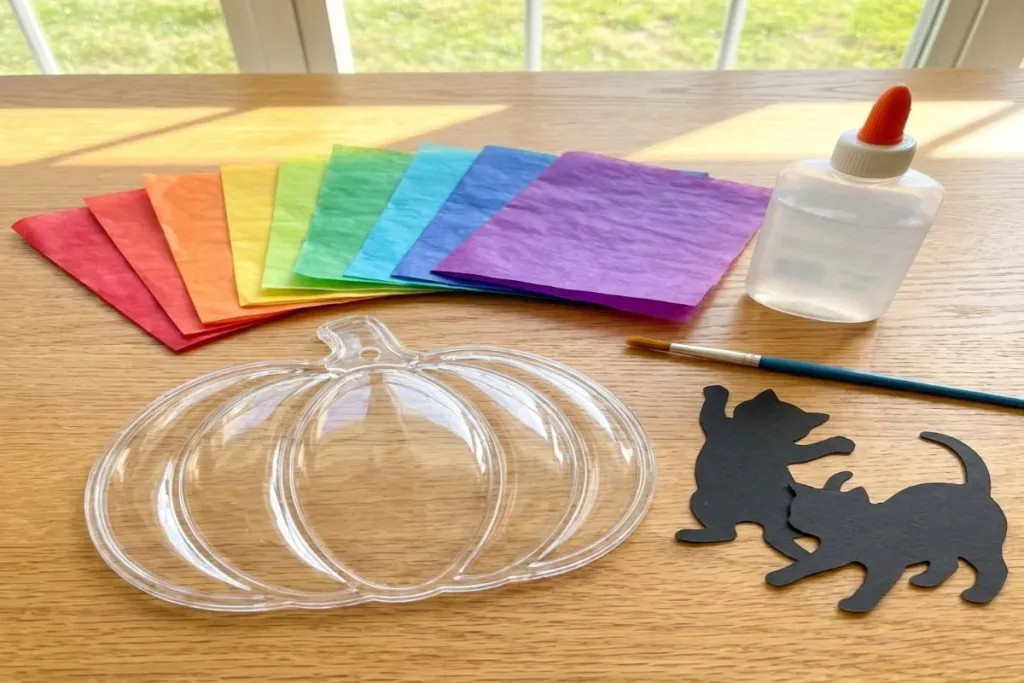
The colorful glint of sunlit glass catches your eye as you sit at your crafting table, surrounded by soft textures and the gentle hum of the world outside. Creating a Rainbow Kitten Pumpkin Suncatcher can transform a cheery afternoon into a calming experience, where focus shifts from life’s chaos to the rhythmic movements of your hands and the vibrant hues that bring joy and warmth to your space. You may also find Back To School Rainbow Pencil Suncatcher 2 useful.
Why Make This Rainbow Kitten Pumpkin Suncatcher
Engaging in this crafting journey offers a meditative moment, inviting you to slow down and appreciate each step. The act of creating a Rainbow Kitten Pumpkin Suncatcher becomes a sensory journey that encompasses the soft sounds of your materials, the feel of the smooth glass, and the watchful colors transforming under your hands. This process celebrates not just the art itself, but also the joy of making something beautiful. Much like other joyful projects showcased, such as the Back to School Rainbow Pencil Suncatcher, this DIY encourages mindfulness and a sense of accomplishment.
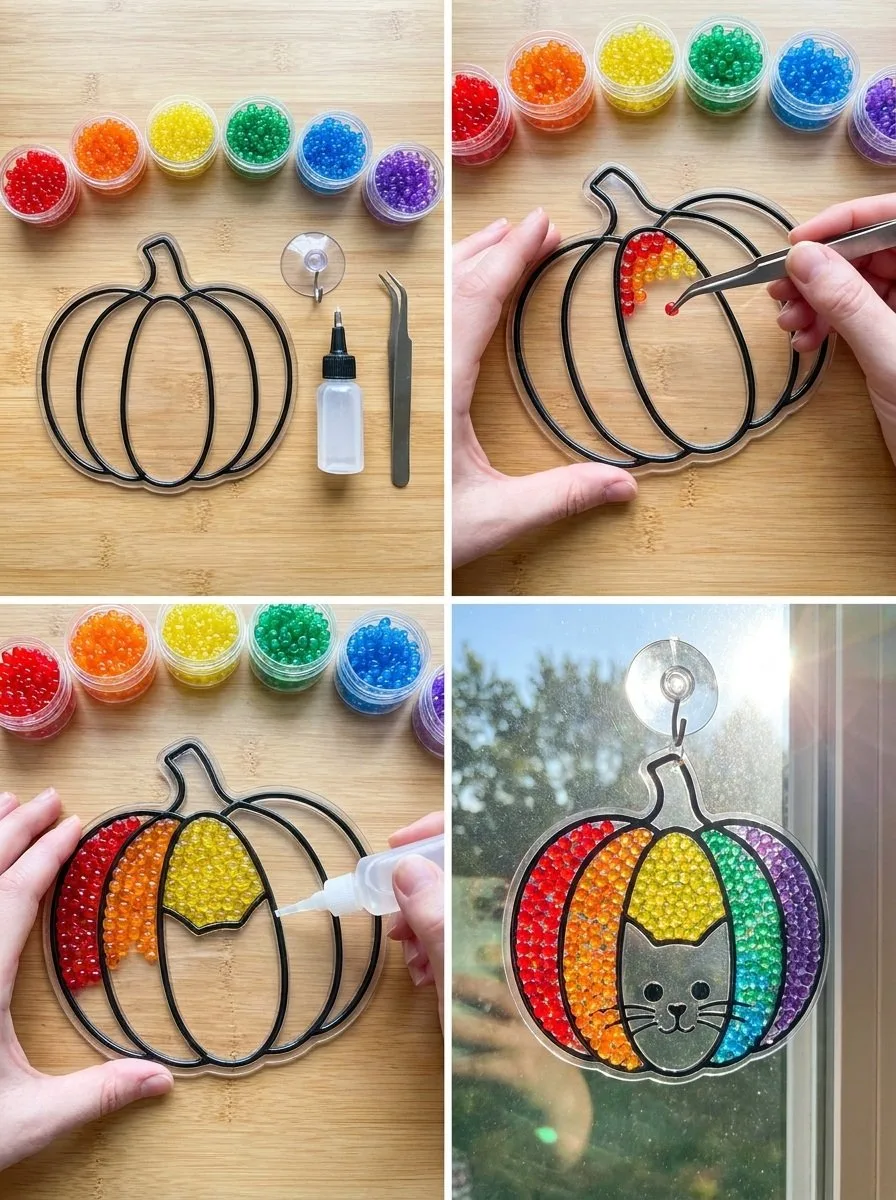
A Gentle Look at the Process
Before you dive into crafting, imagine the gentle rhythm of creating your suncatcher. The delicate sound of scissors gliding through materials, the soft embrace of colors coming together, and the anticipation of seeing the final product kissed by sunlight create a soothing flow. It’s more than just assembling pieces; it’s about enjoying the moments in between the quiet pause before you cut, the joy of pasting, and the thrill of watching light play through the finished piece. You may also find Colorful Rainbow Ghost Window Suncatcher Garland For Kids useful.
Materials You’ll Need
- Transparent color films (various colors)
- Black construction paper
- Scissors (child-safe if crafting with kids)
- Clear glue or a glue stick (optional for securing pieces)
- A pencil for tracing
- A template for the suncatcher design (can be drawn or printed)
- String or fishing line for hanging
Gathering these materials can be a joyful experience, as many of them are easy to find around the home or at local craft stores. You may also find Colorful Rainbow Glass Apple Suncatcher useful.
Step-by-Step Directions
Prepare Your Template: Start by drawing or printing a pumpkin shape for your suncatcher. This will guide your color placement and give you a starting point.
Trace the Design: Place the template on a piece of black construction paper. Using a pencil, lightly trace the outline. This will create a bold contrast that allows the colors to shine.
Cut the Color Films: Choose vibrant translucent colors and cut them into shapes that will fill in the pumpkin outline. Feel the patience in each cut as your choices come to life.
Arrange the Colors: Before gluing, lay the colored pieces over the black outline, filling the pumpkin shape. Adjust until you’re happy with the layout.
Glue It Down: Once satisfied, carefully apply glue to each piece and press it onto the black paper. This step brings together your choices in a cohesive masterpiece.
Create a Hanging Loop: If you wish to hang your suncatcher, cut a piece of string and attach it to the top of the design, either by gluing it down or using tape.
Let It Dry: Allow your creation to dry fully, taking a moment to enjoy the anticipation of seeing it glow in the sunlight.
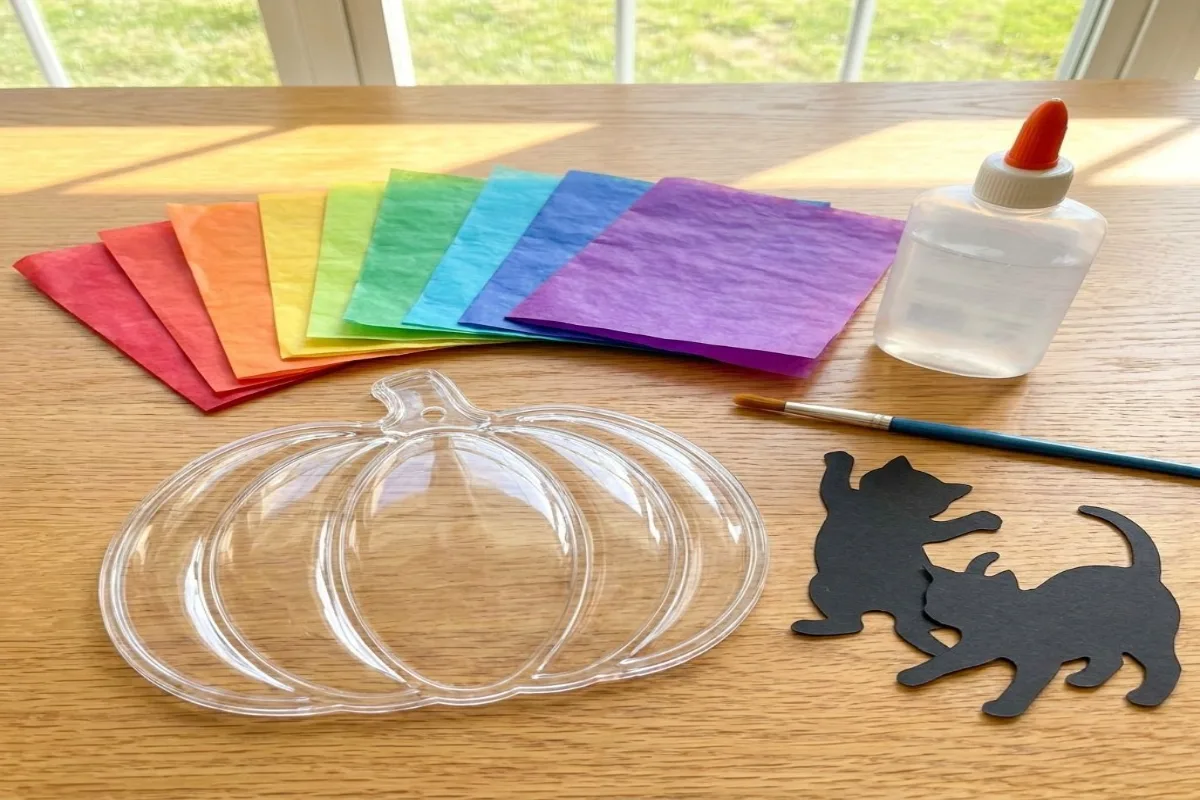
Enjoying the Finished Piece
Once dry, your Rainbow Kitten Pumpkin Suncatcher becomes a vibrant addition to your space. You can hang it in a window, allowing the sun to cast playful patterns on nearby walls and floors. Each time sunlight filters through, it brings a sense of warmth and cheerfulness, reminiscent of childhood wonder. This could be a lovely way to embrace the changing seasons.
How to Store or Reuse Rainbow Kitten Pumpkin Suncatcher
Storing your suncatcher is simple. When not in use, keep it in a safe box, ideally lined with soft fabric to prevent scratches. You may consider reusing or redesigning it for different seasons by swapping out colors or shapes. Embrace the idea of being gentle with your creations, allowing them to evolve with each new inspiration.
Gentle Tips & Variations
Alternative Shapes: Try making a Rainbow Kitten suncatcher in different shapes think cats or leaves for a playful twist.
Layering Colors: Consider layering colors to create depth. Experiment with two pieces of color film for a unique glowing effect.
Seasonal Themes: Change the design with the seasons, incorporating elements such as snowflakes in winter or flowers in spring.
Collaborative Crafting: Invite friends or family to create their versions, fostering a shared experience around your crafting table.
Gift Your Creation: Personalize another suncatcher as a heartfelt gift, sharing a piece of creativity with loved ones.
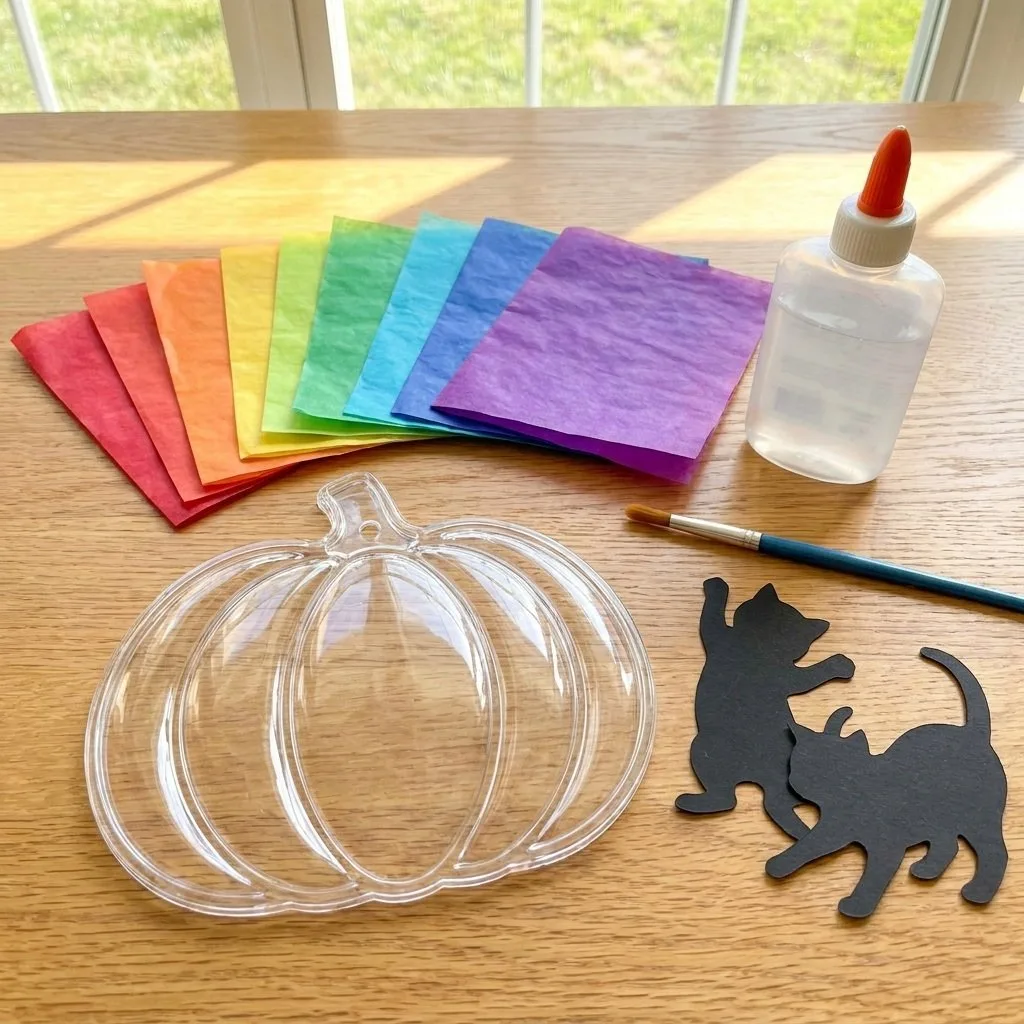
FAQs About Rainbow Kitten Pumpkin Suncatcher
How long does it take to dry?
Typically, give it about an hour for a complete dry. However, if using thicker glue, it may take longer. Be patient and allow it to set properly.
Can I use different colors?
Absolutely! The beauty of this DIY lies in its versatility. Feel free to explore all sorts of colors that resonate with you.
Is this project suitable for children?
Yes, with adult supervision, children can enjoy this project. It promotes creativity while offering fine motor skills practice.
What should I do if I make a mistake?
Crafting is a forgiving art. If a piece doesn’t fit, gently peel it off and try again. Alterations are part of the creative process.
Conclusion
Creating a Rainbow Kitten Pumpkin Suncatcher is not just about making a lovely decoration; it’s about the serene journey of crafting. As you reflect on this project, consider exploring more delightful options, like a stained glass window cling cat that brings charm to your home or dive into the wide world of DIY projects with colorful DIY crafts and experiments. Embrace the joy of crafting and allow it to become a cherished part of your routine.
PrintRainbow Kitten Pumpkin Suncatcher
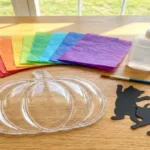
Create a vibrant Rainbow Kitten Pumpkin Suncatcher to bring color and joy to your space while enjoying a calming crafting experience.
- Prep Time: 15 minutes
- Cook Time: 60 minutes
- Total Time: 75 minutes
- Yield: 1 suncatcher
- Category: Craft
- Method: Crafting
- Cuisine: N/A
- Diet: N/A
Ingredients
- Transparent color films (various colors)
- Black construction paper
- Child-safe scissors
- Clear glue or glue stick (optional)
- Pencil for tracing
- Template for suncatcher design (drawn or printed)
- String or fishing line for hanging
Instructions
- Prepare your template by drawing or printing a pumpkin shape.
- Trace the design onto black construction paper.
- Cut vibrant color films into shapes to fill the pumpkin outline.
- Arrange the colored pieces on the black outline before gluing.
- Glue each piece down once satisfied with the layout.
- Create a hanging loop by cutting and attaching a piece of string.
- Let it dry completely before displaying.
Notes
Store the suncatcher in a safe box lined with soft fabric when not in use. You can reuse it by changing colors and shapes for different seasons.