

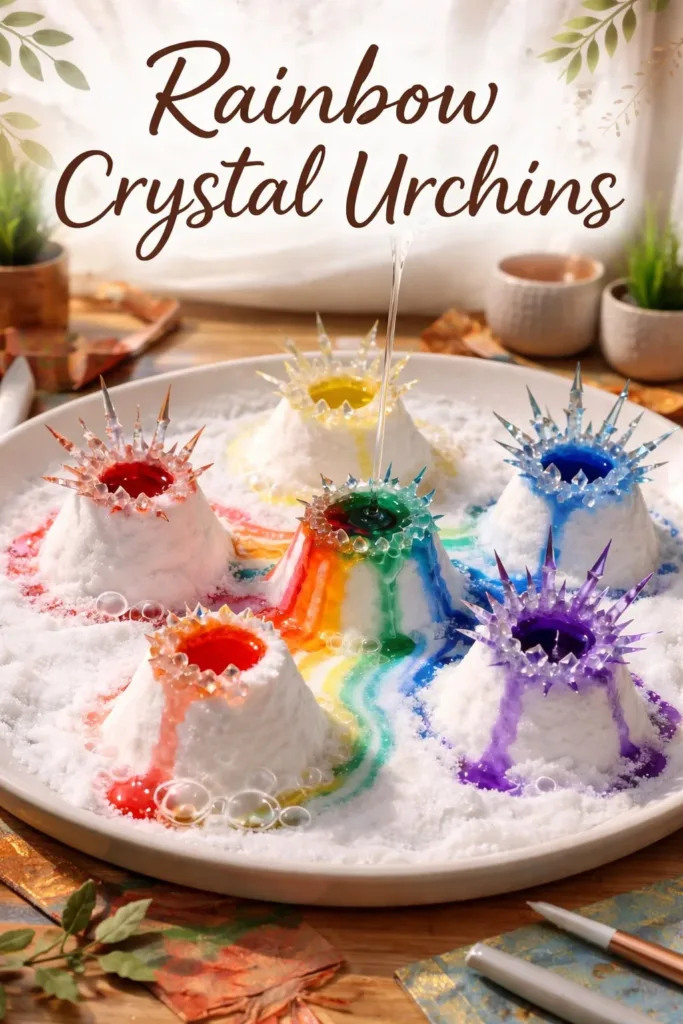
A warm pool of afternoon light rests on my lap as I cradle a small, spiky Rainbow Crystal Urchin. The tiny points catch the beam and scatter color across my palms. I breathe slowly, fingers tracing the cool, glassy facets. Making these urchins has become a quiet ritual for me, a way to slow time and follow a soft, sparkling rhythm. If you want a gentle, hands-on project that invites focus and comfort, this version of Rainbow Crystal Urchins feels like a small treasure to keep or share. For a deeper look at the full project, I began this exploration on the Rainbow Crystal Urchins project page and return there when I need a visual guide.
Why Rainbow Crystal Urchins Feels Comforting to Create
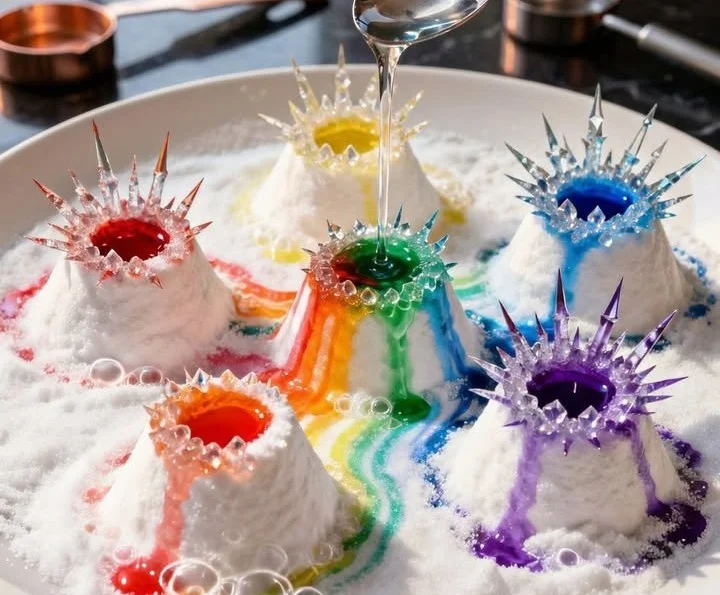
There is a plain, tactile pleasure in building something small and precise. Rainbow Crystal Urchins ask for slow movements, steady breaths, and a soft attention to detail. The act of shaping crystals, of watching color bloom as they grow, engages touch and sight together. Each urchin becomes an object that reflects light differently depending on how you hold it. That shifting sparkle anchors the present moment.
Working with these materials often feels like a cozy, mindful ritual. You measure gently, stir slowly, and allow time for the crystals to form. The textures change as you go: a dry powder becomes a damp paste, then a delicate crystalline shell. Those transitions invite pause. If you enjoy quiet crafts that create small, luminous results, you may find this project soothing in the same way as a warm cup, a folded blanket, or a slow walk.
Making crafts can also connect us with simple domestic rhythms. I sometimes set my urchins by a sunny window where they catch morning light and seem to breathe color into the room. If you would like to compare techniques or other crystal forms, I keep notes about related crystal projects like my baking soda rainbow crystals in another post, which you can read for ideas at baking soda rainbow crystal notes.
The Flow of Making Rainbow Crystal Urchins
Before you gather supplies, imagine the movement. You will sift, mix, and spoon. You will shape little domes and sprinkle color. Expect a gentle rhythm: calm preparation, a focused shaping stage, and then patient waiting as the crystals grow.
Sound stays low in this process. A soft scrape of a spoon against a bowl, the whisper of sifting, the tiny clink of glass or ceramic. The hands work slowly and deliberately. If you breathe with your hands, the pace matches a relaxed heart rate. Visually, you will move from matte powders to glossy, iridescent surfaces that refract light. That change feels like a small reveal each time you make a set.
I find it helpful to create a little station for making. Lay out a tray to catch drips and crumbs. Choose a shallow dish for shaping where you can see the urchin from the side as it grows. Keep a small cup of water nearby for smoothing edges. When you prepare this way, each step feels simpler and more meditative. If you want a recipe-style reference for base mixtures, the baking soda rainbow crystal forest recipe page contains useful guidance on solution ratios you can adapt here: baking soda rainbow crystal recipe.
Materials You’ll Need
- Baking soda or sodium bicarbonate – easy to find in most kitchens.
- Table salt or Epsom salt – optional for texture variation.
- White glue with a gentle sheen – choose one that dries clear.
- Clear craft glue or resin for a glossy finish – optional.
- Food coloring or liquid watercolor – small amounts stretch far.
- Small silicone molds or cups – silicone is soft and releases gently.
- Fine glitter or iridescent mica powder – optional for sparkle.
- Small paintbrush or toothpick – for detailing and smoothing.
- Measuring spoons and a mixing bowl – keep them separate for crafts.
- A shallow tray or plate to catch drips – makes cleanup calm and neat.
- A lightweight wire or tiny loop if you want to hang urchins – optional.
- Clear drying spray or a sealant if you plan to use them outdoors – optional.
Notes on selection
- Substitute-friendly: If you prefer not to use epoxy resin, clear craft glue gives a soft sheen and feels safer for casual projects.
- Easy to find: Most supplies live in a general craft stash or kitchen pantry.
- Safety: If you share this craft with children, choose non-toxic glues and supervise sanding or any sharp edges.
Directions
- Prepare your workspace.
Set a shallow tray on a table and gather your silicone molds.
Keep a bowl of warm water and a cloth nearby for gentle wiping. - Mix the base paste.
Stir 2 parts baking soda with 1 part white glue until a soft, moldable paste forms.
The texture should feel slightly tacky but hold shape when pinched. - Color small batches gently.
Add a drop or two of liquid color and mix slowly until the hue appears.
Work in tiny amounts; color deepens as crystals form. - Shape the urchin forms.
Press small domes of paste into molds or onto a nonstick surface.
Smooth the surface with a damp fingertip or brush to remove fingerprints. - Create spines and texture.
Use a toothpick to add small indentations or press in tiny points for spines.
For softer spikes, roll small cones and press them onto the dome surface. - Add sparkle where you like.
Lightly dust with iridescent mica or a pinch of fine glitter.
Sprinkle from a height so particles land gently and distribute evenly. - Let the pieces dry slowly.
Place the tray in a warm, dry spot out of direct sunlight.
Allow at least 24 to 48 hours for full hardening, depending on size. - Seal for longevity.
Brush a thin coat of clear craft glue or resin to seal and strengthen.
Work in a ventilated area and allow curing as directed on the product label. - Add hanging loops if you wish.
Push a tiny wire loop into the top before sealing, or glue a loop afterward.
Ensure the loop sits secure and the sealant has dried fully before hanging. - Rest and admire.
Place finished pieces on a soft cloth or in a small dish.
Hold them up to the light and notice the way color and shine change with movement.
Bringing Rainbow Crystal Urchins Into Your Space
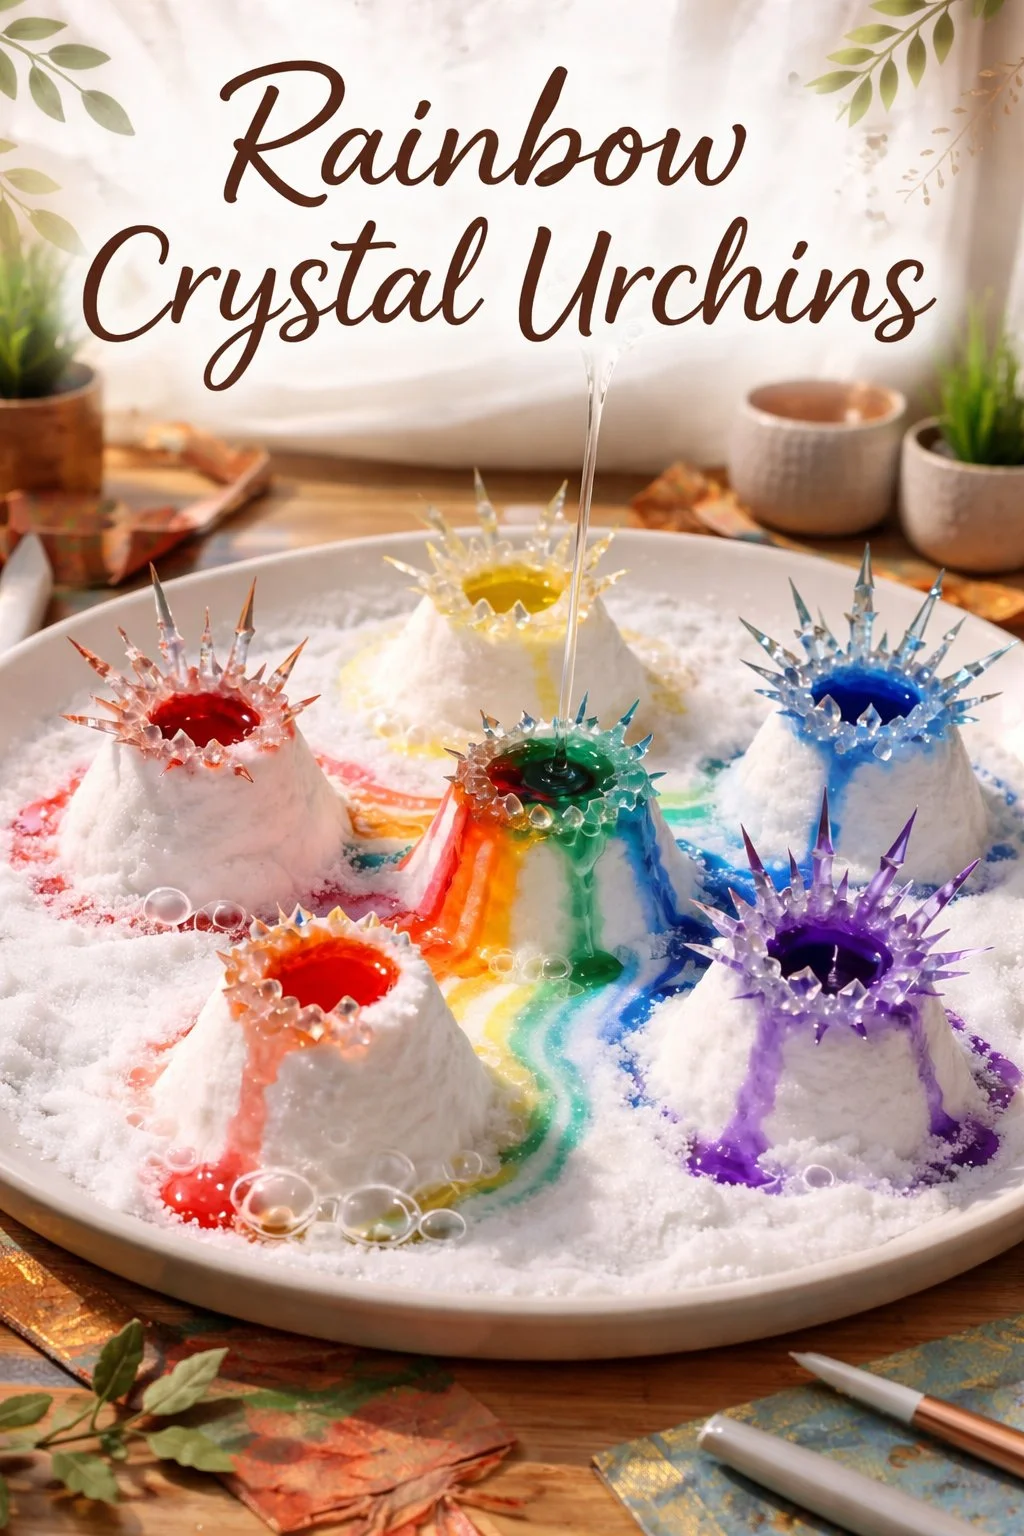
Finished Rainbow Crystal Urchins feel small and precious. You can display them on a windowsill where they catch a morning beam, or nest them in a ceramic bowl lined with moss for a tactile vignette. They work well as tiny ornaments strung along a linen window curtain or clustered on a shelf alongside a favorite book.
If you like to create repeating rituals, consider a seasonal grouping. I make a handful each month, changing colors to mark the month or the mood. They also make gentle gifts. Wrap a single urchin in soft tissue or place it in a tiny box with a handwritten note. The quiet act of giving a hand-made object adds an extra layer of meaning to the making.
For those who prefer functional pieces, turn an urchin into a small air plant holder. Set a teeny plant inside a shallow hollow and let the urchin cradle it. You can find inspiration in other handmade crystal projects, or adapt ideas from my wider craft notes at baking soda rainbow crystal forest ideas.
Keeping It for Later
Store your urchins on soft cotton or in small compartments to prevent chips. If you stack them, place a thin layer of tissue between pieces. Avoid extreme heat or prolonged direct sunlight which may soften some glues or fade delicate pigments.
If you plan to reuse or repurpose a piece, think of it as a small, changeable object. You can sand rough edges lightly with fine sandpaper, then reseal. Some of my earlier pieces developed tiny cracks over time; a touch of clear craft glue smoothed the surface and made them feel renewed. For pieces intended to hang outdoors, apply a weather-resistant sealant and check the loops periodically for wear.
Keep a little notebook with photos and notes about color mixes, drying times, and what you liked about each batch. Those small records make future sessions feel calmer because you do not have to guess what worked before.
Gentle Tips & Variations
- Invite texture with salt blend
Try mixing a small portion of table salt or Epsom salt into the paste. The crystals add an organic texture that reads like tiny barnacles, and they catch light in a subtle way. This is a gentle way to vary surface without changing the base structure. - Play with translucency
Use less opaque glue or a touch of clear craft glue in the mix to create semi-transparent spines. These parts catch light differently and can make your urchins feel more jewel-like. - Paint subtle gradients
After sealing, add a thin wash of diluted watercolor to create delicate gradients. The wash sits on the surface and pools in crevices for a soft, lived-in look. - Combine with small branches or driftwood
Affix a finished urchin to a small piece of driftwood to make a tiny sculpture. The contrast of rough wood and glossy crystal creates a comforting textural pairing. - Keep it simple and small
If you feel unsure, make one tiny urchin first. Celebrate the small success and let that confidence grow. This project rewards gentle repetition rather than perfection.
FAQs About Rainbow Crystal Urchins
Are these safe to make with children?
Yes, with supervision and non-toxic materials. Choose child-safe glue and avoid small beads or anything a child might swallow. Let an adult handle sealants or resin. The tactile parts are safe and calming, and children often love the slow reveal of color.
How long do they take to fully dry?
That depends on size and humidity. Small pieces often cure in 24 hours. Larger or denser urchins can take up to 48 hours. A slow, even cure makes stronger pieces, so resist the urge to rush the drying.
Can I make them waterproof?
You can add a topcoat of clear resin or a marine-grade sealant for waterproofing. Work in a ventilated space and follow safety directions on the sealant. Clear craft glue gives some protection but is not fully waterproof.
What if the spines fall off?
If a spine breaks, glue it back gently with a small dab of clear craft glue and let it dry. For missing spines, you can add tiny rolled cones of paste and seal them. Over time, a little mending becomes part of the craft’s charm.
How do I keep colors from fading?
Use liquid watercolors or stable pigment inks and avoid prolonged direct sunlight. A gentle topcoat also helps preserve color.
A Gentle Note Before You Go
Sit with one of your finished pieces for a moment. Feel the weight, watch the way light rests on its contours, and let a small sense of accomplishment settle in. The making matters as much as the object. Each urchin holds a quiet record of your touch, time, and attention. Keep making slowly, and let the process be a place of rest and simple delight.
Conclusion
If you would like to see a ready-made idea that inspired this project, you might enjoy the Sea Urchin Suncatcher listing for visual inspiration and material possibilities. For a touch of unexpected sunshine and stylish accents that pair well with crystal decor, I also find the Costa Maya XL sunglasses with urchin crystal detail a charming reference for how light and shape interact in small objects.
PrintRainbow Crystal Urchins
Create small, luminous Rainbow Crystal Urchins that reflect light and add charm to your space.
- Prep Time: 15 minutes
- Cook Time: 30 minutes
- Total Time: 45 minutes
- Yield: 4 urchins
- Category: Crafts
- Method: Crafting
- Cuisine: N/A
- Diet: N/A
Ingredients
- Baking soda or sodium bicarbonate
- Table salt or Epsom salt (optional)
- White glue (gentle sheen)
- Clear craft glue or resin (optional)
- Food coloring or liquid watercolor
- Small silicone molds or cups
- Fine glitter or iridescent mica powder (optional)
- Small paintbrush or toothpick
- Measuring spoons and a mixing bowl
- A shallow tray or plate
- A lightweight wire or tiny loop (optional)
- Clear drying spray or sealant (optional)
Instructions
- Prepare your workspace.
- Mix the base paste by stirring 2 parts baking soda with 1 part white glue.
- Color small batches by adding drops of liquid color.
- Shape the urchin forms into molds or onto a nonstick surface.
- Create texture using a toothpick to add indentations for spines.
- Add sparkle by lightly dusting them with mica or glitter.
- Let the pieces dry slowly in a warm, dry spot.
- Seal them using clear craft glue or resin.
- Add hanging loops if desired.
- Rest and admire your finished pieces.
Notes
Substitute-friendly options and safety protocols are included. Non-toxic materials are recommended for children.
1 thought on “Rainbow Crystal Urchins Science Craft”