

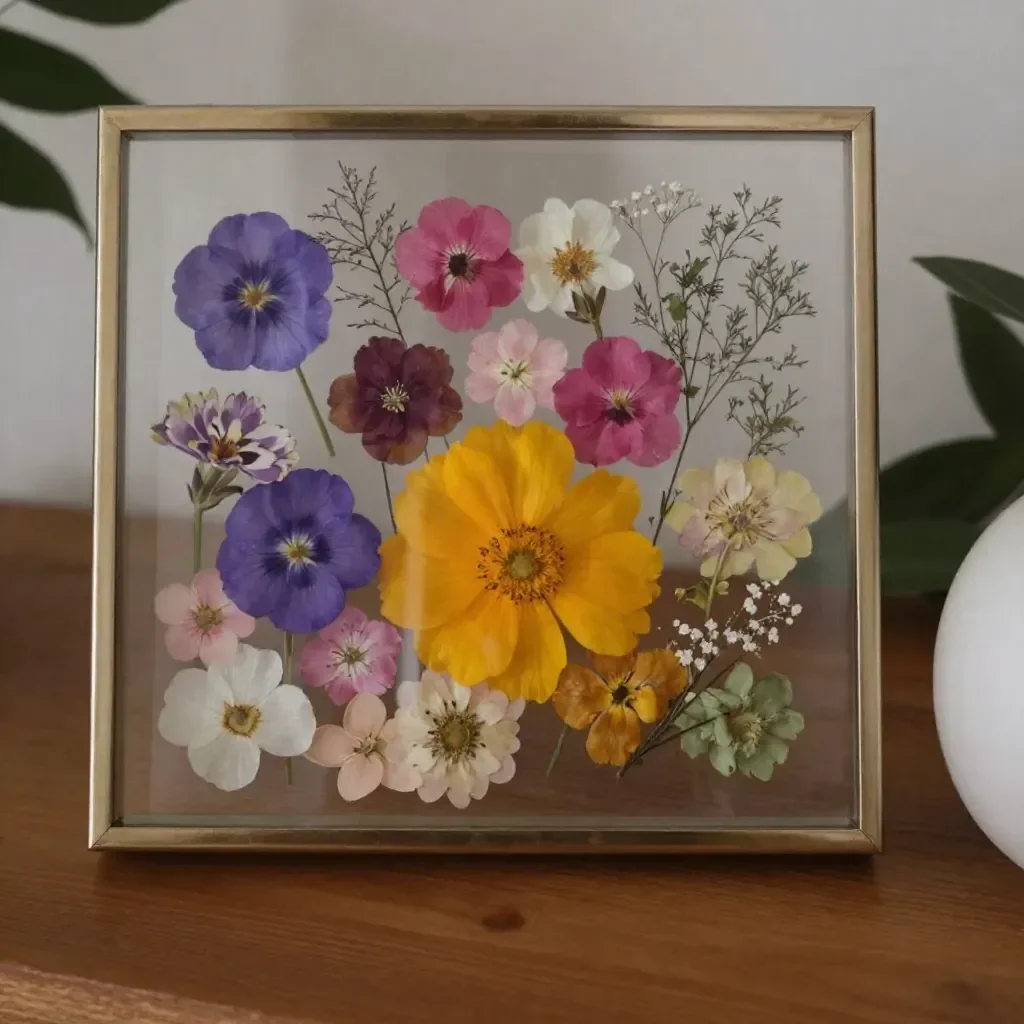
Creating a Pressed Wedding Bouquet Frame brings back memories, feelings, and sensations from one of life’s most cherished moments. Imagine delicately holding vibrant blossoms that whisper stories of love as they transform into a beautiful, tangible piece of art. Each petal holds echoes of laughter, warmth, and sun-drenched afternoons, grounding you in a space of calm and reflection. You may also find Cornstarch Bioplastic Pressed Flowers Recipe useful.
The Heart Behind This DIY
Crafting a Pressed Wedding Bouquet Frame allows you to honor and preserve that special day long after the bouquet has faded. The creation process offers a meaningful way to slow down and reflect. Each step in preparing and pressing flowers involves gentle movements and a focus on the textures and colors of the blooms. As you engage with the materials, you may notice the soothing scent of the flowers or the quiet rustle they make when arranged. This DIY project becomes not just an artistic endeavor but a heartfelt ritual, inviting mindfulness and warmth into your creative space. You may also find Cornstarch Bioplastic Pressed Flowers useful.
A Gentle Look at the Process
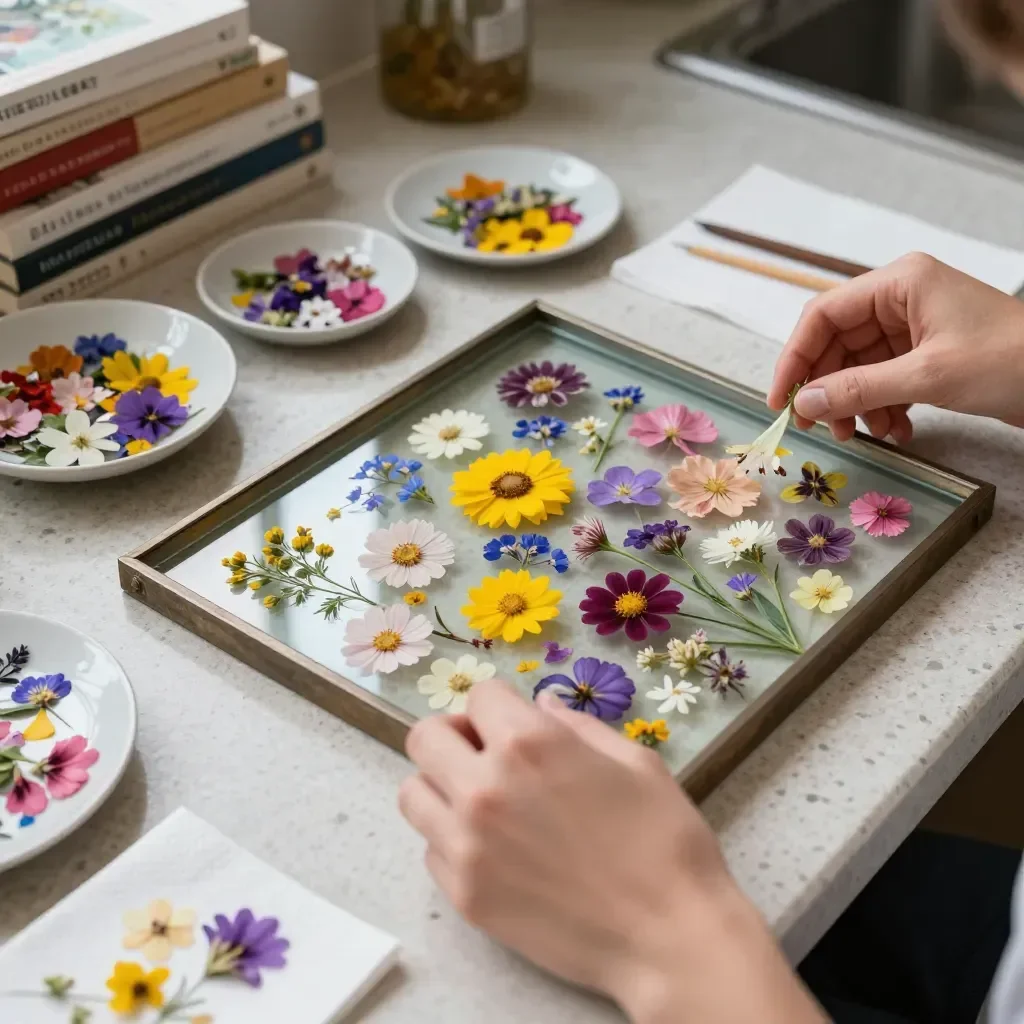
Before diving into materials, let’s take a moment to feel the flow of creating your Pressed Wedding Bouquet Frame. The rhythmic process begins with carefully selecting flowers, each a tiny piece of your memory. Moving into pressings, you may hear the soft crunch of petals being arranged on paper. The quiet anticipation builds as you watch the transformation occur, bringing textures and colors into a serene balance. You may also find Pressed Flower Charms Cornstarch Calm Moments useful.
Materials You’ll Need
- Fresh or dried wedding flowers (roses, lavender, etc.)
- Heavy books or a flower press (optional)
- High-quality watercolor paper or specialty pressing paper
- Picture frame (preferably with glass)
- Scissors (sharp for clean cuts)
- Glue or double-sided tape (optional for extra security)
- Tweezers (helpful for placing delicate flowers)
Gather these simple supplies and take a moment to appreciate each one. Most items are easy to find, and using a flower press may speed up drying if you wish to start right away. You may also find Pressed Flower Hearts Cozy useful.
Step-By-Step Directions
- Select Your Flowers: Choose flowers from your wedding bouquet or any blooms that resonate with you. Consider their size and shape for the composition.
- Prepare the Press: If using a flower press, make sure it’s clean. If using heavy books, choose ones you won’t need for a while.
- Trim the Stems: Use scissors to carefully cut the stems of your selected blooms. Shorter stems will be easier to press and display.
- Arrange the Flowers: Lay your flowers between sheets of pressing paper in a way that feels balanced and pleasing to you. Use tweezers for delicate petals.
- Press the Blooms: Close the flower press or stack your books on top of the flowers. Leave them to dry for at least one to two weeks.
- Check for Completeness: After the pressing time, check if the flowers are completely dried. They should feel flat and crispy without moisture.
- Prepare Your Frame: Grab a clean picture frame. Decide whether you want a background color, such as a soft white or a gentle pastel, to enhance the flowers.
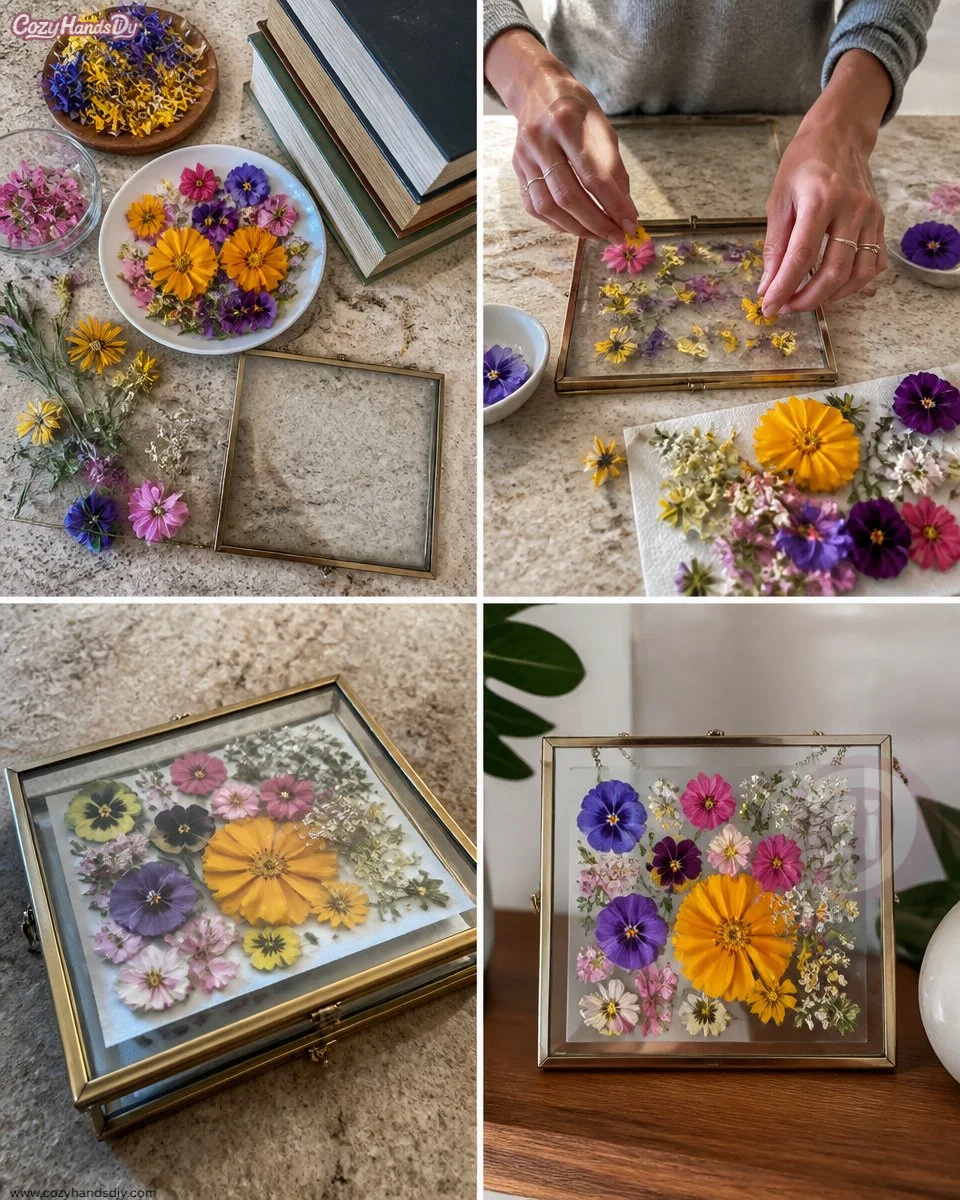
- Arranging the Pressed Flowers: Carefully remove the dried flowers and arrange them in the frame as desired. Consider layering or grouping for a more dimensional look.
- Secure the Design: If needed, use glue or double-sided tape to secure the flowers. Ensure they stay in place as you close the frame.
- Display Your Art: Place your newly created pressed flower art in a cherished location, allowing it to bring joy and remind you of your special day.
Where This DIY Fits Into a Calm Routine
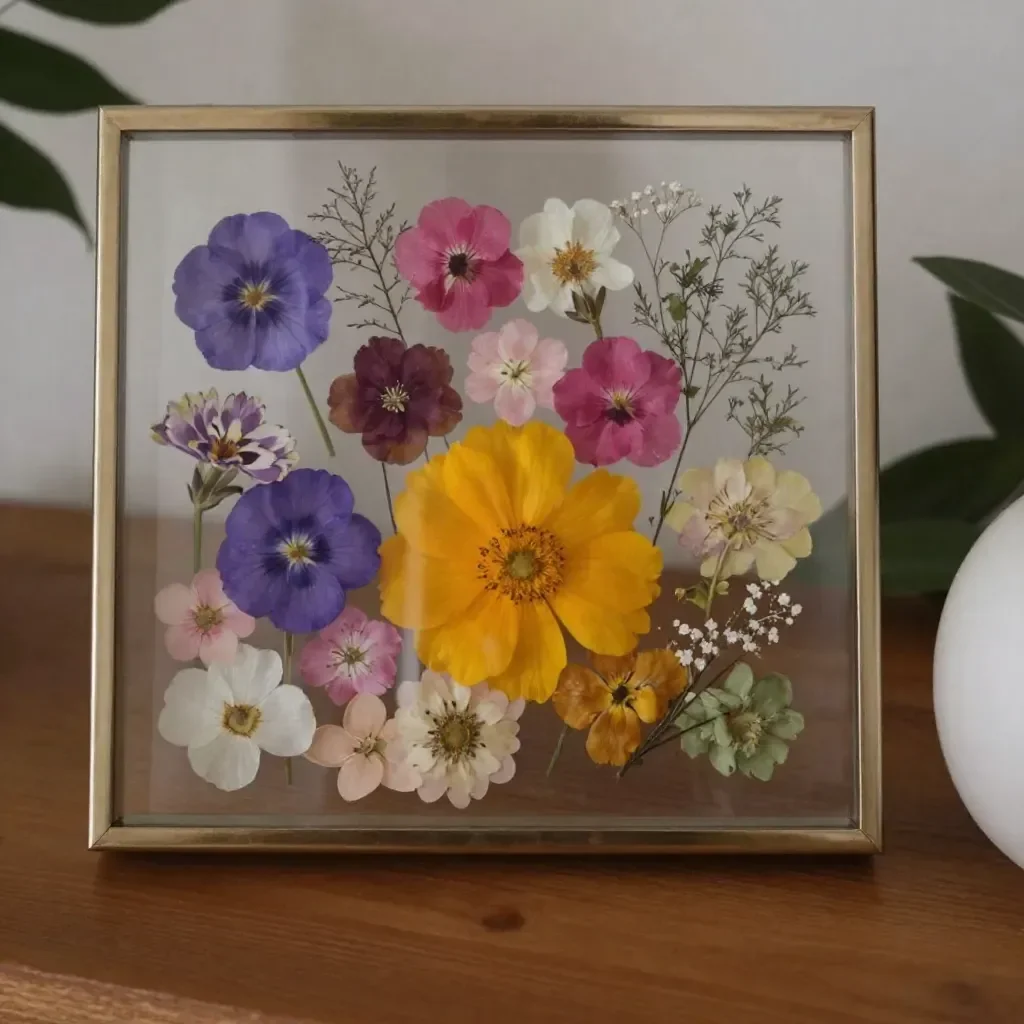
The finished Pressed Wedding Bouquet Frame serves as a heartfelt display piece that captures memories. It can find its place on a mantel, in a cozy nook, or as a centerpiece on a table. When you glance at it, let it evoke fond memories from your wedding day, encouraging moments of reflection. It’s a beautiful way to bring love and warmth into your daily life while also reminding you of the joy found in nature and beauty.
Caring for Your Finished DIY
To ensure your Pressed Wedding Bouquet Frame lasts, avoid direct sunlight as it can cause fading over time. Consider displaying it in a location that is both accessible and protected. If you want to change the display later, the frame allows you to easily switch out different flower arrangements. Gently dust the frame with a soft cloth to keep it looking fresh without damaging the flowers inside.
Gentle Tips & Variations
- Mix Textures: Explore the added beauty of using different types of flowers, such as herbs or ferns, alongside your wedding blooms.
- Personal Touch: Consider adding small notes or the wedding date on the backing of your frame for a personal memory.
- Seasonal Themes: Create a series of pressed flower frames reflecting each season or special occasion for a cohesive display.
- Gift Idea: This project also makes a lovely gift for friends or family, allowing others to cherish their special visual memories.
FAQs About Pressed Wedding Bouquet Frame
What types of flowers work best for pressing?
Generally, flat or thin flowers such as daisies, pansies, or ferns work wonderfully. It’s best to avoid thick flowers, which may retain moisture.
Can I use artificial flowers?
Yes, artificial or silk flowers can be pressed. However, the colors may fade over time, so ensure you choose high-quality options.
How long do pressed flowers last?
With proper care, pressed flowers can last many years, though they may fade gently over time. Keep them out of direct sunlight for longevity.
Is there a preferred type of frame for displaying pressed flowers?
A shadow box frame with glass is ideal since it allows for depth without crushing delicate flowers.
Can I use this technique for other occasions?
Absolutely! This method is perfect for preserving memories from anniversaries, graduations, or any memorable occasion with flowers.
Conclusion
Creating a Pressed Wedding Bouquet Frame not only preserves precious memories but also invites a calming and reflective experience into your craft. Your finished piece becomes a unique expression of love that can warm your space for years to come. If you’re interested in exploring more ways to preserve flowers, consider checking out Pressed Flower Art for Wedding Bouquet Preservation or explore Pressed Flower Frames for additional inspiration.
PrintPressed Wedding Bouquet Frame
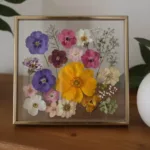
Create a stunning Pressed Wedding Bouquet Frame to preserve the memories and beauty of your special day.
- Prep Time: 15 minutes
- Cook Time: 0 minutes
- Total Time: 14 days
- Yield: 1 frame
- Category: Craft
- Method: Pressing
- Cuisine: N/A
- Diet: N/A
Ingredients
- Fresh or dried wedding flowers (roses, lavender, etc.)
- Heavy books or a flower press (optional)
- High-quality watercolor paper or specialty pressing paper
- Picture frame (preferably with glass)
- Scissors (sharp for clean cuts)
- Glue or double-sided tape (optional for extra security)
- Tweezers (helpful for placing delicate flowers)
Instructions
- Select Your Flowers: Choose flowers from your wedding bouquet or any blooms that resonate with you. Consider their size and shape for the composition.
- Prepare the Press: If using a flower press, make sure it’s clean. If using heavy books, choose ones you won’t need for a while.
- Trim the Stems: Use scissors to carefully cut the stems of your selected blooms. Shorter stems will be easier to press and display.
- Arrange the Flowers: Lay your flowers between sheets of pressing paper in a way that feels balanced and pleasing to you. Use tweezers for delicate petals.
- Press the Blooms: Close the flower press or stack your books on top of the flowers. Leave them to dry for at least one to two weeks.
- Check for Completeness: After the pressing time, check if the flowers are completely dried. They should feel flat and crispy without moisture.
- Prepare Your Frame: Grab a clean picture frame. Decide whether you want a background color, such as a soft white or a gentle pastel, to enhance the flowers.
- Arrange the Pressed Flowers: Carefully remove the dried flowers and arrange them in the frame as desired. Consider layering or grouping for a more dimensional look.
- Secure the Design: If needed, use glue or double-sided tape to secure the flowers. Ensure they stay in place as you close the frame.
- Display Your Art: Place your newly created pressed flower art in a cherished location, allowing it to bring joy and remind you of your special day.
Notes
To ensure your Pressed Wedding Bouquet Frame lasts, avoid direct sunlight to prevent fading. Gently dust the frame with a soft cloth to maintain its appearance.