

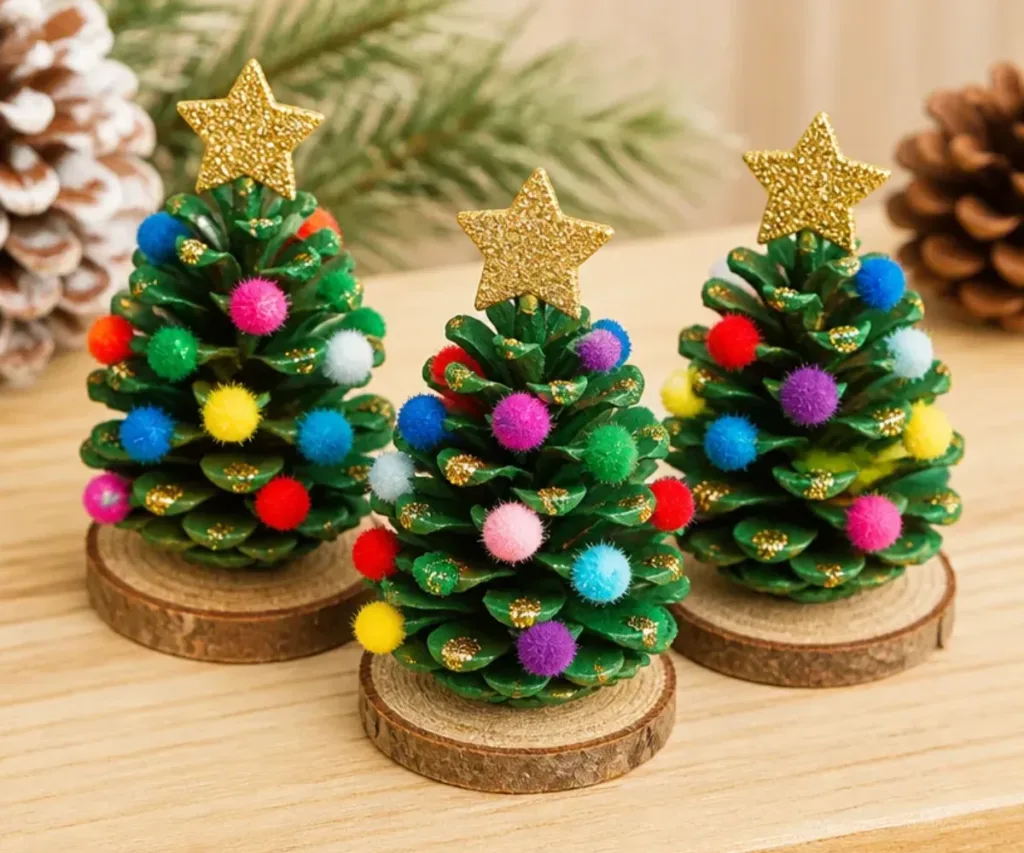
The scent of pine fills the air as you sit in a cozy corner, warm light filtering through the window, illuminating the texture of nature. You feel the earthy yet crisp surface of pinecones in your palms, each one unique in its curves and shades. This simple moment, filled with sensory richness, brings to mind the joyful creation of Pinecone Christmas tree ornaments. Engaging with natural materials in this way can ground us and create a wonderful reflection of the seasons through our crafts. Such projects invite warmth and peace into our homes, and there is a deep comfort in making something special that embodies the spirit of the season. You may also find Baking Soda Colorful Cloud Ornaments useful.
The Heart Behind This DIY
When you create Pinecone Christmas tree ornaments, you aren’t just crafting decorations. Each piece you create becomes a memory, a token of time spent nurturing your creativity. This gentle activity encourages you to slow down and engage with the textures, sounds, and sights around you. The satisfying crunch of pinecones and the smooth touch of the materials turn crafting into a soothing ritual. This process of making can help clear your mind, allowing you to focus on the moment rather than the rush of the world around you. The act of transforming simple natural elements into festive ornaments allows you to connect with the very essence of the season. You may also find Baking Soda Crystal Growing Tree useful.
You may also find Baking Soda Crystal Growing Trees useful.
A Gentle Look at the Process
Before you begin making your Pinecone Christmas tree ornaments, take a moment to envision the flow of this gentle craft. You’ll experience the stillness in the air as you sort through your materials, feeling the soft textures and contemplating each step. The rhythm of painting the pinecones or embellishing them with glitter evokes a sense of harmony. As you work through each motion thoughtfully, from gathering the materials to the final touches, let the sounds of your surroundings envelop you. The soft brush against the surface of the pinecones and the sparkle of your chosen decorations create a cozy symphony that lingers long after you finish.
Materials You’ll Need
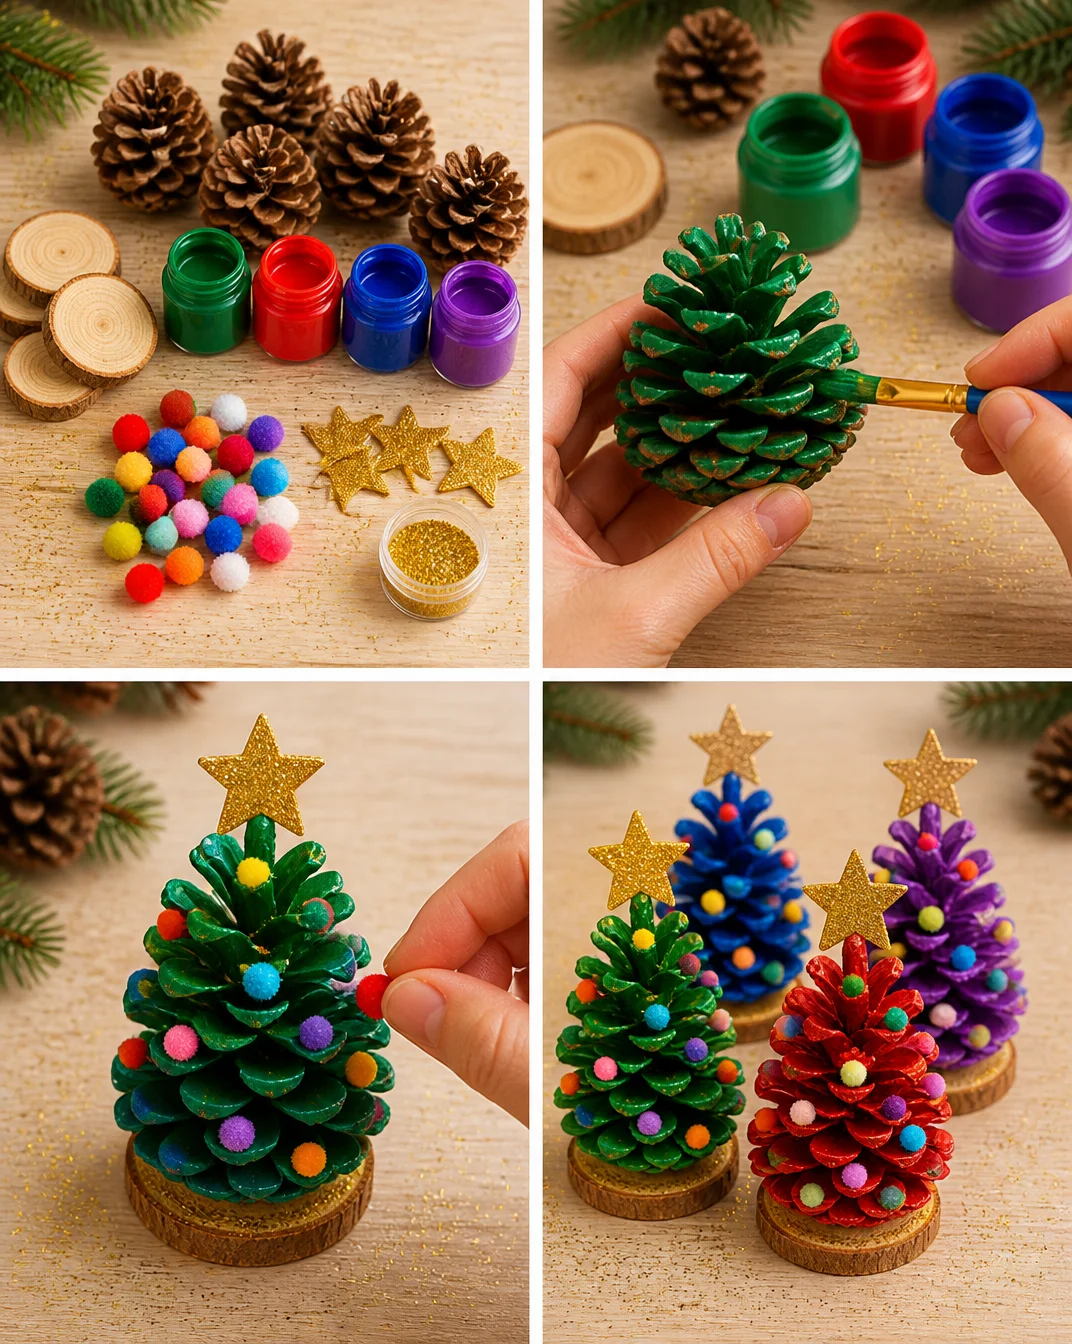
Gathering your materials is a relaxing first step in this DIY. Here is a simple list of what you will need:
- Pinecones (easy to find outdoors, look for clean, intact specimens)
- Paint (acrylics or watercolors work wonderfully)
- Paintbrushes (choose a variety of sizes for detail)
- Glitter or faux snow (for a touch of magic)
- Ribbon or string (for hanging)
- Glue (a craft glue or a hot glue gun for sturdy attachments)
- Optional embellishments (like beads, feathers, or dried flowers to personalize)
As you gather items, remember to include your favorite textures and colors, turning this moment into part of the overall process.
Step-by-Step Directions
- Begin by cleaning your pinecones to remove any dirt or debris. A gentle rinse under water will do.
- Pat them dry with a soft cloth and allow them to air dry completely.
- Choose your paint color and pour a small amount onto a paper plate. Using a brush, lightly coat the pinecone, ensuring the paint settles into the crevices.
- While the paint is still wet, sprinkle glitter or faux snow onto the surface for a shimmer effect. Set the pinecones aside to dry.
- Once dry, cut lengths of ribbon or string for hanging. Each piece can be a different length if you wish for variety.
- Use glue to secure the ends of the ribbon to the top of the pinecone, creating a loop for hanging.
- Consider adding additional embellishments for a personal touch. Beads or small decorations can be glued onto the pinecone to enhance its beauty.
Enjoying the Finished Piece
Once your Pinecone Christmas tree ornaments are complete, revel in the joy of what you’ve created. These handmade decorations bring a piece of nature into your home, fostering a sense of peace and connection during the festive season. Hang them on your tree or display them in a cozy bowl as a centerpiece on your coffee table. Each ornament serves as a reminder of the time spent enjoying the simple act of making, inviting tranquility into your space.
Caring for Your Finished DIY
To ensure that your Pinecone Christmas tree ornaments last through many seasons, store them gently. They can be kept in a soft cloth bag or a sturdy box, where they won’t get crushed or scratched. If you choose to reuse them year after year, gently dust them off before displaying. If you notice any wear and tear, embark on a calming mini-project to refresh them perhaps with a new layer of paint or glitter, rejuvenating their charm while allowing your creativity to flow.
Gentle Tips & Variations
- Consider incorporating natural elements, such as dried flowers or twigs, into your designs for added texture.
- Experiment with different themes, like winter wonderlands or woodland creatures, to create family traditions.
- Invite friends or family members to join you in crafting, turning this soothing activity into a shared experience.
- If you wish to extend your creativity, why not create additional decorations like these crystal-growing tree ornaments to complement your pinecone creations?
- Lastly, allow children to get involved; it’s a wonderful way to bond and teach them about nature and creativity.
FAQs About Pinecone Christmas Tree Ornaments
Can I use any type of pinecone for this project?
Most pinecones can be used, but choosing those that are intact and clean is best for a polished look.
How long do the ornaments last?
With proper care and storage, these ornaments can last multiple seasons, adding a lovely touch year after year.
Can I personalize the colors?
Absolutely! Tailoring the colors to match your holiday theme or personal taste is part of the fun.
Is the paint safe for children?
You can opt for non-toxic acrylic paints, making it a safe and enjoyable project for children.
What if I don’t have glitter?
Feel free to use other natural elements, like cinnamon or dried flowers, for decoration instead of glitter.
Conclusion
Creating Pinecone Christmas tree ornaments allows you to connect with nature while unlocking your creative spirit during the festive season. This project embodies warmth and tranquility, providing a meaningful way to celebrate and express yourself. For those looking to purchase ready-made decorations, you can explore options on Amazon. Alternatively, if you want to expand your crafting repertoire, consider reading about how to make frosted pinecone Christmas tree ornaments for another delightful holiday project. Enjoy each moment as you craft, feeling the sense of peace wash over you, and let your creativity flourish.
PrintPinecone Christmas Tree Ornaments
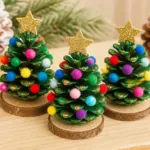
Craft beautiful and unique Pinecone Christmas tree ornaments, connecting with nature and creativity during the festive season.
- Prep Time: 15 minutes
- Cook Time: 0 minutes
- Total Time: 15 minutes
- Yield: Varies
- Category: Crafts
- Method: Crafting
- Cuisine: N/A
- Diet: N/A
Ingredients
- Pinecones
- Paint (acrylics or watercolors)
- Paintbrushes (variety of sizes)
- Glitter or faux snow
- Ribbon or string
- Glue (craft glue or hot glue gun)
- Optional embellishments (beads, feathers, dried flowers)
Instructions
- Begin by cleaning your pinecones to remove any dirt or debris. A gentle rinse under water will do.
- Pat them dry with a soft cloth and allow them to air dry completely.
- Choose your paint color and pour a small amount onto a paper plate. Using a brush, lightly coat the pinecone, ensuring the paint settles into the crevices.
- While the paint is still wet, sprinkle glitter or faux snow onto the surface for a shimmer effect. Set the pinecones aside to dry.
- Once dry, cut lengths of ribbon or string for hanging. Each piece can be a different length if you wish for variety.
- Use glue to secure the ends of the ribbon to the top of the pinecone, creating a loop for hanging.
- Consider adding additional embellishments for a personal touch. Beads or small decorations can be glued onto the pinecone to enhance its beauty.
Notes
Feel free to personalize the ornaments with different colors and embellishments. This is a great project to enjoy with family or friends.