

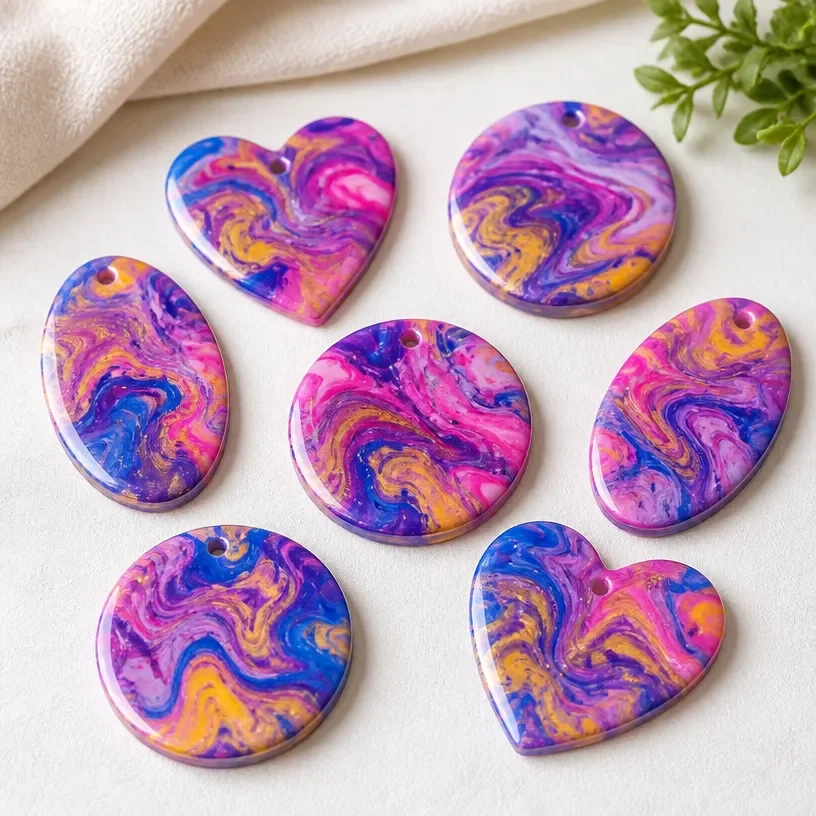
The gentle act of marbling with nail polish can create an atmosphere of calm, inviting you into a space where creativity flows freely. As the rich colors swirl and blend on the surface, they evoke a beautiful dance of texture and movement, reflecting a tranquil experience that engages your senses completely. Nail Polish Marbling: Easy DIY Marble Crafts opens doors to mindfulness and relaxation, offering an enchanting way to unwind and tap into your creative spirit. You may also find Marbling Crafts With Nail Polish useful.
Why Make This Nail Polish Marbling: Easy DIY Marble Crafts
Engaging in nail polish marbling can be a refreshing and rewarding experience. This DIY craft emphasizes the importance of slowing down, allowing you to focus on the beauty of the colors and the patterns forming around you. The process encourages you to connect with your materials, inviting a sense of calmness as you observe how the colors react with one another. It’s not just a matter of creating a product; it’s about savoring the sensory experience of mixing, swirling, and later displaying your unique creations. You may also find Diy Magic Marble Bounce Balls useful.
You may also find Diy Marble Bouncy Balls useful.
A Gentle Look at the Process
Before diving into the specifics of this marbling project, it’s helpful to understand the flow of making. The experience begins with selecting color palettes that soothe your mind or inspire joy. As you work, you’ll hear the soft sounds of materials interacting, and you’ll feel the smoothness of the polish gliding over each other. The process is rhythmic, almost meditative, guiding you through every motion. You may also find Diy Marbled Crayon Suncatchers Cozy useful.
By preparing your space with care, you can establish a calming atmosphere that enhances this delightful craft.
Materials You’ll Need
Gathering your materials sets the stage for a pleasant crafting experience. Here’s what you’ll need:
- Nail polish in various colors (easy to find or utilize any leftover)
- A shallow dish or tray (for water)
- Toothpicks or skewer sticks (for marbling effects)
- Paper or an item to marble (e.g., paper for artwork, mugs for functional pieces)
- Optional: Gloves to keep your hands clean
Each item adds a layer to the sensory experience, enhancing how you interact with the project.
Step-by-Step Directions
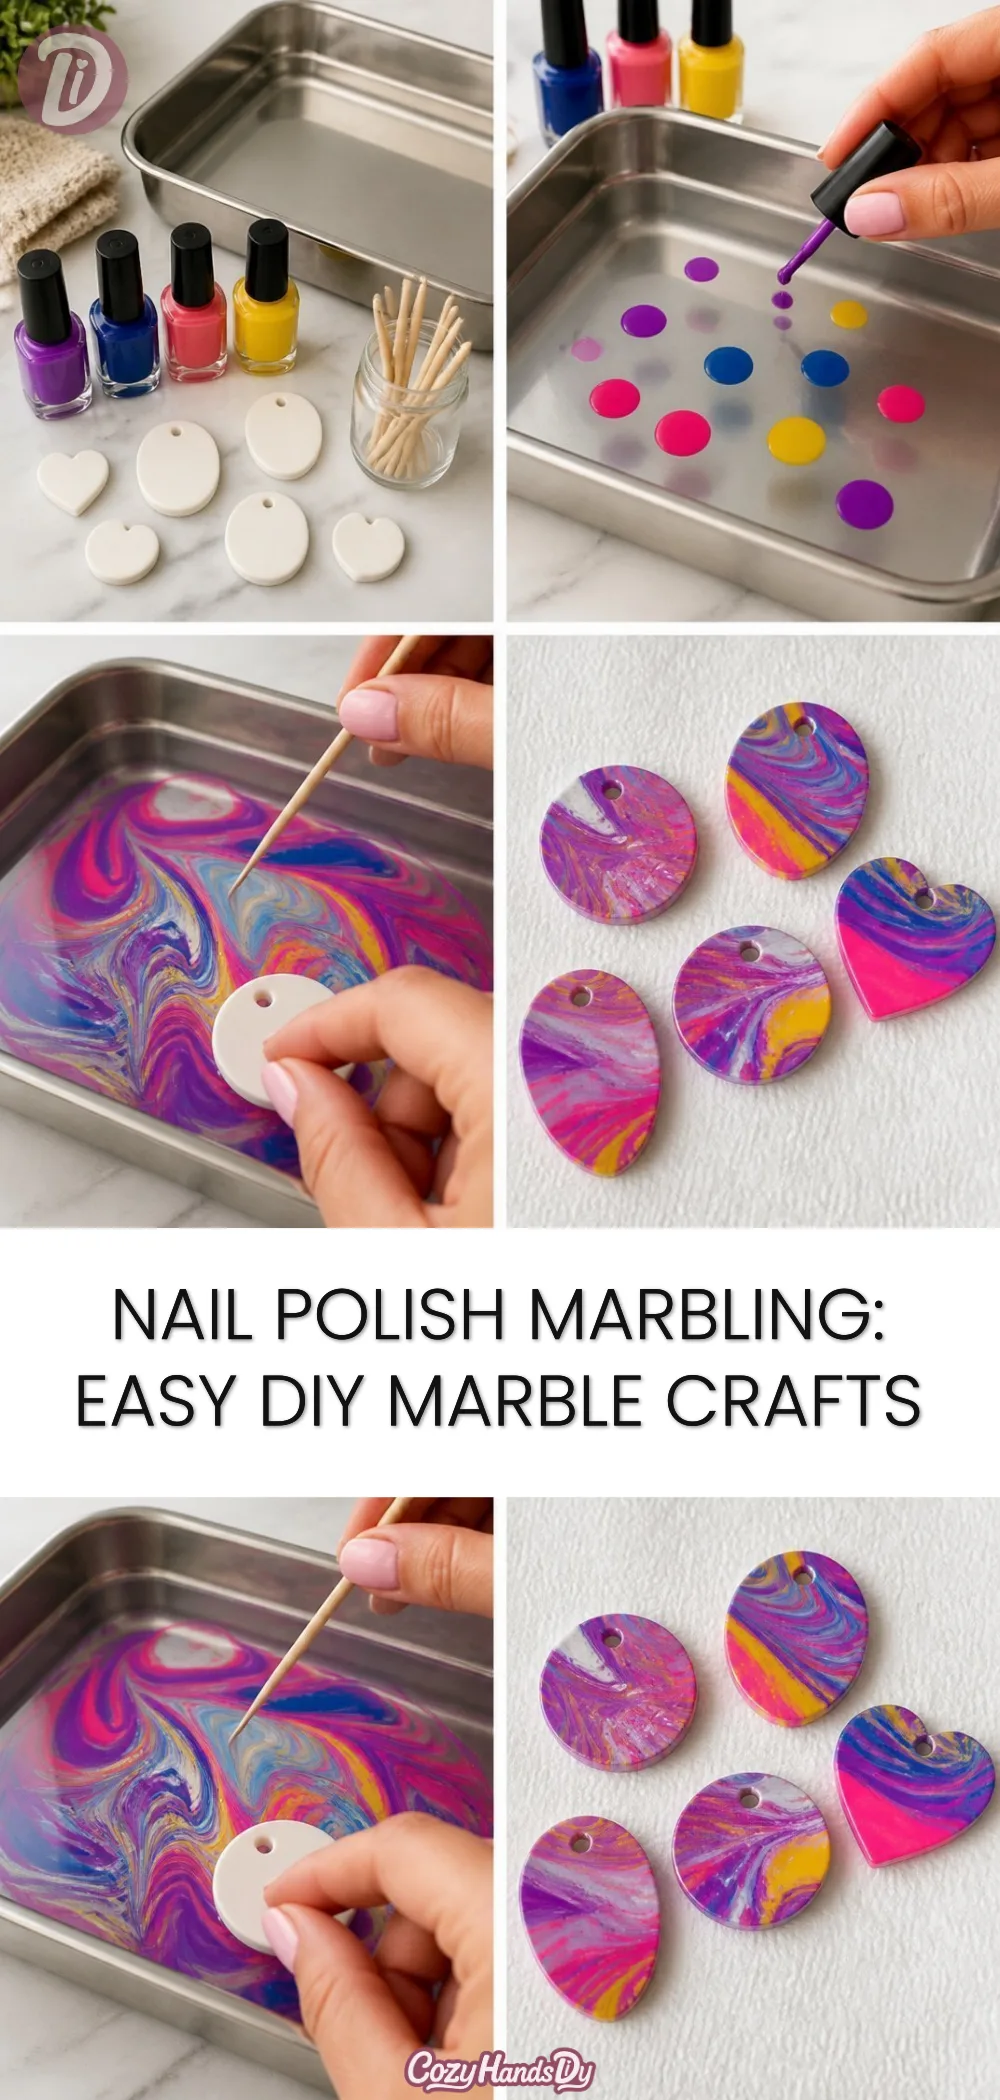
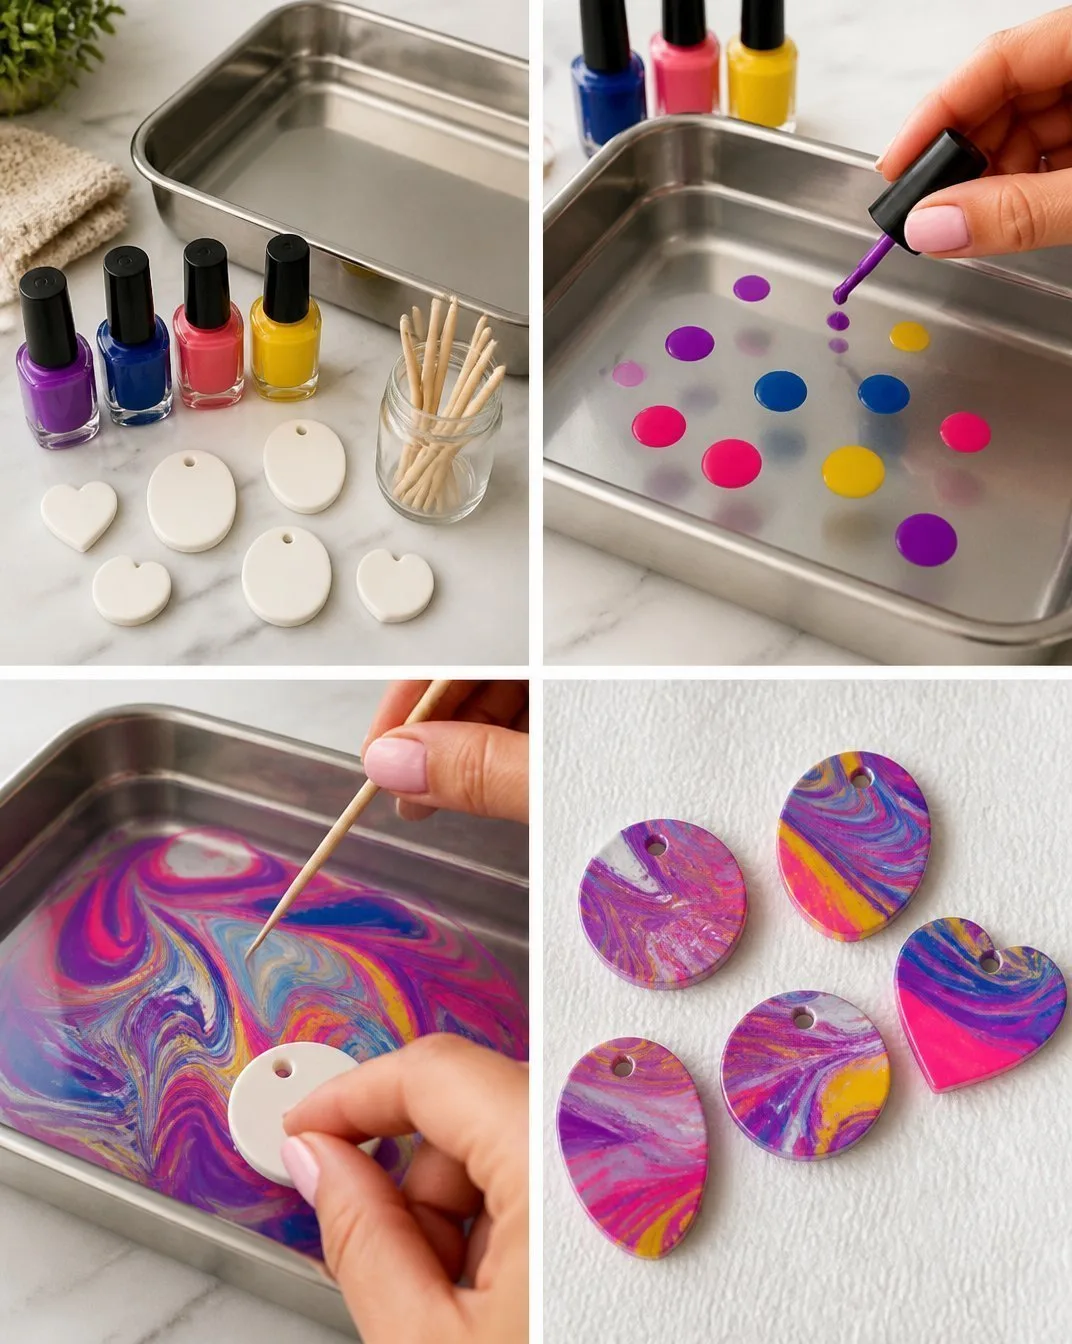
- Prepare your space: Clear a flat, safe area to work. Lay down a protective surface to catch any spills.
- Fill the dish with water: Choose a shallow dish and fill it with room temperature water. This will be the base for your marbling.
- Drop nail polish onto the water: Choose one color at a time and drip it onto the surface of the water, letting it spread naturally.
- Create patterns: With a toothpick or skewer, gently swirl the colors to create patterns. Let your creativity guide you swirling can create stunning effects.
- Dip your item: Carefully lower your paper or chosen item into the marbled water, allowing the colors to wrap around it. Lift slowly to avoid disturbing the design too much.
- Let it dry: Place your marbled item on a flat surface to dry completely. The colors will set beautifully, also enhancing the dimensionality of your work.
Enjoying the Finished Piece
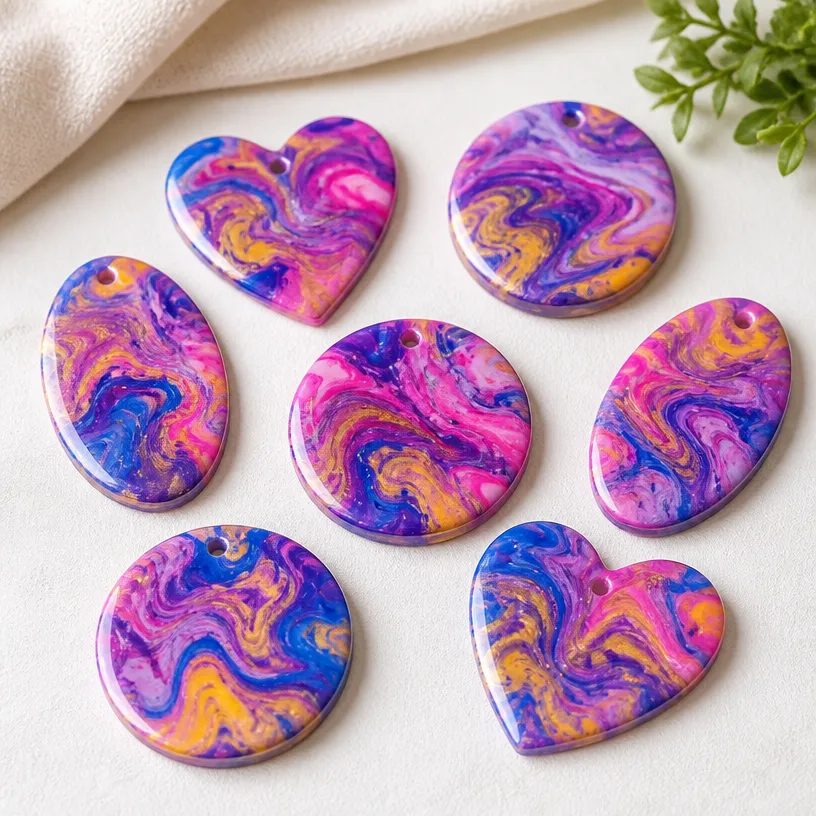
After the item has dried, it’s time to showcase your marbled masterpiece. These items can be incorporated into your daily life or used as striking décor. From decorative papers to beautifully marbled mugs, each piece serves as a reminder of the tranquil time spent creating. Whether you place your art on a shelf or gift it to a friend, the joy of crafting is reflected in its use.
Keeping It for Later
To maintain the integrity of your finished pieces, store them safely away from direct sunlight, as prolonged exposure can fade the vibrant colors. If you’re making items for functional use (like mugs), remember to treat them gently; avoid abrasive cleaners to help preserve the marbled finish.
Gentle Tips & Variations
- Experiment with different colors for varied moods. Earthy tones can evoke calm, while vibrant hues might spark energy and joy.
- Try matte finishes instead of glossy nail polish for unique textural effects.
- Consider making a series of matching items, such as coasters or paperweights.
- You can use an old brush to add extra details or touch-ups to your final product.
FAQs About Nail Polish Marbling: Easy DIY Marble Crafts
Can I use any type of nail polish?
Yes, you can use standard nail polish, but make sure to choose bold colors that will stand out when marbled.
How do I clean up afterward?
Nail polish remover works well for cleaning surfaces and tools. Be careful with it near any fabric or porous surfaces.
Is this craft safe for children?
It can be child-friendly, but supervision is recommended due to potentially harmful fumes. Use non-toxic, water-based nail polishes for a safer option.
Conclusion
Crafting with nail polish and marbling is not just about the finished product but also about the journey of creating that product. It invites you to be present, to feel, and to explore. If you’re interested in expanding your crafting horizons, learning more about the process can be immensely satisfying. Check out how to marble with nail polish for further insights. You might also find joy in creating DIY marbled nail polish mugs to enrich your daily routine. Embrace the process and let your creativity flow.
PrintNail Polish Marbling: Easy DIY Marble Crafts
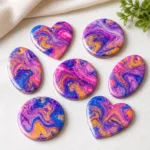
Engage in the calming and creative process of nail polish marbling to create unique decorative items.
- Prep Time: 10 minutes
- Cook Time: 0 minutes
- Total Time: 10 minutes
- Yield: Varies based on items marbled
- Category: Crafts
- Method: DIY
- Cuisine: N/A
- Diet: N/A
Ingredients
- Nail polish in various colors
- A shallow dish or tray (for water)
- Toothpicks or skewer sticks (for marbling effects)
- Paper or an item to marble (e.g., paper for artwork, mugs for functional pieces)
- Optional: Gloves to keep your hands clean
Instructions
- Prepare your space: Clear a flat, safe area to work. Lay down a protective surface to catch any spills.
- Fill the dish with water: Choose a shallow dish and fill it with room temperature water.
- Drop nail polish onto the water: Choose one color at a time and drip it onto the surface of the water.
- Create patterns: With a toothpick or skewer, gently swirl the colors to create patterns.
- Dip your item: Carefully lower your paper or chosen item into the marbled water, allowing the colors to wrap around it.
- Let it dry: Place your marbled item on a flat surface to dry completely.
Notes
Store finished pieces away from direct sunlight to prevent fading. Use gentler cleaning methods for functional items.