

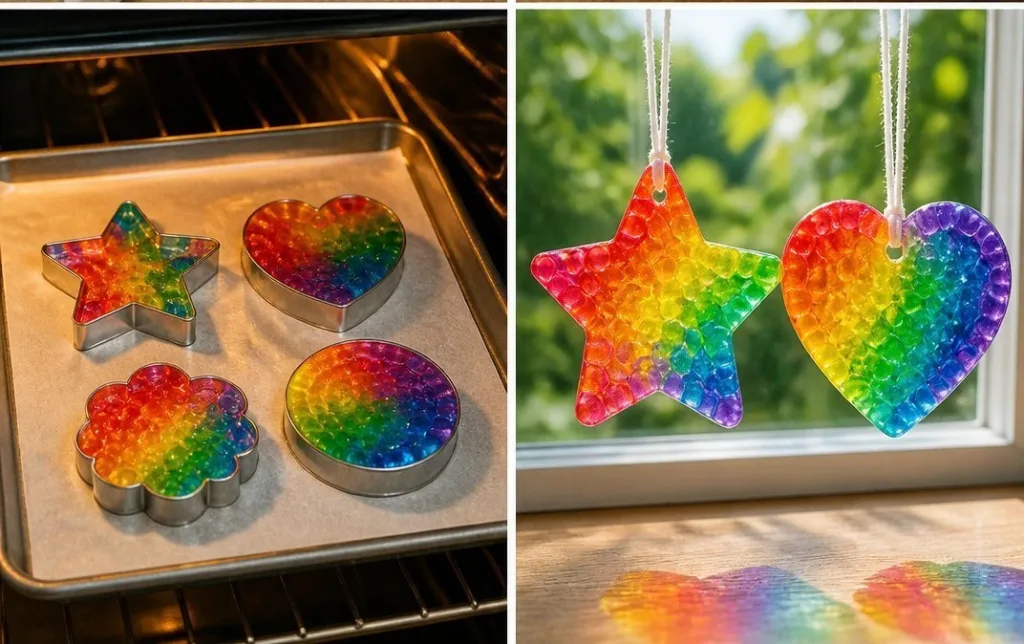
Creating melting bead suncatchers invites soft light and color into your space while offering a gentle crafting experience. As you work with the smooth, vibrant beads, you can feel yourself becoming more centered, letting go of the day’s busyness. The satisfaction of seeing your creation transform in the warmth of the oven adds a soothing rhythm to the whole process. This project not only decorates your windows but also serves as a mindful moment, a chance to connect with your creativity. You may also find Beautiful Bioplastic Suncatchers Natural Flowers useful.
Why Melting Bead Suncatchers Feels Comforting to Create
Making melting bead suncatchers can be a delightful way to nurture your spirit. The process is simple yet engaging, allowing your mind to wander without feeling overwhelmed. As you pour and arrange the colorful beads, you develop a sense of focus and peace, making each bead placement feel intentional. The anticipation of watching the beads melt and transform into beautiful shapes is a calming experience a reminder of how beauty evolves through patience and warmth. This project brings the joy of crafting into a clearer space, making it ideal for those moments when you need to slow down. You may also find Bioplastic Suncatchers Colorful Craft Cozy useful.
A Gentle Look at the Process
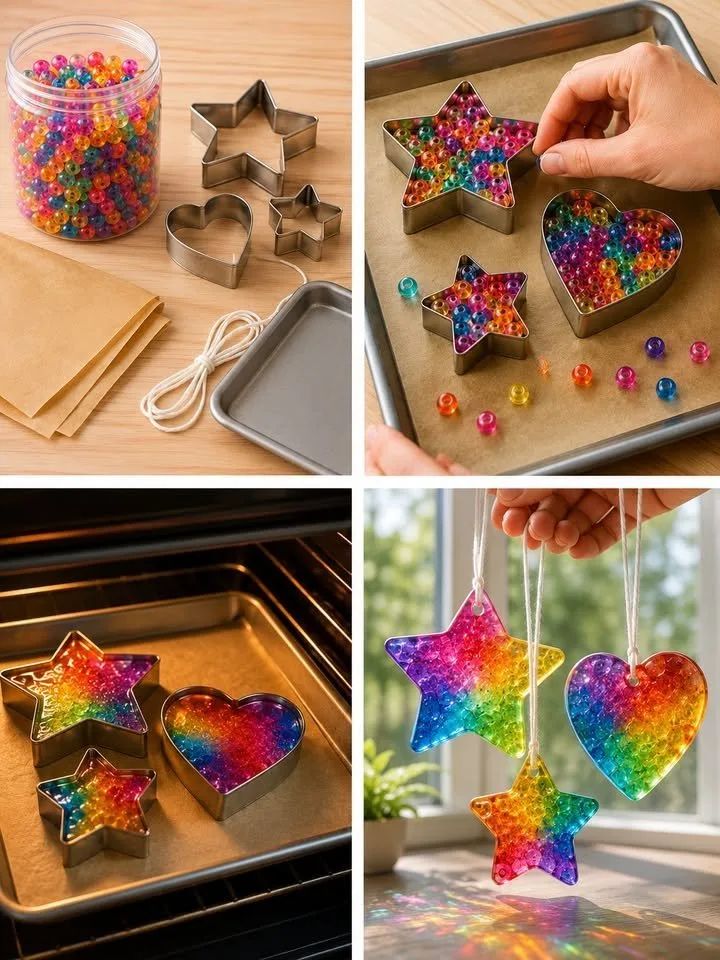
Before diving into the specifics, let’s observe how the flow of this project draws you in. Gathering colorful beads, selecting your shapes, and placing them in a pan create a rhythm that is both relaxing and invigorating. As the beads come together, the spark of creativity flows, and the gentle clattering of beads offers a comforting background noise. Watching the beads melt slowly and evenly fosters a kind of meditative focus, serving as a reminder of the beauty found in simple things. This is a soft project meant to warm your heart and home. You may also find Bioplastic Suncatchers Colorful Swirls Recipe useful.
Materials You’ll Need
To begin crafting your melting bead suncatchers, you will need:
- A variety of colored melting beads (easy to find at craft stores)
- A metal baking pan or silicone mold (silicone makes for easier removal)
- Parchment paper (great for easy cleaning)
- An oven (to melt the beads)
- Hanging string or wire (for displaying your finished piece)
Ensure that you gather everything before you start, creating a tranquil workspace that invites creativity.
Step-by-Step Directions
- Preheat your oven to 400°F (200°C). The warmth will prepare for the gentle melting process you are about to enjoy.
- Line your baking pan with parchment paper. This will make it easier to take out the suncatcher once it’s finished melting.
- Arrange the beads in the pan or mold. You can create any design you’d like! Feel the smooth texture of the beads as you pour them. Each placement is an expression of your creativity.
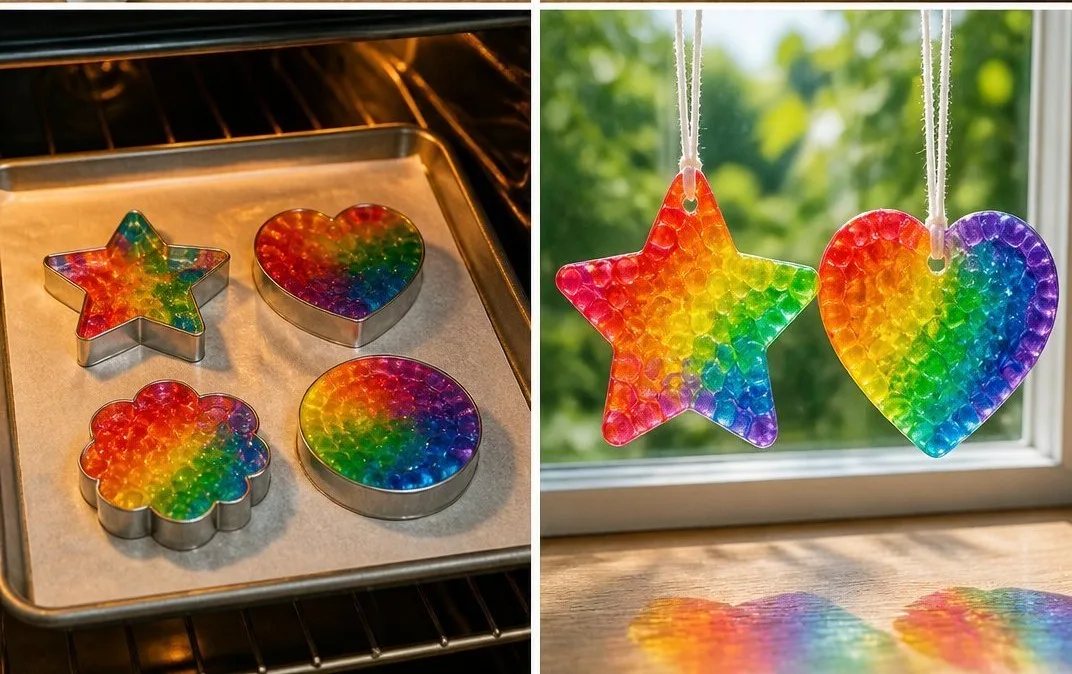
- Carefully place the pan in the oven. Close the door and watch as the beads begin to melt, creating beautiful patterns. This is where the anticipation builds; enjoy the process.
- Once the beads have melted and fused together (this usually takes about 10-15 minutes), carefully remove the pan from the oven. Allow it to cool completely before touching it.
- Once cool, gently peel the suncatcher from the pan or mold. The satisfying release enhances your connection to the project.
- If you plan to hang your suncatcher, attach string or wire at the top. Think about where you’ll display your piece, letting its beautiful colors catch the light.
Enjoying the Finished Piece
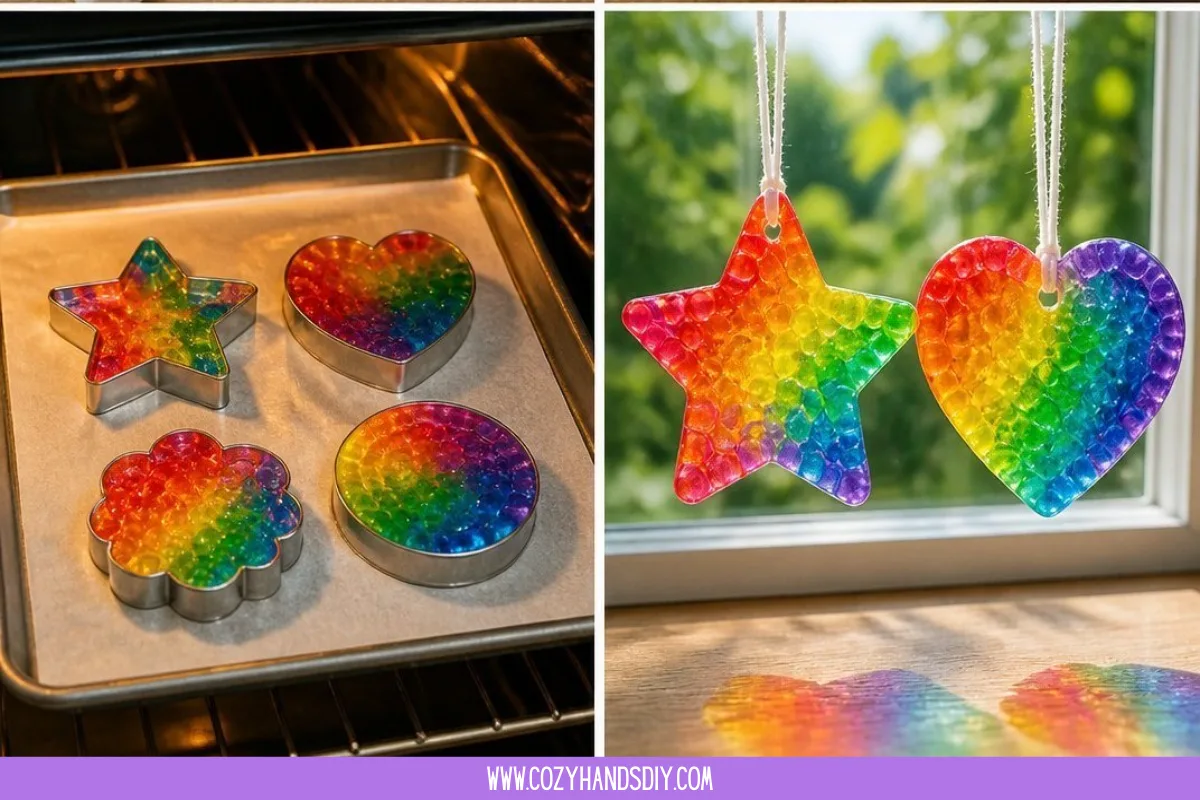
Your melting bead suncatcher has transformed into a vibrant art piece that can brighten any window. As sunlight filters through, the colors come alive, creating a gentle dance of light across your room. These pieces add warmth and joy, brightening a space not just visually but emotionally. They can be used to mark the changing seasons or simply to bring a smile on a cloudy day. Hang them in places where you can take a moment to appreciate their beauty, bringing a sense of calm and creativity to your surroundings.
Keeping It for Later
Taking care of your finished melting bead suncatchers is simple. Store them in a cool, dry place when not in use, and avoid exposure to direct sunlight for extended periods to maintain their vibrancy. If you notice any dust settling on them, gently wipe with a soft, dry cloth. These suncatchers can last for many seasons, so cherish the moments they bring as you display them year after year.
Gentle Tips & Variations
- Consider experimenting with different shapes and color combinations, as each one will create a unique reflection of light.
- Use translucent colors to create softer light effects, or opt for bold, opaque colors for a more pronounced display.
- If you have small, unique items like dried flowers or leaves, placing them in the molds with your beads can personalize each suncatcher even more try this with cozy bioplastic suncatchers for an added touch.
- Finally, involve children in the process! Let them express their creativity with design while you handle the oven step.
FAQs About Melting Bead Suncatchers
What types of beads work best for melting suncatchers?
Melting beads specifically made for this purpose are ideal. Look for brands labeled as “melting beads” or “perler beads” in vibrant colors.
Can I reuse the baking pan later?
Yes, you can! Just be sure to thoroughly clean it afterward. If you used a silicone mold, it should be fine for subsequent crafts too.
What if my suncatcher breaks?
If it breaks, don’t fret! You can gather the pieces and start over by melting them again in a similar process or create new pieces with different designs.
How do I display my suncatcher?
Hang it in a sunny window where it can catch the light. Use lightweight string or a decorative wire for a cozy touch.
Can I try this with different shapes?
Absolutely! Experiment with various molds or pans to create a range of designs and sizes that reflect your personal style.
Conclusion
Creating melting bead suncatchers is a beautiful way to engage your senses while focusing on a calming craft. You can explore variations of this project, like making cozy light suncatchers or experimenting with other materials like bioplastics. For further inspiration and tips, you might enjoy the resource on Melted Craft Bead Suncatchers or check out Easy Melted Bead Suncatchers for additional ideas to infuse your crafting with joy and creativity.
PrintMelting Bead Suncatchers
Create vibrant melting bead suncatchers that invite soft light and color into your space while nurturing your creativity.
- Prep Time: 15 minutes
- Cook Time: 15 minutes
- Total Time: 30 minutes
- Yield: 1 suncatcher
- Category: Craft
- Method: Baking
- Cuisine: N/A
- Diet: N/A
Ingredients
- A variety of colored melting beads
- A metal baking pan or silicone mold
- Parchment paper
- An oven
- Hanging string or wire
Instructions
- Preheat your oven to 400°F (200°C).
- Line your baking pan with parchment paper.
- Arrange the beads in the pan or mold.
- Carefully place the pan in the oven.
- Once the beads have melted (about 10-15 minutes), remove the pan from the oven.
- Once cool, peel the suncatcher from the pan.
- If you plan to hang it, attach string or wire at the top.
Notes
Experiment with different shapes and colors for unique designs. Involve children in the creative process for extra fun!