

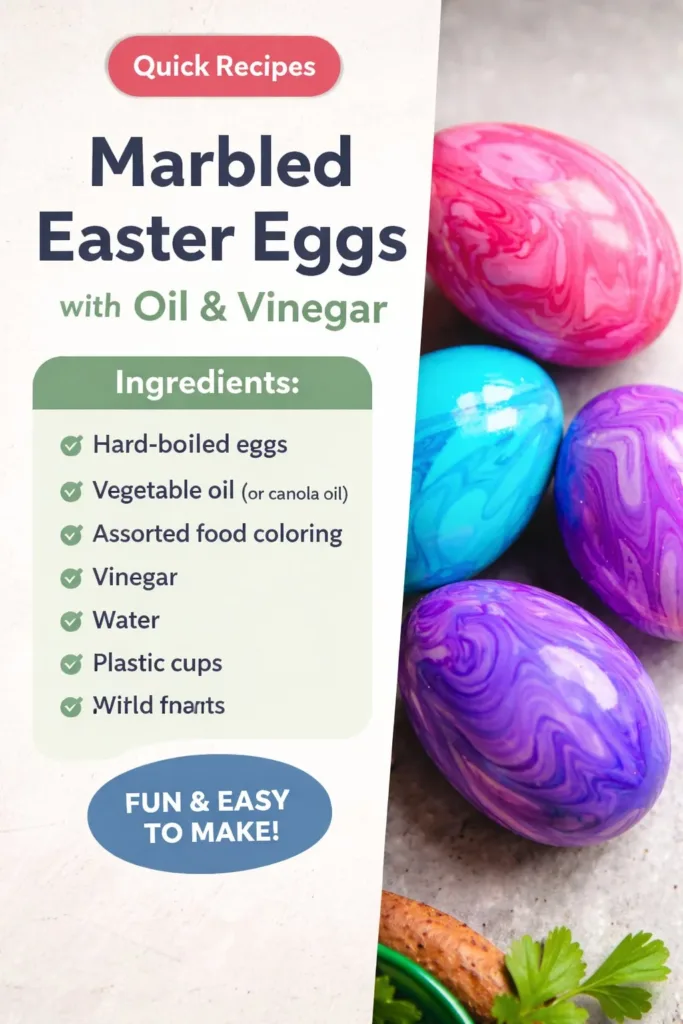
The morning light slips across my hands as I cradle a cool, smooth egg, watching tiny beads of oil drift on a shallow pool of colored water. I breathe in the faint, clean tang of vinegar and feel the slow rhythm of wrist and eye as the colors bloom. Making Marbled Easter Eggs with Oil & Vinegar invites that quiet attention, a slow, small ritual that asks only for a steady hand and a gentle heart, much like the soft projects I often pair with my glowing Easter eggs when I set a cozy table for friends.
The Quiet Joy of Making Marbled Easter Eggs with Oil & Vinegar
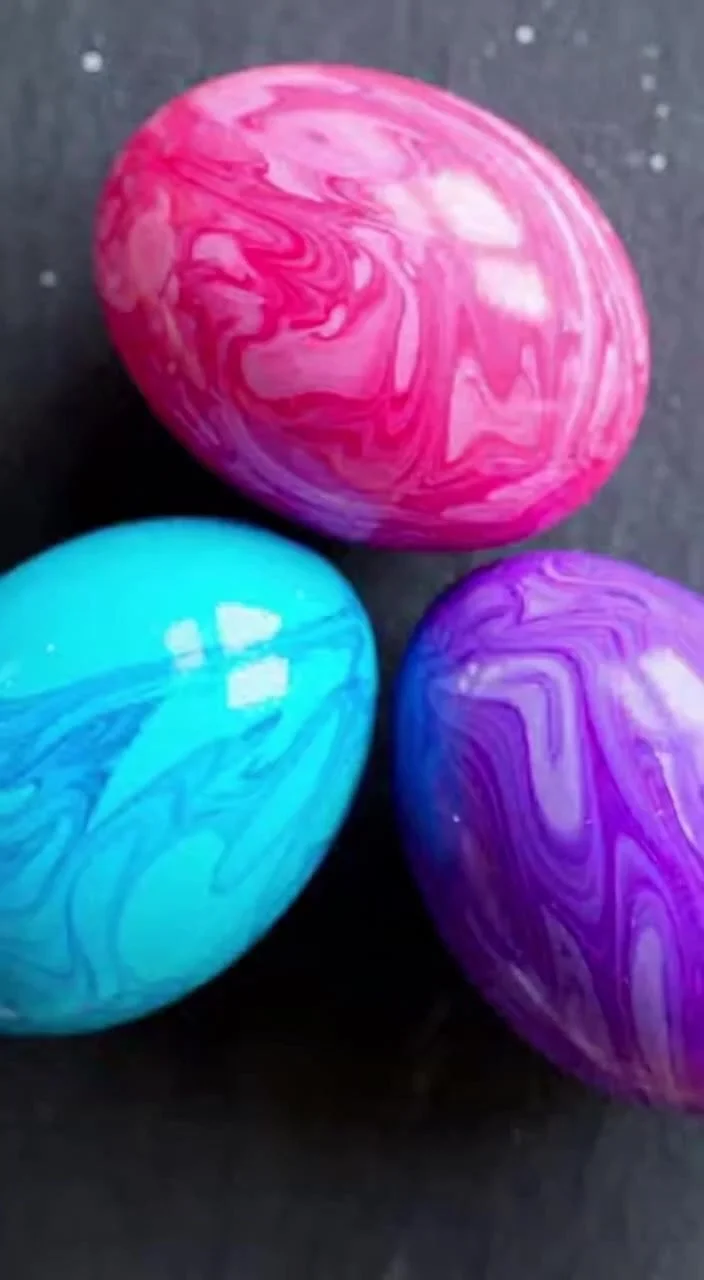
This project focuses on the small, sensory pleasures that anchor the mind. I choose this method because it lets the hands move slowly and the eyes follow a story that the colors tell. When oil meets water, it beads and moves with a life of its own. The vinegar sharpens and settles the dye against the shell so the colors feel like they rest there, not just sit.
Working this way creates a quiet rhythm. I hear the soft clink of spoon on bowl, the whisper of paper towel, the subtle slosh of water. Each egg keeps its own surprise. That unpredictability invites curiosity rather than pressure. You can plan a palette and still find delight when a stray oil ripple makes a moon or a cloud.
This craft also makes space for presence. You do not rush a stirred swirl. You hold an egg and let the surface choose its mark. That slow give-and-take calms the craft. It helps you live the project rather than merely finish it.
A Gentle Look at the Process
Before you gather tools, picture the gestures. You will mix pools of color in shallow bowls, add a touch of oil, and watch the oil push the dye into whorls. You will roll each egg through those whorls like painting with a small, round brush.
You will feel the cool eggshell under your fingers and the soft drag when it meets a colored film. You will tilt the egg to coax a streak into a new place. You will blow on a damp dangled shell to set a ripple and then blot gently. The steps repeat with a measured calm, so the work grows like a slow conversation.
This approach keeps things simple. I follow a steady loop: prepare dye, add oil, marble, dry, admire. Each loop lasts just a few minutes, but the overall pace feels restful. If you enjoy small experiments, you can try different oils, more or less vinegar, or new color mixes. Those little variations bring learning and surprise, the kind that make the hands remember.
I often pair this calming play with other sensory projects; for a different kind of messy science-meets-art, try my tasting experiments like baking soda and vinegar fireworks fun to get the kids curious while you marble shells.
Materials You’ll Need
- White eggs, hard-boiled or blown, cooled (easy to find; use blown shells if you want long-term display)
- Food coloring in several colors (liquid works well; easy to mix)
- Distilled white vinegar (small amount; helps the dye stick and intensifies color)
- Vegetable oil or sunflower oil (any light oil; creates the marbled resist)
- Shallow bowls or wide cups for dye (one per color; shallow makes marbling easier)
- Spoons, a toothpick, or a small skewer (to create swirls)
- Tongs or a slotted spoon (optional; helps lift eggs gently)
- Paper towels or a soft cloth (for drying; gentle on shells)
- Baking rack or egg carton for drying and display (keeps eggs safe while they set)
- Clear craft varnish or Mod Podge (optional; seals finished eggs if you want longevity)
- Gloves (optional; if you prefer to keep hands clean)
If you enjoy rustic accents for finished eggs, I often wrap a few in twine for a lived-in seasonal look inspired by this rustic twine lace Easter eggs idea.
- Decide now whether you want to eat the eggs later. If you plan to eat them, refrigerate them and label them as food. If you plan to display them long term, consider blowing the contents and sealing the shell. Keep safety simple and clear.
Step-by-Step Directions
Prepare eggs. Hard-boil eggs until firm, cool them fully, and dry with a soft cloth. Blown eggs work too; I like the way a blown shell feels like paper when I hold it, fragile and light.
Mix dyes. Add a cup of warm water and a tablespoon of vinegar per bowl. Stir in 10 to 20 drops of food coloring until you like the depth. The vinegar helps the dye bite into the shell and brightens the result.
Add oil. Drip a teaspoon or so of oil onto the surface of each dye bowl. The oil stays on top and creates beads that resist the water. I use a toothpick to nudge the oil into larger pools or fine swirls.
Create swirls. Gently stir the oil on the surface with a toothpick in slow circles. Watch the colors twist. Pause when you see a pattern you like; fast stirring breaks shapes into small speckles.
Marble an egg. Hold an egg with your fingertips and roll it slowly across the surface so different bits of color cling. Rotate the egg in a steady movement as if painting with a small brush. The oil will leave thin lines and soft edges that make a marble look.
Lift and set. Lift the egg out and set it on a rack. Blot gently where oil pools concentrate. I tap a paper towel against the shell so the paper takes the extra oil without rubbing the color away.
Revisit a bowl. If you want new effects, stir a new swirl or add a drop of another color. I try a second dip for subtle layers, not to cover what came before.
Dry fully. Let the eggs sit until the color feels matte and not tacky. This usually takes fifteen to thirty minutes. If you want them glossy, wait until they dry and then apply a thin coat of craft varnish once the color sets.
Seal for keepsakes. If you plan to keep the eggs as decor, brush a light coat of clear varnish or Mod Podge. Work in thin strokes and let each coat dry. Two thin coats give protection without dulling the marble.
Clean your workspace. Warm soapy water removes oil and dye easily. I keep a bowl for rinsing tools and a towel for steadying small bits. This small cleanup ritual closes the making with care.
Store or display. Place finished eggs in an egg carton padded with tissue or on a shallow tray, or nestle them among branches for a seasonal arrangement. If you used real eggs and plan to eat them, refrigerate promptly.
Reflect and adjust. After a few eggs, you will notice which swirls make you smile and what pressure changes the lines. I keep a small notebook of color mixes I like so I can repeat a warm coral or a deep teal next time.
Using Marbled Easter Eggs with Oil & Vinegar in Everyday Life
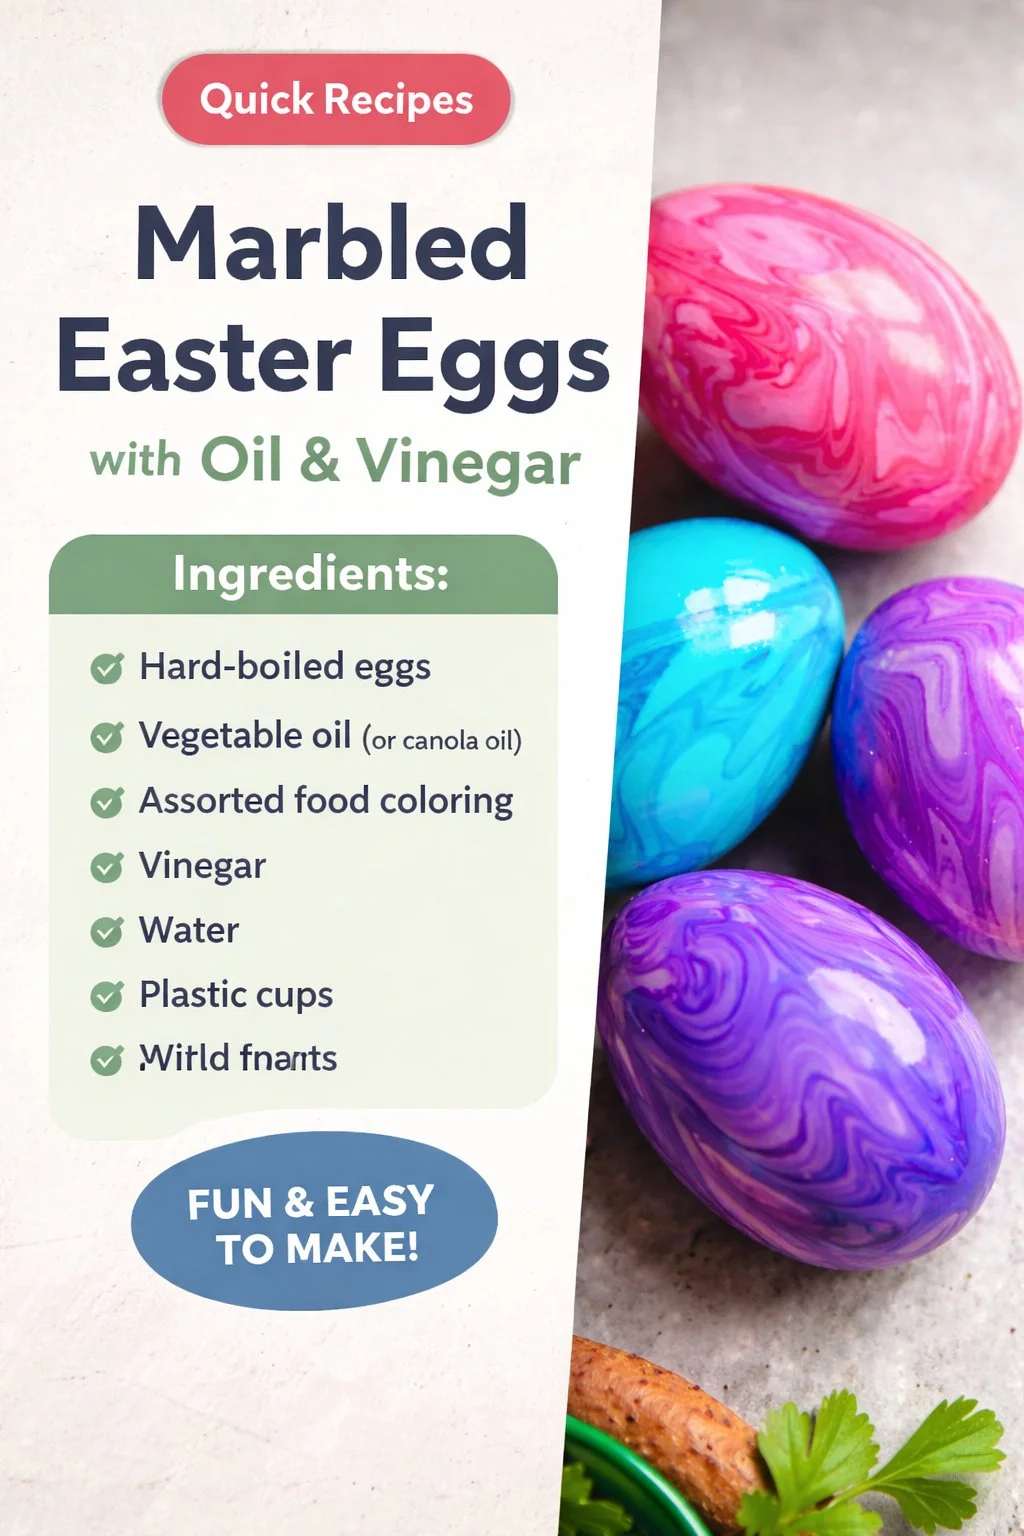
These marbled eggs bring calm and small beauty to simple routines. I place one or two in a shallow bowl at the center of a breakfast nook to remind myself to slow down. They look gentle tucked into a vase with spring twigs or sat on a bedside tray to greet a quiet morning.
You can use them as table markers for a calm family meal. Hand each person a unique shell to hold before the plates arrive and watch the conversation bloom around color and texture. If you make blown eggs, you can hang them on indoor branches like delicate lanterns. The glossy marble catches candlelight softly.
I often make a small batch for friends. Wrapped in soft tissue and tied with twine, they become a thoughtful, handcrafted gift. They travel well when secure in a padded box, and the marbled surfaces carry an intimate story of time and touch. Displayed in a glass cloche, they feel like a small, private world.
Caring for Your Finished DIY
If you plan to keep your eggs, think about how long you want them to last. Blown shells last the longest for display. I empty the contents carefully, rinse the shell, and let it dry fully before dyeing. After varnish, store in a cool, dry place away from direct sun to prevent fading.
If you used hard-boiled eggs for craft and eating, store them in the refrigerator. Label them clearly so no one mistakes a decorated shell for a fresh, plain egg. I write “decorated” on a small sticker and place it on the carton. This small step prevents confusion and keeps food safety simple.
If a varnished egg picks up dust, I dust it gently with a soft brush rather than wash it. Washing might dull the surface. For eggs you want to reuse next season, wrap each in tissue and store them in a small box with padding. They will feel ready to display when you unwrap them.
Handle the shells with care. Even varnished shells remain delicate. When you move them, support the egg from the bottom and avoid squeezing the center. Over time, the small footprint of your hands will leave a memory in the sheen; that mark reads like a soft signature of making.
Gentle Tips & Variations
Try different oils. I often experiment with olive oil, sunflower oil, or coconut oil. Each oil beads and moves slightly differently. Olive oil can leave a faint sheen that I like for rustic tones.
Play with layering. Dip an egg lightly into a pale color, let it dry, then marble with darker hues. The layers add depth. I treat each layer like a quiet conversation between colors.
Add metallic accents. After varnishing, brush a tiny wash of watered-down gold or silver paint over a few ridges. I use this sparingly to let the marble remain the focus.
Use cloth or yarn. If you want a soft display, nestle finished eggs in a small woven basket lined with yarn. That tactile cushion invites fingers to touch and keeps the eggs safe.
Pair with playful science. If you want to extend the afternoon into learning through play, try a small experiment from my kitchen table notes at baking soda and vinegar fireworks. The chemistry feels magical without fuss and gives curious hands another calm project.
These ideas act as invitations. Keep what you love and leave what feels like work.
FAQs About Marbled Easter Eggs with Oil & Vinegar:
Can I eat eggs after marbling them with food coloring and oil?
Yes, if you used food-safe coloring and hard-boiled the eggs, you can eat them. Keep the eggs refrigerated and label the carton. If you used varnish or non-food-safe paints, keep those eggs for display only.
Why does the vinegar matter?
The vinegar reacts gently with the eggshell and helps the dye bond. It brightens color and gives the dye a better hold. A small amount improves richness without changing texture.
Will the oil make the shells greasy?
The oil leaves thin lines and small beads that add texture. You can blot excess oil with a paper towel right after dipping. After the egg dries, I rarely notice greasiness, and a light varnish captures the look cleanly.
How do I prevent cracking during marbling?
Handle eggs with a steady, gentle movement. Use a small rack to rest eggs instead of gripping them tightly. If you blow shells, handle them with two fingers and keep your workspace soft with a towel underneath.
Can children help with this?
Yes. Children enjoy stirring colors and watching the oil behave. Supervise when adding vinegar and help lift eggs from the dye. Keep the steps that involve varnish or small tools for adults.
A Quiet Closing Thought
When you make marbled eggs this way, you slow your hands to match the way the colors move. You learn to trust small accidents and to notice the interplay between control and surprise. The process teaches patience more than precision, and it rewards attention with quiet, unexpected beauty. Take your time. Listen to the small clinks and splashes. Let each shell become a tiny landscape that remembers the time you spent with it.
Conclusion
For a clear, step-by-step tutorial that pairs well with this approach, I recommend the practical recipe at Marbleized Easter Eggs with Oil, Vinegar and Food Colouring which offers helpful photos and timing tips. For another perspective and different techniques you can explore, see this friendly walkthrough at Marbleized Easter Eggs : 4 Steps – Instructables.
PrintMarbled Easter Eggs with Oil & Vinegar

A calming and creative method for dyeing eggs with marbled effects using oil and vinegar.
- Prep Time: 15 minutes
- Cook Time: 30 minutes
- Total Time: 45 minutes
- Yield: 12 eggs
- Category: Craft
- Method: Crafting
- Cuisine: American
- Diet: Vegetarian
Ingredients
- White eggs (hard-boiled or blown)
- Food coloring (liquid in several colors)
- Distilled white vinegar
- Vegetable oil or sunflower oil
- Shallow bowls or wide cups for dye
- Spoons, a toothpick, or a small skewer
- Tongs or a slotted spoon (optional)
- Paper towels or a soft cloth
- Baking rack or egg carton for drying
- Clear craft varnish or Mod Podge (optional)
- Gloves (optional)
Instructions
- Prepare eggs by hard-boiling until firm, cooling fully, and drying with a soft cloth.
- Mix dyes by adding warm water and vinegar to bowls, then stirring in food coloring.
- Add a teaspoon of oil onto the surface of each dye bowl.
- Create swirls in the oil with a toothpick.
- Marble an egg by rolling it across the surface of the dye.
- Lift the egg out and set it on a rack to dry.
- Revisit the bowl for more effects, if desired.
- Dry the eggs until they feel matte and not tacky.
- Seal with varnish if keeping as decor.
- Clean your workspace with warm soapy water.
- Store or display the finished eggs carefully.
Notes
This method creates beautiful marbled effects while allowing for creative expression. Handle the eggs gently as they are delicate.