

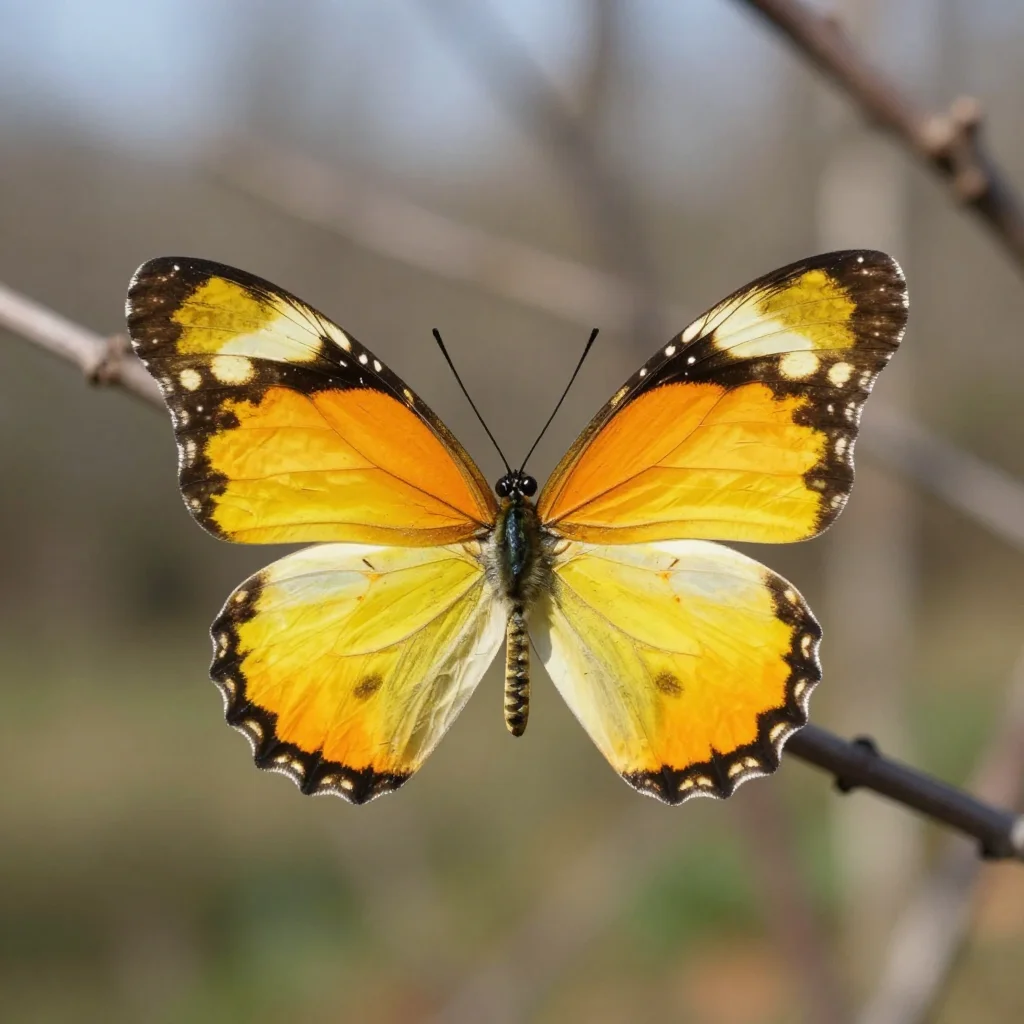
Watching the light dance through a window, a gentle breeze brushes against your skin. The soft hum of life around you becomes a comforting background, inviting a moment of pause. In this serene atmosphere, the idea of making a plastic bottle butterfly stirs creativity within you. It offers a chance to explore textures, colors, and movement, capturing the essence of nature while embracing the comforting act of creating something beautiful. This project draws you in, inviting you to slow down, breathe, and delve into a creative experience that brings joy and tranquility.
The Heart Behind This DIY
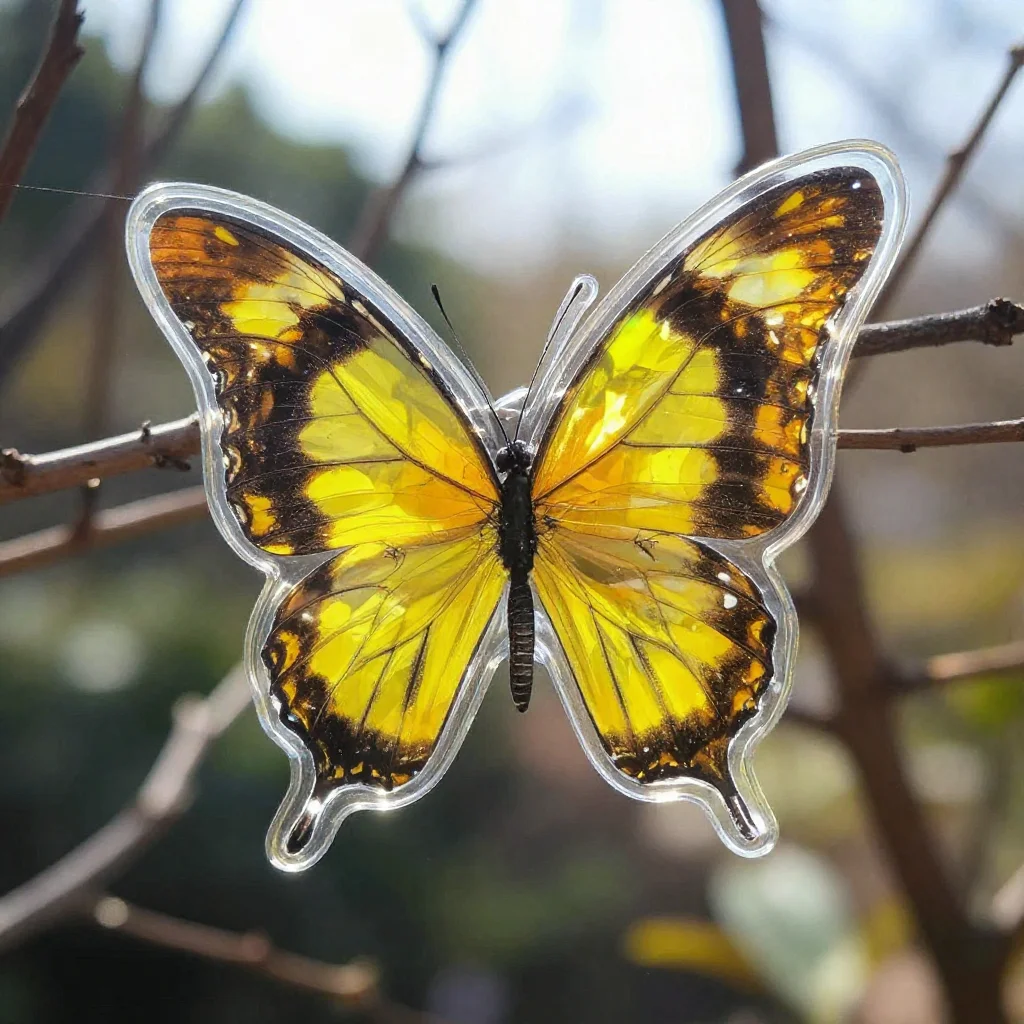
Creating a plastic bottle butterfly feels transformative. It allows you to take something ordinary, like a discarded bottle, and turn it into something extraordinary and joyful. This act is more than just crafting; it connects you with the idea of renewal and celebrating the beauty around us. Engaging in this project helps you focus on the present, grounding you in the act of making.
As you work through the steps, your attention shifts to the textures the smoothness of the plastic, the softness of the paint, the elegance of your finished creation. Each element invites your senses to engage deeply, creating a meditative space where time slows. The rhythm of cutting, gluing, and decorating becomes a gentle melody, a soothing backdrop to your creative expression.
Crafting engages your mind and hands, allowing you to find tranquility in the process. Choosing colors and designs encourages a very personal touch, making the butterfly your own. Each decision brings a sense of intention and purpose. You not only create art; you nurture calm and creativity within yourself.
A Gentle Look at the Process
Before diving into the materials and steps, let’s reflect on the lovely flow of making a plastic bottle butterfly. The project unfolds with rich sensations. You may hear the sound of scissors slicing through plastic, the soft swishing of paint on the surface, and the rustle of materials. Each step invites you to embrace the movement gentle, fluid, and calming.
As you gather your supplies, each item plays its part in this creative dance. The process itself flows seamlessly from one phase to another, blending techniques and vibrant colors. Engaging with the physical materials prepares you for a journey that is just as rewarding as the finished piece.
Crafting is about enjoying the tactile experience, whether it’s painting details or positioning wings just right. Take your time as you move through these moments with intention, finding joy in the act of making.
Materials You’ll Need
Gathering your materials can feel very satisfying. The act of preparing often sets the stage for creativity. For this DIY, you’ll need:
- Empty plastic bottle (any size works)
- Scissors (be cautious)
- Acrylic paint (bright colors for vibrant butterflies)
- Paintbrushes (various sizes allow more detail)
- Craft glue (for attaching decorative elements)
- Glitter, sequins, or colored paper (for added embellishments)
- Pipe cleaners (for antennae; flexible and easy to manipulate)
- Optional: googly eyes (cute and fun for finishing touches)
These materials are easy to find, and many may already be in your home. Feel free to get creative with your supplies. Each item adds a new touch to your butterfly.
Step-By-Step Directions
Begin by cleaning your plastic bottle. Remove any labels and rinse it out, allowing it to dry completely. Notice the bottle’s texture as you hold it.
Once dry, decide on your butterfly’s size. Use scissors carefully to cut the bottle in half lengthwise. Employing steady pressure and gentle movements creates a neat cut.
Take the top half and cut out wing shapes from both sides. Experiment with different shapes and sizes. Each cut may inspire new ideas.
Lightly sand the edges of the wings to create a smoother finish. Run your fingers along them, feeling the contrast between rough and smooth.
Now, it’s time for color. Choose your acrylic paints and apply them to the wings. Watch as colors mix and blend, creating beautiful patterns. Let some wings remain transparent to showcase the bottle’s original hue.
Allow the paint to dry completely. During this pause, enjoy seeing the transformation taking place.
Once dry, embellish your wings with glitter or sequins. Experiment with placement, allowing your creativity to flow naturally.
With craft glue, attach googly eyes to the top part of your butterfly. This small detail can bring joy and personality to your creation.
For the antennae, cut two pipe cleaners. Twist them together and attach them using glue or simply poke them into the top of the bottle.
Take a moment to admire your creation. Consider where this butterfly can live or how it will fit into your space.
Enjoying the Finished Piece
The beauty of your plastic bottle butterfly comes alive in various ways. It can brighten up a window, turning sunlight into a vibrant display of color. Alternatively, it can adorn a garden or patio, lending itself to the gentle dance of the wind. Each butterfly can serve as a lovely reminder of the transformative beauty of recycling and creativity.
You may also choose to gift your butterfly to someone special. The act of sharing your creation can evoke feelings of warmth and connection. Imagine the joy it could bring, not only in the act of giving but in the continued life of your art.
As you integrate your butterfly into your daily surroundings, pause to appreciate its presence. Each glance can be a momentary reminder of the calm, creative experience you nurtured while making it.
Keeping It for Later
Taking care of your plastic bottle butterfly ensures its longevity. If placed outdoors, be mindful of weather conditions. Consider keeping it in a sheltered spot to protect its colors and details. Storing it indoors is best if you want to preserve its vibrancy.
If you decide to change your décor, don’t hesitate to reuse the butterfly in new arrangements or seasonal displays. This project not only allows for creativity in the moment but encourages inspiration for future creations and themes.
Should the butterfly become worn after a while, view it as an opportunity. You can always choose to reinvent it, whether that means refreshing the paint or altering its shape. Embracing change is part of the crafting journey.
Gentle Tips & Variations
Consider experimenting with two or more bottles to create a family of butterflies. Each one can tell a different story, reflecting your unique style.
Try different painting techniques, such as sponging or splattering. These methods introduce new textures and patterns, providing a unique visual experience.
Use natural products instead of acrylic paints if you prefer. Plant-based dyes or homemade solutions can lend a softer finish, appealing to those who want to keep things more organic.
Introduce accessories like ribbon or fabric to enhance the butterfly’s wings, adding a layer of texture and softness that captivates the eye.
Enjoy inviting someone else to join your crafting session. Creating together can enhance the experience, fostering conversation and connection.
FAQs About How to Make a Plastic Bottle Butterfly
What type of plastic bottle works best for this DIY?
Any plastic bottle can work, but those with smoother textures like soda or water bottles are ideal for easy cutting and painting.
Can I use materials other than paint for decorating?
Absolutely! Consider markers, washi tape, or other craft supplies to add a unique touch to your butterfly.
How do I make sure the butterfly is safe for outdoor display?
If displaying outdoors, consider using a weatherproof sealant after painting to protect it from the elements.
What age group is this project suitable for?
With careful supervision, children can participate. Tailor the complexity of the steps to suit their skills, ensuring a shared creative experience.
Can I make other animals or insects using this method?
Yes, this technique can be adapted to create various animals or designs. Let your imagination guide you as you explore other possibilities.
Conclusion
Embracing the creation of a plastic bottle butterfly offers not just a delightful craft but a reflective journey into creativity and sustainability. As you explore and enjoy your butterfly, consider the larger world of DIY possibilities. Discover more creative projects, such as making bioplastic suncatchers or learning about the recipe behind DIY bioplastic suncatchers. Each project allows you to engage with materials and ideas in a thoughtful, calming way.
Take a moment to appreciate your time spent creating. A simple butterfly can symbolize transformation and love for nature. Allow this small creation to inspire you and bring you peace in your daily life. Welcome the joy of crafting, and let your creativity soar.
PrintPlastic Bottle Butterfly
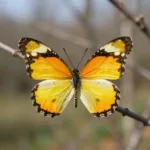
Transform a discarded plastic bottle into a beautiful butterfly decoration, capturing the joy of crafting while embracing sustainability.
- Prep Time: 15 minutes
- Cook Time: 0 minutes
- Total Time: 15 minutes
- Yield: 1 butterfly
- Category: Craft
- Method: Crafting
- Cuisine: N/A
- Diet: N/A
Ingredients
- Empty plastic bottle (any size)
- Scissors
- Acrylic paint (bright colors)
- Paintbrushes (various sizes)
- Craft glue
- Glitter, sequins, or colored paper
- Pipe cleaners (for antennae)
- Optional: googly eyes
Instructions
- Clean your plastic bottle. Remove labels and rinse thoroughly.
- Decide on your butterfly size. Cut the bottle in half lengthwise.
- Cut out wing shapes from the top half.
- Slightly sand the edges of the wings for smoothness.
- Choose your acrylic paints and apply them to the wings.
- Allow the paint to dry completely.
- Embellish the wings with glitter or sequins.
- Attach googly eyes to the top of your butterfly.
- Cut two pipe cleaners for antennae and attach.
- Admire your creation and find a place for your butterfly.
Notes
Feel free to personalize your butterfly with different colors and embellishments. Consider using different painting techniques for unique textures.