

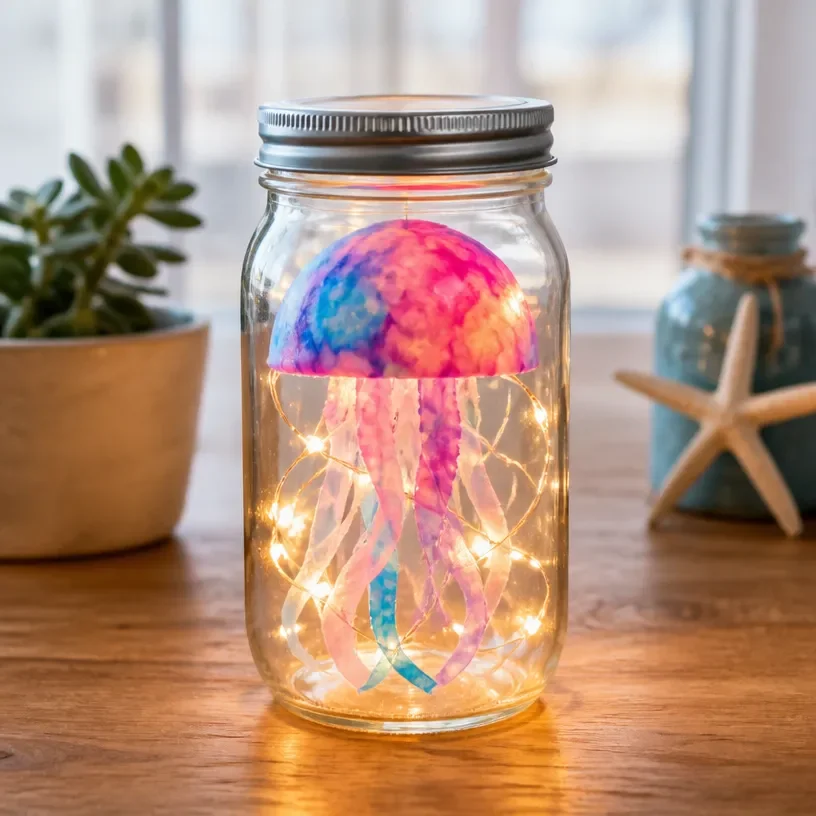
The soft, flowing texture of fabric combined with the shimmering glow of a light brings a comforting feeling to any space. As you imagine creating your own Magical Floating Jellyfish Project, visualize the gentle sway of your handcrafted jellyfish as they float gracefully and illuminate their surroundings. This DIY project invites mindfulness, allowing the maker to connect with calming materials while discovering a sense of tranquility in the creative process. The experience itself is as enriching as the resulting piece, offering a moment to slow down and enjoy the art of crafting. You may also find Floating Jellyfish Craft Becomes Cozy useful.
Why Make This Magical Floating Jellyfish Project
Creating the Magical Floating Jellyfish Project provides a beautiful way to embrace calm and focus on the present moment. As you work with soft materials, the act of assembling each jellyfish encourages a gentle rhythm, helping to soothe racing thoughts. The project’s sensory aspects, such as the tactile feel of fabric and the visual delight of glowing jellyfish, enhance a cozy atmosphere that embodies tranquility and creativity. Whether you display them in your home or share them with others, these jellyfish serve not only as charming decor but also as a reminder to take a pause and appreciate creativity in action.
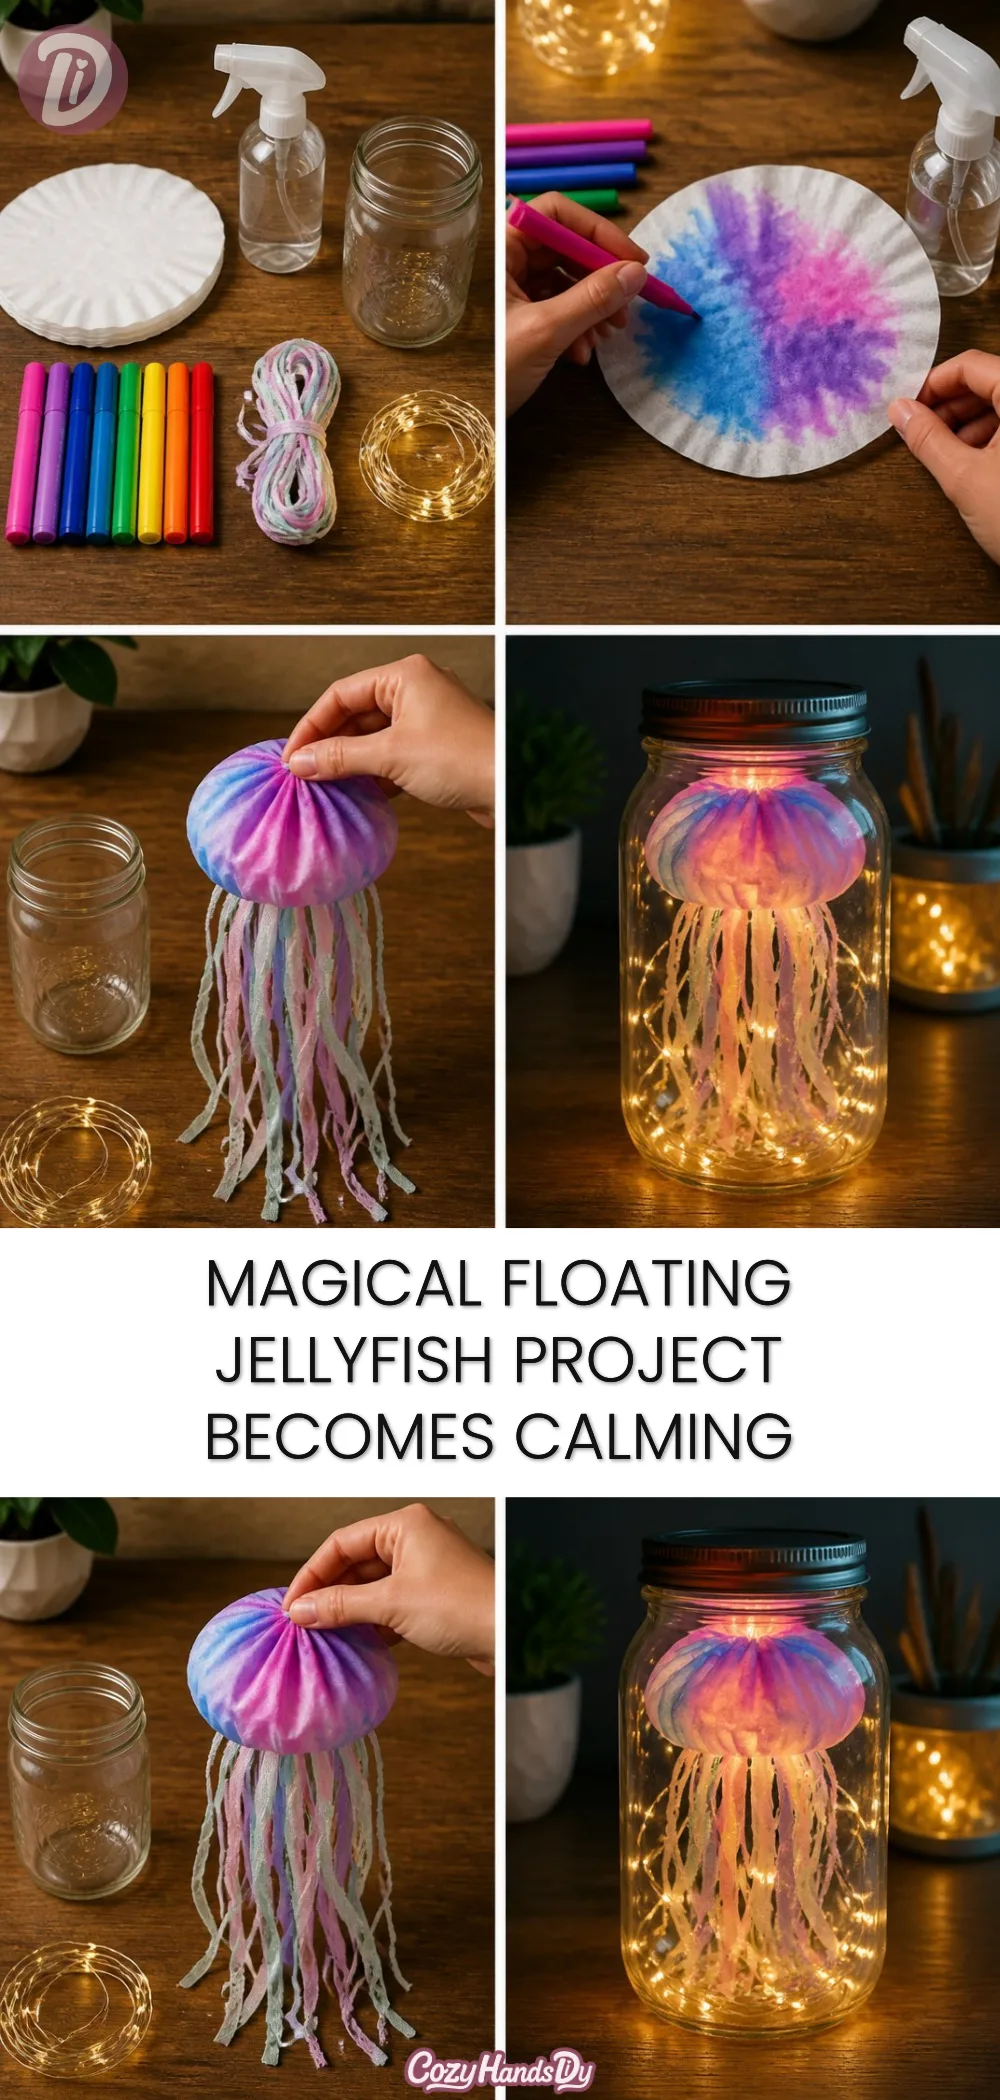
A Gentle Look at the Process
In this project, the flow of creating each jellyfish resonates with a feeling of calm. The process involves laying out the materials, engaging with their textures, and allowing your hands to guide you. When you gather your supplies, listen to the soft sounds of cutting and gluing, finding a tempo that feels right. Each step blends seamlessly into the next, making the crafting experience feel intuitive and inviting.
Materials You’ll Need
- Light, flowing fabric (such as organza or tulle)
- Battery-operated LED lights
- A plastic or glass jar
- Scissors
- Glue or a hot glue gun
- Decorative elements (such as sequins or beads)
- Optional: fishing line for hanging
These materials are easy to find and can often be repurposed from items you already have. Each component adds its own layer of charm to your floating jellyfish.
Step-by-Step Directions
Start by cutting the fabric into circular shapes, about 10 inches in diameter. This will form the top of your jellyfish.
Take the LED lights and place them inside the jar, ensuring they are secure and won’t move around.
Take the circular fabric pieces and use glue to attach them firmly to the base of the jar. You can experiment with layering the fabric for a fuller jellyfish.
If desired, adorn the jellyfish with sequins or beads before allowing the glue to dry.
Once the glue sets, gently pull the fabric to create tentacles. This can be done by cutting or simply manipulating the ends for a more natural effect.
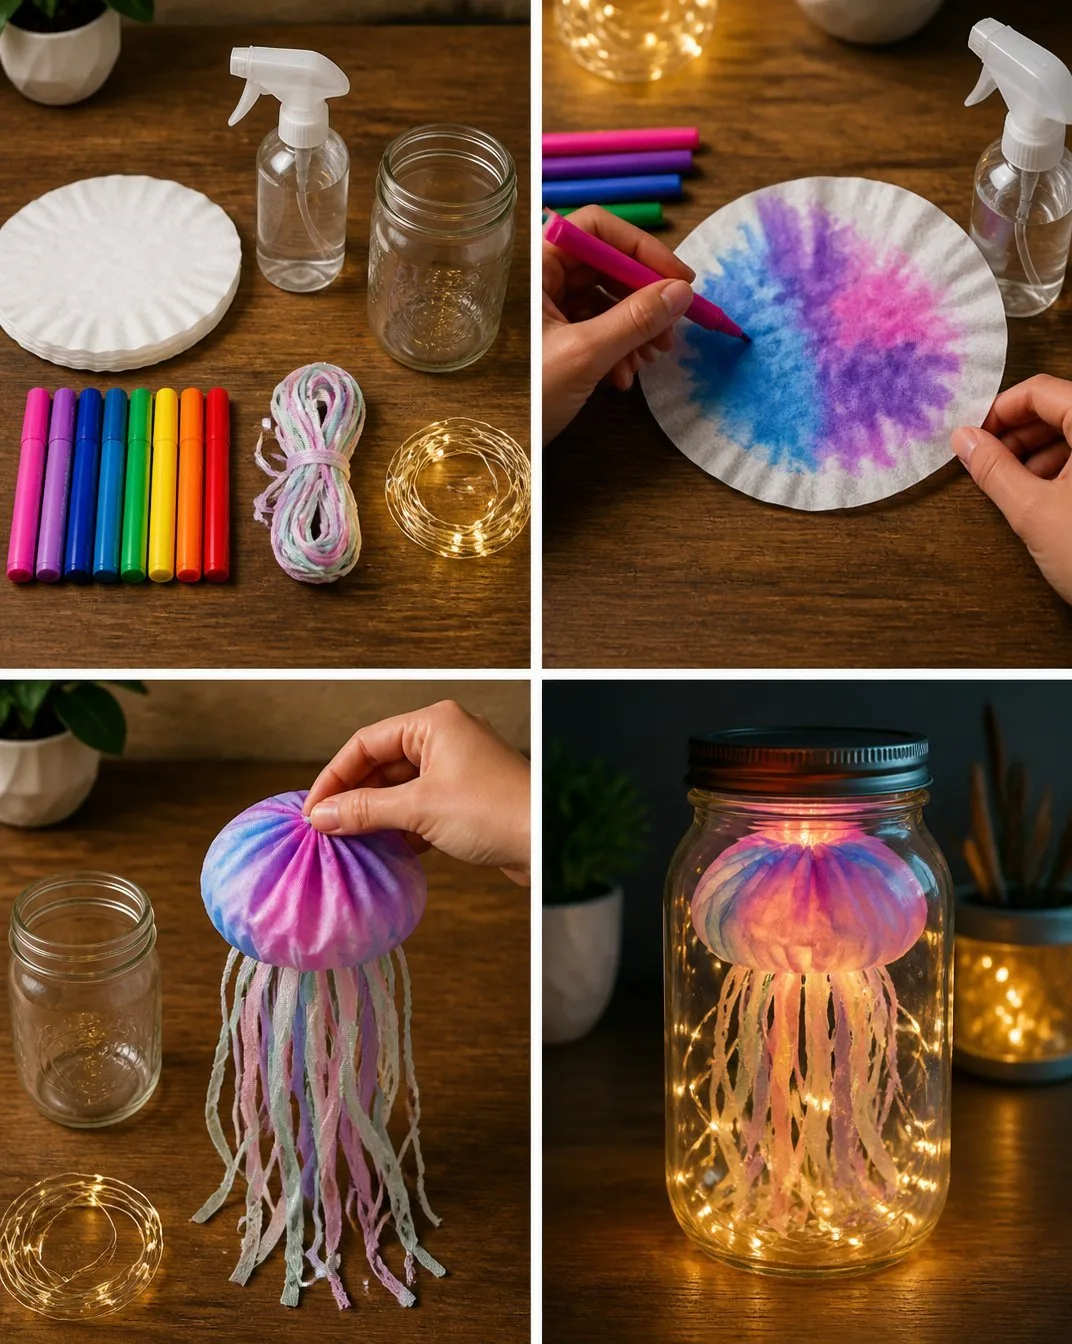
To finish, place the lid on the jar (if applicable) and switch on the LED lights. Feel free to adjust the fabric for better illumination.
Let your creation sit for a moment, enjoying the glow and the calming effect of your homemade jellyfish.
Enjoying the Finished Piece
The completed Magical Floating Jellyfish Project can brighten any room with its warm glow. These beautiful creations lend a beachy vibe and make wonderful decorations in children’s rooms, meditation spaces, or simply anywhere that needs a touch of whimsy. The soft light casts enchanting patterns, transforming ordinary moments into extraordinary experiences, inviting stillness and wonder.
Keeping It for Later
Your jellyfish masterpiece can be stored in a safe place when not in use. It’s vital to keep it away from extreme heat or moisture. If you decide to reuse the lights or the fabric in another project, gently unglue the components, taking care not to damage them. The beauty of crafting is its ability to adapt and evolve, allowing for the jellyfish to live on in different forms.
Gentle Tips & Variations
- Consider using different color fabrics to create a variety of jellyfish, exploring how each color affects the overall mood.
- You might want to add scent to the project by including a few drops of essential oil on cotton balls inside the jar, enhancing the sensory experience.
- For added dimension, try layering different lengths of fabric for the tentacles.
- You can create a themed setup by making several jellyfish and arranging them as a centerpiece for gatherings or special occasions.
FAQs About Magical Floating Jellyfish Project
What types of fabric work best for the jellyfish?
Lightweight fabrics like organza or tulle work wonderfully, as they allow light to filter through beautifully.
Can I use this project outdoors?
It’s best to keep your jellyfish indoors, especially if they have battery-operated lighting, as moisture and wind could damage the materials.
How can I adapt this for kids?
Supervise younger crafters closely, opting for child-safe glue and letting them choose the design, colors, and embellishments to spark their creativity.
Is it difficult to make this project?
No, it’s structured to be simple and approachable. The focus is on enjoyment rather than perfection, making it perfect for all skill levels.
Can I use different lighting options?
Absolutely! Feel free to experiment with glow sticks or fairy lights to create different effects.
Conclusion
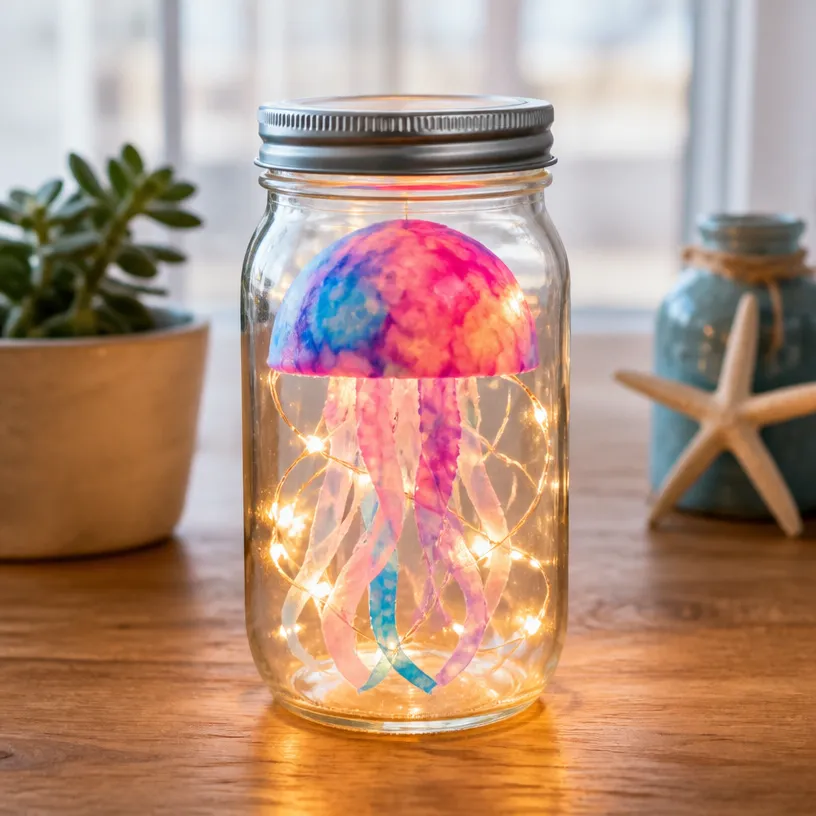
Making the Magical Floating Jellyfish Project is an opportunity to connect with creativity and mindfulness. As you watch them sway gently in the light, allow yourself to enjoy the calming presence they bring. Exploring other related projects can broaden your crafting experience even further; you might find inspiration in the floating deep sea creatures sensory bottle or discover the whimsy of glowing jellyfish lanterns. For more enchanting ideas, check out the magical floating ocean creatures. As you venture into these new projects, remember that each step in the crafting process is a chance to nurture your creativity and find a moment of peace.
PrintMagical Floating Jellyfish Project
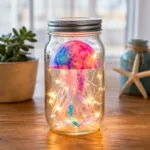
Create enchanting floating jellyfish that illuminate your space and invite tranquility.
- Prep Time: 20 minutes
- Cook Time: 0 minutes
- Total Time: 20 minutes
- Yield: 1 jellyfish
- Category: Craft
- Method: Crafting
- Cuisine: N/A
- Diet: N/A
Ingredients
- Light, flowing fabric (such as organza or tulle)
- Battery-operated LED lights
- A plastic or glass jar
- Scissors
- Glue or a hot glue gun
- Decorative elements (such as sequins or beads)
- Optional: fishing line for hanging
Instructions
- Start by cutting the fabric into circular shapes, about 10 inches in diameter.
- Take the LED lights and place them inside the jar.
- Use glue to attach the circular fabric pieces to the base of the jar.
- If desired, adorn the jellyfish with sequins or beads.
- Once the glue sets, gently pull the fabric to create tentacles.
- To finish, place the lid on the jar and switch on the LED lights.
- Let your creation sit for a moment, enjoying the glow.
Notes
Store in a safe place away from extreme heat or moisture. You can reuse the components for future projects.