

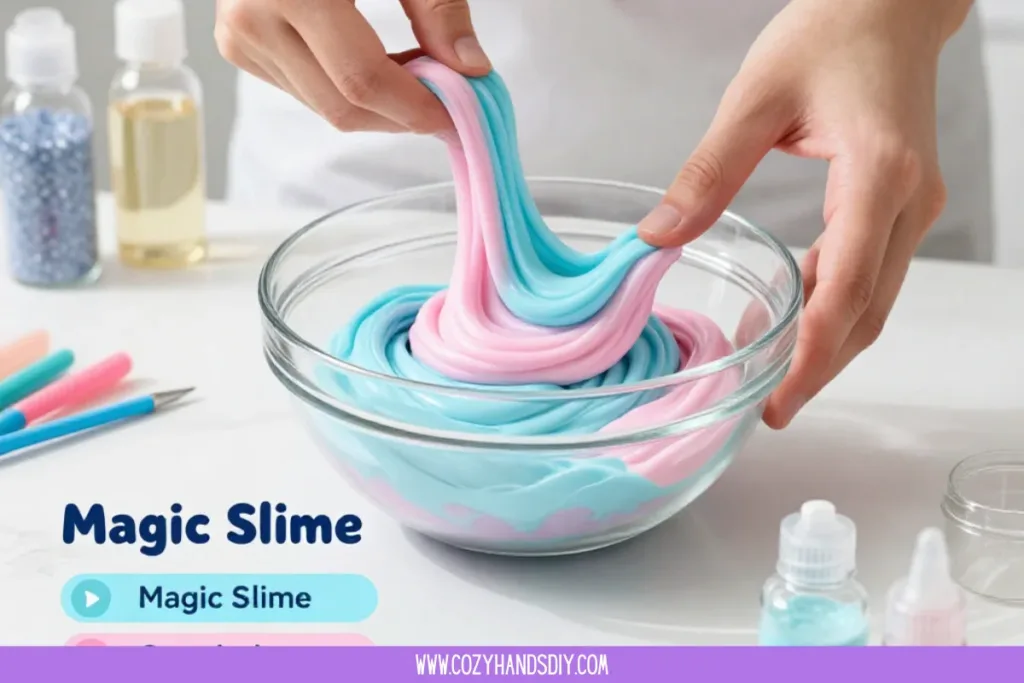
Magic Slime stretches gently between your fingers, cool and smooth to the touch. It glimmers softly under the light, the colors swirling like tiny galaxies. As you knead it, the texture shifts, almost like a living thing, inviting you to linger in the moment. The soothing sounds of stretching and squishing create a calm rhythm, soothing the mind and grounding the spirit. In this space, we can explore creativity, letting the world flow around us while we focus on this simple, sensory experience.
The Heart Behind This DIY
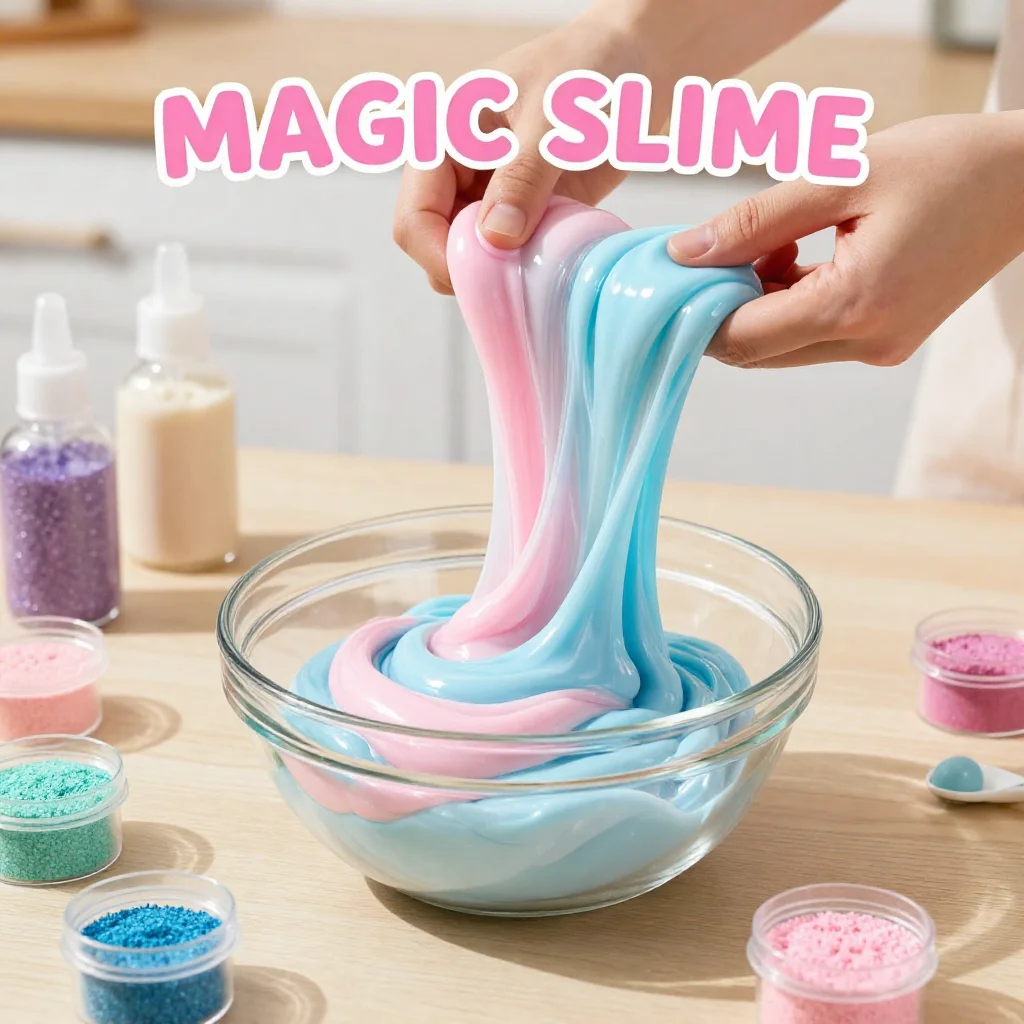
Creating Magic Slime invites us into a nurturing space where we can slow down and enjoy the process of making something tactile and delightful. As we mix, stretch, and feel the slime in our hands, we engage our senses fully. The act of making becomes a meditation, pulling us into the present. We feel the coolness of the slime, see its vibrant colors, and hear the gentle sounds it makes as we manipulate it. This sensory immersion reminds us to appreciate the small joys in life, providing a comforting escape from the rush of daily tasks. Moreover, the very act of creating something from scratch brings a satisfying sense of accomplishment, nurturing our creative spirit.
A Gentle Look at the Process
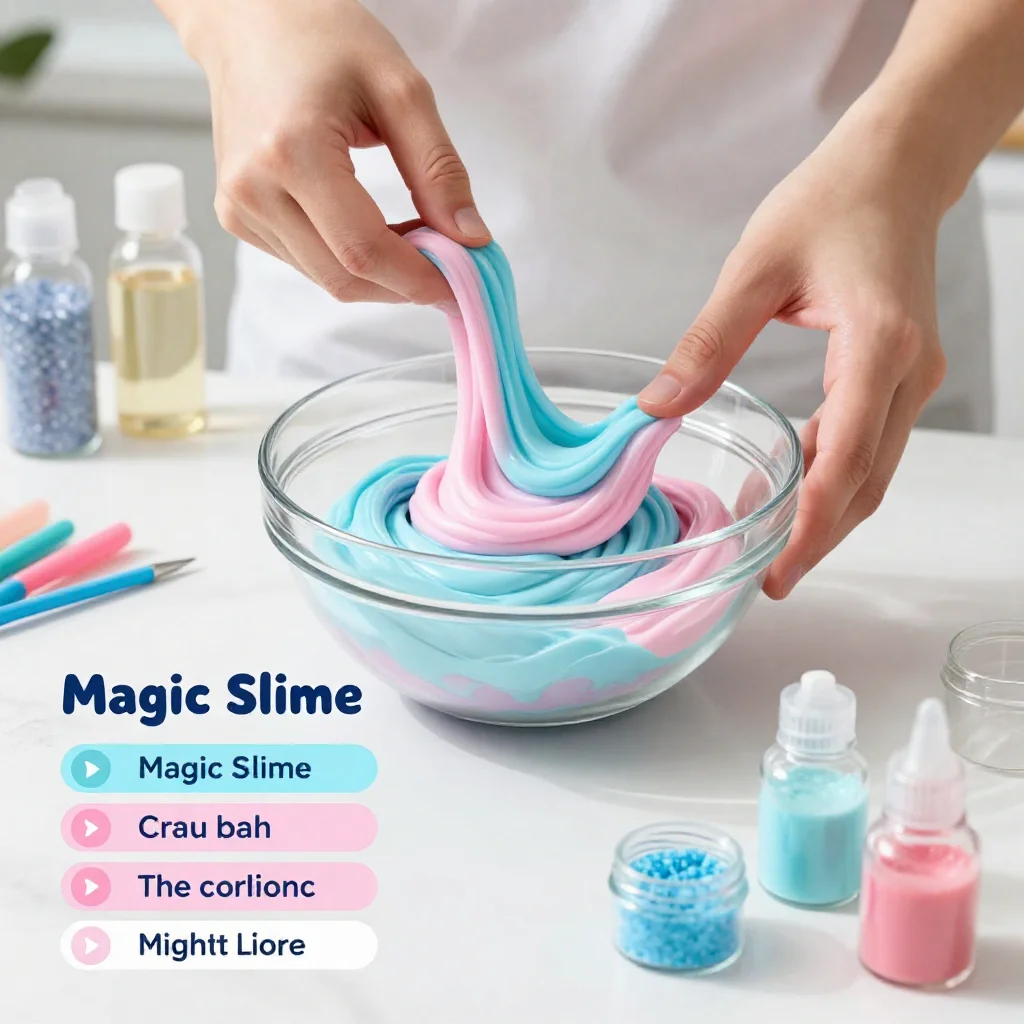
The journey of making Magic Slime unfolds beautifully, step by step. You’ll pour your ingredients with soft intention, mixing them to create a texture that will feel wonderful in your hands. The sounds of liquids combining will echo softly, creating a rhythm that is both calming and playful. As your slime begins to take shape, the visual transformation adds to the experience, filling you with anticipation. And when you finally hold your creation, there’s a gentle joy in its stretchiness and flexibility. This process isn’t just about the final product; it’s about savoring each moment, engaging with textures and sensations that ground you.
Materials You’ll Need
- White school glue (safe and easy to find)
- Baking soda (a little goes a long way)
- Contact lens solution (for activating the slime)
- Food coloring (optional for a pop of color)
- Mixing bowl
- Spoon or spatula for stirring
These materials work harmoniously together. The glue forms the base of the slime, while the baking soda adds structure. The contact lens solution activates the mixture, allowing it to transform from liquid to a friendly, stretchy form. Feel free to experiment with colors; allow your creativity to shine through this part.
Step-by-Step Directions
Begin by pouring about a cup of white school glue into your mixing bowl. Notice its thick, smooth consistency and the way it glimmers as it slides out.
Add a teaspoon of baking soda to the glue. Stir gently, feeling the mixture thicken slightly as the two combine.
At this point, you can add food coloring. Start with just a drop, swirling it gently to see how it distributes. Adjust the color to your liking.
Gradually add a tablespoon of contact lens solution. Mix slowly, feeling the texture shift from gluey to more rubbery.
As the mixture begins to form slime, use your hands to knead it. The experience of squishing and stretching the slime is wonderfully satisfying.
If the slime feels too sticky, add a tiny bit more contact lens solution, kneading again until it reaches the desired stretchiness.
Once you’re happy with the texture, take a moment to really enjoy how it feels in your hands, savoring the calming effects of your creation.
Enjoying the Finished Piece
After creating your Magic Slime, it becomes more than just a simple DIY it becomes a joyful companion. You can stretch it out during moments of stress, flipping it between your fingers as a tactile release. Maybe you’ll leave it in a visible spot, where it catches the light and reminds you of your creative time. Whether you play with it while on a call or use it as a tool for mindfulness, its presence can bring a serene pause to your day.
Keeping It for Later
Storing your Magic Slime properly ensures it stays fresh for future enjoyment. Place it in an airtight container or a ziplock bag, squeezing out as much air as possible. This will help prevent it from drying out and losing its delightful texture. When you’re ready to use it again, simply take it out and knead it gently to revive its stretchiness. This attention to care can deepen your connection to the slime and the creative experience you shared.
Small Ways to Make It Your Own
Creating Magic Slime provides ample opportunity for personal touches:
- Add glitter to the slime for a sparkly effect. This can make the experience feel even more magical.
- Try different scents. A few drops of essential oils can transform the sensory experience, making your slime a relaxing stress-reliever.
- Experiment with textures by adding tiny foam balls or confetti, creating a more dynamic sensory experience.
- You might decide to create themed slimes for different seasons or holidays, letting your creativity flow in response to the world around you.
FAQs About Magic Slime
Can I make slime without contact lens solution?
Yes, there are alternatives like using liquid starch or saline solution. Each creates a slightly different texture, allowing you to explore various making methods.
How long does homemade Magic Slime last?
When stored in an airtight container, it can last for several weeks. Just keep an eye on it; if it becomes too dry or changes texture, it may be time to make a new batch.
Is this slime safe for kids?
Yes, as long as you use non-toxic materials like school glue and supervise younger children during the making process. Always check for allergies to any materials first.
Can I play with it on different surfaces?
While Magic Slime is relatively safe, try to avoid delicate fabrics or surfaces. It is best enjoyed on smooth surfaces, like tables or clean floors.
What if my slime is too sticky?
If your slime is sticky, simply knead in small amounts of contact solution until it reaches a stretchiness that feels good for you.
A Gentle Note Before You Go
The experience of making Magic Slime is an invitation to pause and check in with yourself. As you create, remember that it is not just about the final product but the journey itself. These moments of calm crafting can weave creativity into your daily life, nurturing peace and joy in unexpected ways. When you finish, take a deep breath, appreciate your work, and let each touch remind you of the beauty in small things.
For more creative projects that embrace similar principles, you might enjoy exploring DIY boho magic wands or magic marble bounce balls. If you’re interested in fun, textured creations, consider the Mermaid Magic range from Crazy Aaron’s, or browse through options on Amazon.
PrintMagic Slime

A fun and engaging recipe to create your own Magic Slime, providing a soothing sensory experience.
- Prep Time: 10 minutes
- Cook Time: 0 minutes
- Total Time: 10 minutes
- Yield: 1 batch
- Category: Craft
- Method: DIY
- Cuisine: N/A
- Diet: N/A
Ingredients
- 1 cup white school glue
- 1 teaspoon baking soda
- 1 tablespoon contact lens solution
- Food coloring (optional)
- Mixing bowl
- Spoon or spatula for stirring
Instructions
- Begin by pouring about a cup of white school glue into your mixing bowl.
- Add a teaspoon of baking soda to the glue.
- At this point, you can add food coloring.
- Gradually add a tablespoon of contact lens solution.
- As the mixture begins to form slime, use your hands to knead it.
- If the slime feels too sticky, add a tiny bit more contact lens solution.
- Once you’re happy with the texture, take a moment to enjoy it.
Notes
Store your Magic Slime in an airtight container to keep it fresh. Feel free to add glitter or scents for customization.