

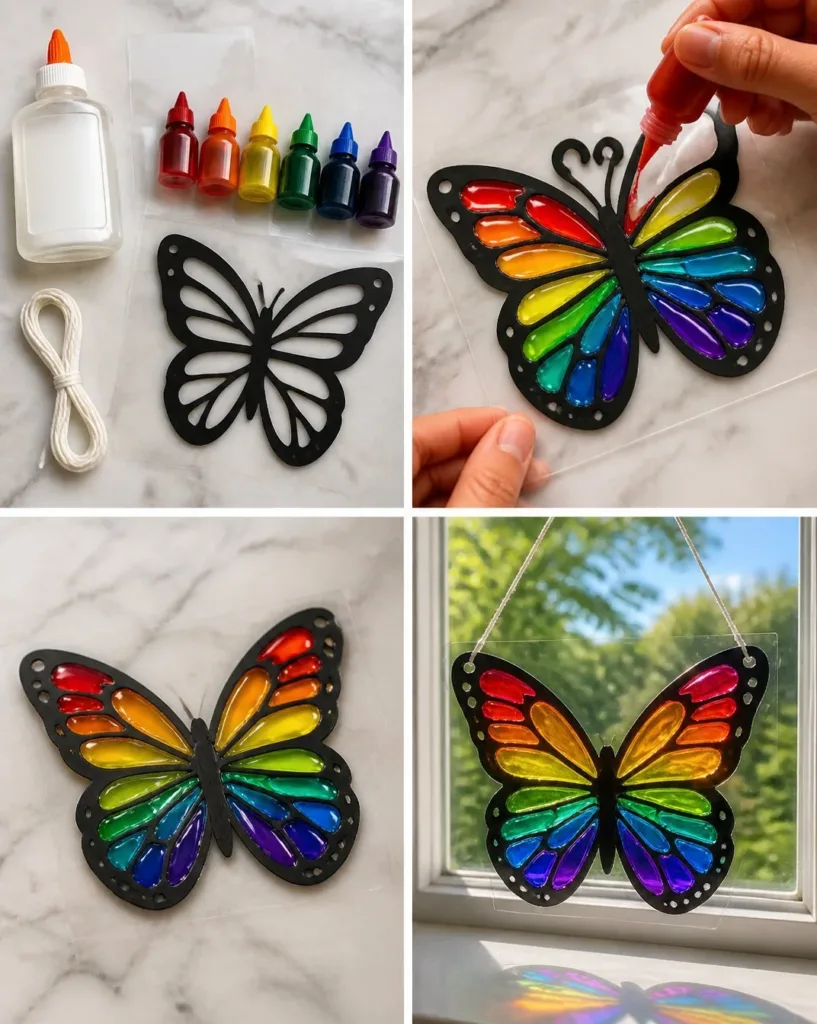
Creating the Layered Rainbow Glue Butterfly Suncatcher gently invites you into a world of color and light, transforming a simple moment into a sensory experience. As you work with the smooth texture of glue and vibrant hues, you’re not just crafting; you’re nurturing a calming atmosphere. The act of layering colors mimics the natural world outside, with each layer creating new shades that delight the eye and uplift the spirit. You may also find Back To School Rainbow Pencil Suncatcher useful.
The Heart Behind This DIY
Making the Layered Rainbow Glue Butterfly Suncatcher is a journey of mindfulness and creativity. The process encourages you to slow down, paying attention to each layer and the colors merging together. As the sunlight filters through your creation, it brings warmth to your space, anchoring you in the present moment. Crafting with your hands can evoke feelings of nostalgia and comfort, allowing the stresses of the day to melt away. This simple process fosters a sense of tranquility and invites joy into your day. 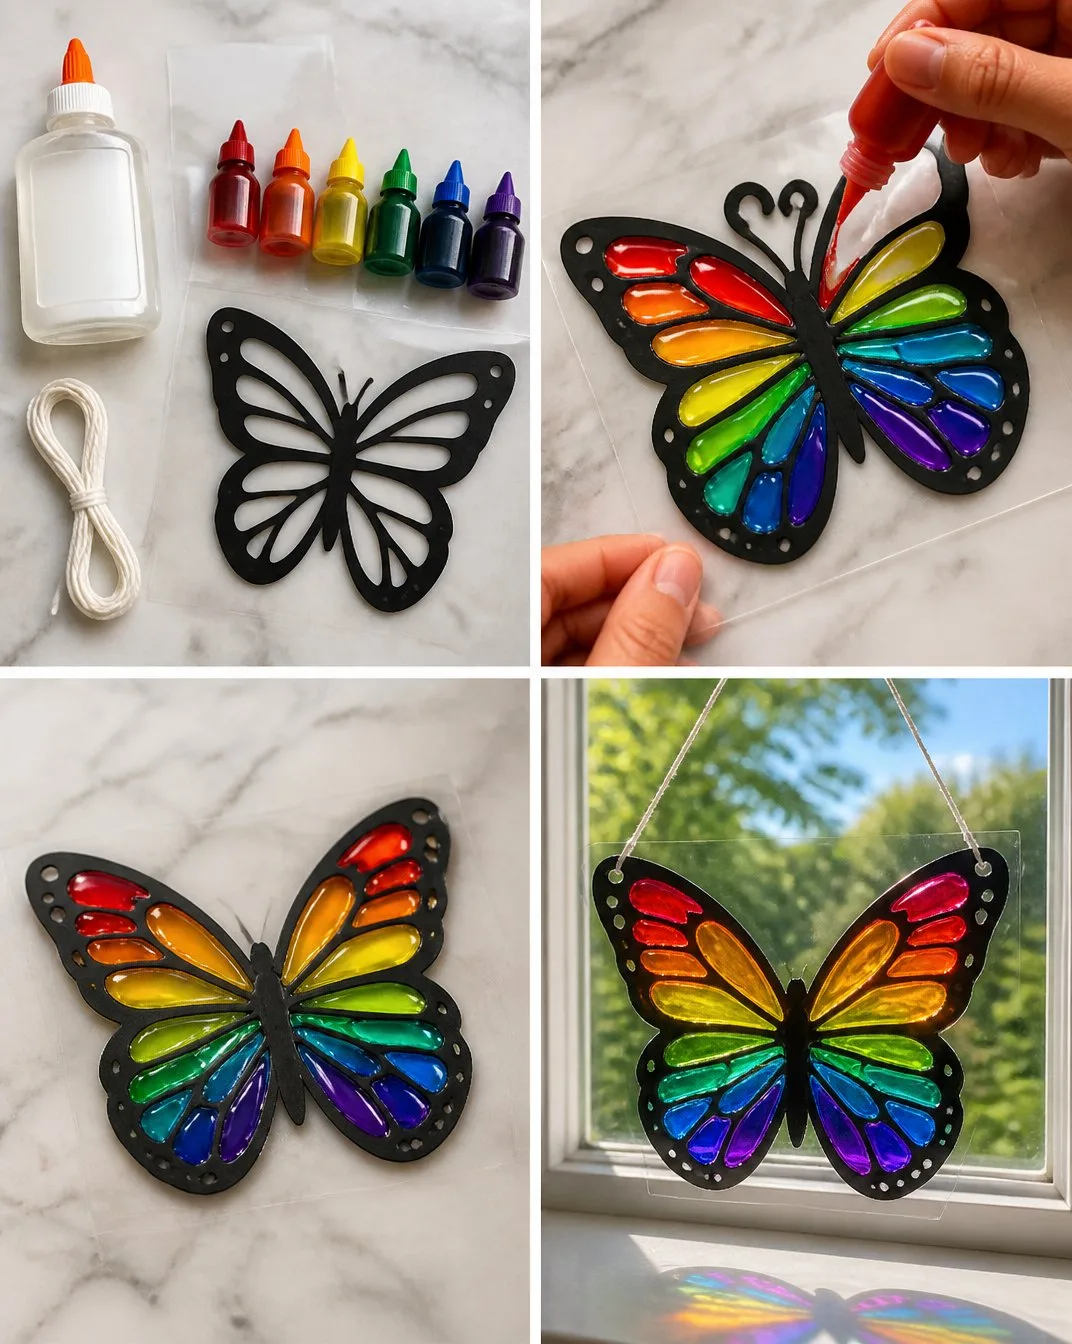
You may also find Clear Glue Flower Suncatchers Cozy useful.
A Gentle Look at the Process
Before you dive into the creative process, envision a steady rhythm that flows as you work. The repetitive action of layering glue and colors creates a soothing sound and helps ground you. Imagine feeling the smoothness of the glue sliding on the surface as you focus on the shapes developing before your eyes. This project unfolds like a dance, with each step leading you deeper into a state of calm. You may also find Clear Glue Mosaic Suncatcher useful.
Materials You’ll Need
To create your Layered Rainbow Glue Butterfly Suncatcher, you’ll need the following materials: You may also find Clear Glue Suncatcher Craft Becomes Cozy useful.
- Clear glue (washable is preferred for easy cleanup)
- Food coloring or liquid watercolors
- Heavyweight paper or transparency sheets
- A paintbrush or dropper for application
- Scissors for shaping butterflies
- Optional: a large shallow dish for mixing colors
- Optional: fine glitter for added sparkle
All of these materials are easy to find, and many may already be in your craft supplies.
Step-by-Step Directions
- Prepare Your Workspace: Lay down a protective surface and gather your materials. This quiet preparation sets a peaceful tone for your crafting experience.
- Mix Your Colors: In a dish, combine clear glue with several drops of food coloring or liquid watercolor. Enjoy the way the colors blend together, creating a mesmerizing swirl of hues.
- Create Butterfly Shapes: Using scissors, cut out the shape of a butterfly from your paper or transparency. If desired, make multiple silhouettes for layered effects.
- Apply the Glue Mixture: With a paintbrush or dropper, apply the colored glue onto the butterfly shapes. Layer colors as you go, allowing some to blend and others to stand out.
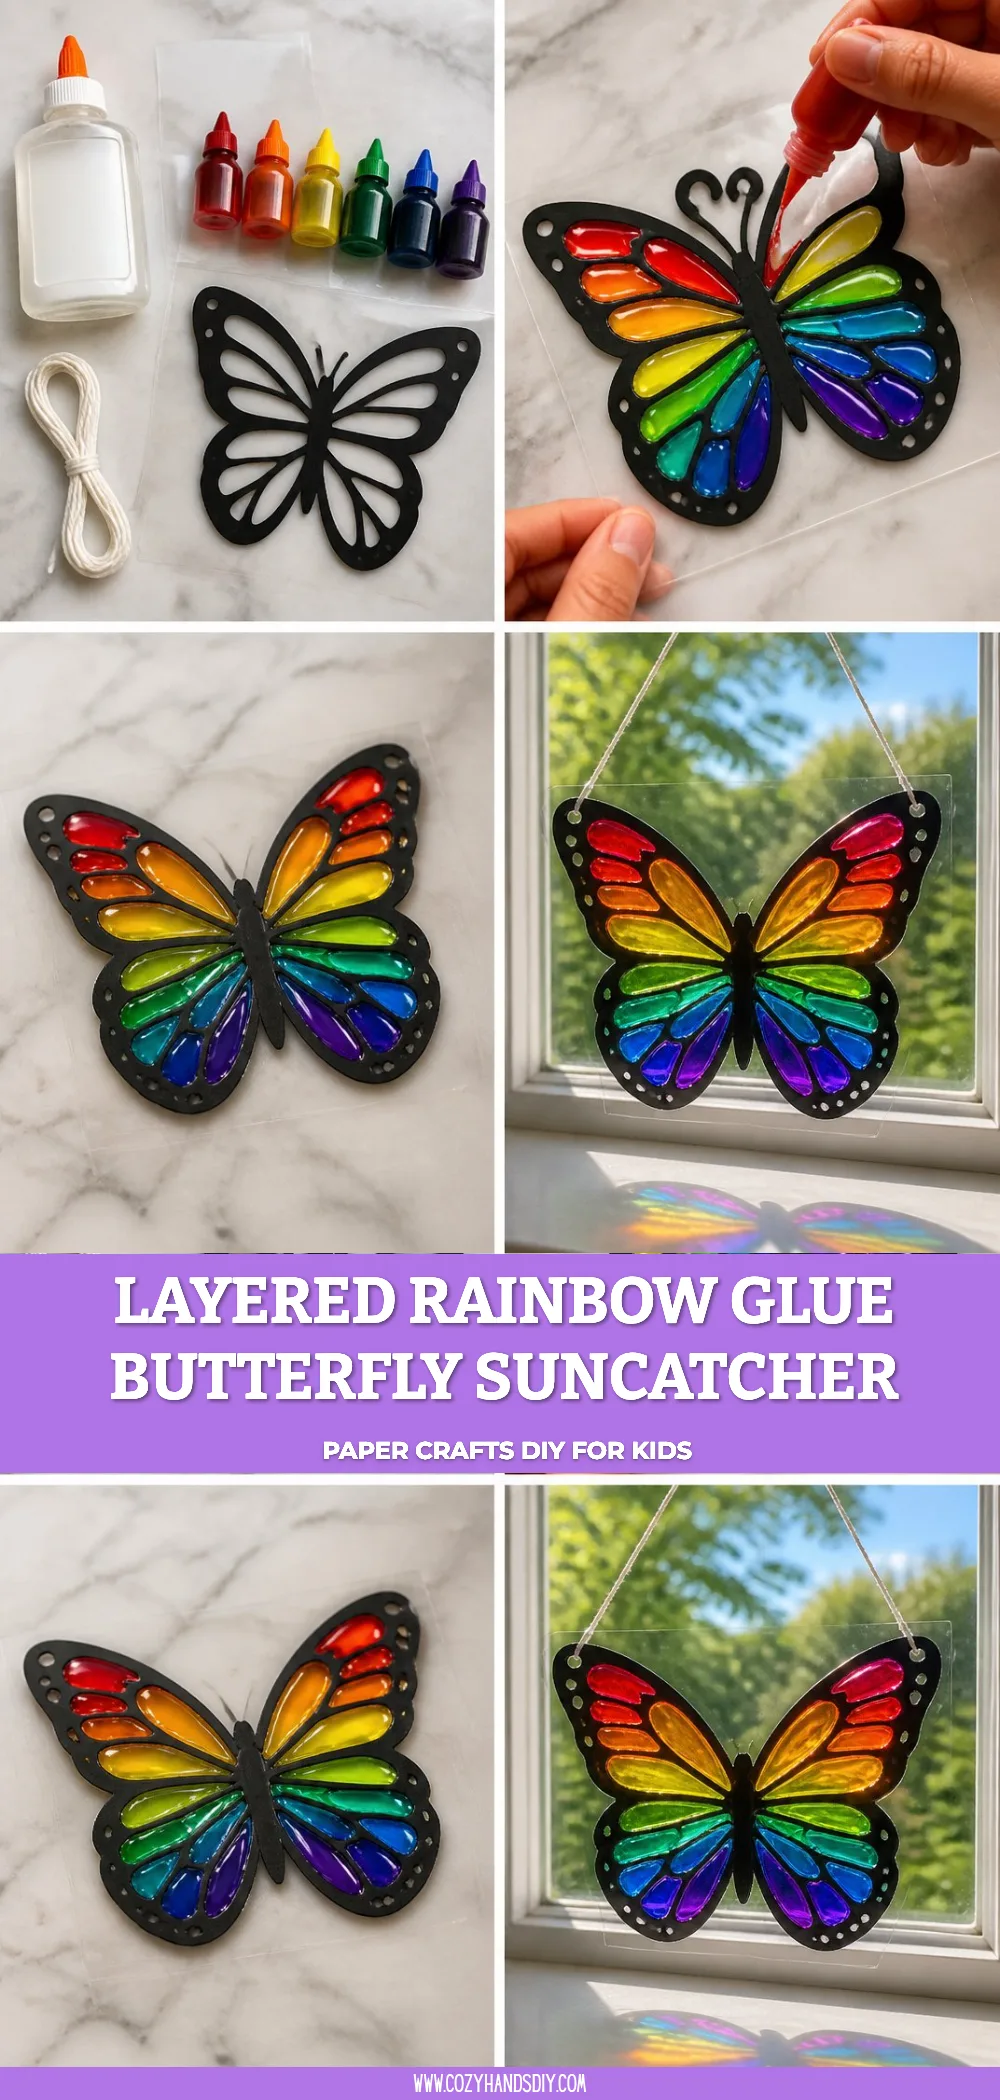
- Let It Dry: Once you’ve finished layering your colors, set the butterflies aside in a warm space to dry completely. This might take several hours, but you can enjoy watching the colors deepen as they dry.
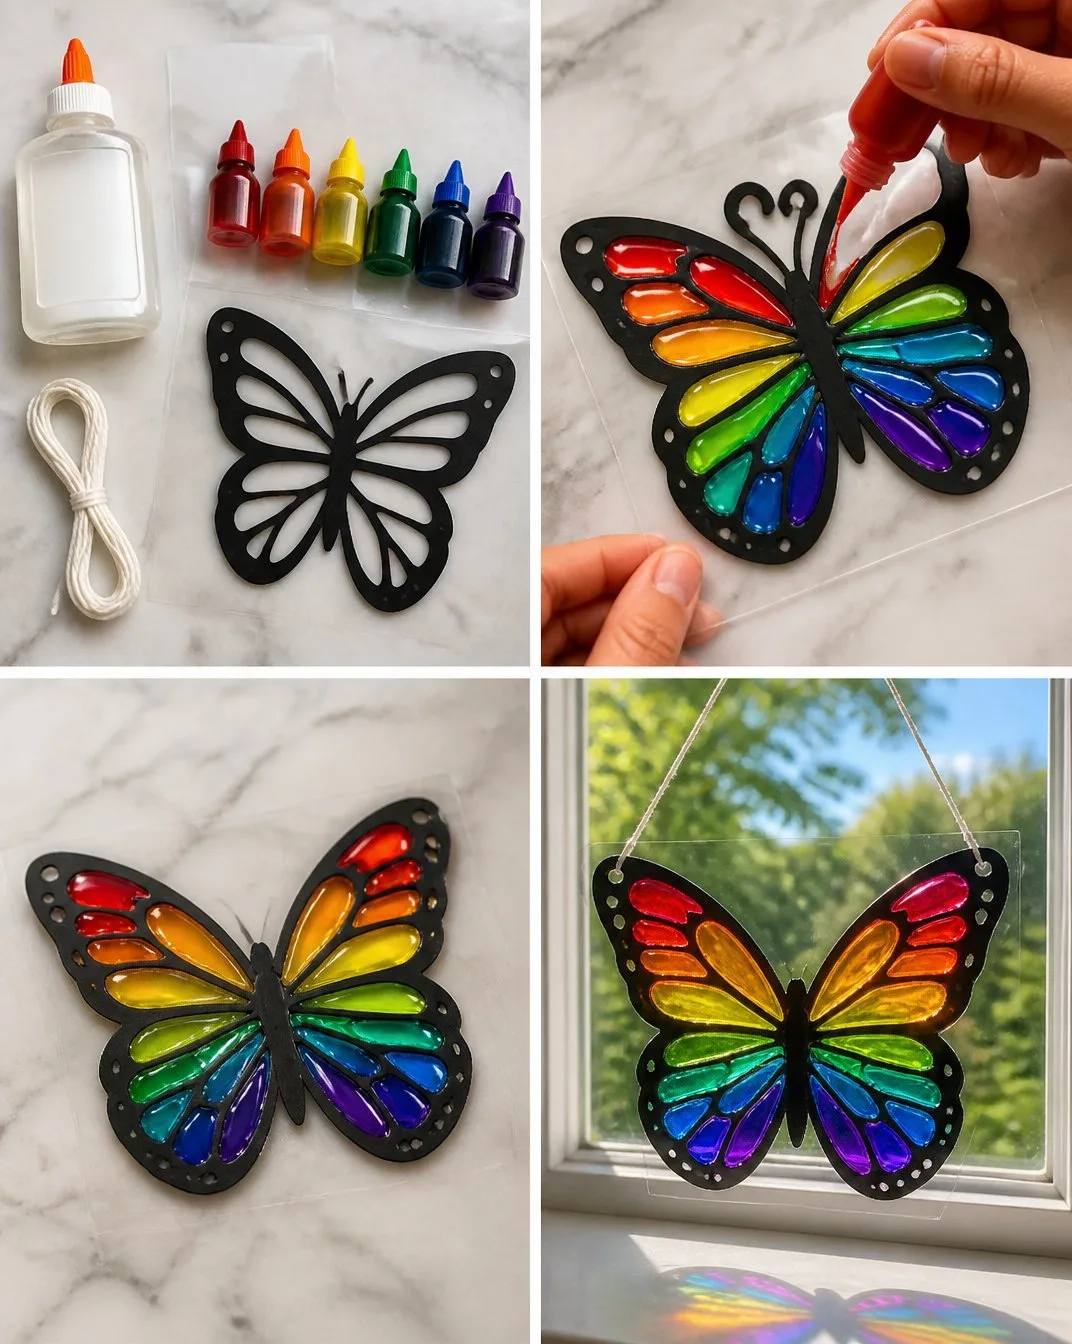
- Display Your Art: Once dry, hang your layered butterflies in a window or on a wall where light can illuminate them, creating a beautiful, dynamic display.
Enjoying the Finished Piece
You now have a vibrant Layered Rainbow Glue Butterfly Suncatcher to brighten your space. Each time sunlight hits your butterflies, they transform, casting cheerful shadows and colors onto your surroundings. Use this piece to enhance an area where you unwind a gentle reminder to embrace creativity in your daily life. It can spark conversations or serve as a backdrop for quiet moments spent in reflection or reading.
How to Store or Reuse Layered Rainbow Glue Butterfly Suncatcher
If you choose to take down your suncatcher for any reason, store it flat in a box or folder to prevent it from bending. These suncatchers could also be reused by swapping out the colors for different seasons, making them adaptable. By reframing your suncatchers, you enhance their longevity and bring new life into your art without starting from scratch.
Gentle Tips & Variations
- You might explore adding fine glitter to the glue mixture for an extra touch of sparkle.
- Try layering additional materials like botanicals or even small beads to give texture and dimension.
- Consider making matching suncatchers in different sizes or colors to create a cohesive display.
- This project can be a lovely activity to share with family or friends, allowing for individual expressions of creativity while strengthening bonds.
- Feel free to experiment with different shapes beyond butterflies; flowers or hearts can be just as delightful.
FAQs About Layered Rainbow Glue Butterfly Suncatcher
What if I don’t have clear glue?
You can use white school glue, but the finished effect may be less transparent.
Can I use colored glue?
Yes, using colored glue simplifies the process, but mixing your own offers a more personalized touch.
How long will the suncatcher last?
With proper care, these suncatchers can last for several seasons. Store them thoughtfully when not in use.
Is this a safe craft for children?
Yes, the materials are generally safe, but supervision is recommended, especially with younger children.
How can I make my suncatcher more unique?
Let your imagination guide you! Try different colors, layering techniques, or even integrating photographs.
Conclusion
Creating the Layered Rainbow Glue Butterfly Suncatcher is a wonderful way to enjoy a peaceful moment of creativity. By embracing the steps of the process, you nurture your sense of calm while making something beautiful. For more inspiration, you might like to explore repurposed butterfly suncatchers or learn about the glue resist watercolor rainbow for additional artistic suggestions. Each project offers an opportunity for mindfulness and a celebration of color.
PrintLayered Rainbow Glue Butterfly Suncatcher
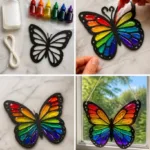
A vibrant and mindful craft project that transforms clear glue and colors into beautiful butterfly suncatchers.
- Prep Time: 15 minutes
- Cook Time: 0 minutes
- Total Time: 15 minutes
- Yield: 2-4 suncatchers
- Category: Crafts
- Method: Crafting
- Cuisine: N/A
- Diet: N/A
Ingredients
- Clear glue (washable preferred)
- Food coloring or liquid watercolors
- Heavyweight paper or transparency sheets
- A paintbrush or dropper for application
- Scissors for shaping butterflies
- Optional: a large shallow dish for mixing colors
- Optional: fine glitter for added sparkle
Instructions
- Prepare your workspace: Lay down a protective surface and gather your materials.
- Mix your colors: In a dish, combine clear glue with several drops of food coloring or liquid watercolor.
- Create butterfly shapes: Using scissors, cut out the shape of a butterfly from your paper or transparency.
- Apply the glue mixture: With a paintbrush or dropper, apply the colored glue onto the butterfly shapes.
- Let it dry: Once you’ve finished layering your colors, set the butterflies aside in a warm space to dry completely.
- Display your art: Once dry, hang your layered butterflies in a window or on a wall.
Notes
Store suncatchers flat in a box to prevent bending. These can be reused by swapping colors for different seasons.
1 thought on “Layered Rainbow Glue Butterfly Suncatcher”