

The sun slips low and paints the windowsill with a warm, honeyed light. I cup a small shell in my palm and feel the cool ridges, the slight weight, the memory of sand. When I add the first sprinkling of crystals and watch them bloom, the room breathes with me. This is the quiet craft of DIY Crystal Seashells, a slow, tactile ritual that asks for gentle attention and returns a little wonder. If you prefer a closeup step-through, I share a slightly different approach in this cozy companion guide, so you can peek and choose the rhythm that feels right: a second version of this project.
The Quiet Joy of Making DIY Crystal Seashells

Making crystal seashells calms the hands and invites the eyes to linger. You work with three small elements: a shell, a simple solution, and time. The sound of stirring, the faint steam from a warm bowl, the sharp scent of a mineral mix as it dissolves, and the slow crystal shimmer as it settles — each element offers a sensory anchor.
This project fits into quiet rituals. It asks you to slow your breath, to notice temperature and texture, to let the work happen rather than force it. You move thoughtfully, and in return the materials arrange themselves into something unexpectedly luminous. I often set a small timer, not as a strict clock but as a way to sit with the process and return without hurrying.
Beyond calm, this craft invites curiosity. You learn a little bit about how crystals form and why certain shapes cling to edges. That soft learning keeps the making gentle rather than technical. If you want a playful twist that adds scent and color, I also explore related tactile projects that pair beautifully with these shells: gentle aromatic gems.
How This DIY Comes Together
Think of the project as a quiet conversation between water, mineral, and shell. First you prepare a clear, warm solution that carries the mineral into the tiny hollows. Then you position shells so the solution pools just where you want the crystals to grow. Finally, you wait and observe, returning to notice the first sparkles and the way crystals climb and cluster.
You will move slowly. You will stir in smooth circles until the mix feels even. You will pour and tilt and feel a cool bead of solution gather at the edge of a shell. The process makes small, satisfying sounds: a spoon tapping glass, a gentle splash, the whisper of evaporation as the solution cools. Those sounds help your attention settle into the hands.
For many of us, the most calming part comes during the wait. Checking each hour becomes a tiny meditation. You return to see new angles shine, then step away again. The rhythm of look, breathe, and wait gives the project a soft, deliberate pace that fits evenings, slow afternoons, or quiet weekend mornings.
Materials You’ll Need
- Clean seashells, small to medium size (easy to find at craft stores or from a summer walk)
- Borax powder or alternative crystal-forming mineral (borax is common and predictable; substitute-friendly if needed)
- Warm water, nearly hot but safe to touch
- Glass jars or heatproof bowls for soaking (clear glass helps you watch growth)
- Measuring spoon and small measuring cup (simple tools help repeatable results)
- Wooden or metal stirring spoon (metal resists staining; use wood for a softer sound)
- Tweezers or small tongs (optional, for careful placement)
- Paper towels and a tray to catch drips (easy cleanup keeps the table calm)
- Food coloring or a few drops of dye (optional, for gentle color)
- A small funnel or dropper (optional, for delicate placement)
- A decorative display tray or shallow dish (optional, for finished pieces)
I like to gather everything on a single tray before I begin. The tray keeps spills contained and helps me move the whole setup if the light shifts. If you choose to use food coloring, use a tiny amount. The aim here remains quiet and subtle, not loud or garish.
Step-by-Step Directions
- Warm the water until it feels hot but still safe for a careful finger test.
Place a small pot to heat and prepare your workspace for gentle steam. - Measure roughly three parts water to one part borax and stir until most dissolves.
You will see the powder vanish into the water; this creates a saturated solution that encourages crystal growth. - Pour the warm solution into a clear jar or bowl.
Use a slow, steady pour so the liquid settles without splashing. - If you want soft color, add one or two tiny drops of food coloring and stir once.
Keep the color light. The subtle tint helps crystals show without overwhelming the shell’s texture. - Nestle a shell into the solution with the opening facing up or where you want crystals to form.
Use tweezers if the jar feels too warm. The shell holds a small pool where crystals will begin. - Rest the jar on a flat, undisturbed surface where it can sit for several hours.
Cover loosely with a breathable cloth if you wish to protect it from dust while allowing evaporation. - Check after one hour, then every few hours, watching where the first sparkles appear.
At first you will see tiny points that feel like frost. Note them but avoid touching. - When crystals reach your desired size, gently lift the shell and let excess solution drip back.
Place the shell on a paper towel on a tray and let it dry slowly. The crystals will harden and start to feel cool and glassy. - If needed, rinse very gently with cool water to remove loose powder, then pat dry.
I always move slowly here. A light touch preserves the delicate clusters. - Display the finished shell on a small dish or in a glass cloche to protect it.
If you plan to store pieces, let them fully dry for 24 hours to ensure longevity.
These steps show the flow rather than a rigid prescription. You can adjust soak time, concentration, or the number of shells. Each small change shifts the pace and the pattern, so try one new tweak at a time and notice how it changes the result.
Bringing DIY Crystal Seashells Into Your Space


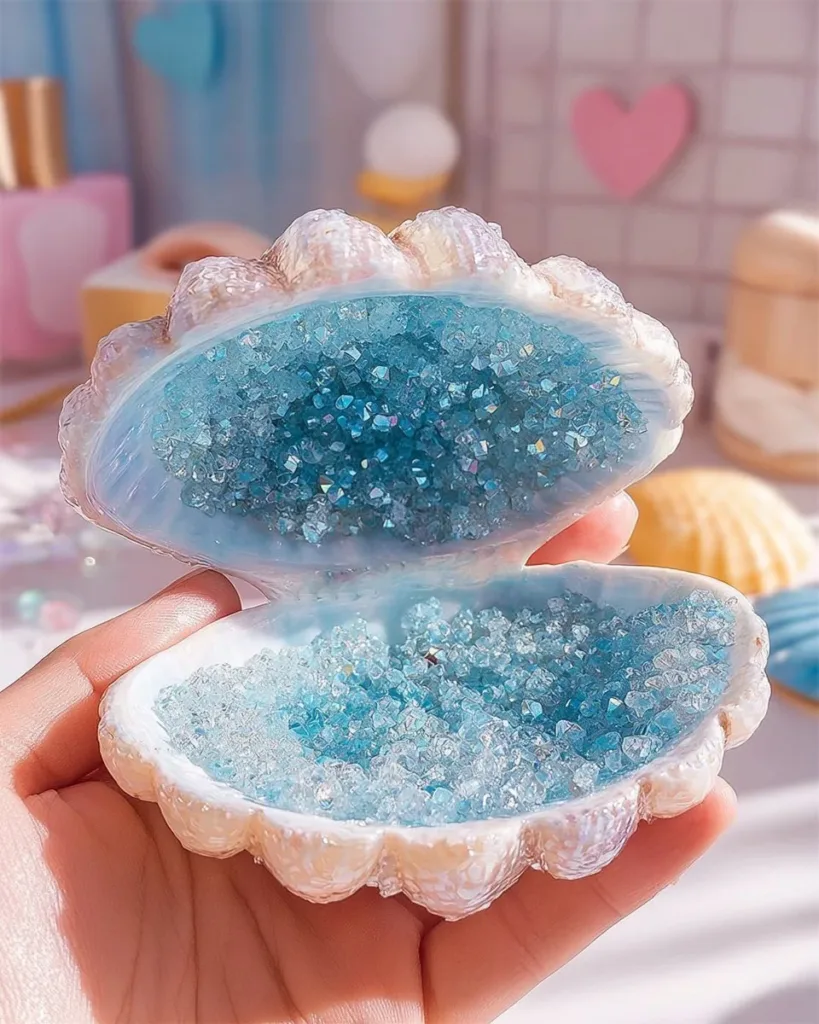
The finished crystal shells catch light like tiny winter gardens. I set a couple beside a reading lamp at dusk and watch them glow in the lamplight. They suit a windowsill, a bathroom shelf, a small vignette on a coffee table, or a bedside tray. The shells work as a personal talisman for calm, a small object to hold when you want to breathe slowly.
You can combine them with soft fabrics and natural textures. A linen runner, a bowl of sand, and two or three crystal shells create a scene that feels like a quiet shore. If you enjoy themed displays, rearrange them by size, color, or tactile contrast. Placing a shell next to a smooth pebble highlights the crystals’ sparkle.
For gentle gifting, wrap one in tissue and nestle it in a tiny box. The receiver often pauses to touch and to look closely. The act of giving becomes another slow, considerate ritual. For more creative variations that layer color and theme, I describe a playful galaxy-inspired version that pairs well with these shells: a galaxy crystal seashell idea.
Making This DIY Last
Store finished shells calmly to preserve their shape. Keep them in a dry place away from direct sunlight and strong humidity. I use a shallow box lined with soft cotton or tissue and separate each shell with a small cushion to prevent knocking.
Avoid leaving shells in a bathroom with frequent steam, as humidity can soften the crystals over time. If a shell gathers dust, use a soft brush or a gentle puff of air. Do not scrub; crystals can detach if you apply too much pressure.
If you wish to reuse shells for another round, soak them gently in warm water to re-dissolve crystals. Be mindful that repeated cycles may wear thin shells. Choose sturdier shells if you plan to remake often. Label jars and solutions if you work with different colors or concentrations, and discard leftover saturated solution safely, according to local guidelines. I also suggest keeping a small journal of each attempt. Note the time, temperature, and concentration so you can reproduce moments you loved.
What I’ve Learned While Making This
- Invite curiosity instead of perfection. Each shell grows crystals in its own way.
Try one small change at a time and treat surprises as discoveries, not mistakes. - Respect the materials’ rhythm.
Warmth speeds dissolution and growth. Cooler, slower conditions yield finer, more delicate crystals. Choose the pace you want. - Use clear containers to watch the process.
Seeing the crystals arrive becomes part of the calm. I often sit with a warm cup of tea and a small notebook while I observe. - Protect delicate pieces.
Once you place a crystal shell for display, keep it in a place where it won’t jostle. A little cloche or shallow bowl works well. - Make it sensory.
Note the scent of warm water, the sound of stirring, the coolness of dried crystals. Writing down these cues helps you return to the calmness later.
These notes come from many slow afternoons. I learned to stop trying to control every detail and to trust the tiny chemistry that unfolds. When I let the materials do their work, I find more pleasure in the watching than in the altering.
FAQs About DIY Crystal Seashells
What safety precautions should I take with borax or other minerals?
Use gloves if your skin feels sensitive and keep materials away from children and pets. Work in a well-ventilated area and avoid inhaling powders. If you prefer, use alternative crystal-growing kits that use food-safe ingredients. I always keep a small first-aid kit nearby and wash hands after handling materials.
How long do the crystals take to form?
You will see the first signs within an hour, but meaningful growth often appears after several hours to overnight. The larger the crystals you want, the longer you wait. Patience rewards you with more pronounced clusters.
Can I make colored crystals without staining the shell?
Yes, use tiny amounts of dye. Test on an inconspicuous shell first. If you want a subtler look, dissolve a small bit of colored salt in a separate jar and compare before committing.
What happens if crystals fall off?
Handle the shell gently. If small pieces fall, you can often let the shell sit a little longer in a fresh, slightly weaker solution to encourage regrowth. For sentimental pieces, consider sealing them gently with a light, clear protective spray designed for crafts. Test sprays on a spare shell first.
Can I reuse the solution?
You can reuse it if it still dissolves new mineral when heated and stirred. However, solutions grow less potent after repeated cycles. For more reliable results, start with fresh, correctly measured mixtures.
A Quiet Closing Thought
Sit with your finished shells for a moment and notice what you feel. The craft invites small, steady attention more than sweeping change. Each piece remembers the careful minutes you spent stirring, the warm bowl, and the way light found its angles. Keep a small collection and rotate the pieces you display. The process will continue to teach you how to move more slowly, observe more closely, and take pleasure in simple materials.
Conclusion
If you want a clear, beginner-friendly tutorial that explains crystal seashells in a simple science-meets-craft way, take a look at this helpful guide from KiwiCo: KiwiCo crystal seashells guide. For a hands-on variation that blends craft and a little science exploration aimed at kids and families, this Little Bins tutorial offers another cozy approach: Little Bins shell crystal craft tutorial.
Return to this page or to any of the linked cozy projects whenever you want a slow, sensory-making moment. The shells will wait, and the ritual will be here when you are ready.
PrintDIY Crystal Seashells

A calming craft project that combines shells, a crystal-forming solution, and time to create beautiful crystal shells.
- Prep Time: 15 minutes
- Cook Time: 480 minutes
- Total Time: 495 minutes
- Yield: Varies depending on the number of shells used
- Category: Craft
- Method: Soaking
- Cuisine: N/A
- Diet: N/A
Ingredients
- Clean seashells (small to medium size)
- Borax powder or alternative crystal-forming mineral
- Warm water (nearly hot but safe to touch)
- Glass jars or heatproof bowls for soaking
- Measuring spoon and small measuring cup
- Wooden or metal stirring spoon
- Tweezers or small tongs (optional)
- Paper towels and a tray to catch drips
- Food coloring or a few drops of dye (optional)
- A small funnel or dropper (optional)
- A decorative display tray or shallow dish (optional)
Instructions
- Warm the water until it feels hot but safe for a finger test.
- Measure roughly three parts water to one part borax and stir until most dissolves.
- Pour the warm solution into a clear jar or bowl.
- If using food coloring, add one or two tiny drops and stir lightly.
- Nestle a shell into the solution with the opening facing up.
- Rest the jar on a flat surface and cover loosely with a breathable cloth.
- Check after one hour, and then every few hours for crystal growth.
- When crystals reach desired size, lift the shell and let excess solution drip back.
- Place the shell on a paper towel to dry slowly.
- If needed, rinse gently with cool water and pat dry.
Notes
Adjust soak time and concentration for different results. Each shell grows crystals uniquely, so invite curiosity in the process.