

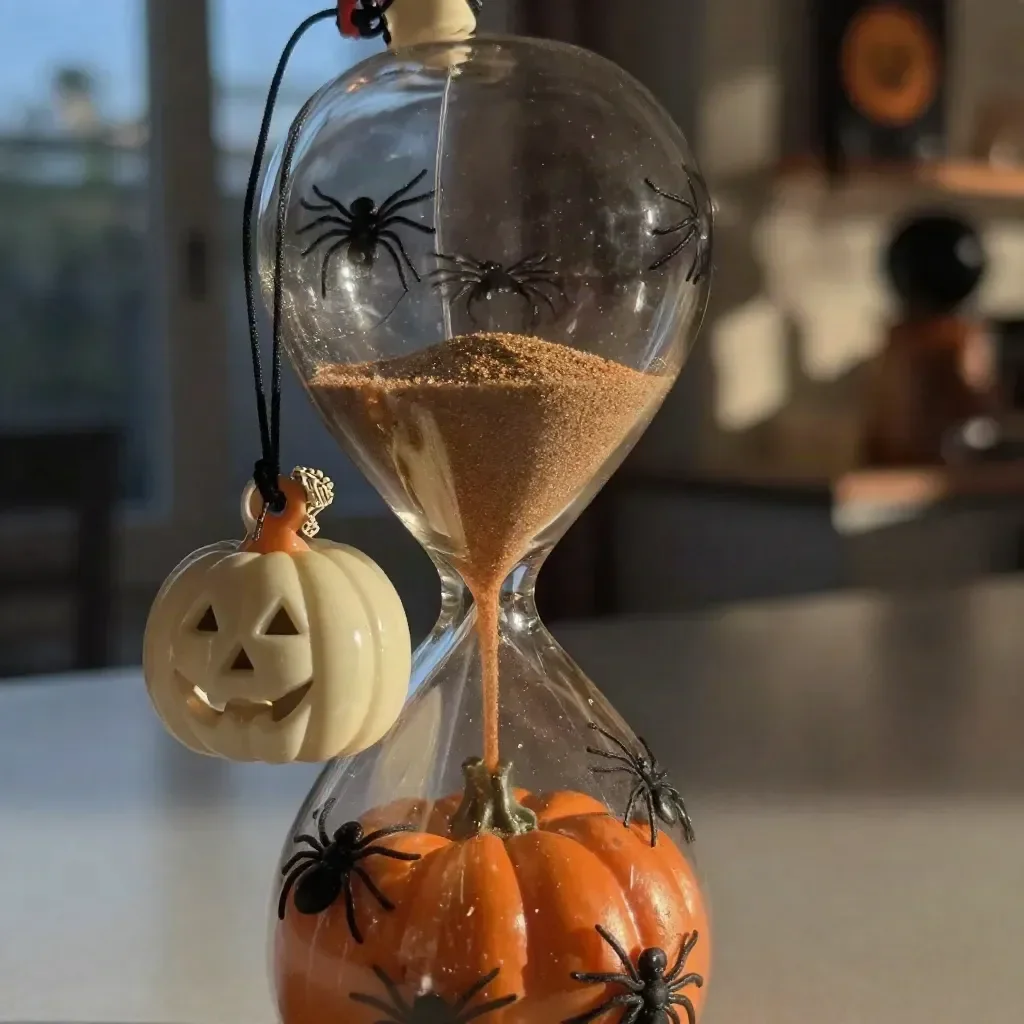
As the gentle hues of autumn begin to cloak the trees, there’s a certain magic in the air that invites a moment of reflection and creativity. The arrival of Halloween brings with it a sense of playfulness, an urge to celebrate the whimsical side of life. In the soothing act of creating Halloween ornaments, one finds a calming rhythm a mix of the tactile sensations of various materials, the scent of the season, and the delight in crafting something beautiful and personal. This process not only brightens your living space but also holds the potential to evoke treasured memories, whether they are of childhood Halloweens or more recent gatherings with loved ones. You may also find Baking Soda Colorful Cloud Ornaments useful.
The Heart Behind This DIY
Crafting Halloween ornaments connects you to the essence of the holiday. This hands-on activity encourages mindfulness, a slowing down of thoughts as you engage with your materials. Each step of the project allows for self-expression; the scent of fresh paint, the texture of twine, or the brightness of vibrant colors can evoke feelings of nostalgia and joy. Creating these ornaments is more than just decoration; it’s about embracing a festive spirit that encompasses warmth and coziness, fostering a sense of belonging. As you arrange your workspace and prepare to make, consider how each element sings to the senses and lights up creativity. You may also find Baking Soda Galaxy Ornaments useful.
A Gentle Look at the Process
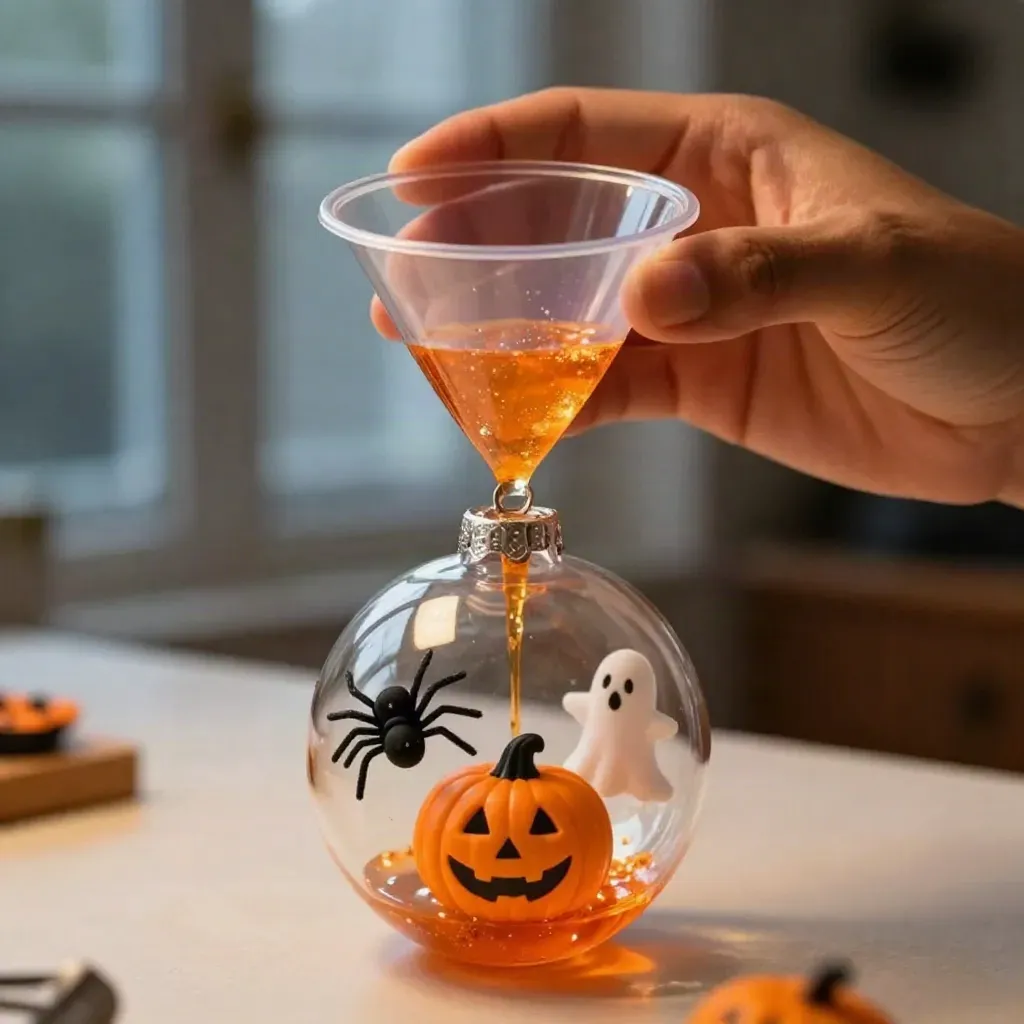
Before you dive into making your Halloween ornaments, imagine the process as a gentle flow, much like a dance. You will find your rhythm in the soft sounds of crafting snipping, gluing, painting. The materials come alive under your hands, each bringing a unique texture the smoothness of a painted surface and the rough charm of twine. Picture the colors that resonate with the essence of Halloween: oranges, blacks, and greens. With attention to your surroundings and the materials you use, each ornament becomes not just a piece of decor, but a part of your storytelling. You may also find Birdseed Ornaments useful.
Materials You’ll Need
- Cardstock or thick paper
- Paint in colors like orange, black, and purple
- Twine or string (easy to find at local craft stores)
- Scissors
- Glue (a good, strong adhesive)
- Paintbrushes
- Optional: glitter or embellishments for added sparkle
Gathering these materials is a step towards creating something meaningful. Allow yourself to explore different textures and colors as you choose items that speak to you. You may also find Crystal Growing Tree Ornaments useful.
Step-by-Step Directions
- Choose Your Base Shape: Start with your cardstock. Cut out shapes like pumpkins, ghosts, or bats. Let your imagination guide you in choosing fun and spooky forms.
- Paint the Base: Using your paint and brushes, decorate your cutouts with vibrant colors. Enjoy the flow of the brush against the paper; take moments to play with mixing colors for a custom look.
- Add Twine: Once your paint dries, take your twine and cut lengths for hanging. Glue one end to the top of your ornament to create a loop.
- Customize with Glitter: If you desire a bit of sparkle, sprinkle glitter while the glue is still tacky. This adds a festive touch.
- Let Dry: Allow your creations to dry completely before displaying them, so they hold their beauty when hung.
Where This DIY Fits Into a Calm Routine
The finished Halloween ornaments can become cherished pieces in your home as autumn settles in. Hang them in cozy spots perhaps on a branch or across a window, where the light can dance through them. Each time you catch a glimpse, let the memories of making them wash over you. This simple act of decorating not only fills your space with cheer but also acts as a reminder of the time spent in quiet creativity, offering a sense of tranquility amidst the bustling holiday season.
Caring for Your Finished DIY
Storing your Halloween ornaments carefully ensures they can be enjoyed year after year. Use a soft cloth or tissue to lightly wrap each piece before placing them in a box. Avoid stacking ornaments directly on top of each other to prevent any damage. If you choose to reuse materials from your ornaments, consider taking them apart gently and repurposing elements for future crafts, extending their life beyond one season.
Gentle Tips & Variations
- Explore Nature: Incorporate natural elements like small branches or dried leaves into your designs for a rustic feel.
- Invite Others: Craft alongside a friend or family member, sharing stories and laughter while you create.
- Experiment with Textures: Use fabric or felt instead of paper for a cozy, soft touch to your ornaments.
- Personalize Your Decor: Consider writing names or a date on the ornaments to add a special memory to each piece.
FAQs About Halloween Ornaments
Can I use other materials?
Absolutely! Get creative with what you have around you. Recycle old materials, use fabric, or even create edible ornaments using birdseed.
How long will my ornaments last?
With proper care and storage, your ornaments can last for several seasons, bringing joy year after year.
Conclusion
Creating Halloween ornaments fosters a peaceful, creative space that can brighten your home and your heart. As you contemplate your crafted treasures, consider expanding your collection with ideas from sources like Tree Buddees: Halloween ornaments or discover more at Hallmark. Enjoy the tranquility that emerges from the simple act of making and cherish the memories each ornament brings with it.
PrintHalloween Ornaments DIY
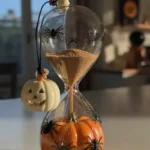
A delightful DIY project for creating colorful Halloween ornaments using cardstock, paint, and twine.
- Prep Time: 15 minutes
- Cook Time: 0 minutes
- Total Time: 15 minutes
- Yield: 12 ornaments
- Category: Craft
- Method: Crafting
- Cuisine: N/A
- Diet: N/A
Ingredients
- Cardstock or thick paper
- Paint in colors like orange, black, and purple
- Twine or string
- Scissors
- Glue (strong adhesive)
- Paintbrushes
- Optional: glitter or embellishments
Instructions
- Choose your base shape: Cut out shapes like pumpkins, ghosts, or bats from cardstock.
- Paint the base: Decorate your cutouts with vibrant colors using paint and brushes.
- Add twine: Cut lengths of twine, and glue one end to the top of each ornament.
- Customize with glitter: Sprinkle glitter on while the glue is tacky for a festive touch.
- Let dry: Allow the ornaments to dry completely before displaying.
Notes
Store ornaments carefully using soft cloth or tissue to prevent damage. Experiment with textures and materials for personalization.