

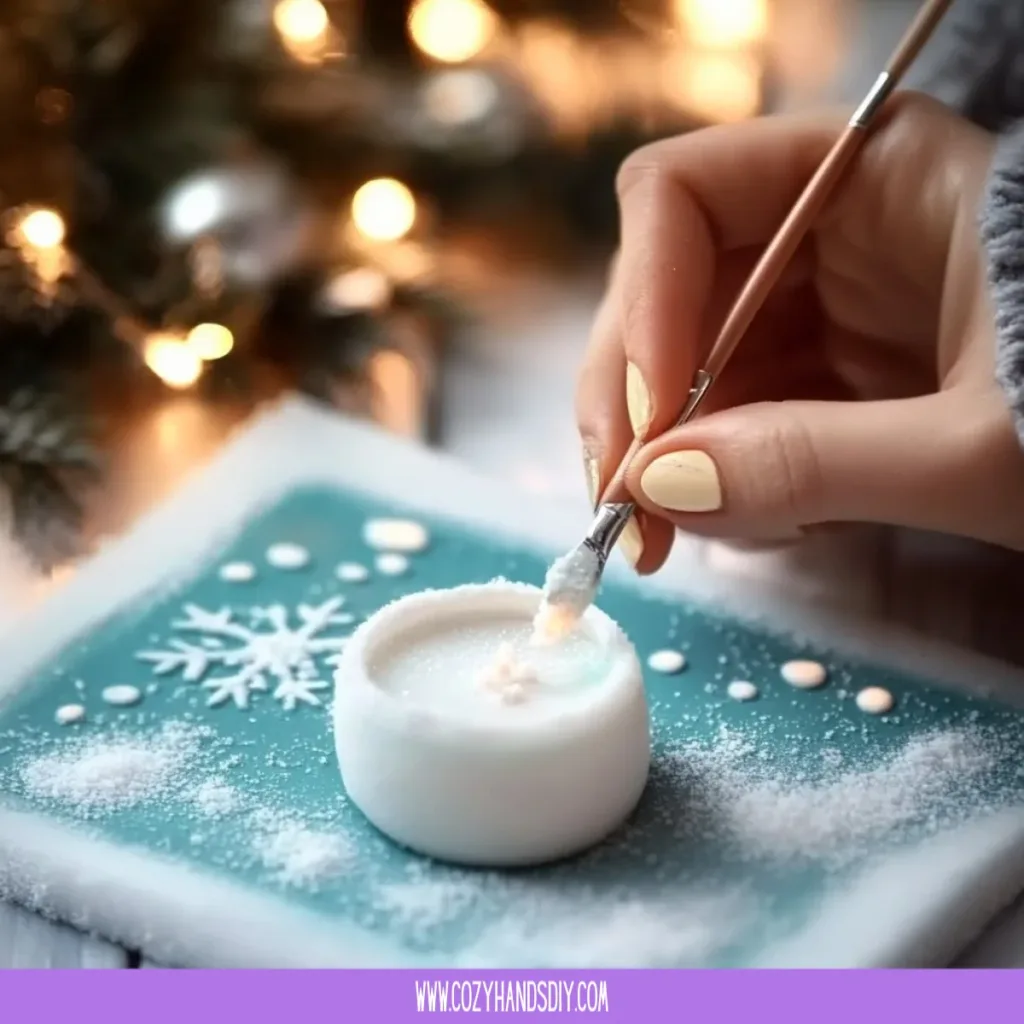
The light in my little studio softens as I shake a jar of Glow Snow Puffy Paint. It feels like holding a tiny weather system, cool and slightly damp against my palm, full of quiet potential. When I press a dab onto paper, the paint blooms into a powdery, raised mound that reminds me of footsteps in fresh snow. The glow waits patiently for the lights to go down, and in that hush I find a slow, steady calm.
If you like gentle projects, you might enjoy pairing this with a warm cup and a few quiet minutes. For a winter evening activity that glows, I often set out a companion project like the cozy baking soda snowman to keep the feeling going, especially when little hands want to make something soft and simple: baking soda snowman.
Why Glow Snow Puffy Paint Feels Comforting to Create
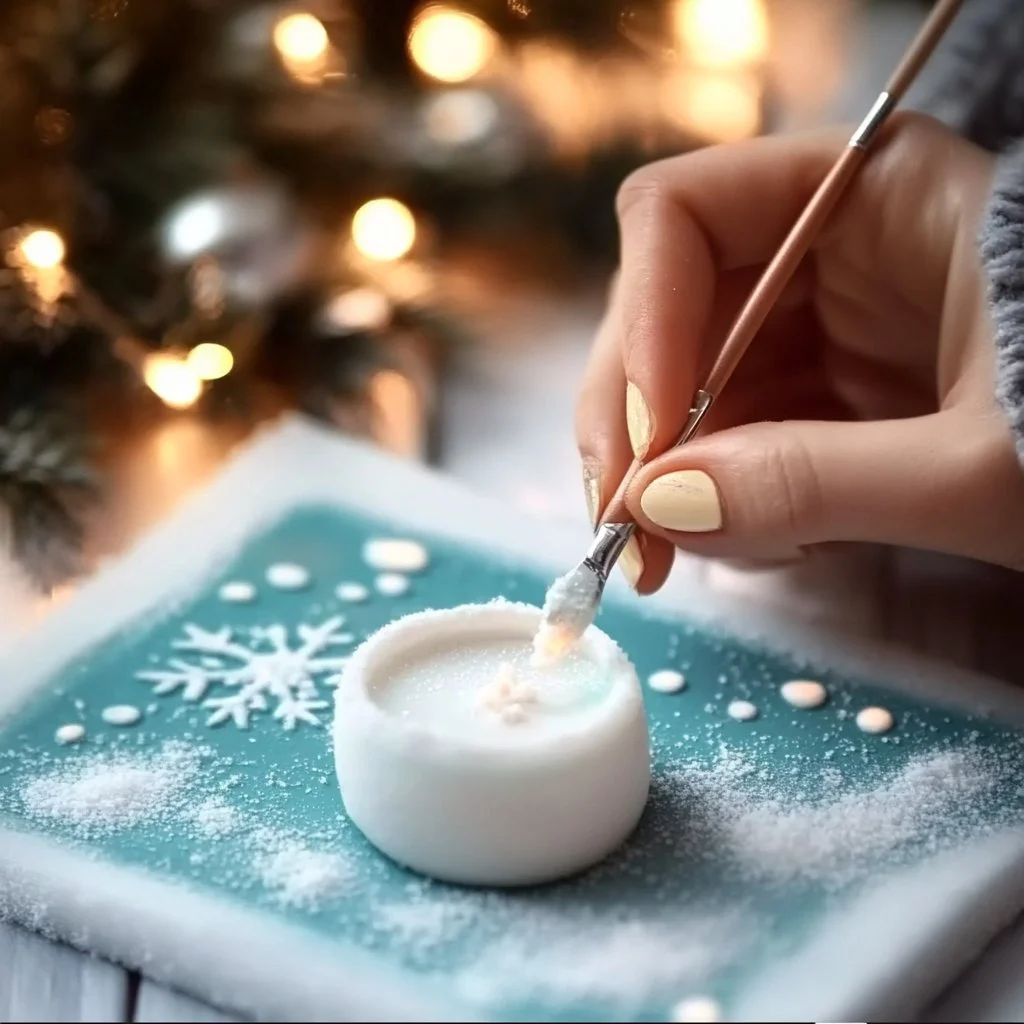
This paint invites close attention without demanding speed. The texture is soft and pillowy, not slick or runny. When you mix a small bowl, you feel resistance as the powder meets the liquid, a subtle massage for your fingertips that encourages slow, steady stirring. The glow element adds a gentle surprise later, a quiet reward for the calm you have already practiced.
Creating with Glow Snow Puffy Paint gives you tiny, tactile victories. You make raised marks that catch light and shadow. You press, swirl, and lift without sharp edges or loud sounds. The sensory rhythm helps your breath match the movement of your hands. People tell me they like to make a few simple shapes and then sit with the work while it dries, noticing how each ridge softens and how the glow seems to come alive only when the room settles. This is not a project meant for rushing. It asks you to slow down, to notice texture and light, and to enjoy a small, glowing result.
The Flow of Making Glow Snow Puffy Paint
Before you gather anything, imagine the flow. You will scoop, stir, and fold. You will paint slow dots and gentle lines. Each action creates a soft rise of paint that dries to a matte, fluffy surface. The sound of the spoon against a ceramic bowl is small and clean. The visual rhythm comes from repeating tiny mounds of paint and from watching the glow paint itself, which feels like planting tiny lanterns on paper.
I like to think of the process as a short sequence of meditative gestures. Mix calmly, apply with care, let the pieces rest. You will spend most time waiting for drying and the glow finish, and that waiting becomes a part of the ritual. If you enjoy pairing crafts, try placing a small glass jar with a tealight nearby, or set a playlist of slow songs to keep the pace gentle. If you are curious about other glow projects to pair with this, consider making small glow jars with cotton-sugar textures as a way to continue the sensory thread: DIY cotton candy glow jars.
Materials You’ll Need
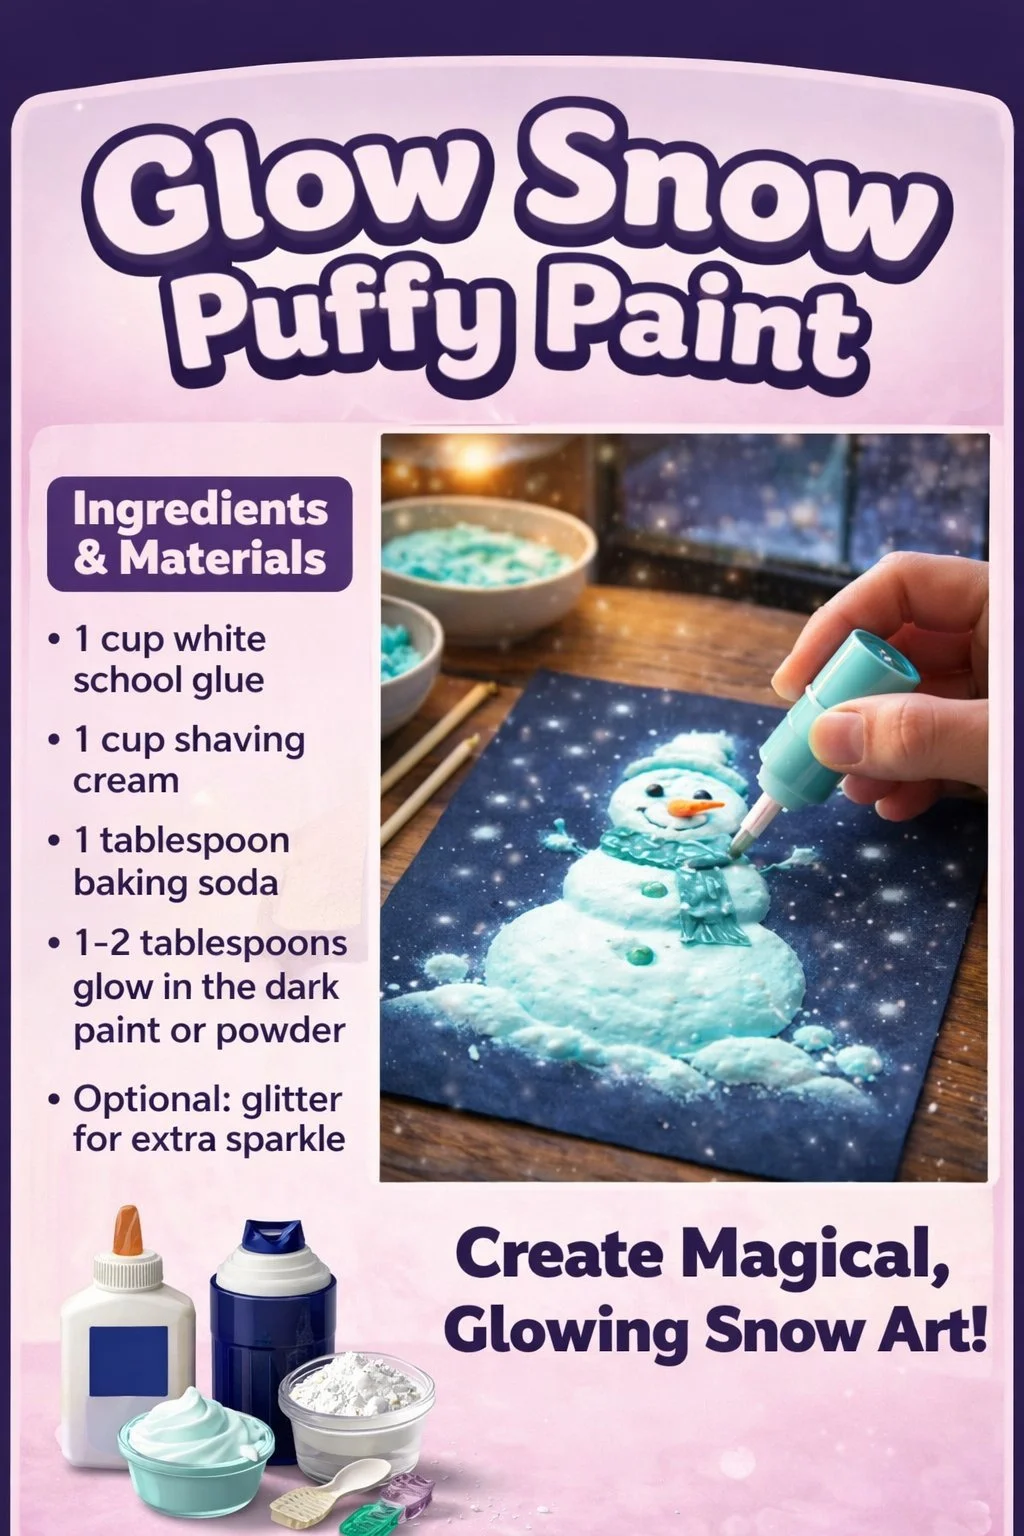
- Clear school glue or white craft glue, 1 small bottle (easy to find)
- Baking soda, 2 to 4 teaspoons (common pantry item)
- Shaving cream, about half a cup (gives puffiness; foam texture matters)
- Glow-in-the-dark paint or pigment, 1 to 2 teaspoons (water-based for safety)
- A small bowl for mixing (ceramic or glass feels nice and cool)
- A spoon or craft stick for stirring (wood or plastic)
- Sturdy paper or cardstock, heavier weight holds the puffy texture better
- Small squeeze bottles or disposable pipettes, optional for detail work
- A damp cloth for gentle cleanups (safety and tidy workspace)
- Clear container or lid to let pieces dry undisturbed (optional)
Notes: Most of these items are easy to find at local craft stores or online. If you do not have glow pigment, pre-made glow paint works well and keeps things simple. Shaving cream height and density will change how puffy the paint becomes. I like unscented foam when I want the calmest sensory experience.
Step-by-Step Directions
- Measure a small puddle of glue into your bowl.
Pour gently and notice how the glue moves slowly.
The weight and stickiness will anchor the mix. - Add baking soda and stir until slightly grainy.
The soda gives structure and helps the paint puff when heated.
Stir with a slow, deliberate motion and feel the texture change. - Fold in a generous scoop of shaving cream.
Use soft, upward strokes to keep the foam airy.
The mixture will lighten and feel pillowy to your spoon. - Mix in glow paint or pigment a little at a time.
Pause and watch the color diffuse, like a faint mist.
Adjust until you have the glow you like; less for subtlety, more for brightness. - Test a small dot on scrap paper and microwave briefly.
If you use heat to puff, microwave for short bursts of 5 to 8 seconds.
Listen for a tiny soft sizzling and watch the dot rise. Use caution and a dry microwave-safe dish. - Apply the paint to your final paper in small mounds.
Squeeze, dot, or paint slowly, letting each mound settle.
Work with rhythm rather than speed so each puff keeps shape. - Let pieces dry in a warm, undisturbed spot.
The drying may take several hours to overnight depending on thickness.
Avoid touching the surface until it feels firm and matte. - Charge the glow under a lamp or sunlight for a few minutes.
Turn the lights out and enjoy the soft luminescence.
Store finished pieces flat while the glow settles into the surface.
Safety note: If you prefer not to use the microwave, let your pieces puff naturally as they dry. The microwave method is quick but requires attention and care. Always handle hot dishes with a cloth and supervise children closely. I often make a few test dots before filling a whole page to understand how my mixture responds to heat and drying.
Where This DIY Fits Into a Calm Routine
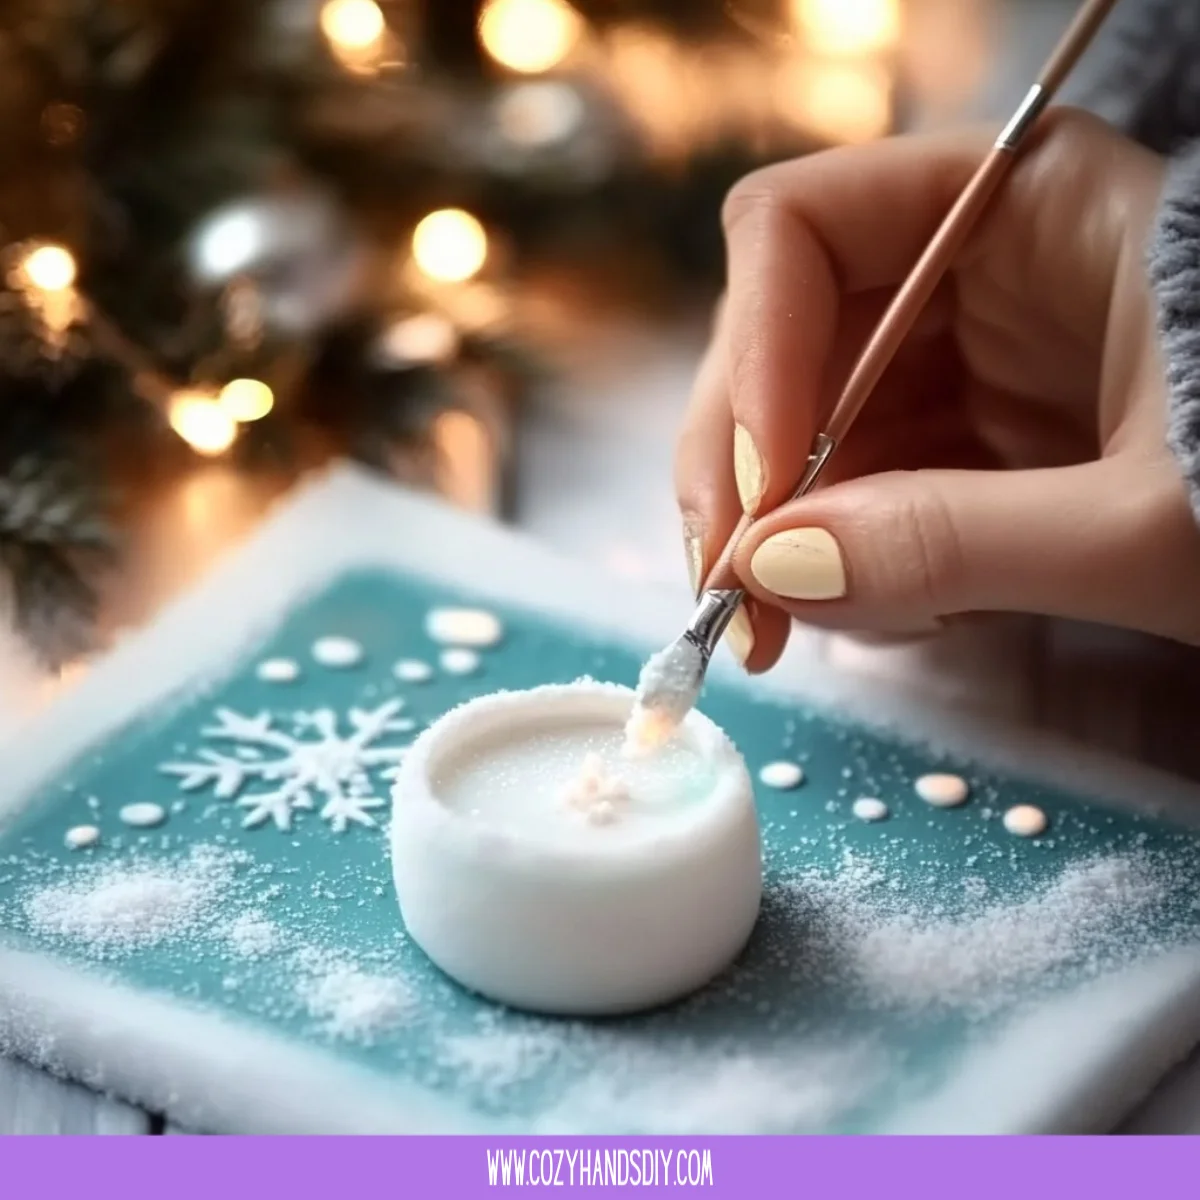
Glow Snow Puffy Paint becomes a tiny ritual in a slow evening. I like to use it after dinner, when dishes are done and the house quiets. You can set up a simple station with a small tray, a bowl, and a single sheet of paper. The act of mixing and painting takes only 20 to 30 minutes, but the few extra minutes of waiting for dry time invite a pause. This makes the project a gentle punctuation mark at the end of the day.
For parents, this can be a shared ritual. Invite a child to make a couple of dots while you make your own. For solo makers, the project doubles as a mindful pause. You can pair it with a warm drink, a soft playlist, or the practice of setting an intention for your finished piece. The glow becomes part of the calm: charge the paint as the room darkens and then turn out the light to see those small luminous mounds. If you like to build seasonal displays, these pieces sit well among small winter jars and lanterns, offering a layered glow that feels comforting and steady, much like a little snowstorm captured on paper: DIY snowstorm winter jar.
Making This DIY Last
If you want to keep your Glow Snow Puffy Paint pieces longer, a few simple cares help preserve the shape and glow. Keep finished pages flat and out of direct sunlight. Strong light can fade colors over time and reduce the glow intensity. A gentle coat of clear matte sealer applied from a distance can protect the texture, but test on a scrap first to ensure the puffiness stays intact.
Avoid stacking heavy objects on top of dry pieces. The raised texture resists gentle handling, but pressure can flatten it. If you hope to reuse leftover paint, transfer it to an airtight container and press a sheet of plastic wrap directly on the surface before sealing. This reduces air contact and slows drying. Small batches work best for single-use projects, while a sealed container lets you continue a project across a few sessions.
For long-term glow recharge, store finished works in a place where you can easily expose them to light periodically. A lamp on a shelf, a sunny windowsill for a short time, or a bright LED will recharge the glow pigment gently. If the glow becomes faint after many weeks, you can add a thin wash of glow paint along the raised edges and allow it to dry, restoring some luminosity without changing the piece’s texture.
Gentle Tips & Variations
- Invite color subtly: Mix a tiny bit of watercolor or diluted tempera into the base before adding glow pigment. The glow reads differently over soft hues and feels like hidden warmth under a snowy surface.
- Try texture play: Add a pinch of fine glitter for a hush of sparkle or mix in a bit of cornstarch instead of baking soda for a smoother finish. Glitter adds sparkle but use sparingly if you prefer tactile smoothness.
- Make mini ornaments: Paint small circles on heavyweight cardstock, puff them, then punch a hole when fully dry and thread ribbon through for simple glowing ornaments. Keep them flat while drying to maintain the shape.
- Create layers: Build small reliefs by drying one layer, then adding another. The glow from the lower layer can show through thin areas, creating depth. This works well on semi-opaque papers.
- Adapt for little hands: Pre-mix slightly firmer batches and let children apply with cotton swabs or their fingertips. Use low heat or no heat methods for safety, allowing the pieces to puff as they air dry.
These suggestions are invitations, not rules. Part of the pleasure of Glow Snow Puffy Paint comes from small experiments done at a gentle pace. I often try one variation per session so the making stays quiet and curious.
FAQs About Glow Snow Puffy Paint
Is Glow Snow Puffy Paint safe for children?
Yes with supervision. Use water-based glow paints and unscented shaving cream to reduce irritation. Keep small tools and hot methods out of reach, and supervise any heating steps. For preschoolers, skip the microwave and let pieces puff as they dry.
How long does the glow last after charging?
The initial glow is brightest for the first few minutes in darkness and then softly continues for hours depending on pigment quality. Recharging under bright light restores intensity. Pigments vary, so try a test dot to learn your glow paint’s habits.
Can I use this on fabric or wood?
You can apply the mixture to some fabrics and unfinished wood, but texture and adhesion change. Stiffer surfaces hold raised shapes better. For fabric, test on a scrap and consider a fixer or sealer meant for textiles. For wood, sand the area smooth and seal the backside if needed to reduce warping.
What if my paint flattens while drying?
Often the mixture was too wet or the shaving cream collapsed. Try slightly less liquid next time, or let the piece dry in a warm, well-ventilated spot. Small microwaving bursts can help lift tiny mounds, but use caution and test beforehand.
Can I make a glow-only version without shaving cream?
Yes. A simpler mix of glue, baking soda, and glow pigment creates a denser, less puffy paint that still glows. It will look more like raised relief rather than soft snow, and it may dry firmer.
Final Reflections on Making Glow Snow Puffy Paint
There is a slow kind of joy that comes from tiny things. The act of forming a small mound of paint, watching it hold, and then seeing it glow feels like keeping a little promise to yourself. The process teaches patience. You learn when to stop mixing, when to wait, and when the light will do the rest.
I always leave one piece unfinished on the edge of my table as an invitation. Later, when evening comes, I switch off the lights and see the quiet collection of tiny glows like a small constellation. Making this paint has taught me to value short, hands-on rituals. The materials are simple, but the sensory language is rich. Each session reminds me that calm is not absence. Calm can be a texture under your fingers and a soft radiance on your shelf.
Conclusion
If you want a slightly different technique for glow puffy paint on moon shapes, I like this moon-focused project as a complementary idea: Glow In The Dark Puffy Paint Moon Craft – No Time For Flash Cards. For a classic snow puffy paint recipe that inspired many of my texture choices, this recipe is a helpful reference: Snow Puffy Paint Recipe – The Imagination Tree.
Thank you for making time and space for a small, glowing craft. I hope this project gives you a soft pause and a little light to keep.
PrintGlow Snow Puffy Paint
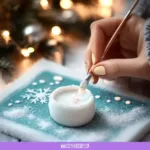
A calming craft project creating textured, glowing paint that adds a soft luminescence to your creations.
- Prep Time: 10 minutes
- Cook Time: 0 minutes
- Total Time: 2 hours
- Yield: Multiple projects
- Category: Craft
- Method: Mixing
- Cuisine: N/A
- Diet: N/A
Ingredients
- Clear school glue or white craft glue, 1 small bottle
- Baking soda, 2 to 4 teaspoons
- Shaving cream, about 1/2 cup
- Glow-in-the-dark paint or pigment, 1 to 2 teaspoons
- A small bowl for mixing
- A spoon or craft stick for stirring
- Sturdy paper or cardstock
- Small squeeze bottles or disposable pipettes, optional
- A damp cloth for cleanups
- Clear container or lid to dry pieces, optional
Instructions
- Measure a small puddle of glue into your bowl.
- Add baking soda and stir until slightly grainy.
- Fold in a generous scoop of shaving cream.
- Mix in glow paint or pigment a little at a time.
- Test a small dot on scrap paper and microwave briefly.
- Apply the paint to your final paper in small mounds.
- Let pieces dry in a warm, undisturbed spot.
- Charge the glow under a lamp or sunlight for a few minutes.
Notes
Ensure to let pieces dry flat to maintain texture. You can use pre-made glow paint for simplicity.