

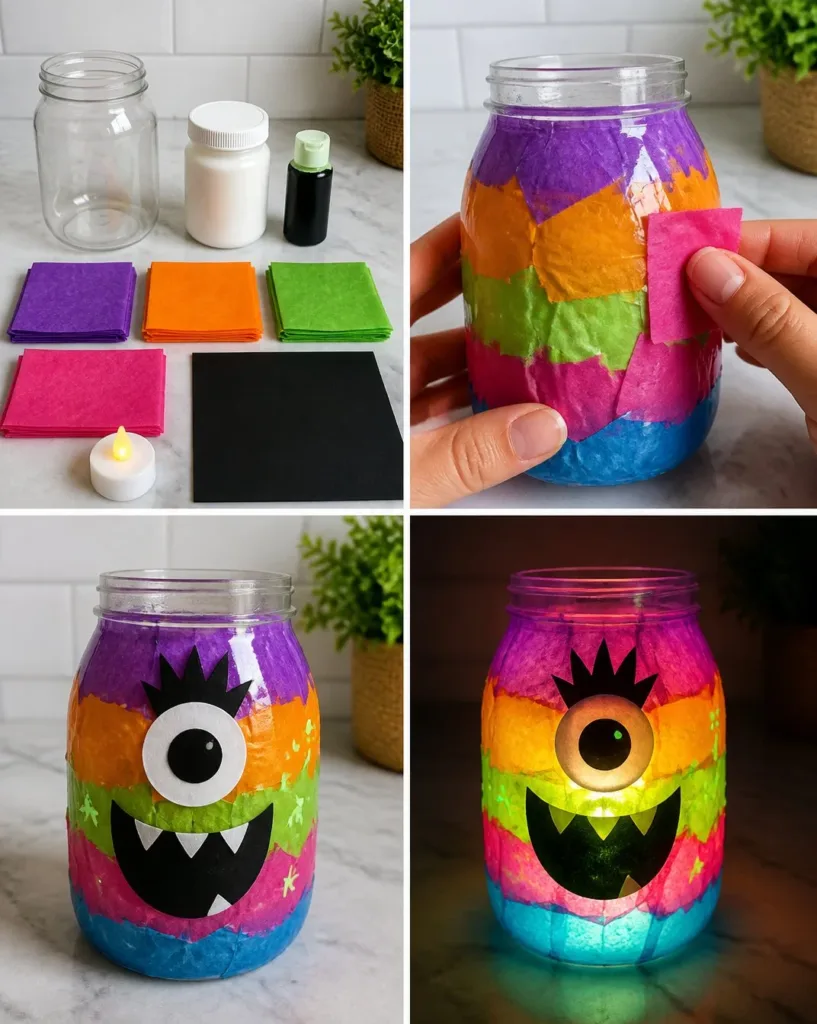
A soft glow softly dances from a lantern, the hues of a rainbow radiate warmth in a gentle embrace. This serene moment, filled with light and color, embodies the spirit of creating a Glow-in-the-Dark Rainbow Monster Lantern. Crafting this charming piece can be both a soothing escape and an artistic expression. As the light flickers, so does your imagination, inviting a sense of calm energy to your space. With the right materials and steps, this DIY project will not only brighten your rooms but also your heart. You may also find Rainbow Ice Flower Lantern Cozy useful.
The Heart Behind This DIY
Creating a Glow-in-the-Dark Rainbow Monster Lantern allows us to slow down and appreciate the beauty in colors and shapes. As the process unfolds, it brings a quiet joy that soothes the mind. Each color represents a moment, a feeling, or a memory. Engaging in this tactile experience fosters mindfulness, allowing us to connect with our creativity and remember the simple pleasures of life. The feeling of soft, warm materials in your hands can ground you in the present, pulling away the noise of the world. You may also find Baking Soda Rainbow Crystal Forest Rainbow Crystals useful.
A Gentle Look at the Process
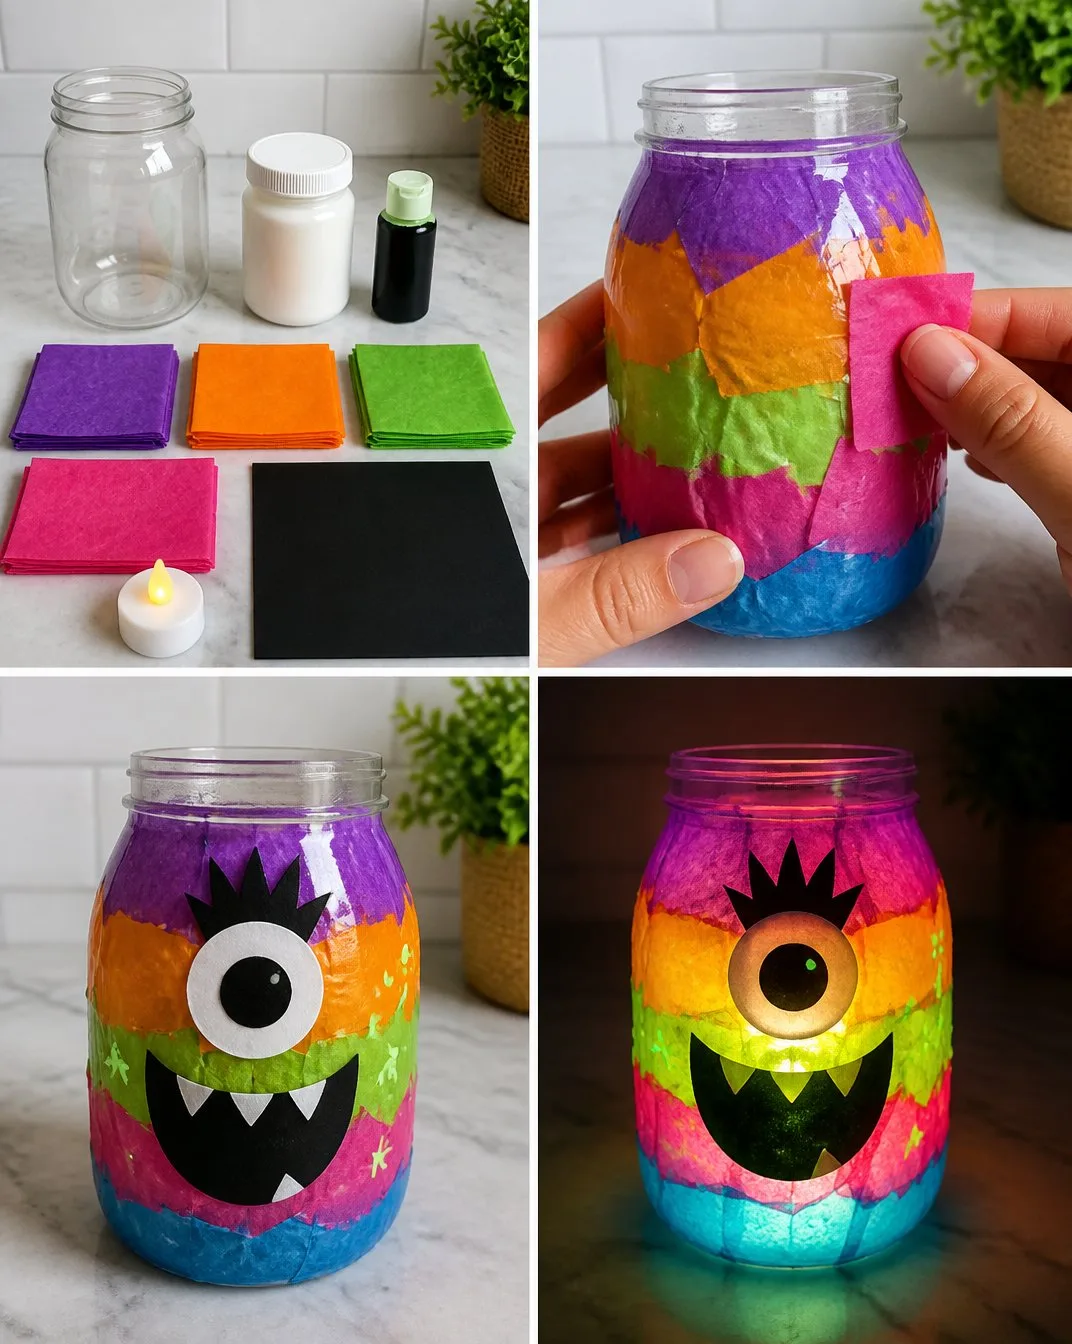
This DIY project invites you to engage in a rhythm of creation as you assemble your lantern. You will witness a gentle flow of movements measuring, cutting, and assembling. As you work, listen to the sounds of materials perhaps the rustling of paper or the soft clink of glass and let the soothing texture of colorful papers guide your hands. Each step unfolds like a story, creating a tranquil atmosphere. You may also find Baking Soda Rainbow Crystal Forest Recipe useful.
Materials You’ll Need
Gather the following materials to create your lantern. Each item is an important part of the process: You may also find Baking Soda Rainbow Crystal Forest useful.
- A medium-sized jar (easy to find)
- Glow-in-the-dark paint
- Colorful tissue paper
- Mod Podge or white school glue
- Paintbrush or sponge applicator
- Scissors
- LED tealight candle (for safety)
This list provides everything you need for a calming journey into crafting. Each item plays a role, giving way to the transformation of simple materials into a dazzling lantern.
Step-by-Step Directions
- Begin by cleaning the jar thoroughly, ensuring it’s dry and ready for painting.
- Using your brush, apply a thin layer of glow-in-the-dark paint around the inside of the jar. Let it dry completely.
- While the paint dries, cut the colorful tissue paper into different shapes and sizes. This will be your canvas.
- After the paint is dry, take the Mod Podge and apply a layer to the outside of the jar.
- Gently layer the colorful tissue paper onto the jar, smoothing out any bubbles as you go. Enjoy the visual contrast of the colors.
- Once all the tissue is placed, finish with a final layer of Mod Podge over the top to seal your design.
- Let the jar dry completely before placing an LED tealight inside.
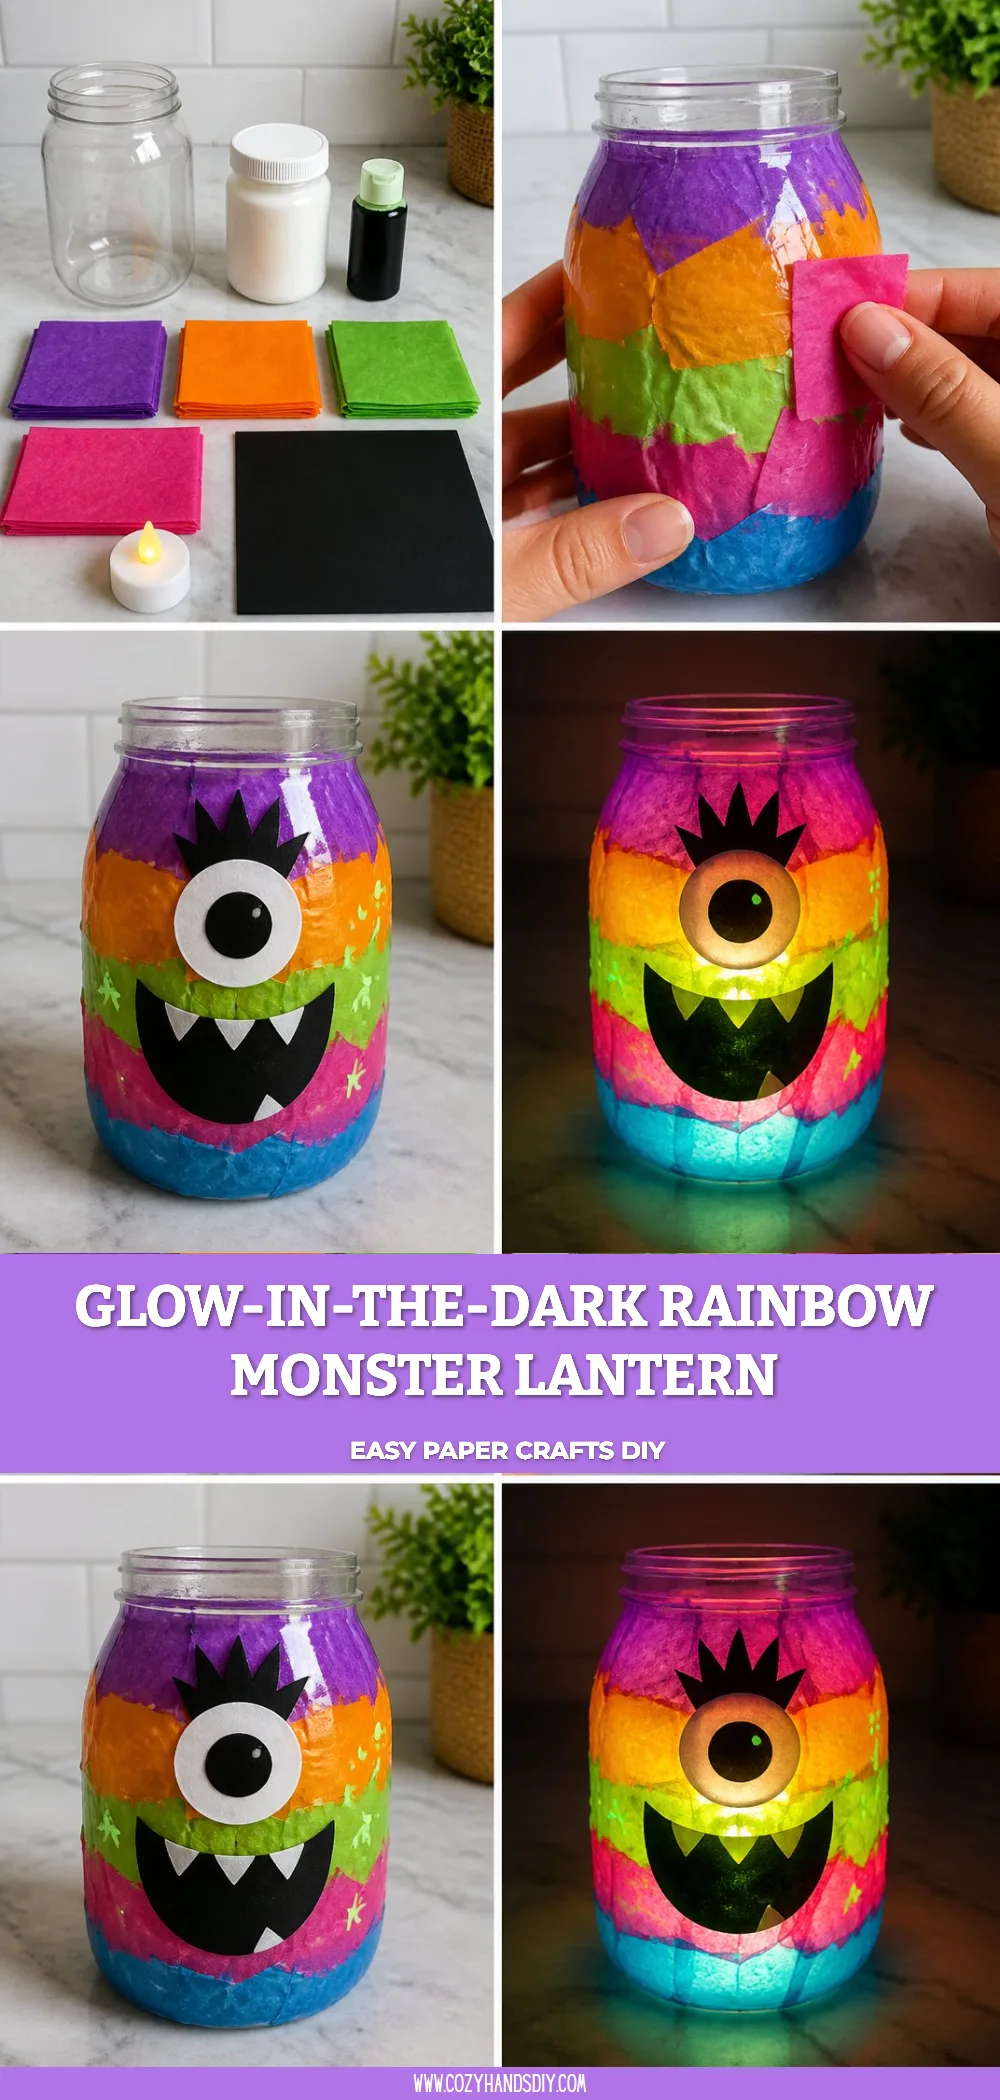
- Turn off the lights and watch your lantern glow beautifully.
Enjoying the Finished Piece
The completed Glow-in-the-Dark Rainbow Monster Lantern becomes a cherished piece that can light up your evenings. You can place it on a bedside table, create a cozy corner in your living space, or even gift it to a friend. The gentle glow evokes warmth and comfort, inviting relaxation after a long day. As it illuminates your room, it can become a focal point for storytelling or a simple moment of reflection before bedtime.
Keeping It for Later
To ensure your lantern remains in great condition, store it in a dry, cool place when not in use. If the paint begins to wear off after extended periods, consider adding another layer of glow paint to refresh its brightness. The lantern can also serve multiple purposes; consider using it as a decorative piece for special occasions. Its longevity enriches your crafting experience, symbolizing that creativity can be revisited and cherished over time.
Gentle Tips & Variations
- Feel free to experiment with different shapes and designs. Adding monster faces or whimsical characters can enhance the playful aspect of the lantern.
- Try using patterned tissue paper for a unique effect instead of solid colors.
- Consider using more than one jar. A cluster of lanterns can create a magical garden feel, filling a space with cozy warmth.
- Involve your child or a friend for a shared making experience; this project can build lasting memories as you create together.
- After your lantern is made, take some time to reflect on the creative process, possibly journaling or sketching your thoughts about your experience.
FAQs About Glow-in-the-Dark Rainbow Monster Lantern
What types of paints work best for a glow effect?
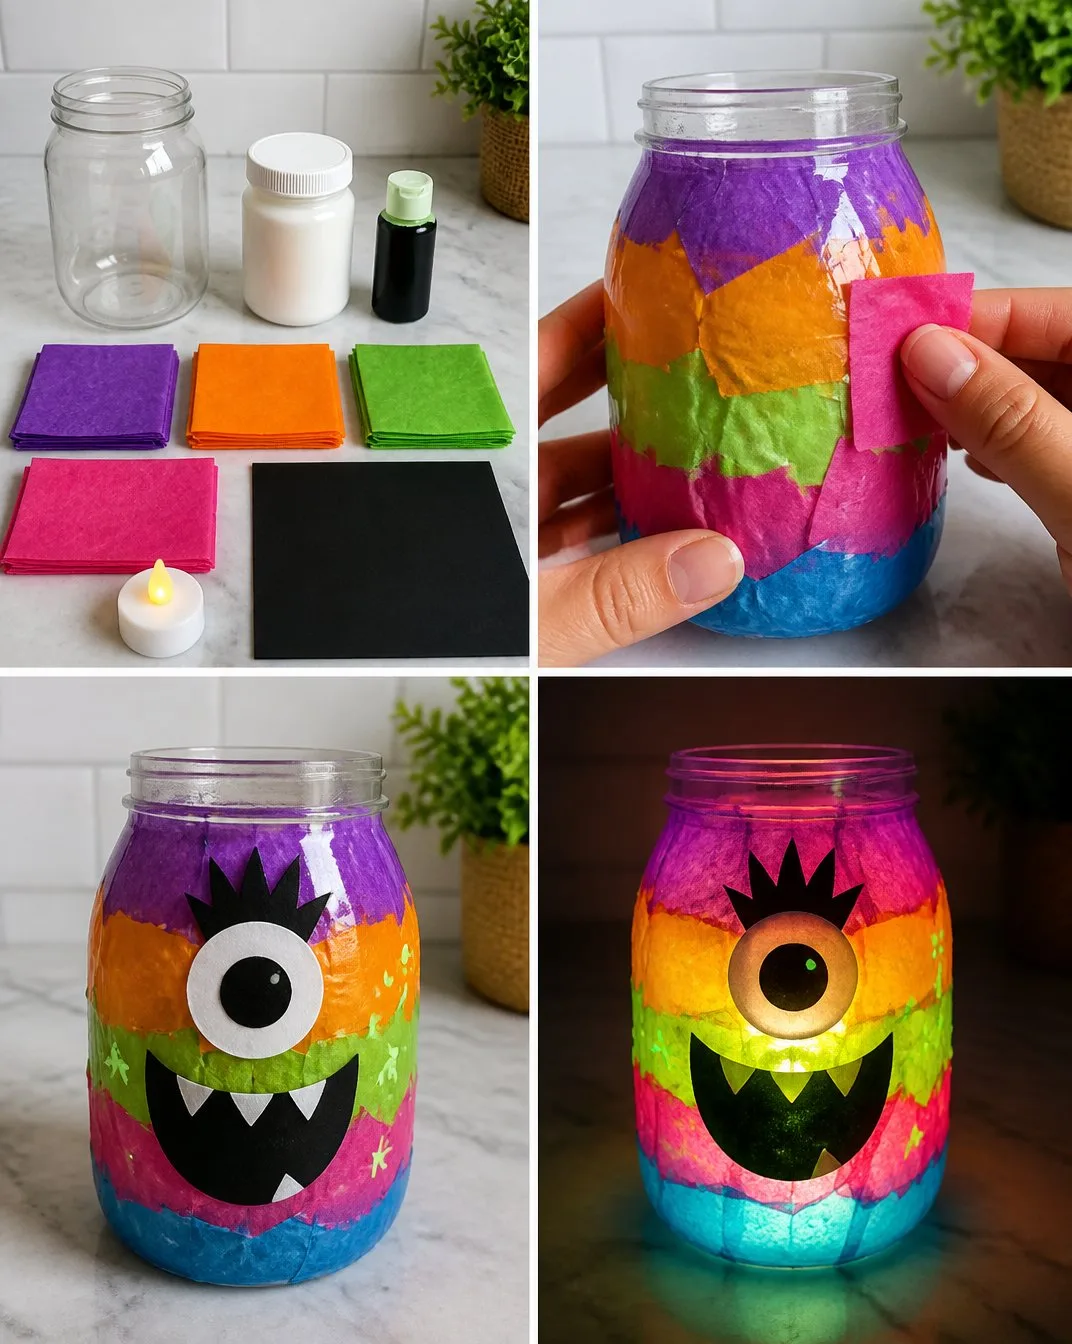
Glow-in-the-dark paints are ideal for this project, as they are specifically designed to shine in the dark after being charged with light.
Can I use different types of jars?
Absolutely! Different shapes and sizes can add unique character to your lantern.
How long does the glow last?
The duration of the glow varies based on the quality of the paint used, but most should last for several hours after being charged.
Is the LED tealight candle safe?
Yes, using an LED tealight eliminates fire hazards while keeping your lantern safe to display anywhere.
Can this lantern be used outdoors?
Although primarily designed for indoor use, it can be placed on a covered patio. Make sure to protect it from moisture to maintain its integrity.
Conclusion
In creating a Glow-in-the-Dark Rainbow Monster Lantern, you not only bring a bit of magic into your environment but also embrace a meditative crafting moment. Each flicker of light invites you to experience calm and creativity. For additional inspiration, you may enjoy exploring thoughtful articles, or if you’re searching for materials like glow-in-the-dark bands, consider checking out various supplies on Amazon. Allow your lantern to serve as a gentle reminder that creativity can illuminate even the darkest of nights.
PrintGlow-in-the-Dark Rainbow Monster Lantern
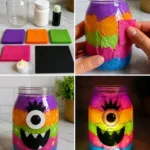
A charming DIY project to create a glowing rainbow lantern that brings warmth and creativity to your space.
- Prep Time: 15 minutes
- Cook Time: 0 minutes
- Total Time: 15 minutes
- Yield: 1 lantern
- Category: Craft
- Method: Crafting
- Cuisine: N/A
- Diet: N/A
Ingredients
- Medium-sized jar
- Glow-in-the-dark paint
- Colorful tissue paper
- Mod Podge or white school glue
- Paintbrush or sponge applicator
- Scissors
- LED tealight candle
Instructions
- Clean the jar thoroughly, ensuring it’s dry and ready for painting.
- Apply a thin layer of glow-in-the-dark paint around the inside of the jar. Let it dry completely.
- Cut the colorful tissue paper into different shapes and sizes.
- Take the Mod Podge and apply a layer to the outside of the jar.
- Layer the colorful tissue paper onto the jar, smoothing out any bubbles.
- Finish with a final layer of Mod Podge over the top to seal your design.
- Let the jar dry completely before placing an LED tealight inside.
- Turn off the lights and watch your lantern glow beautifully.
Notes
Store the lantern in a dry, cool place when not in use. Refresh its glow by adding another layer of glow paint when necessary.
1 thought on “Glow-in-the-Dark Rainbow Monster Lantern”