

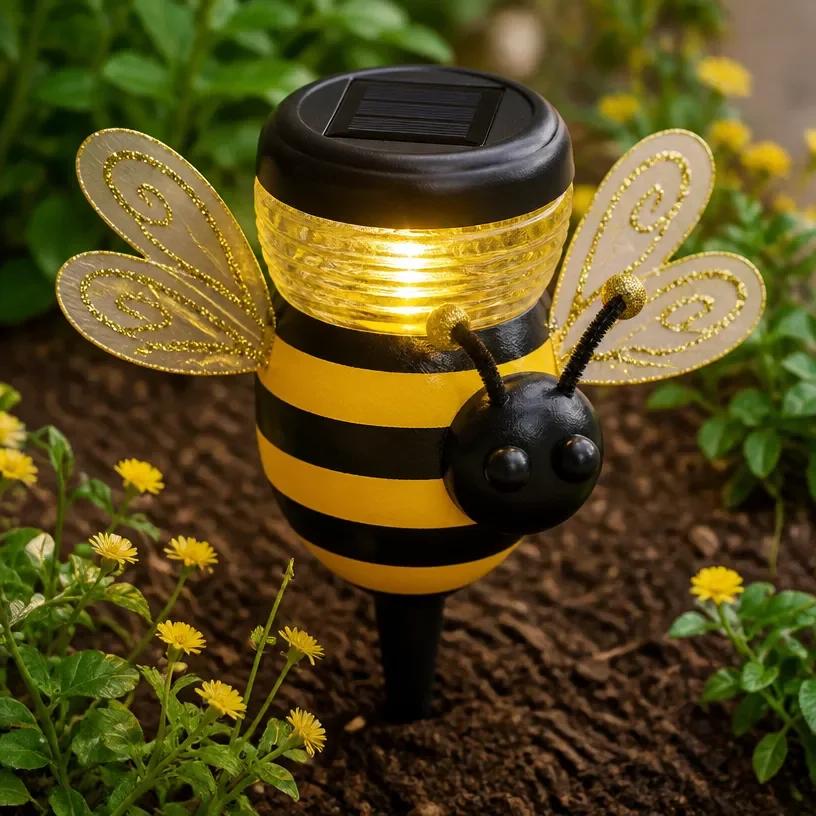
As the sun begins to set, there’s a soft glow that fills the room, inviting a sense of peace. This gentle light dances across surfaces, bringing texture and warmth. Engaging in the Glitter Bee Solar Light Craft will carry you to a serene space, where creativity flows naturally. Watching the light shimmer through the crafted bees can evoke delightful, calming sensations that help to ground you in the moment. You may also find Bioplastic Suncatchers Natural Colorful Craft Calm useful.
The Heart Behind This DIY
Creating the Glitter Bee Solar Light Craft is not merely about the end product; it’s about the entire experience of making it. In a world filled with noise, this project offers a nurturing sanctuary. The rhythmic movements of assembly the gentle pouring of glitter, the smooth brushing of colors encourage mindfulness. As your hands engage thoughtfully, the act of crafting transforms into a meditative practice, helping to slow down your racing thoughts. You may also find Bright Butterfly Craft Calming Keepsake useful.
You may also find Bunny Pot Craft useful.
A Gentle Look at the Process
The process of making this DIY is imbued with quiet elegance. You’ll feel the soft textures of materials slide beneath your fingers, the gentle clinking of supplies as you gather them, and the glimmer of colors reflecting light in soothing patterns. Each step moves fluidly into the next, just like a soft breeze rustling through leaves. As you prepare to bring your Glitter Bee Solar Light to life, let the anticipation of creation fill you with calm.
Materials You’ll Need
- Solar-powered garden light (easy to find)
- Plastic bumble bees
- Clear glitter
- Craft glue (non-toxic)
- Small paintbrush
- Craft paint in your preferred colors
- Scissors
- Optional: decorative ribbons or twine for embellishing
Step-by-Step Directions
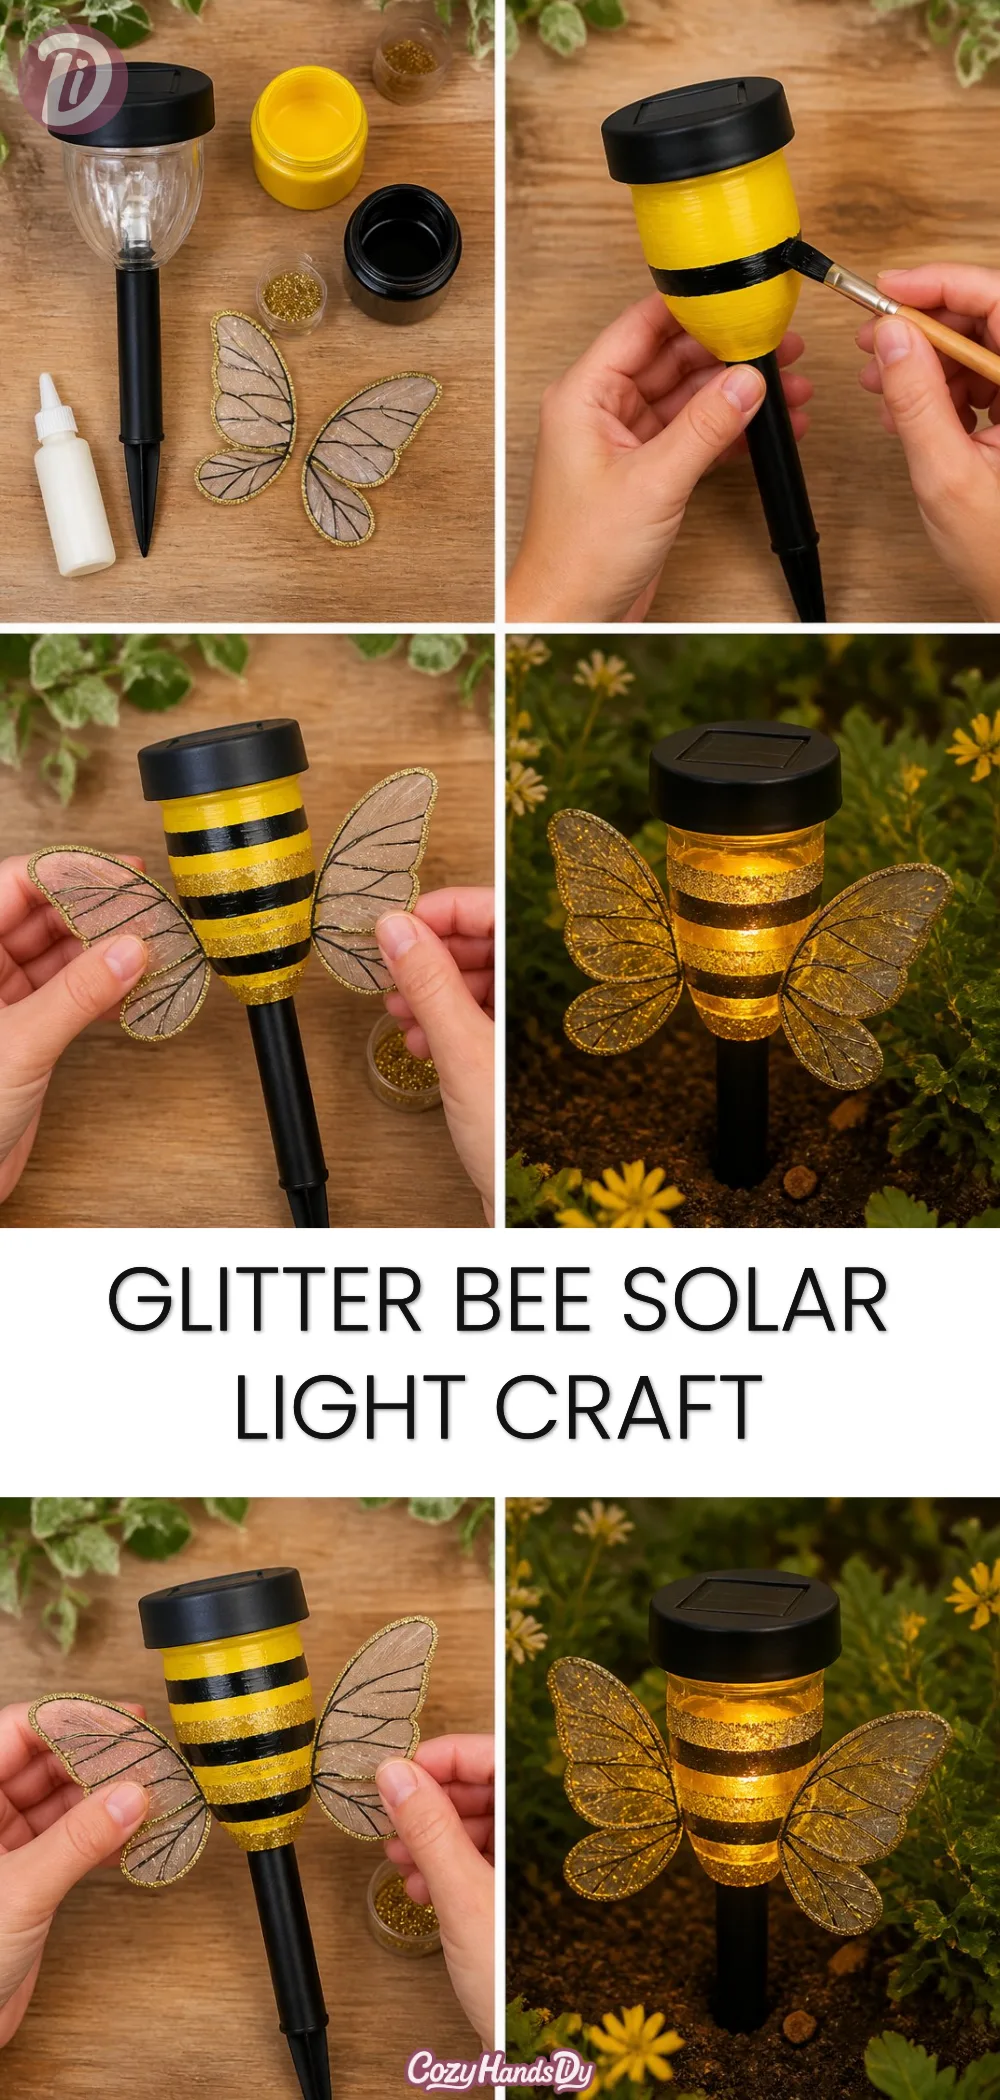
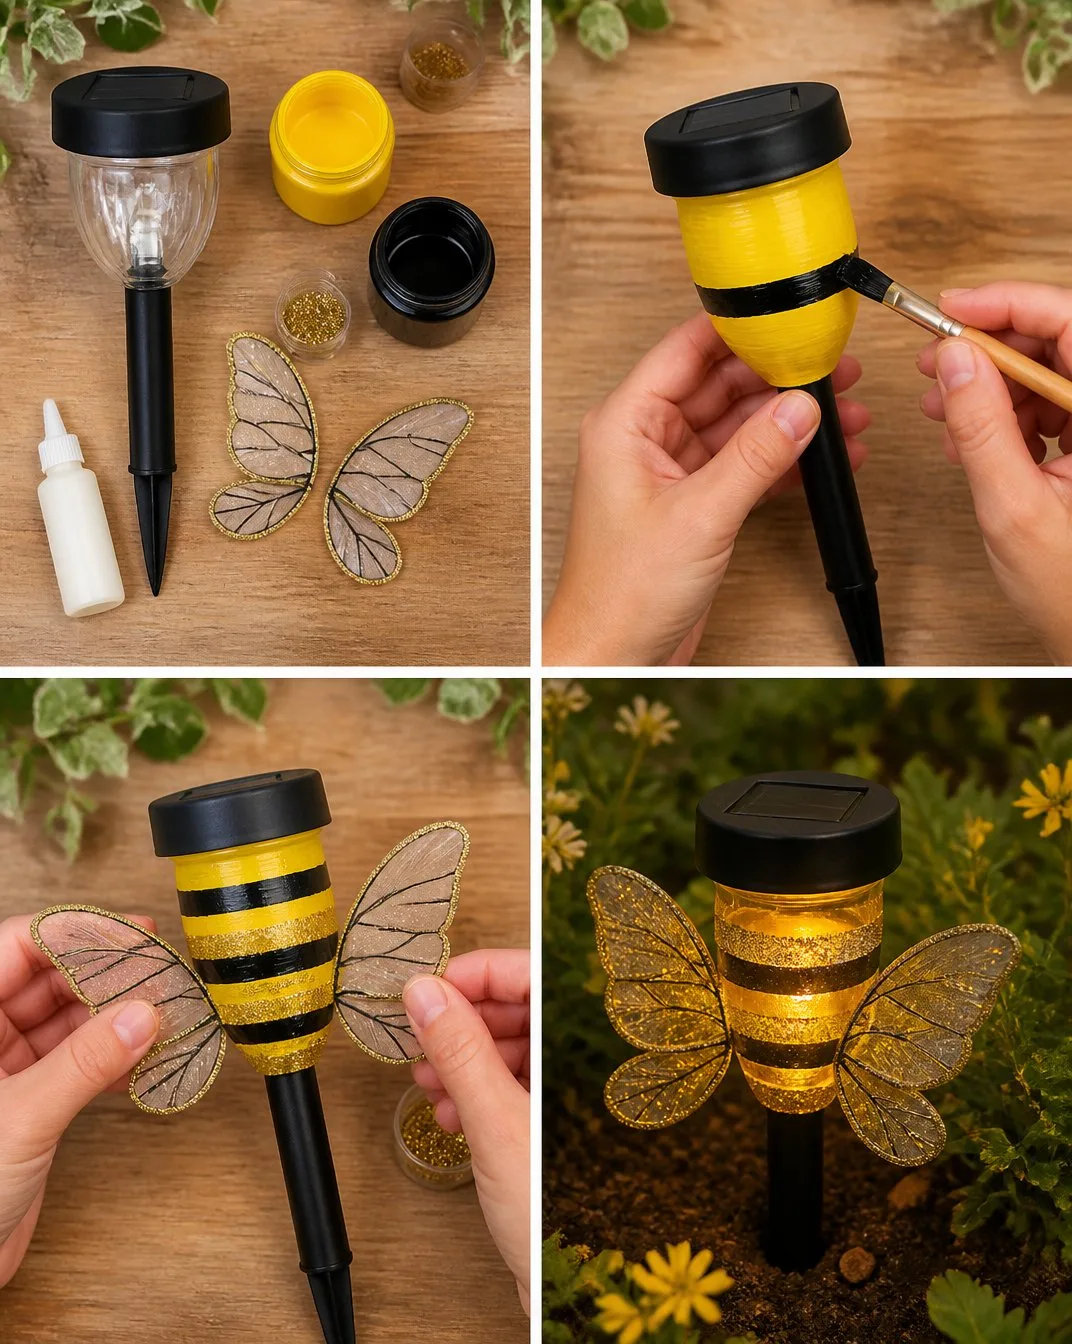
- Begin by gathering all materials in a calm space. The process of organizing can already start to enhance your focus.
- Carefully remove the top of the solar light from its base and set the light aside, ensuring you have a safe place for it.
- Use scissors to cut any ribbons or twine you might want to add as a decorative detail.
- Select your paint colors and, using the small paintbrush, apply color to the plastic bumble bees. Let the paint dry completely before moving on.
- Once dried, apply a thin layer of craft glue on the bumble bees and sprinkle clear glitter over them. This will create a whimsical shimmering effect.
- After the glue dries, carefully attach the glittered bees back onto the solar light using more craft glue as needed.
- Reattach the top of the solar light base and ensure it’s secured. If desired, tie decorative ribbons around the base for added charm.
Enjoying the Finished Piece
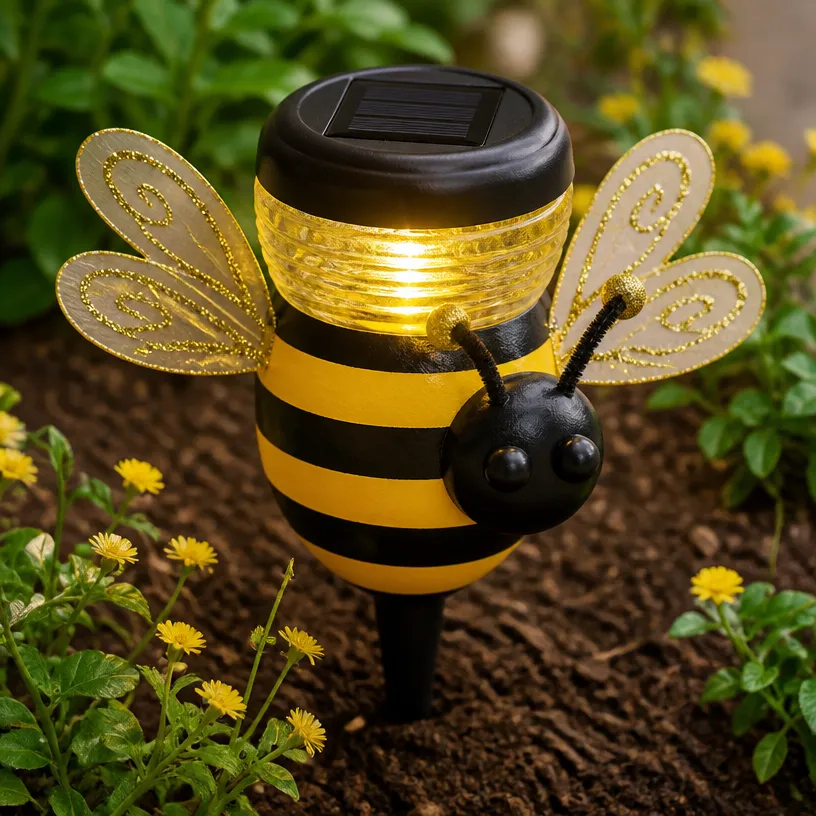
Once completed, the Glitter Bee Solar Light brings a delightful ambiance to your space. Place it in a garden, on a porch, or even indoors. The soft light that shines through the shimmering bees radiates warmth, creating inviting atmospheres during evening gatherings or quiet nights. It can serve as a gentle reminder to pause and enjoy the present moment.
Keeping It for Later
To ensure your Glitter Bee Solar Light lasts, store it in a protected area when not in use, especially during harsh weather conditions. If needing to clean it, gently wipe surfaces with a damp cloth to avoid disturbing the glitter. This care will help preserve its beauty for many evenings to come.
Gentle Tips & Variations
- Consider using biodegradable glitter for an eco-friendly twist.
- You can add additional decorations like tiny flowers or leaves for a natural look.
- Experiment with different color combinations for the bees to personalize your piece.
- If making this craft with children, allow them to choose their favorite colors and materials to inspire their creativity.
FAQs About Glitter Bee Solar Light Craft
Can I use other types of lights?
Yes! Any solar-powered light that can be attached to a decorative piece will work. Explore different styles to find what fits your vision.
How long will the glitter stay on the bees?
With the right application of craft glue, the glitter should remain for a long time, especially if not placed in an area with strong winds or rain.
Are there alternative ways to decorate the solar light?
Indeed! You could paint directly onto the solar light itself or add fabric elements for a different texture. Enjoying the creative process is the key.
What if I don’t have plastic bumble bees?
You can easily substitute with other small decorative items, such as butterflies or ladybugs, that fit your theme.
Conclusion
Making crafts like the Glitter Bee Solar Light reminds us of the joy found in creation and the tranquility it can usher into our lives. If you’re interested in enhancing your crafting experience, consider exploring additional projects such as bioplastic suncatchers, which can beautifully complement your space. For those looking for unique decorations, take a moment to browse bee-themed snow globes. Let every moment of crafting be filled with calm and creativity.
PrintGlitter Bee Solar Light Craft
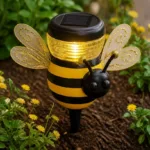
Create a whimsical Glitter Bee Solar Light to enhance your space with soft, shimmering ambiance.
- Prep Time: 15 minutes
- Cook Time: 0 minutes
- Total Time: 15 minutes
- Yield: 1 craft
- Category: Craft
- Method: DIY Crafting
- Cuisine: N/A
- Diet: N/A
Ingredients
- Solar-powered garden light
- Plastic bumble bees
- Clear glitter
- Craft glue (non-toxic)
- Small paintbrush
- Craft paint in your preferred colors
- Scissors
- Optional: decorative ribbons or twine for embellishing
Instructions
- Begin by gathering all materials in a calm space.
- Carefully remove the top of the solar light from its base and set the light aside.
- Use scissors to cut any ribbons or twine you might want to add.
- Select your paint colors and apply them to the plastic bumble bees using a small paintbrush. Let the paint dry completely.
- Once dried, apply a thin layer of craft glue on the bumble bees and sprinkle clear glitter over them.
- After the glue dries, carefully attach the glittered bees back onto the solar light using more craft glue as needed.
- Reattach the top of the solar light base and ensure it’s secured.
- If desired, tie decorative ribbons around the base for charm.
Notes
Consider using biodegradable glitter for an eco-friendly twist. Experiment with different color combinations for personalization.