

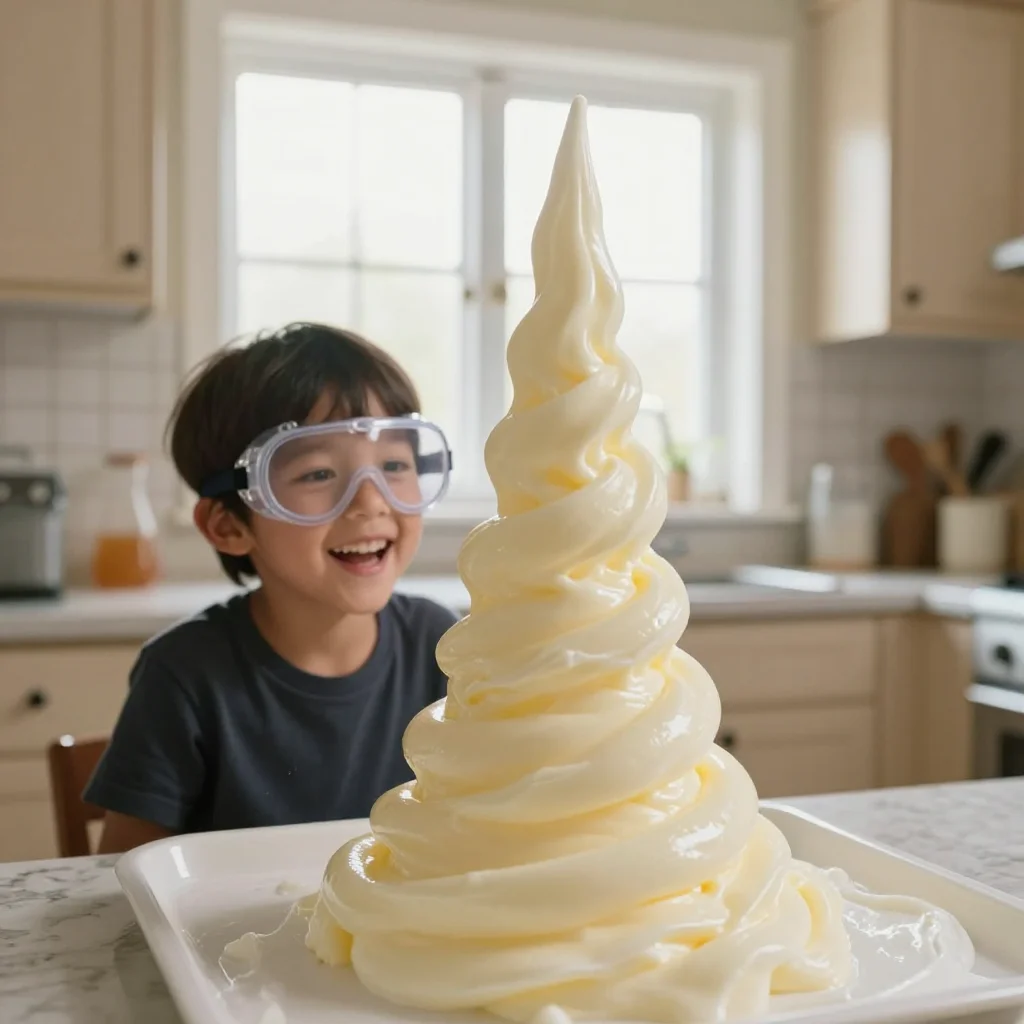
In a sunlit kitchen, the scent of warm soap bubbles fills the air. You gather a few common supplies, ready to dive into a gentle and playful experiment. The Elephant Toothpaste Experiment is an ideal project to bridge science and creativity. It invites you to slow down, focus, and immerse yourself in the textures, colors, and sounds emerging from simple ingredients. As the reaction begins, fizzy sounds and vibrant foam cascade like a small, cheerful eruption. This moment captures not only the excitement of discovery but also the joy of mindful making.
The Heart Behind This DIY
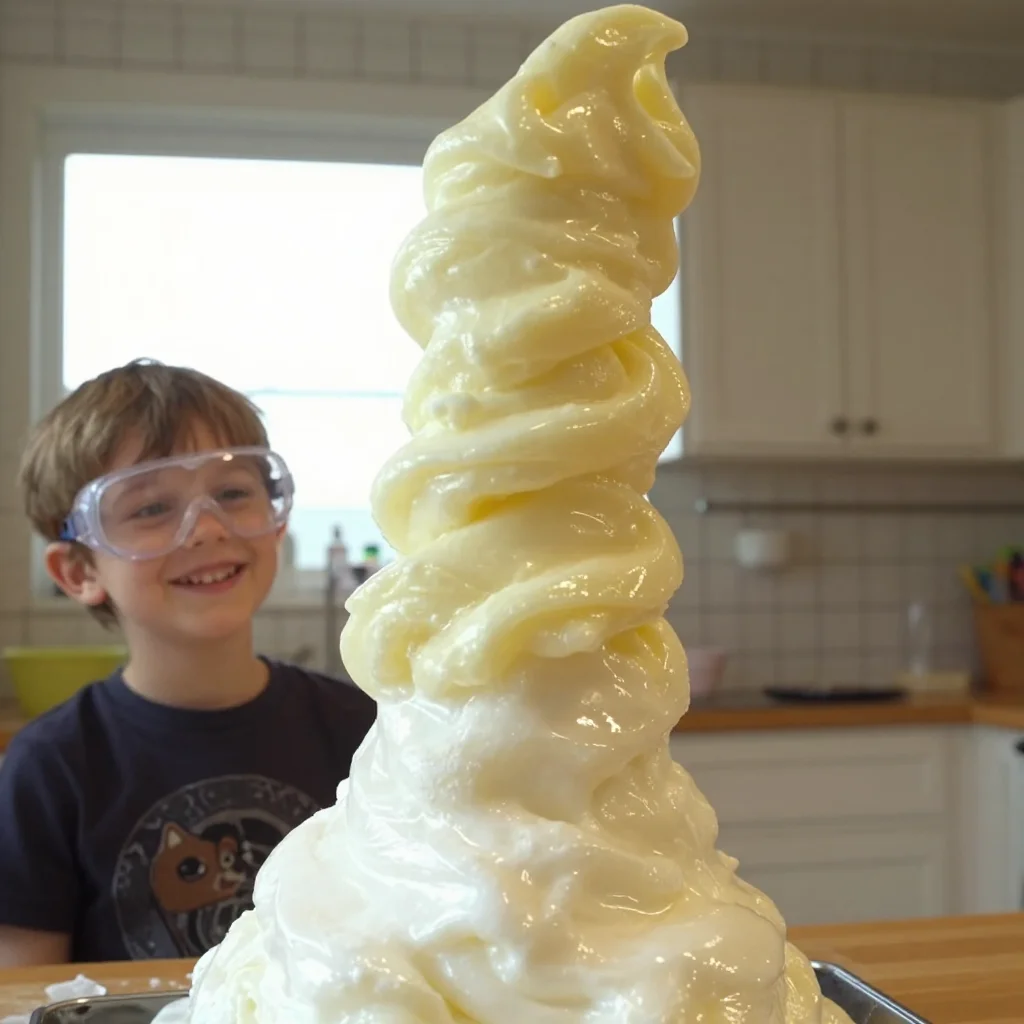
Creating the Elephant Toothpaste Experiment encompasses more than just mixing chemicals. It offers a sensory experience that calms the mind. As you measure and combine the ingredients, you engage in a rhythm that encourages focus. The colors, whether bright yellow or soft blue, dance before your eyes, invoking a sense of wonder.
This project brings forth the joy of transformation. Watching the bubbling foam emerge illustrates how everyday items can create spectacular reactions. You find your mind quieting as you observe the fizzing and the colors blending. This sense of presence enhances your appreciation for the moment and for the act of making.
In this delightful experiment, you create something tangible, giving it a place in your space while inviting curiosity and conversation. It’s not just about the result but also about the joy felt during creation. It becomes a cozy moment, weaving creativity and gentle exploration together.
A Gentle Look at the Process
Engaging with the Elephant Toothpaste Experiment allows for a smooth flow from beginning to end. The process unfolds gently, with each step guiding you towards the final, bubbly masterpiece. You’ll notice the fluidity of movement as you pour, mix, and observe. The texture of the ingredients feels different some are thick and syrupy, while others are light and airy.
Sound plays a role as well. The quiet splash of liquids mixing invites your attention. You can feel the anticipation building as everything comes together. Allow your senses to soak in each moment, making each step a small act of mindfulness.
Before diving into the materials you’ll need, let’s prepare to embrace the creative journey of this delightful science experiment.
Materials You’ll Need
- Hydrogen peroxide (3% solution, easy to find at most drugstores)
- Liquid dish soap (creates those lovely bubbles)
- Dry yeast (a little packet works wonders)
- Warm water (helps activate the yeast)
- Food coloring (optional, for vibrant visual flair)
- A plastic bottle (the chamber for your foamy eruption)
- A small cup (for mixing the yeast and water)
- Baking tray or large dish (to catch the mess)
- Safety goggles (to keep your eyes safe from splashes)
Gather these items at your own pace. Finding them can be part of the calming experience, adding to the excitement. Most are easy to source, and with the right preparation, you can create a memorable sensory moment.
Step-by-Step Directions
- Begin by pouring about 1/2 cup of hydrogen peroxide into the plastic bottle. This will create a strong base for your reaction.
- Add a squirt of liquid dish soap into the bottle. Gently swirl the bottle to mix; this will enhance the foam you create.
- If you’re feeling creative, add a few drops of food coloring. Watch how the color swirls into the mixture, bringing an element of surprise.
- In a small cup, combine one packet of dry yeast with about 3 tablespoons of warm water. Let it sit for about a minute to activate the yeast.
- After your ingredients meld, carefully pour the yeast mixture into the bottle with the hydrogen peroxide. Step back and watch the magic happen!
The bubbling foam will pour out like a soft, colorful stream. This is where the joy truly unfolds a moment to appreciate what you’ve created together. Spend some time observing the textures and sounds of the reaction.
Enjoying the Finished Piece
The beauty of this experiment lies in both the process and the finished product. Once you’ve watched the foam bubble and cascade, consider how to enjoy or display it. The vibrant colors and impressive rise of foam make for a delightful centerpiece on your kitchen table or momentarily playful decor in your craft space.
You can use the experience to spark conversations or simply to delight in the science of it all. The finished Elephant Toothpaste offers not just a visual feast but also a reminder of the joy found in exploration. After all, each project serves as a canvas for further creativity and expression within your home.
Keeping It for Later
Although the foam from the Elephant Toothpaste Experiment is ephemeral, you can still capture the sentiment it brings. Once the reaction settles, you can decide how to handle the remains. A gentle reminder this project may require prompt cleanup to avoid stains or sticky residues.
If you’re thinking about reusing elements from the experiment, consider saving the plastic bottle. It can be repurposed for future experiments or as a quirky vase for faux flowers. While the foamy eruption doesn’t last long, the spirit of the project can linger in remembered moments and fun conversations.
Gentle Tips & Variations
This project invites creativity, not just in the process but in how you personalize it. Here are a few gentle suggestions to make your Elephant Toothpaste journey unique:
- If you have flavored gelatin, consider incorporating that for color and scent. It brings an additional sensory element.
- Experiment with different containers try larger or smaller bottles to see how it alters the flow of foam.
- Mix food coloring in layers. Pour it carefully to create a more gradient effect when it erupts.
- Add a comforting element, like playing soft music as you create, enhancing the entire atmosphere.
- If crafting with children, talk about the science behind the experiment in a playful manner, fostering curiosity.
Each gentle suggestion is an invitation to embrace personal creativity rather than a strict guideline.
FAQs About Elephant Toothpaste Experiment
What is the science behind the Elephant Toothpaste?
The reaction occurs when hydrogen peroxide breaks down into water and oxygen gas, creating bubbles. The yeast acts as a catalyst, speeding up this process.
Can I change the amount of ingredients?
Yes, you can adjust the amounts to see different reactions. Just keep the ratios consistent to maintain the integrity of the experiment.
Is it safe for children?
With safety goggles to protect the eyes and adult supervision, this experiment can be a fun and educational experience for children.
What do I do if I don’t have hydrogen peroxide?
You can explore other science experiments using common household items to create beautiful reactions. Read more about different projects on our site.
How long does the foam last?
The foam typically settles within a few minutes, but watching it over time can be just as enjoyable as the initial eruption.
A Gentle Note Before You Go
Creating the Elephant Toothpaste Experiment offers a beautiful blend of sensory engagement and joyful experimentation. It provides a moment to pause and appreciate the wonder in simple ingredients and reactions. Remember, the journey of making is as important as what you create. Embrace your unique style, and allow your creativity to blossom in a space that feels safe and inviting.
For a deeper exploration of other experiments that stir the imagination, you might enjoy checking out the Elephant Toothpaste STEM activity by Science Buddies. If you want to dive into more fun, consider the playful creations highlighted in Scientific American’s article on making Elephant Toothpaste. Each project can extend the joy of making and enhance your cozy crafting adventures. Thank you for joining this gentle exploration!
PrintElephant Toothpaste Experiment
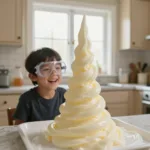
A delightful science experiment that combines everyday ingredients to create a mesmerizing foamy eruption.
- Prep Time: 5 minutes
- Cook Time: 5 minutes
- Total Time: 10 minutes
- Yield: 1 foamy eruption
- Category: Science Experiment
- Method: Mixing and Observing
- Cuisine: N/A
- Diet: N/A
Ingredients
- 1/2 cup hydrogen peroxide (3% solution)
- 1 squirt liquid dish soap
- 1 packet dry yeast
- 3 tablespoons warm water
- Food coloring (optional)
- 1 plastic bottle
- 1 small cup for mixing
- 1 baking tray or large dish
- Safety goggles
Instructions
- Pour about 1/2 cup of hydrogen peroxide into the plastic bottle.
- Add a squirt of liquid dish soap into the bottle and gently swirl it to mix.
- If using food coloring, add a few drops and watch the colors swirl.
- Combine one packet of dry yeast with about 3 tablespoons of warm water in a small cup.
- Pour the yeast mixture into the bottle and stand back to watch the reaction!
Notes
Safety goggles should be worn to protect eyes from splashes. Clean up promptly to avoid sticky residues.