

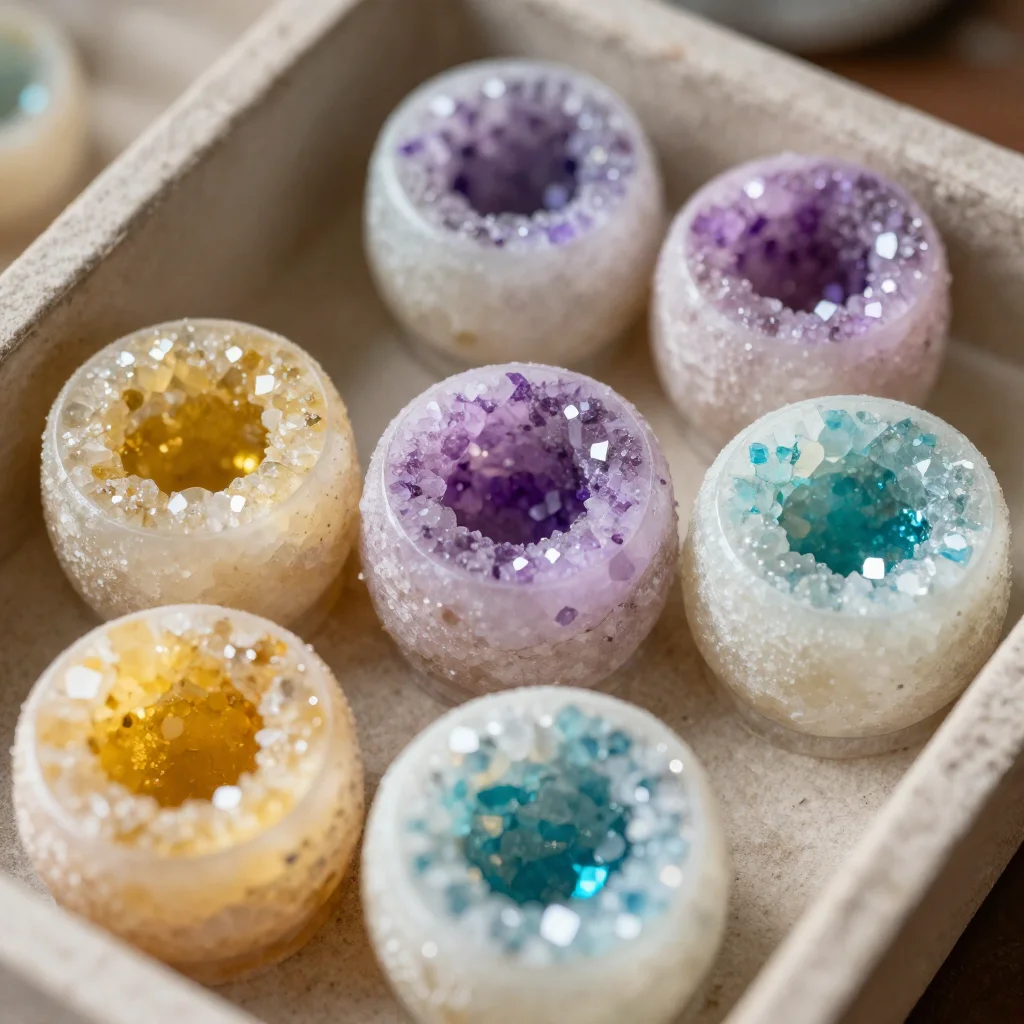
Creating with our hands often brings forth a soothing experience, a moment when the world seems to fade, and all that exists is the gentle rhythm of a creative endeavor. One particular project that captures this feeling beautifully is making Egg Geodes. As you begin to manipulate the soft, tactile materials and witness the vibrant colors emerge, a sense of calm envelops you. Each step in this process is like a dance, inviting you to slow down, breathe, and immerse yourself in the simple joy of creation.
Why Make This Egg Geodes
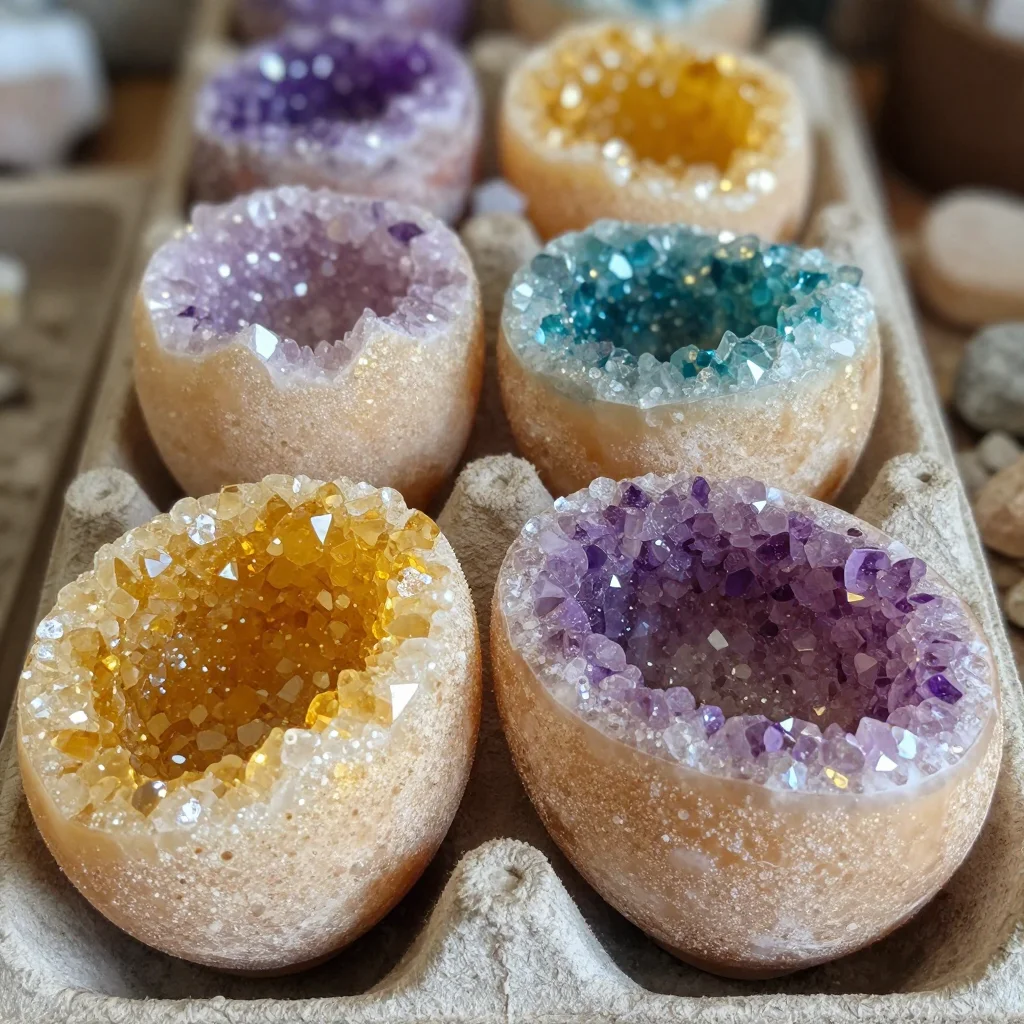
Egg Geodes not only offer a delightful crafting experience but also serve to ground us in the present moment. The act of selecting colors, pouring in materials, and watching them take shape is inherently meditative. There is something incredibly comforting about the transformation process the egg begins as a simple shell, yet it evolves into a radiant piece of art.
The tactile nature of this project engages your senses. You pick up different materials, their textures ranging from smooth powders to glistening crystals. Your hands feel the weight of the egg in one moment, and in the next, the delicate layers of the creation come to life. This mindful interaction helps us to focus on the present, wiping away the busyness of life and allowing space for tranquility.
Additionally, creating Egg Geodes serves as a reminder of the importance of taking breaks. During this craft, you can set aside the worries of the day. Each step encourages a slower pace, whether it’s delicately cracking the shell or observing the colors shift and blend. Bask in this peaceful cocoon of creativity.
A Gentle Look at the Process
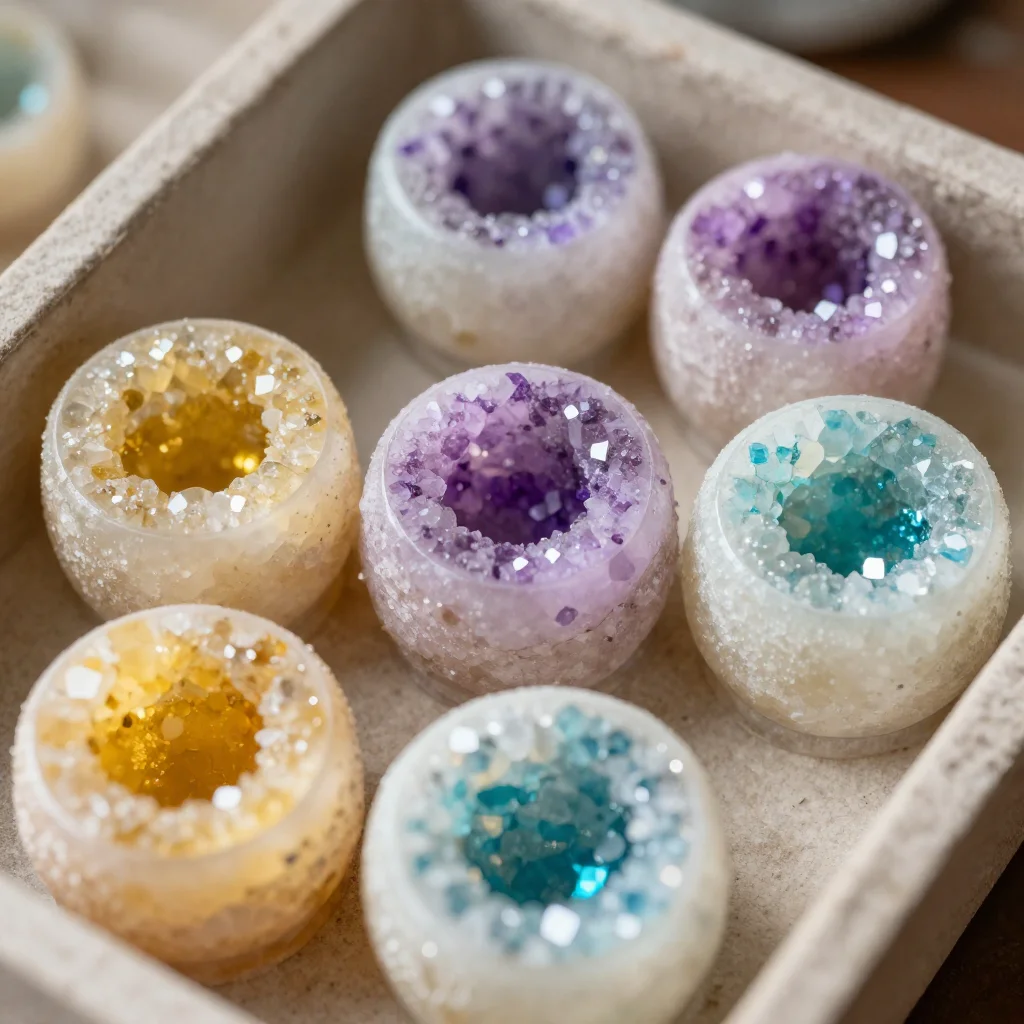
Before diving into the materials, let’s gently explore how the process comes together. Imagine a comfortable space, perhaps a cozy corner of your home, where you can sit surrounded by your tools. You might hear the soft crinkle of a bag as you open the materials, and each element brings with it a unique softness and sheen.
As you begin, the sounds of pouring and mixing fill the air, accompanied by the occasional clink of the materials against one another. The visual rhythm flows like a quiet pulse, from the careful layering of the base to the joyful addition of colors. This project rewards patience, as each step unveils a new layer of beauty, urging you to enjoy each moment of the craft.
Materials You’ll Need
Gather these simple materials to create your Egg Geodes:
- Empty eggshells (cleaned and dried)
- Epsom salts or rock salt (easy to find)
- Food coloring (for vibrant hues)
- White glue (like school glue, optional)
- A bowl for mixing
- Spoons (for scooping and pouring)
- Wax paper or a tray (to catch spills)
Feel free to adjust quantities based on how many geodes you wish to create. The materials are all straightforward and can be sourced from local craft stores or your kitchen pantry.
Step-by-Step Directions
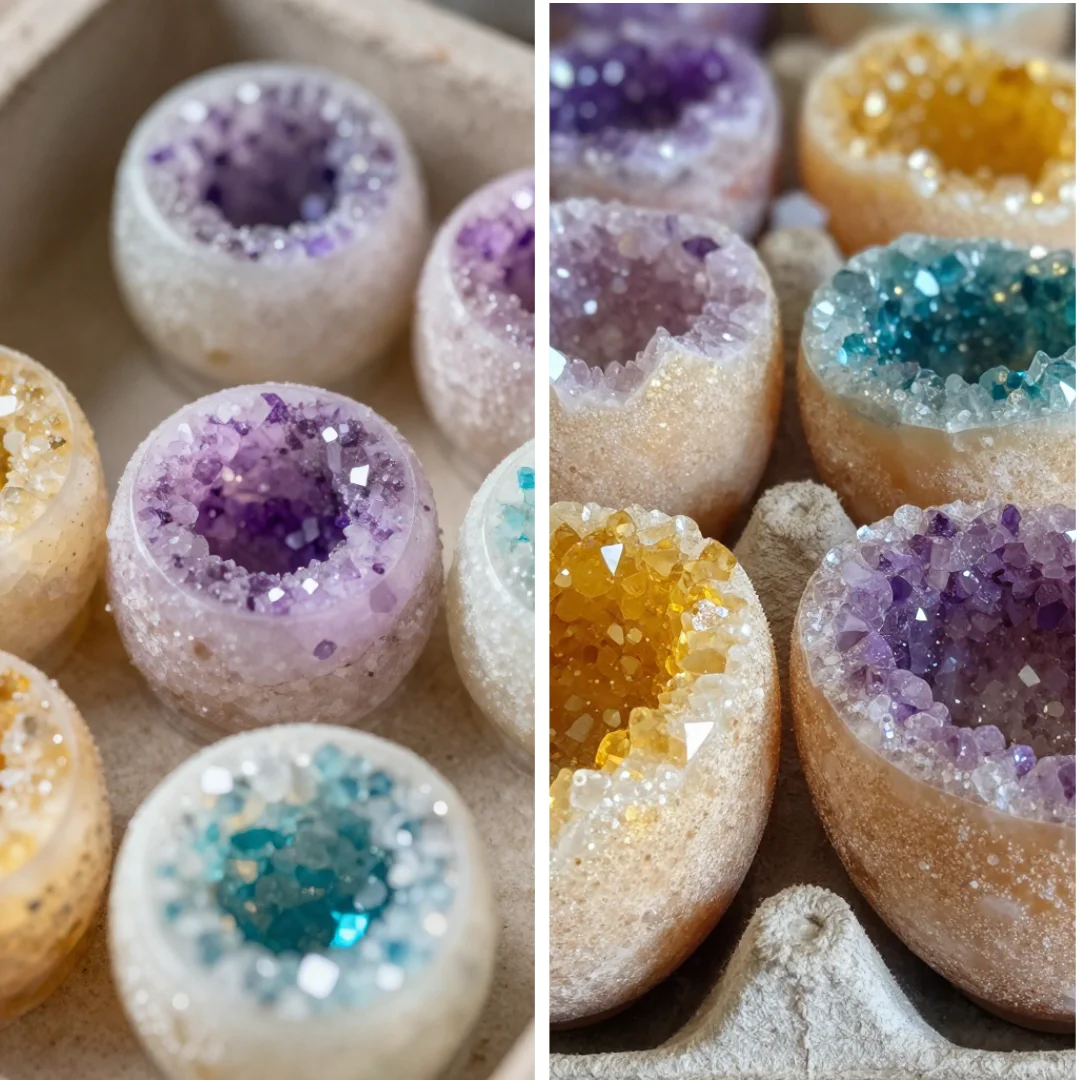
Start by preparing your empty eggshells, ensuring they are clean and dry. This holds the foundation for your geode beauty.
In a bowl, mix Epsom salts or rock salt with food coloring. Aim for a depth of color that resonates with you.
Add a few drops of water to your mixture. This helps the color develop and offers a smoother texture.
Prepare your workspace by placing wax paper or a tray beneath your eggshells. This keeps everything tidy and makes for an easier cleanup.
Gently spoon the colored mixture into the eggshells. Stop when they are about halfway full, allowing space for the layers to build.
Add layers by introducing additional colors or textures, if you wish. Each layer brings a new surprise to your creation.
If using glue, a light drizzle over the top can give added shine and help the colors bind beautifully.
Let your egg geodes dry for several hours or overnight. During this time, notice how they await the final reveal, transforming quietly in anticipation.
Enjoying the Finished Piece
Once your Egg Geodes are complete, take a moment to admire your handiwork. Their shimmering surfaces invite the light and seem to dance with color. You might place them in a sunny window where they can catch the light beautifully, casting soft hues around your space.
These creations can also serve as lovely decorations for a calm corner in your home. Display them on a shelf, or use them as part of a serene centerpiece for a gathering. Their presence adds a gentle reminder of the warmth that comes from slowing down and engaging in creativity.
Keeping It for Later
Egg Geodes, with their vibrant essence, are best stored with care. Place them gently in a box lined with soft fabric. This will protect them from any breakage while keeping their beauty intact. You can also enjoy variations of this project by reusing the idea for seasonal changes or gifts.
Consider storing them in a place where you can frequently appreciate their beauty. A small display shelf could serve as a gentle reminder of the time spent creating each unique piece. Their longevity lies in the intention behind the creation, which encourages you to revisit the process.
Gentle Tips & Variations
As you embark on your journey with Egg Geodes, here are a few gentle invitations to amplify your experience:
- Experiment with different salt textures or colors. The outcome may surprise you with even more depth and beauty.
- Share the joy by inviting friends or family to join you. Gathering together for a cozy crafting session enriches the experience.
- Consider blending your colors differently, creating marbled effects for a stunning outcome.
- Write small notes of affirmation or intentions to include in the base of each geode, making them not only beautiful but meaningful too.
FAQs About Egg Geodes
Can I reuse the materials?
Yes! Many of the materials can be reused or repurposed in various crafts. The eggshells can also serve a purpose in your garden as natural fertilizer.
How long do Egg Geodes last?
Egg Geodes can last for a long time when stored properly. Their colors may fade slightly over time, but their beauty remains.
Can I add glitter to my geodes?
Absolutely! You can sprinkle glitter into the mix or on top of your geodes for an added sparkle.
What should I do if my geodes aren’t drying properly?
Ensure they are in a well-ventilated space. If they still seem damp after several hours, give them a little longer to air out.
Conclusion
As you step back and appreciate your Egg Geodes, take time to enjoy the calm moments created throughout the process. Engage fully in each soft and peaceful element of crafting. This project not only results in delightful art but also serves as a reminder of the beauty found in slowing down.
For those looking for more detailed guidance on making exciting egg geodes, you might find helpful insights at TinkerLab or explore various methods for crafting with crystals at Instructables. Embrace the journey, and let your creativity flow.
PrintEgg Geodes
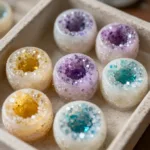
Create beautiful and colorful Egg Geodes as a soothing craft that transforms empty eggshells into vibrant pieces of art.
- Prep Time: 15 minutes
- Cook Time: 0 minutes
- Total Time: 15 minutes
- Yield: 4-6 geodes
- Category: Crafting
- Method: Crafting
- Cuisine: N/A
- Diet: N/A
Ingredients
- Empty eggshells (cleaned and dried)
- Epsom salts or rock salt
- Food coloring
- White glue (optional)
- A bowl for mixing
- Spoons
- Wax paper or a tray
Instructions
- Prepare your empty eggshells, ensuring they are clean and dry.
- Mix Epsom salts or rock salt with food coloring in a bowl.
- Add a few drops of water to your mixture.
- Prepare your workspace by placing wax paper or a tray beneath your eggshells.
- Spoon the colored mixture into the eggshells, filling them halfway.
- Add layers with additional colors or textures.
- Drizzle glue on top if using, for added shine.
- Let your egg geodes dry for several hours or overnight.
Notes
Consider experimenting with different salt textures, inviting friends to craft together, or adding glitter for extra sparkle.