

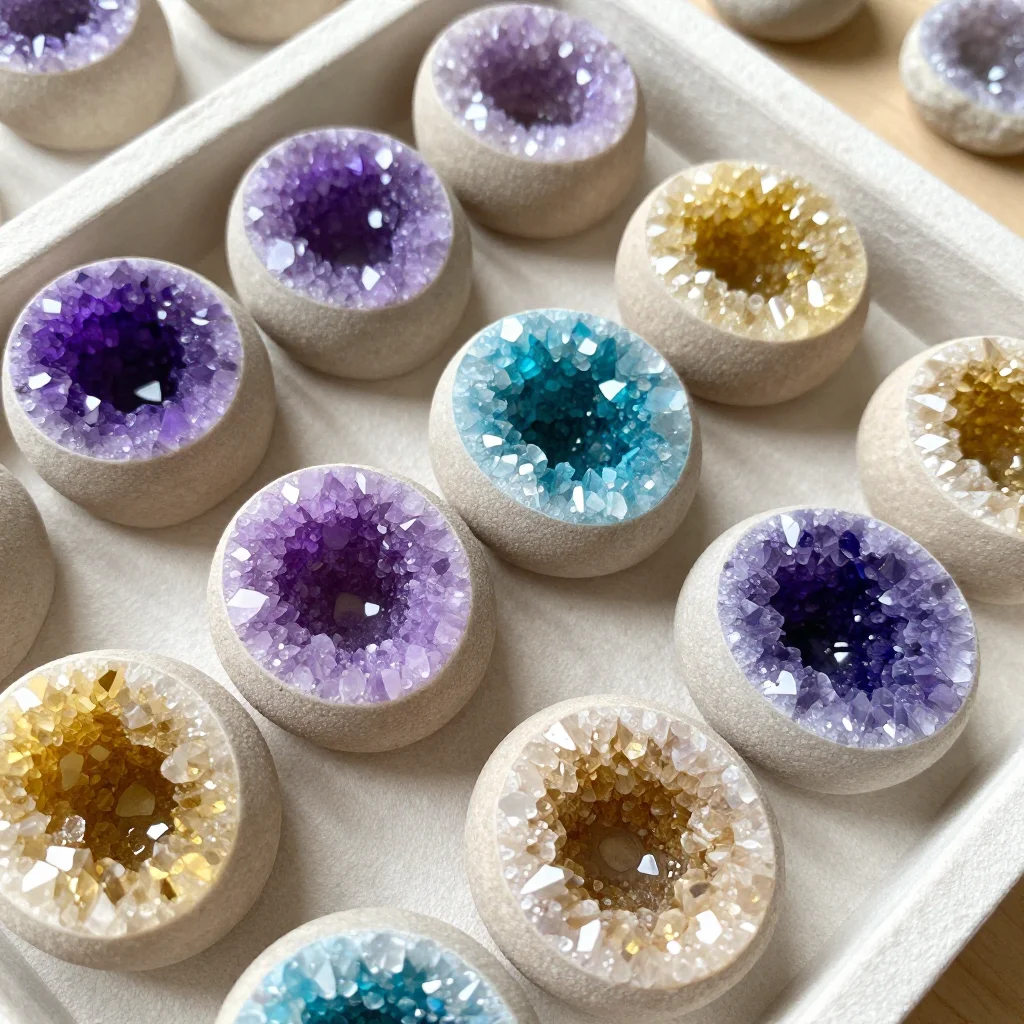
Egg Geodes
In the soft light of a cozy room, the gentle crack of an eggshell evokes a feeling of possibility. Each fragile piece hints at a hidden wonder waiting to be discovered. When you peel back the layers, you unveil the vibrant colors and crystalline textures that can create something truly beautiful. The process of making egg geodes embodies this intimate experience, inviting you to tap into your creativity and find solace in each moment spent connecting with the materials at hand.
The Quiet Joy of Making Egg Geodes
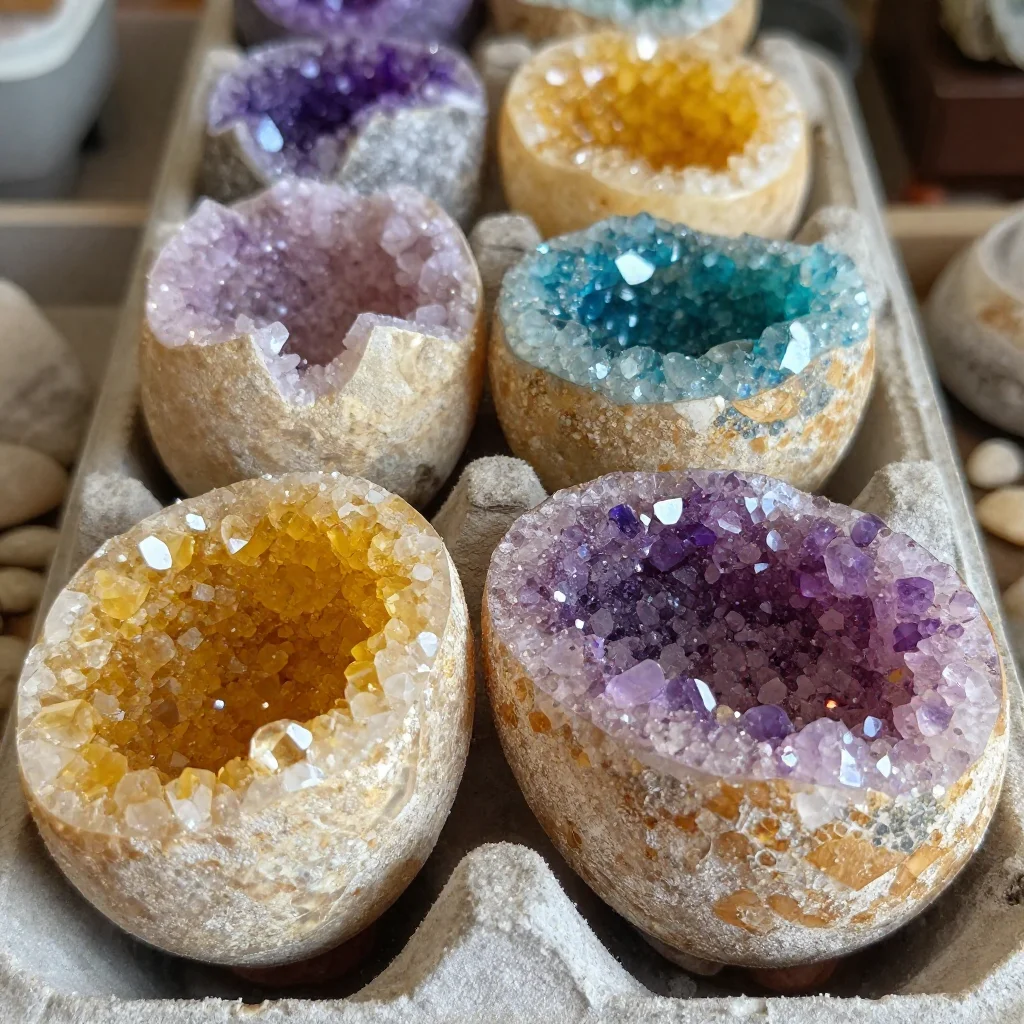
Creating egg geodes offers a unique opportunity to slow down and immerse yourself in a mindful crafting moment. The process encourages you to engage all your senses: the delicate feel of the eggshell, the vibrant colors of the crystals, and the soft sounds of mixing and pouring provide a calm backdrop. As you focus on each step, you find yourself more in tune with the present, allowing your thoughts to settle and your hands to guide you.
Embracing the simplicity of this DIY project fosters a sense of peace. It’s remarkable how working with materials can ground you, pulling your attention away from distractions. Watching the vivid crystals form inside the empty shells becomes a meditative practice, nurturing a sense of accomplishment and joy. This experience becomes more than just creating a lovely object; it morphs into a ritual of self-care and creative expression.
A Gentle Look at the Process
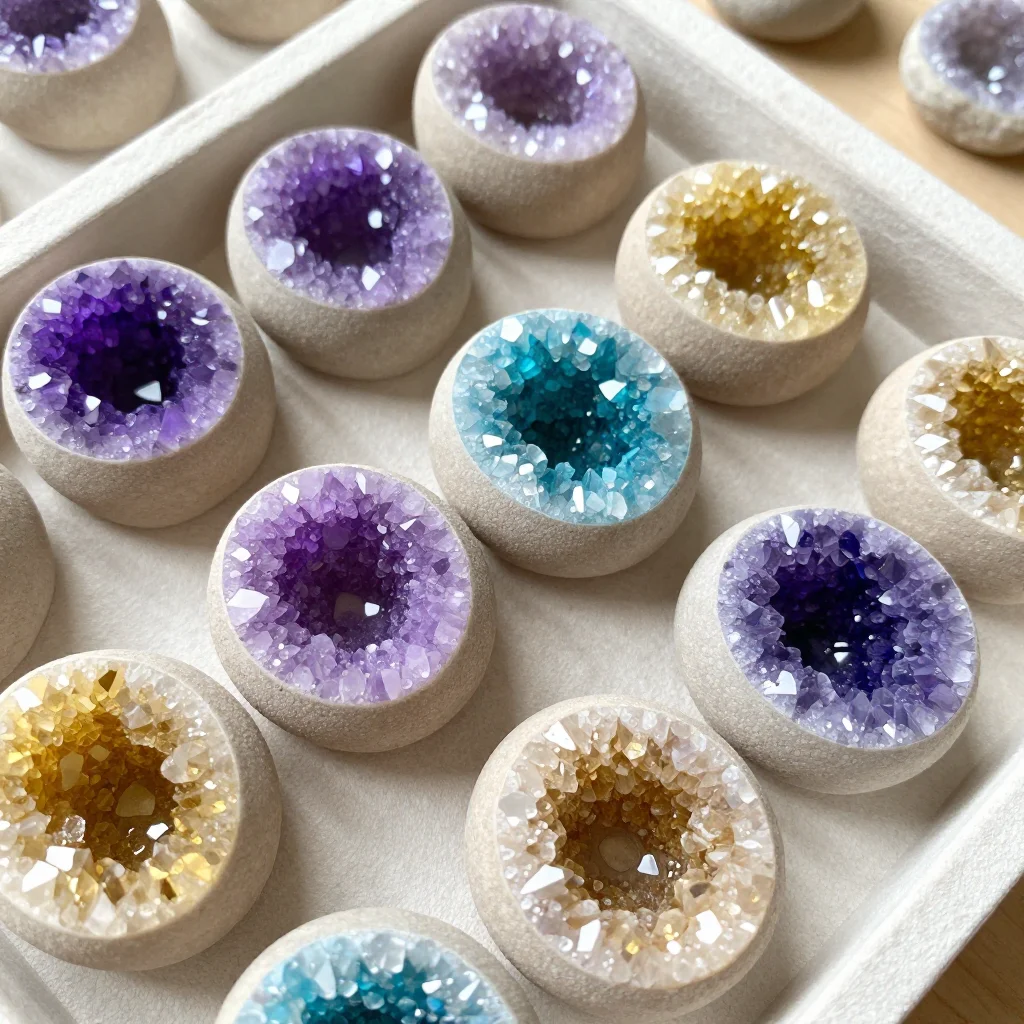
As you approach the creation of egg geodes, imagine each step as part of a soothing dance. From carefully emptying your eggs to watching the crystals grow, the process flows with a natural rhythm. You’ll find yourself drawn into the tangible textures of the materials. When the colors emerge, they will reflect your intentions and desires, each hue carrying its own calm energy.
The process invites you to discover the effects of temperature changes and the sparkle of crystals forming in the eggshells. With each tactile moment, you create a visual experience that captivates not only the eyes but the heart. This project is perfect for nurturing a gentle mind while celebrating the beauty of transformation.
Materials You’ll Need
To create egg geodes, gather the following materials:
- Empty eggshells (one or two cartons will do)
- Water (distilled or tap)
- Epsom salt, alum, or sugar (great for crystal growth)
- Food coloring (as bright or as soft as you choose)
- Small bowls or cups for mixing
- Spoon or stir stick for mixing
- Paper towels (for cleaning any spills)
- Optional: Glitter for added sparkle
These items are easy to find, and you might already have many of them at home. Feel free to substitute where needed or adjust quantities to suit your creative vision. Now, let’s embark on our gentle journey of making these delightful geodes.
Step-by-Step Directions
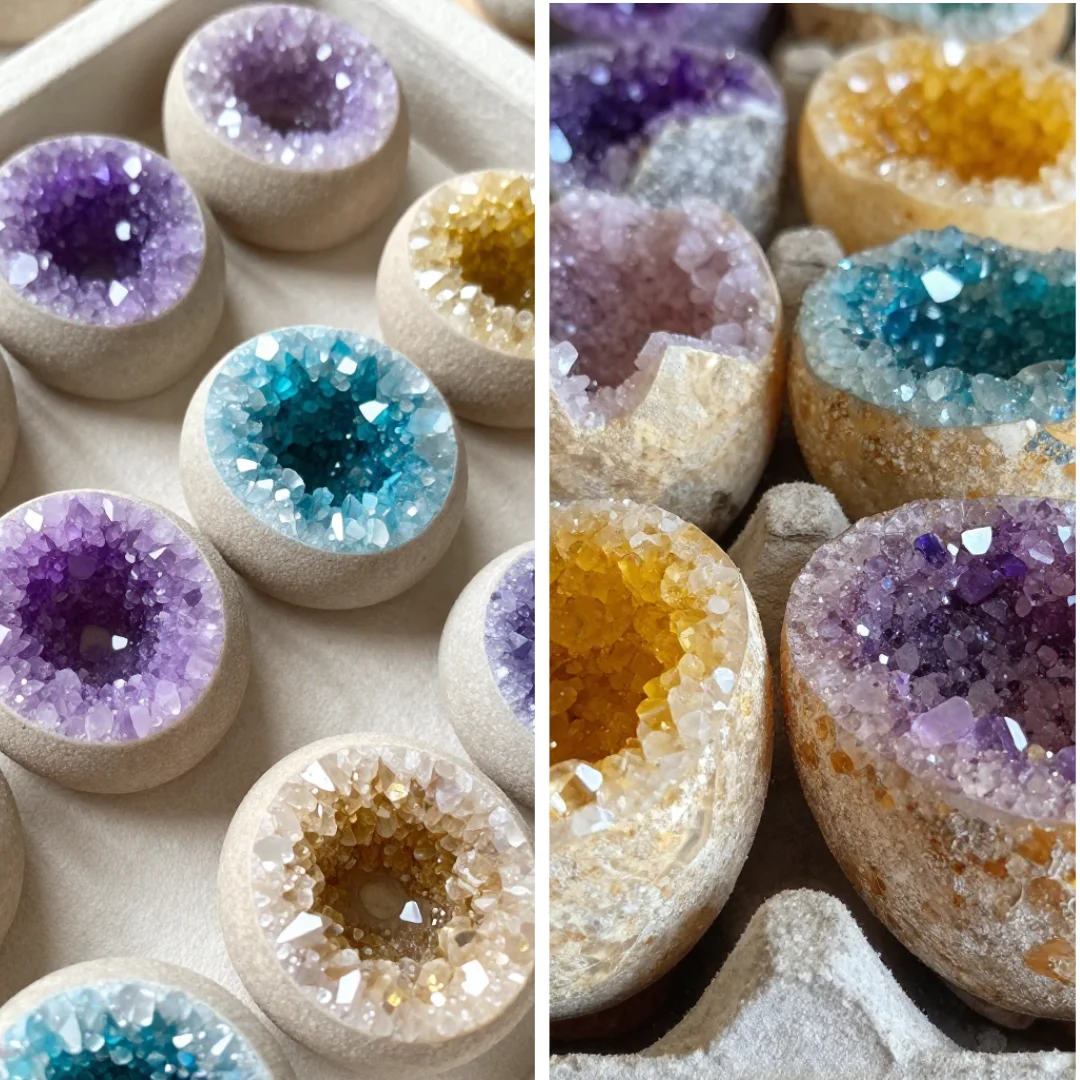
Begin by gently emptying your eggshells. You can achieve this by carefully poking a small hole at each end and blowing out the contents. Save the egg for cooking or baking. Rinse the shells and let them dry.
In small bowls or cups, mix a solution of water with either Epsom salt, alum, or sugar. The mixture should be about one part water to three parts salt or sugar.
Once you dissolve the salt or sugar completely, add a few drops of food coloring to each mixture. You can create various colors by combining colors or keeping them separate.
Slowly pour the colored solution into each eggshell, filling them about three-quarters full. Be gentle to avoid any cracking.
Take a moment to appreciate the textured liquid. You may notice the colors swirling softly together.
Place the filled eggshells in a safe spot where they can sit undisturbed. Allow them to dry for several hours or up to a day, depending on the humidity.
As the solution evaporates, you’ll begin to see crystal growth forming along the inside of the eggshells. This is the magic of the process, allowing you to witness nature’s artistry unfold.
Once the crystals have formed to your liking, carefully remove them from the eggshells. You can choose to display them as they are or remove the remaining shell for a more polished look.
Using Egg Geodes in Everyday Life
After all the careful crafting, you’ll find numerous ways to enjoy your egg geodes in everyday life. These colorful treasures can brighten a room, becoming beautiful ornaments on a shelf or a centerpiece on a coffee table.
Consider using them in playful ways, like including them in a nature-inspired display or using them as unique holiday decorations. Children may especially enjoy incorporating them into their creative play or storytelling, sparking imagination and joy.
The vibrant crystals reflect light beautifully, adding a touch of sparkle to your home. They serve as gentle reminders of creativity, mindfulness, and the joy of making something with your hands.
Caring for Your Finished DIY
Once you’ve completed your egg geodes, caring for them is an effortless task. To keep them looking their best, store them in a cool, dry place away from direct sunlight. This helps preserve their color and structure.
If you wish to display them, consider a stable surface where they won’t be easily knocked over. They can be placed in small bowls for a more casual look or even nestled among houseplants for a charming effect.
Should you want to reuse the base materials in the future, the crystals can last for a long time with proper care. Adopting a gentle approach will help maintain the serenity they bring to your space.
Gentle Tips & Variations
As you find joy in this process, consider exploring these small variations or additions to make the project your own:
Experiment with different colors, using pastels for a soft effect or vibrant hues to create a bold statement.
Add glitter to the crystal mixture for an enchanting sparkle that catches the light beautifully.
Create themed geodes, such as seasonal colors, to celebrate holidays or special occasions in your home.
Try using different types of crystals in future projects, like quartz or even tiny beads, which can also provide lovely textures.
Finally, write a little note about your making experience and place it next to your finished pieces. This could serve as a grounding reminder of the peaceful moments spent creating.
FAQs About Egg Geodes
Is it safe to use raw eggs for this project?
Yes, as long as you handle the eggshells with care and ensure they are properly cleaned. It may be advisable to use pasteurized eggs if you’re concerned.
How long does it take for the crystals to form?
It typically takes several hours to a full day for the crystals to form. Observe them and enjoy the process as they grow.
Can I keep the shells?
You can! The shells can be preserved and used as lovely decorations or gifts. Just be gentle when handling them to avoid any breakage.
What can I do if my crystals don’t form?
If the crystals aren’t forming as expected, consider adjusting the salt-to-water ratio or ensuring your mixture is well stirred and fully dissolved.
Conclusion
Creating egg geodes inspires a calming and creative journey. Each step encourages you to embrace the process, celebrating the beauty of transformation and the joy of mindful making. As you explore different styles and colors, you contribute to a unique collection that reflects your personal touch.
For those wishing to dive deeper into more ways to create delightful geodes, you can refer to this resource on making egg geodes or discover various techniques with this informative guide. May your crafting moments continue to bring you calm, creativity, and warmth in every project you undertake.
PrintEgg Geodes
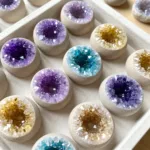
Create beautiful egg geodes that transform empty eggshells into colorful crystalline treasures through a mindful crafting process.
- Prep Time: 15 minutes
- Cook Time: 0 minutes
- Total Time: 60 minutes
- Yield: 1 dozen geodes
- Category: Crafting
- Method: DIY Crafting
- Cuisine: N/A
- Diet: N/A
Ingredients
- Empty eggshells
- Water (distilled or tap)
- Epsom salt, alum, or sugar (for crystal growth)
- Food coloring
- Small bowls or cups for mixing
- Spoon or stir stick for mixing
- Paper towels (for cleaning spills)
- Optional: Glitter for added sparkle
Instructions
- Begin by gently emptying your eggshells. Poke a small hole at each end and blow out the contents. Save the egg for cooking or baking. Rinse the shells and let them dry.
- In small bowls or cups, mix a solution of water with either Epsom salt, alum, or sugar, about one part water to three parts salt or sugar.
- Once dissolved, add food coloring to each mixture. Create various colors by combining colors or keeping them separate.
- Slowly pour the colored solution into each eggshell, filling them about three-quarters full.
- Take a moment to appreciate the textured liquid.
- Place the filled eggshells in a safe spot to dry for several hours or up to a day.
- As the solution evaporates, observe the crystal growth forming inside the eggshells.
- Once the crystals have formed to your liking, carefully remove them from the eggshells.
Notes
You can create themed geodes or experiment with different colors by using pastels for a soft effect or vibrant hues for a bold statement.