

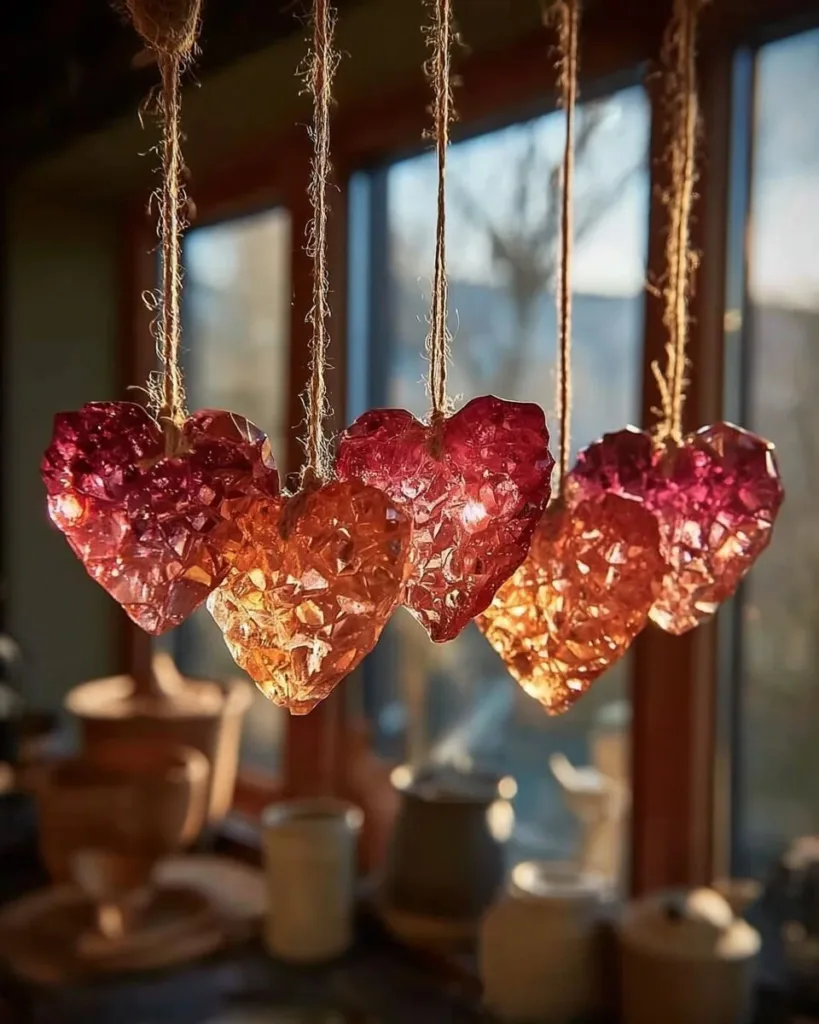
A thin jar of warm water sends up a faint steam. I hold a tiny star-shaped frame between my fingers and feel the soft bend of wire, the cool shimmer of string, and the slow hush that comes when I set the jar down and wait. Growing Crystal Ornaments fill that quiet space.
They grow slowly, like tiny white gardens, and they invite the hands to slow, the breath to lengthen, and the mind to notice small changes: a new facet of sparkle, the gentle clink of glass, the satin thread trembling as a crystal finds its place. If you want a pattern to follow or a place to start, this page pairs well with my other notes on growing crystal ornaments, and it will guide you through a slow, sensory making session.
Why Growing Crystal Ornaments Feels Comforting to Create
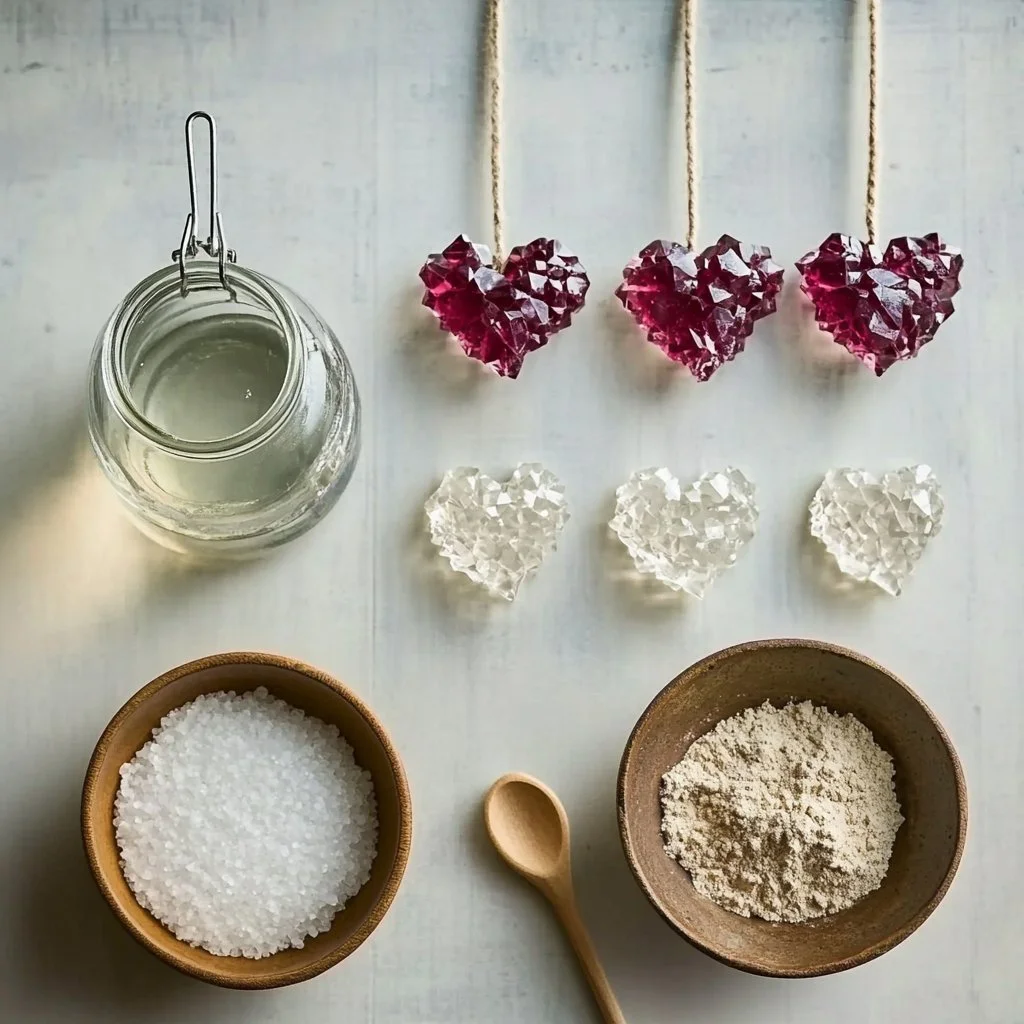
Making growing crystal ornaments gives the hands a rhythm and the senses a soft focus. Sitting with a jar while crystals form feels like watching a small tide. You add warm liquid and a suspended shape, and the surface of the solution changes over hours. That quiet change lets your attention rest on texture, on tiny points of light, and on the steady act of checking back rather than rushing forward.
I find comfort in the tactile steps. Twisting pipe cleaners, tying threads, and rinsing finished ornaments offer different textures: pliant metal that yields to touch, cool glass that hums under your palm, and grainy sugar or baking soda crystals that look like miniature frost. The making stretches your time into short rituals. You measure slowly and stir gently. You set the jar in a bright window and move on to tea or a book. The process becomes a gentle punctuation to the day.
When a crystal forms, it rewards patient attention. That reward does not come as a dramatic reveal but as a small, steady increase in sparkle. You watch edges sharpen and white facets bloom, and you feel a quiet satisfaction that echoes the calm work you put in. You can savor the slow timeline and enjoy the finished shape as both ornament and memory.
A Gentle Look at the Process
Before you gather anything, imagine the quiet actions that unfold. You will heat water and dissolve a crystal-forming substance. You will shape a frame that gives the crystals a place to gather. You will suspend that shape in a warm solution and then wait while the solution cools and the crystals grow. The timeline moves in two parts: a short, hands-on portion where you prepare and suspend, and a long, patient portion where you simply observe.
Listen for small sounds. The kettle may sigh. The jar may click softly as you place it on the table. Watch the solution go from flat to slightly cloudy and then watch the first tiny points of crystal appear like stars. Touch the frame at the end to feel the roughened surface of crystals. These small sensations knit together into a calm making experience.
When you follow this method, you work with basic science instead of against it. The warmer water can dissolve more of the crystal-forming substance. As the solution cools, the excess material leaves the liquid and attaches to the frame. This gentle chemical movement gives you control: change the amount of dissolved material or the shape of the frame, and you influence how the crystals grow. That is part of the quiet wonder here.
Materials You’ll Need
- Clear glass jar or heat-safe jar, wide enough to hold your shape upright
- Hot water, freshly boiled
- Borax, sugar, or baking soda (borax gives sharp, glassy crystals; baking soda produces softer, snowy ones)
- Pipe cleaners or small metal cookie cutters for frames (easy to find; pipe cleaners bend easily)
- Cotton thread or thin twine for hanging (optional: choose a color you love)
- Pencil or chopstick to rest across the jar rim
- Measuring cup and spoon (helps you repeat results)
- Tweezers and small bowl for rinsing finished ornaments
- Paper towels and a tray to catch drips
- Oven mitt or pot holder for safe handling of hot water
- Clear workspace and a cozy chair
If you prefer a non-chemical method, try baking soda for a gentler smell and texture. If you want glossy, sharper crystals, borax works well because it dissolves easily in hot water and forms clear cubic crystals as the solution cools. Sugar gives a sweet smell and creates sugar-style crystals that feel like tiny frost. For more step-by-step photos and variations, you might enjoy the directions I used in my tiny hearts project at growing crystal heart ornaments.
Step-by-Step Directions
- Prepare your workspace and jar.
Place a tray and paper towels on your table.
Set the jar in the center and arrange tools close by. - Shape your frame.
Twist pipe cleaners into a simple star, heart, or circle.
Wrap the thread around a corner so you can hang it later. - Boil water and measure.
Pour hot water into a heat-safe measuring cup.
Use a ratio of about 3 tablespoons of borax per cup of water for a starting point. - Dissolve the crystal compound.
Stir the borax, sugar, or baking soda into the hot water slowly.
Stop when the solution looks clear or when the powder stops dissolving. - Suspend the frame in the jar.
Tie the thread to a pencil and rest the pencil across the jar rim.
Lower the frame so it hangs without touching the jar sides or bottom. - Cover and wait.
Place a loose lid or a paper towel over the jar to keep dust out.
Leave the jar in a calm spot where it can cool slowly. - Check after a few hours.
Lift the lid gently and look for tiny crystals on the edges of the frame.
Do not disturb the frame unnecessarily; small vibrations can shift growth. - Remove and rinse.
When you see a solid covering of crystals, lift the frame by the thread.
Rinse it briefly in cool water to remove loose crystals and let it drain on a towel. - Dry and finish.
Pat the ornament gently and allow it to air dry completely.
Tie a neat loop for hanging and trim any stray threads. - Store or display.
Place the ornament in a small box or hang it on a window hook.
Try to keep it away from moisture to preserve its structure.
Enjoying the Finished Piece
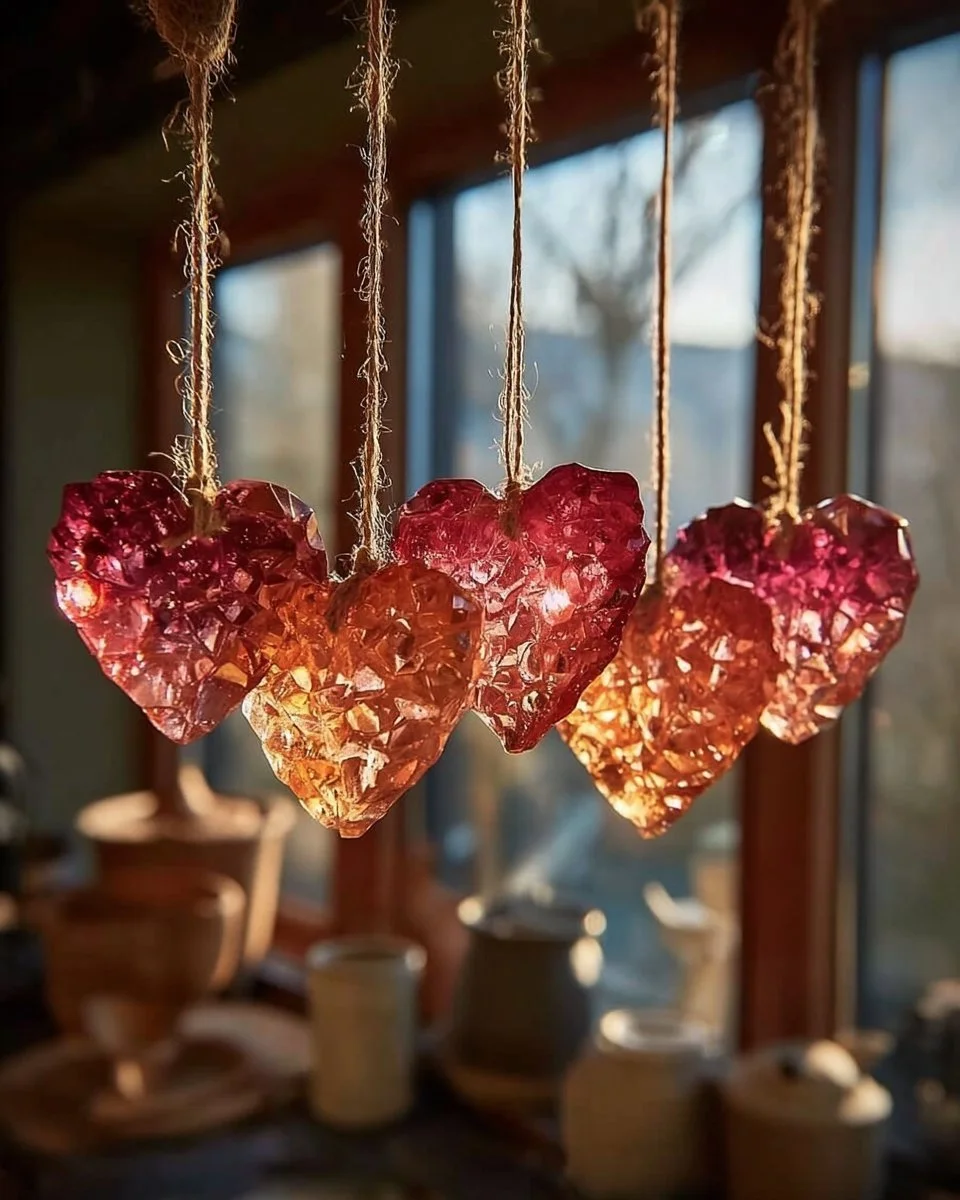
Once the crystal ornaments dry, they change how light behaves in a room. Place them where morning light passes through glass and watch tiny rainbows and frosty textures form on the walls. The crystals catch and scatter light, creating a soft, quiet glow rather than harsh reflections. I like to hang a small cluster near a kitchen window and leave a single star on a bedside hook. Each piece feels like a small, captured moment.
You can use these ornaments at holiday time or as year-round mini-sculptures. They sit well on bare branches in a simple vase, or they hang alone on a ribbon and become a gentle accent. If you want a themed collection, make several in one sitting and vary the size. I often place a few in a shallow bowl with linen for a tactile display. For another decorative idea that uses similar growing methods, see my tutorial on the seasonal tree at baking soda crystal growing tree.
Making This DIY Last
Crystals can be delicate. They break when bumped and dissolve when exposed to steady moisture. To extend their life, handle them gently and avoid high humidity. Store finished ornaments in a dry box cushioned with tissue paper or soft fabric. If an ornament picks up a tickle of dust, use a soft brush or a slow breath to remove particles rather than water.
If a crystal ornament loses some of its sparkle over time, you can try to re-grow crystals by repeating the process. Clean the frame gently and prepare a fresh solution. Always check safety directions for the growing compound you use. Keep borax away from children and pets and follow simple precautions: wear gloves if your skin feels sensitive and wash hands after handling. When you work with warm solutions, set them where they cool out of reach and use a heat-safe container.
Crystals attach better to certain textures. Rough or porous frames let crystals anchor more easily than very smooth surfaces. If you want a sturdier piece, twist multiple pipe cleaners together or use a lightly textured metal cookie cutter as the core. That gives the crystals more nooks to cling to, which makes the finished shape more resilient.
Calm Customization Ideas
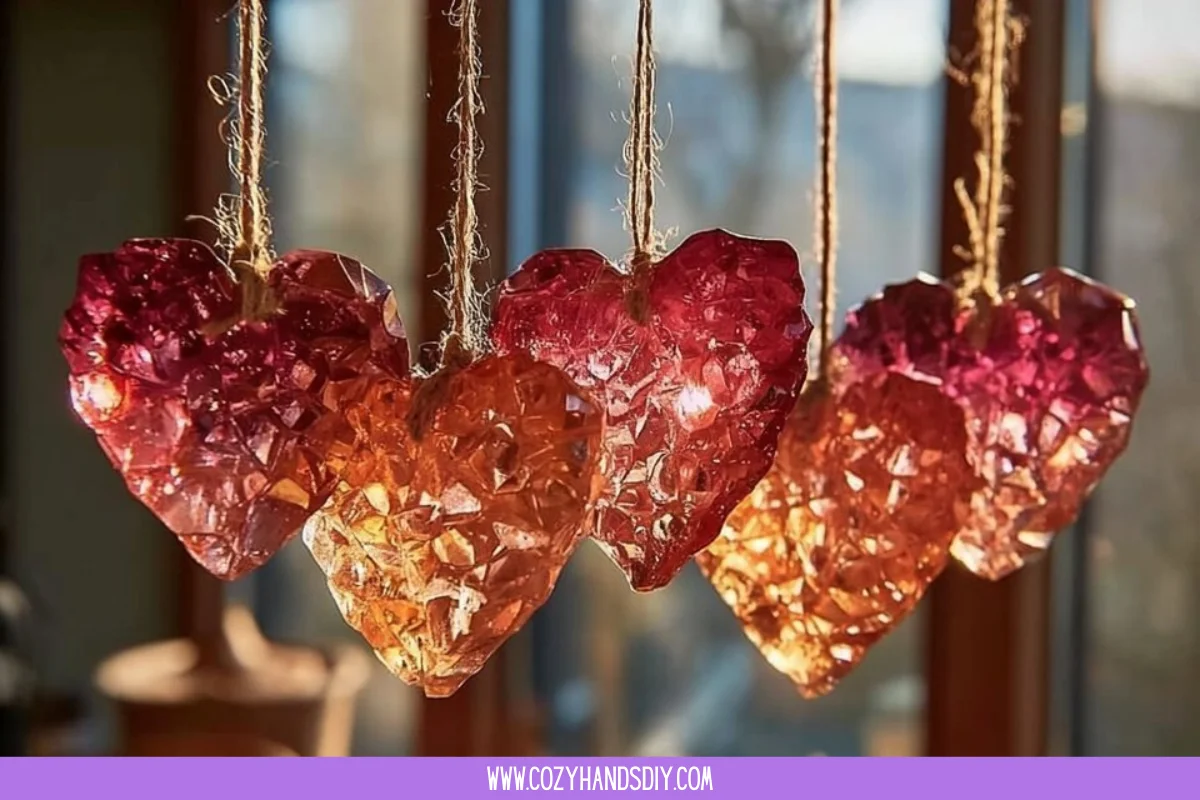
Invite small variations that keep the process slow and joyful. Try one of these gentle experiments.
- Add a tiny loop of colored thread before you grow the crystals.
A colored loop gives a soft hint through the crystals and helps you personalize each piece. - Use different frame textures.
Wrap a thin layer of yarn around a metal frame. The yarn gives crystals extra fibers to grab onto and creates a frostier look. - Grow multiple stages.
Start with a small, quick-growing solution to form a base, then move the ornament to a richer solution for more layered growth. This layered method can create deeper texture and a more complex surface. For step-by-step photos and timing ideas, my notes at how to growing crystal ornaments show one way I like to pace it. - Explore scent and sound around the making.
Brew a warm cup of tea and place a small bowl of pine sprigs nearby so the space feels seasonal. The making becomes a ritual when you gather familiar comforts around it.
These ideas invite you to play quietly, not to chase perfect results. Treat each attempt as a small study. I recommend keeping a notebook where you jot down the material amounts, the time the jar cooled, and how the crystals looked. Over a few tries, you will learn the little adjustments that suit your light and humidity.
FAQs About Growing Crystal Ornaments
How long does it take for crystals to grow?
You will see tiny crystals form within a few hours. For a solid, decorative coating expect 12 to 24 hours. The exact timing depends on the compound, the amount you dissolve, and how quickly the solution cools.
Are these ornaments safe around children?
Some materials like borax require caution. Keep solutions and powders out of reach of children and pets. You can use baking soda or sugar as gentler alternatives when kids join the project. Always supervise and wash hands after handling.
Can I re-grow crystals on the same frame?
Yes. You can clean the frame gently and place it in a fresh solution to grow more crystals. If you want a new texture, lightly roughen a smooth frame with sandpaper before starting again.
Why do crystals form more on some parts of the frame?
Crystals prefer edges and points because they offer more places to attach. Air currents and small temperature differences in the jar can also influence where growth starts. If you rotate the frame slightly between grows, you can encourage a more even covering.
How do I prevent crystals from falling apart when I rinse them?
Rinse gently and use cool water. Hold the ornament by the thread and let it pass through the water without rubbing. If many crystals fall off, try growing with a slightly stronger solution or use a frame with more texture.
A Quiet Closing Thought
Sit with the rhythm you create. Each jar acts like a small pause in the day. You heat water, you stir, and then you allow time to do the rest. Watch the crystals join the frame slowly and think of each granule as a patient, quiet builder. When you hang an ornament in the window, you do more than decorate; you carry a memory of calm making into your space. Return to the jars as you like, make small notes, and let the process teach you how to be still with materials and light.
Conclusion
If you would like a simple tutorial that shows one popular method of making crystal stars, this piece pairs well with How to Make Crystal Stars | Borax Crystal Ornaments, which offers a clear star pattern and helpful photos.
For a gentle science explanation of how crystals grow and why warm water helps dissolve more material, see How to Make Crystals: Grow Your Own Crystals, which gives thoughtful background if you enjoy the quiet chemistry behind the craft.
PrintGrowing Crystal Ornaments
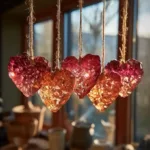
A calming and creative process for making beautiful crystal ornaments through a simple chemical reaction.
- Prep Time: 15 minutes
- Cook Time: 0 minutes
- Total Time: 24 hours
- Yield: Multiple ornaments
- Category: Craft
- Method: Crafting
- Cuisine: N/A
- Diet: N/A
Ingredients
- Clear glass jar or heat-safe jar
- Hot water, freshly boiled
- Borax, sugar, or baking soda
- Pipe cleaners or small metal cookie cutters
- Cotton thread or thin twine (optional)
- Pencil or chopstick
- Measuring cup and spoon
- Tweezers and small bowl
- Paper towels and a tray
- Oven mitt or pot holder
Instructions
- Prepare your workspace and jar: set a tray and paper towels on your table, placing the jar in the center.
- Shape your frame: twist pipe cleaners into a star or heart and wrap thread.
- Boil water and measure: pour hot water into a measuring cup using about 3 tablespoons of borax per cup of water.
- Dissolve the crystal compound: stir the chosen ingredient slowly into the hot water.
- Suspend the frame in the jar: tie the thread to a pencil resting on the jar rim, lower the frame into the jar.
- Cover and wait: place a lid or paper towel over the jar and leave it in a calm spot.
- Check after a few hours: observe the growth of tiny crystals on the frame.
- Remove and rinse: lift the frame by the thread and rinse it briefly in cool water.
- Dry and finish: pat the ornament and allow it to air dry completely.
- Store or display: keep the ornament in a dry box or hang it where it can catch light.
Notes
Crystals may break if handled roughly. Avoid high humidity and store in a dry place to extend the life of your ornaments.