

Creating Dried Flower Bottles is a gentle journey into the world of artistry and nature. The soft rustle of dried petals, the cool touch of glass bottles, and the ethereal beauty of preserved blooms invite a sense of calm. As the sunlight filters through the delicate flowers encased in glass, it creates a soothing display that warms the spirit. This DIY not only allows creativity to flourish but also brings the essence of nature indoors, making each moment spent in this process a valuable experience. You may also find Beautiful Bioplastic Suncatchers Natural Flowers useful.
The Heart Behind This DIY
Dried Flower Bottles hold a special emotional value, as they symbolize the passage of time and the beauty of fleeting moments. Making these bottles encourages mindfulness, as it requires us to focus on the textures and colors of the flowers we choose. Each petal tells a story, carrying with it memories of summer days and vibrant gardens. Engaging in this craft helps slow down our busy lives, inviting us to savor the present moment. Creating these gentle mementos fosters tranquility and reminds us to appreciate the simple joys found in nature. You may also find Cornstarch Bioplastic Pressed Flowers Recipe useful.

A Gentle Look at the Process
To embark on this creative journey, picture yourself surrounded by natural colors and textures. The experience of crafting Dried Flower Bottles begins with a dance of gentle movements–choosing flowers, preparing them, and transforming them into something beautiful. The sounds are subtle yet soothing, with the whisper of petals and the clink of glass. This DIY unfolds gradually, inviting you to engage with each step and enjoy the rhythm of the process.
Materials You’ll Need
Gathering your materials is a calming prelude to creating your Dried Flower Bottles. Here’s what you will need:
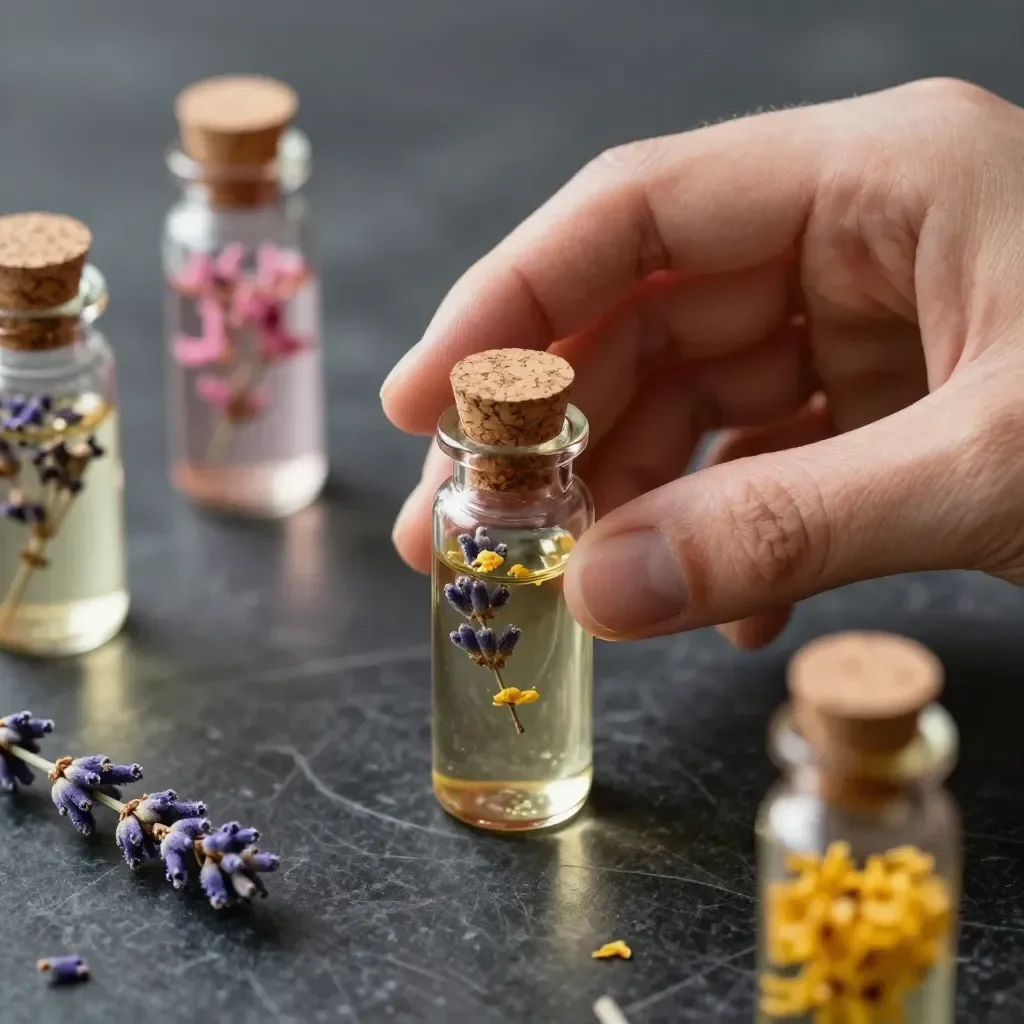
- Clear glass bottles (preferably with a cork or screw cap)
- Dried flowers (choose your favorites, or try creating bioplastic suncatchers with natural flowers for a different effect)
- Tweezers (for precise placement)
- Scissors
- Optional: colored twine or ribbons for decoration
These supplies are often easy to find and can be adjusted based on your personal preferences.
Step-by-Step Directions
-
Prepare Your Flowers: Gather your dried flowers and trim the stems to your desired length, keeping in mind the height of your bottles.
-
Arrange the Flowers: Using tweezers, gently place the flowers inside the bottle. Start with the larger blooms and layer with smaller ones for a balanced look.
-
Secure the Stems: Once you’re happy with the arrangement, use a small piece of twine to secure the stems together if they tend to lean.
-
Add Decorative Elements: If you wish, wrap twine or ribbon around the neck of the bottle for added charm.
-
Finish with a Cork or Cap: Ensure that your flowers remain protected by securely sealing the bottle with the cork or cap.

Enjoying the Finished Piece
Your Dried Flower Bottles can serve as beautiful decorative pieces in any room of your home. They can be placed on shelves, window sills, or coffee tables, bringing a touch of nature indoors. The soft light refracting through the glass enhances the colors of the flowers, creating an inviting atmosphere. Every glance at your creation offers a calming reminder of the care and attention you poured into it.
Keeping It for Later
To prolong the life of your Dried Flower Bottles, store them away from direct sunlight to prevent fading. Dust them gently with a soft cloth to maintain their beauty. If you ever want to change the look, consider removing the old flowers and replacing them with new dried blooms. This flexibility allows for seasonal decor changes and keeps your space feeling fresh.
Gentle Tips & Variations
-
Experiment with Different Flowers: Each flower has its own unique shape and color. Consider using flowers you’ve pressed before for a different texture.
-
Create a Themed Collection: Make a series of bottles with a color theme. For example, use only yellow or pastel flowers for a cohesive look.
-
Combine with Other Crafts: Pair your Dried Flower Bottles with pressed flower projects to expand your creativity.
-
Give as Gifts: Consider sharing your creations with friends and family. A handmade Dried Flower Bottle can be a heartfelt present.
-
Use Seasonal Blooms: Change your flowers with the seasons to keep your decor vibrant and reflective of the time of year.

FAQs About Dried Flower Bottles
What types of flowers can I use?
You can use a variety of dried flowers, such as lavender, roses, or even wildflowers. Just make sure they are fully dried to avoid moisture in the bottle.
How long will the flowers last?
When stored properly, dried flowers can last for years. Keep them away from direct sunlight to maintain their colors.
Can I use fresh flowers instead?
Fresh flowers can be used if you plan to dry them within the bottle. However, they should be dried first for longevity.
What if I want to change the flowers later?
You can simply remove the old flowers and replace them with new ones, allowing you to refresh the look whenever you feel inspired.
Conclusion
Creating Dried Flower Bottles offers a meaningful way to connect with nature and express your creativity. The process is slow and rewarding, allowing you to linger in each moment of crafting. If you’re interested in more ideas related to flowers, check out Japanese Herbarium Bottles for inspiration. Additionally, you might find value in the guide on making pressed flower jars to complement your Dried Flower Bottles. Embrace the calm, and enjoy your creative journey.
PrintDried Flower Bottles

A calming DIY project to create beautiful dried flower bottles, bringing the essence of nature indoors.
- Prep Time: 15 minutes
- Cook Time: 0 minutes
- Total Time: 15 minutes
- Yield: 1 bottle
- Category: Crafts
- Method: Crafting
- Cuisine: N/A
- Diet: N/A
Ingredients
- Clear glass bottles (with cork or screw cap)
- Dried flowers
- Tweezers
- Scissors
- Optional: colored twine or ribbons for decoration
Instructions
- Prepare your flowers: Gather your dried flowers and trim the stems to your desired length.
- Arrange the flowers: Using tweezers, gently place the flowers inside the bottle.
- Secure the stems: Use a small piece of twine to secure the stems together.
- Add decorative elements: Wrap twine or ribbon around the neck of the bottle if desired.
- Finish with a cork or cap: Securely seal the bottle with the cork or cap.
Notes
Store away from direct sunlight to prevent fading. Dust gently to maintain beauty. You can also swap out flowers seasonally.