

A warm square of winter light rests on my work table. My hands move slowly, smoothing clear plastic with the pad of a thumb, watching the tiny oil beads settle into round moons. The sound of the room is soft and small. I breathe with the rhythm of a droplet as it floats and meets another, and I feel the quiet, steady pleasure of making a little window that catches and holds light. This is my DIY Lava Lamp Suncatcher, a small, mindful craft that invites slow watching and gentle hands. If you have loved our other suncatcher explorations, you may like this take on lava-lamp style suncatchers for more ideas.
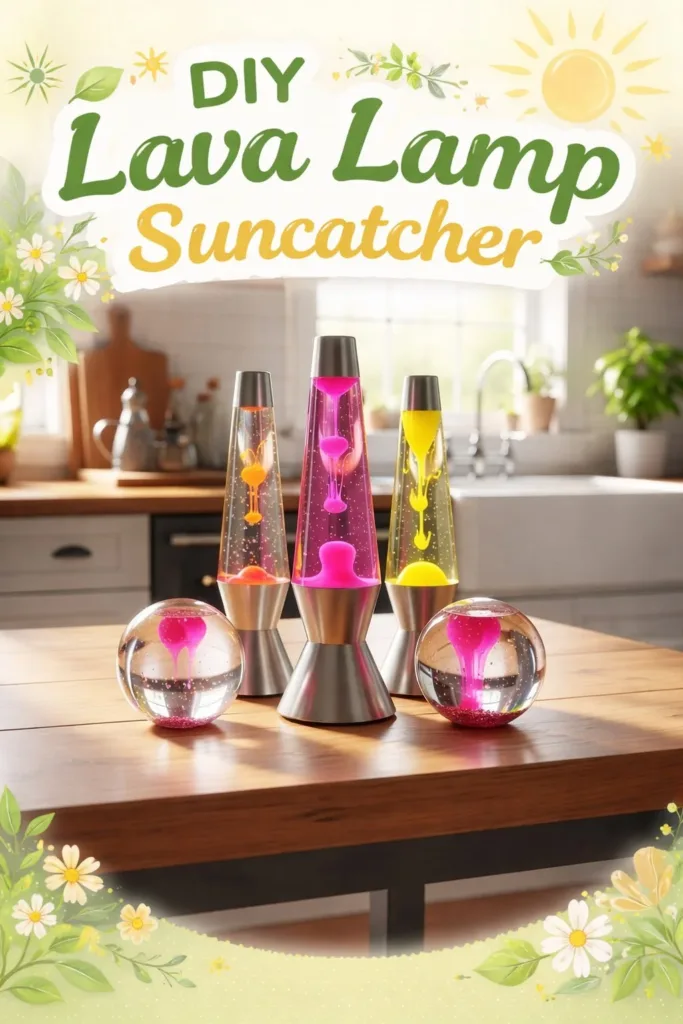
The Quiet Joy of Making DIY Lava Lamp Suncatcher

This project gives breathing room to both hands and eyes. You watch colors separate and rejoin, textures shift, and sunlight refract through moving shapes. The simple science of oil and water becomes a soft meditation. Each motion feels deliberate and slow. You will notice the cool smoothness of the plastic, the warmth of the oil as it slips from a pipette, and the hush of your own attention.
Making a suncatcher like this helps you practice small, focused acts. When you adjust a ribbon or nudge a blob with a toothpick, you make tiny choices. Those choices feel meaningful because they change how light plays in your window. That gentle feedback calms a busy mind and lets you return to the present through touch and sight. Cozy craft moments like this blend visual pleasure and tactile rhythm in a way that is quietly comforting.
A Gentle Look at the Process
Before we gather materials, imagine the gestures and the sounds. You will fold a clear pouch into your hands. You will watch a pipette bead form and fall. You will smooth edges with slow, even pressure and listen to the whisper of plastic joining plastic. The main movement in this craft is filling and sealing. The reward is motion that keeps moving once you hang the piece.
This approach keeps the tools simple and the steps calm. You do not need heat lamps or solvents. Instead, you use the natural behavior of oil and water. Oil refuses to mix with water and sits in charming, rounded forms. Food coloring lives in the water layer, not the oil, so color shows up as bright islands inside clear fields. If you want to explore other translucent techniques afterward, try the colorful bioplastic recipes in this workshop for a companion project that plays with the same idea of light and transparency at a different scale: colorful DIY bioplastic suncatchers recipe.
Materials You’ll Need
- Clear laminating pouch or two sheets of clear vinyl or heavy clear contact paper. (Easy to find, choose a sturdy option.)
- Vegetable oil or baby oil. (Smooth, neutral scent; baby oil gives extra clarity.)
- Small measuring cup or disposable cup. (Simple and helpful.)
- Food coloring or liquid watercolor. (Bright, water-soluble only.)
- Pipette, straw, or small funnel. (For gentle, precise filling.)
- Scissors. (Sharp enough for clean edges.)
- Clear packing tape or an iron and parchment paper for sealing. (Choose the sealing you trust most.)
- Hole punch. (Optional if you will thread ribbon directly.)
- Thin ribbon, twine, or fishing line for hanging. (Soft or almost invisible choices both work.)
- Optional: a pinch of fine glitter, tiny sequins, or a few small translucent beads. (Subtle, not required.)
- Paper towels and a small tray to work on. (For calm cleanup and containment.)
Materials work because the oil and water do not mix. The oil is less dense and hydrophobic, so it forms rounded pockets that float in the water layer. Food coloring dissolves in water and not oil, which makes color appear in the water portion. The clear pouch keeps everything sealed and lets sunlight animate the tiny world inside.
Step-by-Step Directions
Prepare a clean surface and lay a towel to catch small spills.
Keep your workspace calm and uncluttered to encourage focused, gentle movements.Open a laminating pouch or prepare two clear vinyl sheets.
If using contact paper, peel one sheet away and have the sticky side available.Add a small amount of water to a cup and mix in a few drops of food coloring.
Stir calmly and watch color bloom. You want the water to be visibly colored but not overly saturated.Use a pipette or small funnel to add a thin layer of colored water into the center of the pouch.
Aim for a shallow pool; too much water makes sealing harder and the suncatcher heavy.Add oil slowly into the pouch around the colored water.
Observe how the oil forms round beads that glide and separate. Go slowly so you can watch and feel the process.If you like, tuck a few tiny beads or a whisper of glitter into the oil layer.
Use less than you think you need. Small accents catch light without overwhelming motion.Leave a small air pocket for movement, then seal the pouch carefully.
If you use a laminating pouch, follow the product instructions. For vinyl or contact paper, press edges with clear packing tape or iron edges with parchment for a secure seam.Smooth the sealed edges by running your finger along them with light pressure.
This helps create a clear bond and reduces the chance of leakage. Listen to the tiny friction as it settles.Trim any excess plastic, leaving a neat border around the sealed area.
Clean edges look calming and make hanging easier. Cut with deliberate, measured snips.Punch a hole near the top and thread ribbon or fishing line.
Test the balance so the colored portion hangs centered and moves freely in the window.Hang the suncatcher in a spot that receives gentle sunlight.
Avoid intense, direct afternoon glare if you used baby oil. Natural morning or filtered light works beautifully.Watch and touch the piece gently when needed.
If blobs stop moving, tilt the suncatcher slightly and let gravity play its soft part. This is a slow, sensory interaction.
Using DIY Lava Lamp Suncatcher in Everyday Life


A finished suncatcher lives quietly in many places. It sits behind a coffee cup while you read. It brightens a small kitchen window. It echoes on a nursery wall when the morning light moves through it. You will notice how it slows morning routines and lengthens small pauses. The piece does not demand attention. It offers a little, ongoing show that you can return to when a moment opens.
In a calm routine, place one where you drink tea or where you practice a five minute breathing break. Let its slow, floating shapes anchor a short breath. For evenings, try holding the suncatcher up to the light of a low lamp. The moving forms become intimate and close when backlit. If you make several, hang them at different heights for a playful mobile effect that still reads as tranquil rather than busy.
If you want to try other ways of catching light, you might find different textures and translucencies inspiring in our guide on bioplastic suncatchers, which pairs well with this floating oil method: diy bioplastic suncatchers.
Making This DIY Last
A suncatcher like this wants gentle care to keep its calm. Keep it away from high heat and direct hot sunlight for long stretches. Extreme temperature can soften the seal and encourage leaks. If you find a small seam has opened, blot any drips immediately and re-seal with clear packing tape or a household sealant that you trust.
If the water looks cloudy after weeks, you can carefully open the pouch and replace the liquid. Work over a tray and wear gloves if you prefer. Replace the water with fresh diluted coloring and the oil with new oil. Rinse the pouch lightly and re-seal. If you prefer a maintenance-free piece, choose a high-quality laminating pouch and press seals firmly. That type of seal gives longer life and less fuss.
Store spare pieces flat in a cool, dry drawer. Keep them away from direct sunlight when not displayed. If you plan to gift one, place it in simple tissue paper and a small rigid envelope to prevent bending. This keeps the piece looking its best and protects your thoughtful, handmade work.
Gentle Tips & Variations
Invite the tiniest whisper of glitter. Use a pinch only and choose micro glitter for a soft, star-like shimmer. Think subtle rather than flashy.
Make mini versions for a mobile. Small pouches hung at staggered heights create delicate motion. They work beautifully above a bedside table or near a houseplant.
Try different oils carefully. Baby oil gives extra clarity and a gentle scent, while vegetable oil has a neutral, less glossy look. Test small and choose what feels safest for your household.
Layer thin strips of translucent tissue paper between the pouch layers before sealing for a stained glass feeling. Tissue sticks gently and adds gentle color shifts.
If you want to experiment with scent, add a single drop of essential oil to the oil layer only. Use small amounts and keep the finished piece out of reach of children and pets. Scent is optional and best used sparingly.
What I’ve Learned While Making This
I have learned that patience rewards every adjustment. If your first seal shows a gap, gently rework it rather than rush to finish. I learned to trust the oil and water to do their slow, beautiful choreography. I also learned to keep materials simple so the making feels relaxed rather than technical.
I often make one piece intentionally imperfect because that imperfection lets the light change shape as it will. The small differences between pouches make each piece feel like a tiny, personal window. That sense of quiet uniqueness is the heart of this craft.
FAQs About DIY Lava Lamp Suncatcher
Q: Is this safe for children to make?
A: Yes, with supervision. The steps involve small parts and liquid. Keep tiny beads and glitter away from young children. Guide hands for sealing and cutting. Let kids enjoy the sensory parts like adding drops of color and watching blobs form.
Q: What oil works best?
A: Baby oil gives the clearest look and a slightly silky surface. Vegetable oil is accessible and safe, though it looks a touch cloudier. Both work because they do not mix with water and form those rounded, floating shapes we love.
Q: How long will the movement last?
A: Movement can last for months. Over time the water may evaporate slightly if seals fail, or the contents can become cloudy. A strong seal and gentle positioning in indirect light will keep movement pleasant for longer.
Q: Can I use resin instead of a pouch?
A: You could, but resin requires more safety care, ventilation, and curing time. It hardens and will not let blobs move. If you want movement, stay with liquid-filled pouches. If you want a permanent decorative piece, consider exploring resin with proper safety and experience.
Q: What if the pouch leaks?
A: Blot immediately and work over a tray. Re-seal the edges with clear packing tape or create a new pouch. For a trusted long-lasting result, use a laminating pouch designed for a secure seal.
A Gentle Note Before You Go
Making a DIY Lava Lamp Suncatcher gives you a small, living object to visit through quiet moments. The craft is not about perfection. It is about curiosity and the slow pleasure of watching color and light do their own soft work. Allow yourself time to breathe while you make. Let the motion in your windows guide a restful pace in your day. If you linger with the piece, you will discover small personal rituals that feel both soothing and satisfying.
Conclusion
If you would like a short video demonstration of the classic lava lamp effect to inspire a playful variation, the PBS episode on DIY lava lamps offers a cheerful, family-friendly overview that pairs well with the tactile suncatcher method. See their demonstration at PBS video on DIY lava lamps.
For a pattern-based approach that leans more into stained glass shapes and a different kind of light play, the Lava Lamp Stained Glass Pattern PDF brings a lovely design option you can adapt for window-hanging projects. You can find that pattern on Etsy at Lava Lamp Stained Glass Pattern PDF.
PrintDIY Lava Lamp Suncatcher

Create a beautiful and calming DIY Lava Lamp Suncatcher that captures light and provides a soothing visual experience.
- Prep Time: 10 minutes
- Cook Time: 30 minutes
- Total Time: 40 minutes
- Yield: 1 suncatcher
- Category: Craft
- Method: Crafting
- Cuisine: N/A
- Diet: N/A
Ingredients
- Clear laminating pouch or two sheets of clear vinyl or heavy clear contact paper
- Vegetable oil or baby oil
- Small measuring cup or disposable cup
- Food coloring or liquid watercolor
- Pipette, straw, or small funnel
- Scissors
- Clear packing tape or an iron and parchment paper for sealing
- Hole punch (optional)
- Thin ribbon, twine, or fishing line for hanging
- Optional: a pinch of fine glitter, tiny sequins, or small translucent beads
- Paper towels and a small tray for cleanup
Instructions
- Prepare a clean surface and lay a towel to catch small spills.
- Open a laminating pouch or prepare two clear vinyl sheets.
- Add a small amount of water to a cup and mix in a few drops of food coloring.
- Use a pipette or small funnel to add a thin layer of colored water into the center of the pouch.
- Add oil slowly into the pouch around the colored water.
- If you like, tuck a few tiny beads or a whisper of glitter into the oil layer.
- Leave a small air pocket for movement, then seal the pouch carefully.
- Smooth the sealed edges by running your finger along them with light pressure.
- Trim any excess plastic, leaving a neat border around the sealed area.
- Punch a hole near the top and thread ribbon or fishing line.
- Hang the suncatcher in a spot that receives gentle sunlight.
- Watch and touch the piece gently when needed.
Notes
Keep the suncatcher away from high heat and direct hot sunlight for long stretches. If the water looks cloudy, replace the liquid with fresh diluted coloring.