

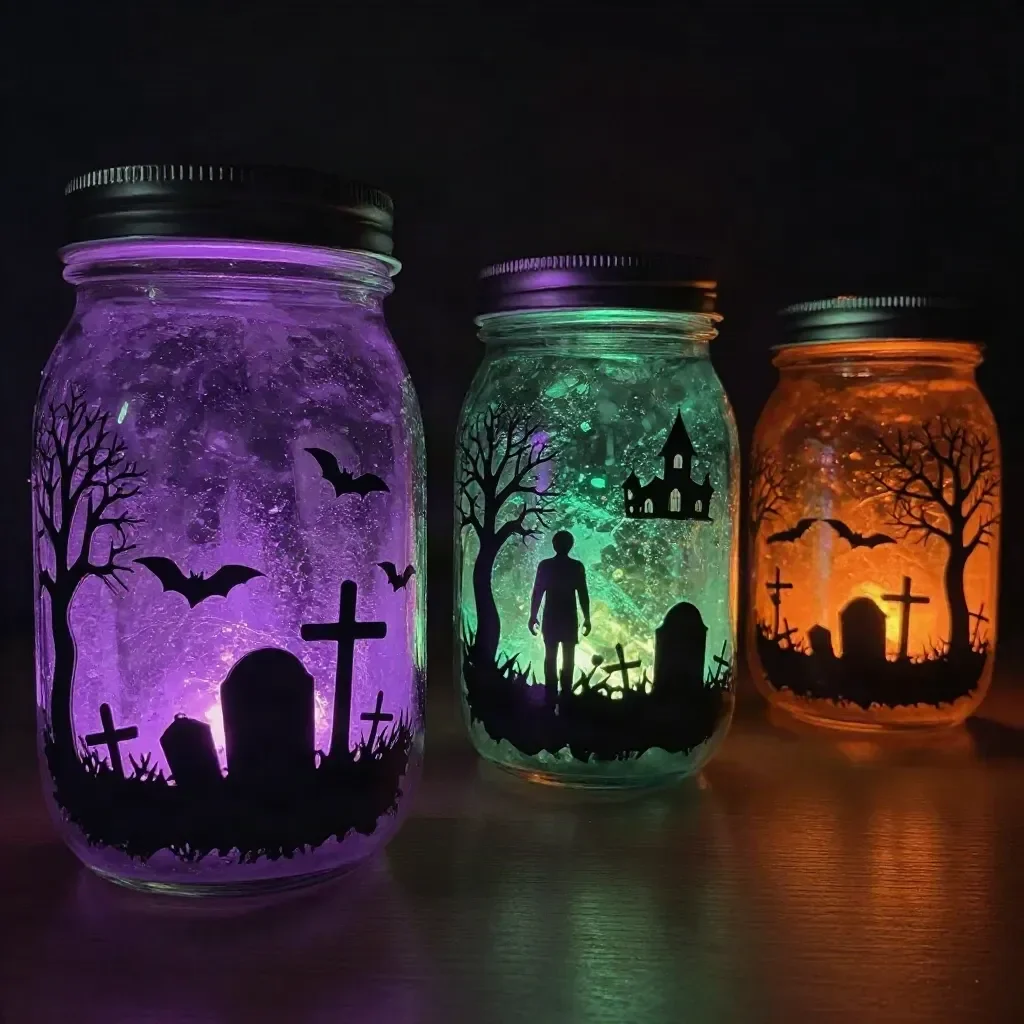
As the evening light softens, a warm glow emerges within the jar, flickering gently like a heartbeat. This is the magic of DIY Halloween Silhouette Lantern Jars. With simple materials and a touch of creativity, you can craft a cozy atmosphere that brings the allure of autumn to your space. The soothing rhythm of making these lanterns invites you to slow down, breathe, and engage with the simple beauty around you. You may also find Diy Cotton Candy Glow Jars useful.
The Heart Behind This DIY
Creating DIY Halloween Silhouette Lantern Jars isn’t just about crafting; it’s an experience that nurtures your senses and calms your mind. The process of selecting your materials, working with your hands, and watching your ideas transform into something tangible can be both grounding and liberating. This project, filled with shadows and light, embodies the essence of the season and encourages you to engage with the materials at your fingertips. As you delve into this project, you may find yourself reflecting on memories of autumn nights, the crunch of leaves underfoot, and the flicker of candlelight illuminating your home. You may also find Diy Spooky Glass Bottle Lanterns Cozy useful.
A Gentle Look at the Process
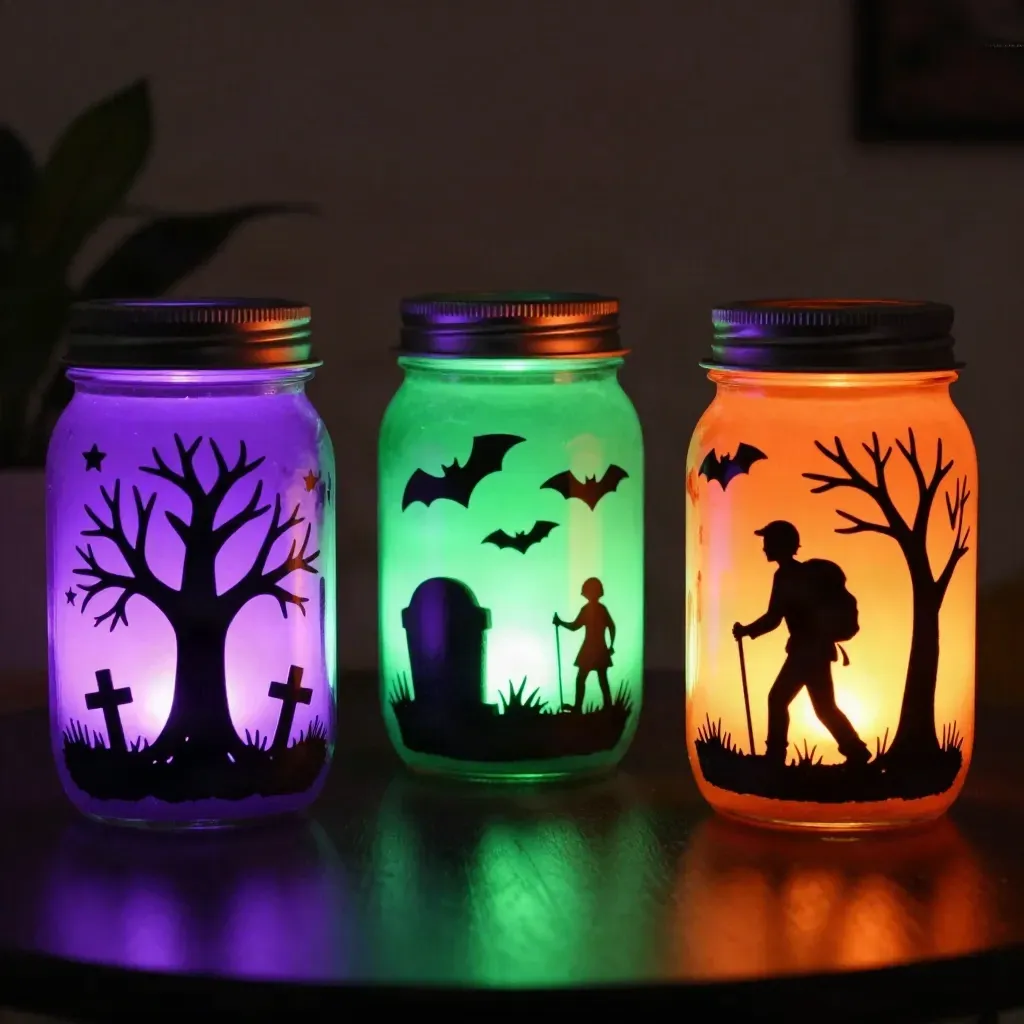
Before you begin your project, imagine the gentle strokes of paint on glass, the sound of scissors gliding through paper, and the rich texture of the materials as they come together. This DIY invites a sensory experience with every step feeling the smooth surface of the jar, hearing the soft rip of paper, and enjoying the delicate brush of paint. Each moment of the process helps you focus and center yourself, creating a rhythm that helps you unwind. You may also find Adorable Diy Easter Bunny Cups useful.
What You’ll Use to Make DIY Halloween Silhouette Lantern Jars
Gathering your materials is an essential part of the experience. Here’s what you’ll need: You may also find Cd Butterfly Wall Art Shimmer Diy useful.
- Glass jars (mason jars work beautifully)
- Black construction paper or adhesive vinyl
- Scissors
- Craft paint (white or any color of your choice)
- Paintbrush
- Battery-operated tea lights (for safety)
- Optional: Mod Podge or a similar sealant
Feel free to explore variations with different jar sizes or themed designs, aligning with your unique aesthetic.
Step-by-Step Directions
- Start by washing and drying your glass jars. Smoother surfaces help the paint adhere better.
- While the jars dry, sketch or print out your desired silhouette designs on black construction paper. Think of pumpkins, bats, or spooky trees.
- Carefully cut out your designs. Enjoy the movement of the scissors as you free the shapes from the paper.
- Use a paintbrush to apply a thin layer of Mod Podge to the front of the jar where the silhouette will go.
- Position your cut-out silhouette on the sticky surface of the jar, pressing down gently to ensure it adheres well.
- Once the silhouettes are in place, use craft paint to paint the back of the jar, allowing it to dry completely.
- If you want an additional touch, you can add some glow-in-the-dark paint to the edges for a captivating surprise when the lights go out.
- Once your jars are fully dry, place a battery-operated tea light inside, and watch as your silhouettes come to life with a soft glow.
Enjoying the Finished Piece
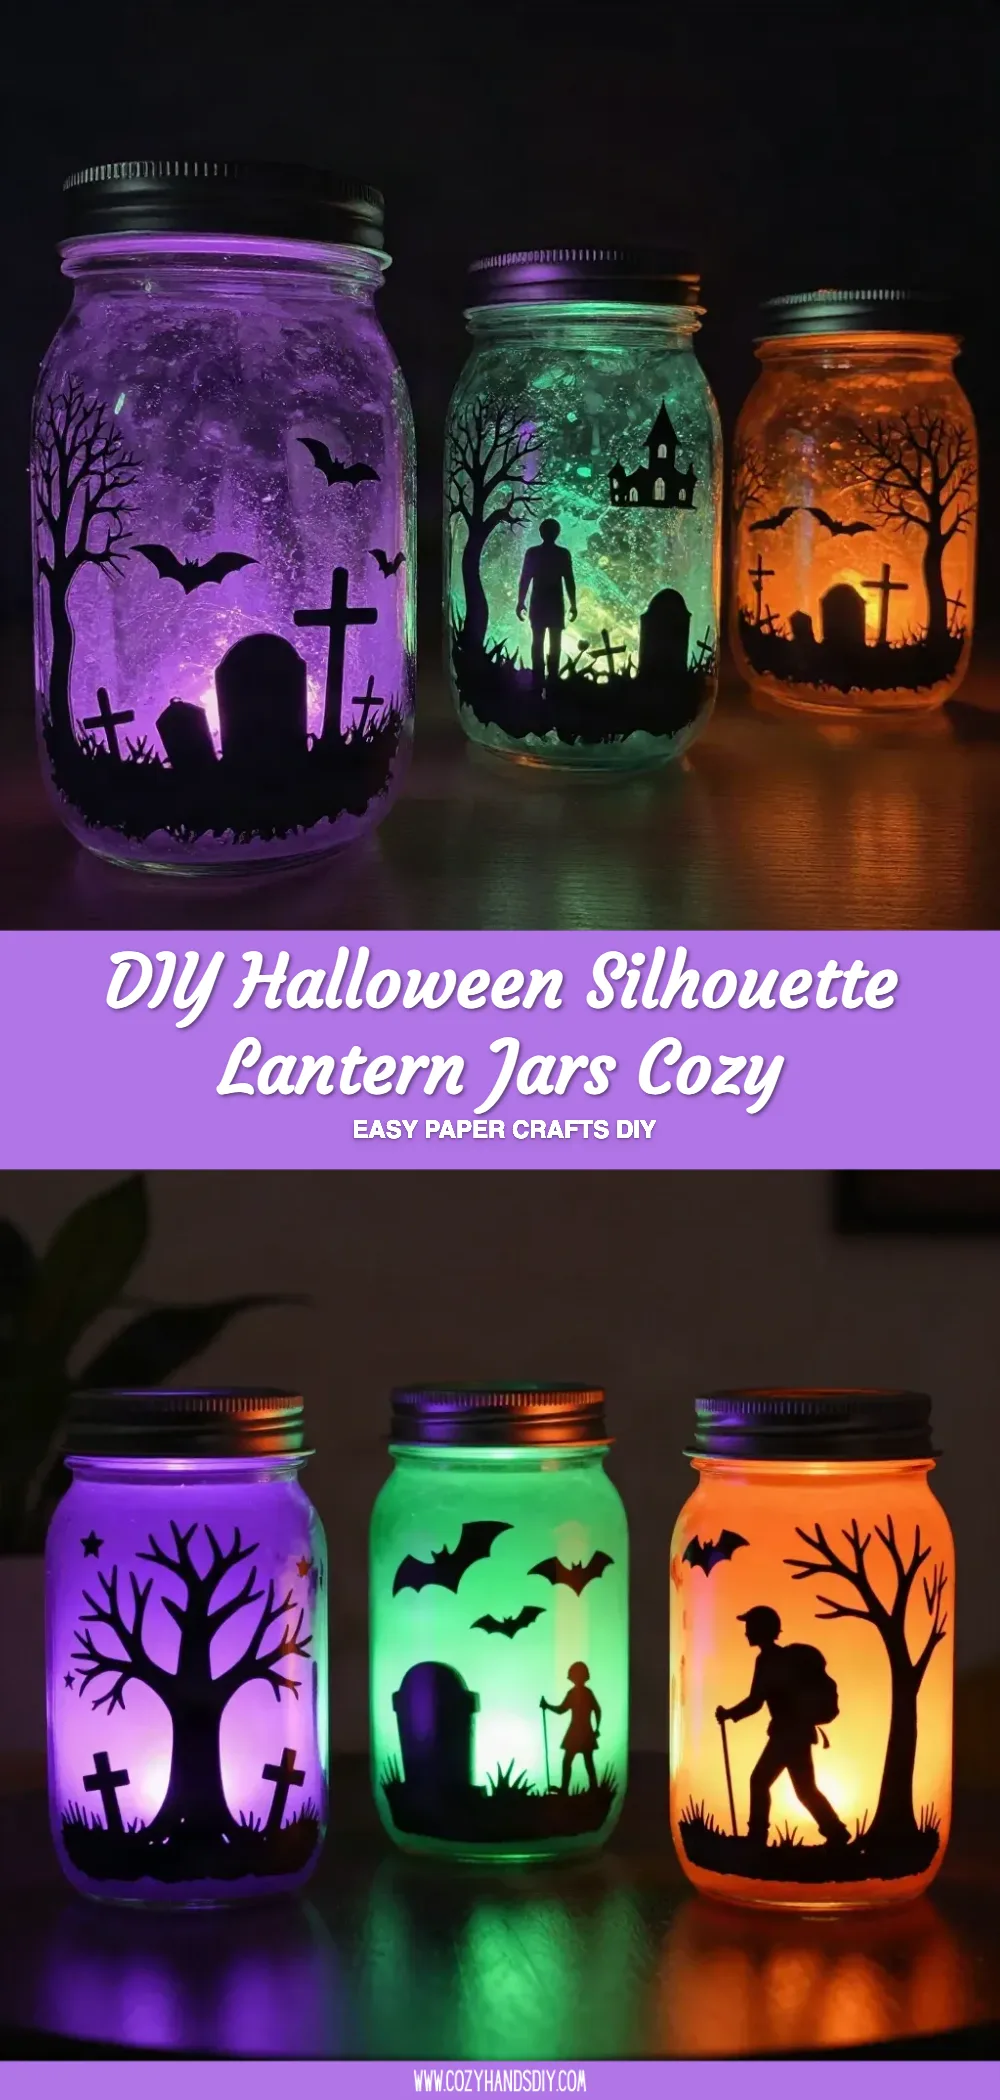
Once you complete your lantern jars, they can become a lovely addition to your home decor. Arrange them along window sills, tables, or entryways to welcome guests with warmth and charm. Their soft illumination can set the tone for cozy gatherings or quiet evenings at home. You may also enjoy using these lanterns as part of your Halloween celebration whether for trick-or-treaters or as part of a festive backdrop.
How to Store or Reuse DIY Halloween Silhouette Lantern Jars
If you want to keep your jars for next year, store them in a cool, dry place. Consider gently wrapping each one in bubble wrap or tissue paper to protect them from bumps. The materials are sturdy, so with proper care, your lanterns can last for seasons to come. Reusing them might inspire you to create new designs or switch out paper silhouettes, ensuring each year feels fresh.
Gentle Tips & Variations
- Experiment with different shapes and colors for your silhouettes, or even try transparent paper for unique designs that allow a different kind of light filtration.
- Incorporate a touch of nature by adding dried leaves or small twigs inside the jar along with the tea lights for a more rustic feel.
- Consider creating a themed collection, like haunted houses or autumnal harvest symbols, to showcase throughout the season.
- For those who enjoy a little additional texture, use fabric scraps or natural elements to embellish your jars further.
- If you find joy in crafting alongside children, invite them to help with the cutting and painting; this makes for a delightful family activity.
FAQs About DIY Halloween Silhouette Lantern Jars
What type of paint works best for glass jars?
Using acrylic craft paint is a great choice, as it adheres well and provides a beautiful finish. If you’re unsure about the longevity, you might want to opt for paint designed specifically for glass.
Can I use real candles instead of battery-operated lights?
While using real candles can create a delicious ambiance, it’s safer to use battery-operated alternatives, especially if your design includes paper, which can catch fire.
Are there suitable substitute materials I can use?
If you cannot find black construction paper, consider using dark tissue paper or even colored cardstock to achieve a similar effect for silhouettes.
Conclusion
In the quiet moments of crafting DIY Halloween Silhouette Lantern Jars, you embrace the joy of slow making. The gentle flicker of candlelight and the artistry of your hands come together to create a warm, inviting atmosphere. As you share this project with family and friends, consider exploring additional creative ideas found in other resources. For example, you can check out upcycled Halloween lanterns or learn how to make more Halloween silhouette lanterns. Each step of your creative journey contributes to the season’s spirit, fostering connection and mindfulness. Enjoy the process, and let your creativity shine through.
PrintDIY Halloween Silhouette Lantern Jars
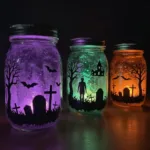
Craft cozy and enchanting DIY Halloween Silhouette Lantern Jars using simple materials for a warm autumn ambiance.
- Prep Time: 15 minutes
- Cook Time: 30 minutes
- Total Time: 45 minutes
- Yield: 4 lanterns
- Category: Craft
- Method: Crafting
- Cuisine: N/A
- Diet: N/A
Ingredients
- Glass jars (mason jars work beautifully)
- Black construction paper or adhesive vinyl
- Scissors
- Craft paint (white or any color of your choice)
- Paintbrush
- Battery-operated tea lights (for safety)
- Optional: Mod Podge or a similar sealant
Instructions
- Start by washing and drying your glass jars. Smoother surfaces help the paint adhere better.
- While the jars dry, sketch or print out your desired silhouette designs on black construction paper.
- Carefully cut out your designs.
- Use a paintbrush to apply a thin layer of Mod Podge to the front of the jar where the silhouette will go.
- Position your cut-out silhouette on the sticky surface of the jar, pressing down gently to ensure it adheres well.
- Once the silhouettes are in place, use craft paint to paint the back of the jar, allowing it to dry completely.
- If you want an additional touch, you can add some glow-in-the-dark paint to the edges.
- Once your jars are fully dry, place a battery-operated tea light inside, and watch as your silhouettes come to life.
Notes
Store jars in a cool, dry place with care to ensure longevity. Experiment with different shapes and colors for unique designs.