

The sun filters gently through the leaves, casting dancing shadows that shift and play across the walls. In this serene moment, consider how we can invite more light and color into our spaces through the simple act of crafting DIY Floral Suncatchers. This project connects us with nature, allowing us to celebrate its beauty while creating something that reflects our personal style. Not only does it brighten our surroundings, but it also brings a sense of calm and mindfulness as we engage in the creative process. If you’re looking for a way to slow down and indulge in a comforting craft, this is a perfect choice. You may also find Diy Biodegradable Bioplastic Suncatchers 2 useful.
The Heart Behind This DIY
Creating DIY Floral Suncatchers is more than just a delightful project; it’s a gentle reminder to pause and appreciate the little things in life. The process encourages us to connect with our surroundings, whether by gathering flowers from our garden or choosing vibrant petals from a local market. Each flower carries its own story and beauty, making the experience unique and personal. You may also find Diy Bioplastic Suncatchers 2 useful.
As we immerse ourselves in the tactile sensations of the materials—the soft petals, the smooth surfaces, and the slight resistance from the adhesive—we find a quiet joy in the act of creation. This engagement allows us to step away from the hustle and bustle of our daily lives, refocusing our thoughts and calming our minds. Embracing a simple yet fulfilling craft like this fosters a deeper connection with our environment and ourselves. For those seeking other related crafts, consider exploring colorful bioplastic suncatchers that combine creativity with sustainability.

A Gentle Look at the Process
Before diving into the materials, it’s essential to understand the flow of making DIY Floral Suncatchers. Picture yourself surrounded by a warm and inviting space, where each movement is intentional and every texture is felt fully. The soft sounds of nature outside complement your crafting environment, enhancing the overall experience.
Gathering each flower is an invitation to explore, whether you’re plucking petals or carefully arranging them. As you work, let your senses guide you, noticing the gentle scents, the vibrant colors, and the calming repetition of your hands as they mold the flowers into beautiful designs. This mindful approach sets the stage for creating something truly special.
Materials You’ll Need
To embark on this lovely journey of making DIY Floral Suncatchers, gather these simple materials:
- Clear contact paper (easy to find in craft stores)
- Fresh flowers (local or from your garden)
- Scissors (for trimming petals)
- A soft cloth (to clean surfaces)
- Natural twine or string (for hanging)
- Optional decorative elements like glitter or beads
- Heavy book (to press flowers flat)
Collecting these supplies creates the first step towards creating something beautiful and brings a sense of anticipation and calm.
Step-by-Step Directions
Start by choosing your flowers. Select a variety of colors and shapes that inspire you. The process of picking them is already part of the enjoyment.
Gently wash and dry the flowers to ensure they are clean and free from any dirt or bugs. The fresh scent will delight your senses as you prepare.
Lay out a piece of clear contact paper on a flat surface, sticky side up. This will serve as the base for your suncatcher.
Arrange the flowers on the contact paper. Allow your creativity to flow as you layer different colors and shapes, considering how they interact with one another.
Once you’re satisfied with your arrangement, carefully place another sheet of contact paper on top. This sandwich-like structure will hold your flowers in place while protecting them.
Use scissors to trim away any excess paper around the edges, leaving a slight border for stability.
To add a personal touch, consider decorating the edges with twine or beads, enhancing the suncatcher’s charm.
Find a sunny spot in your home, and hang your new creation where it can catch the light, perhaps near a window or in a favorite cozy nook.

Using DIY Floral Suncatchers in Everyday Life
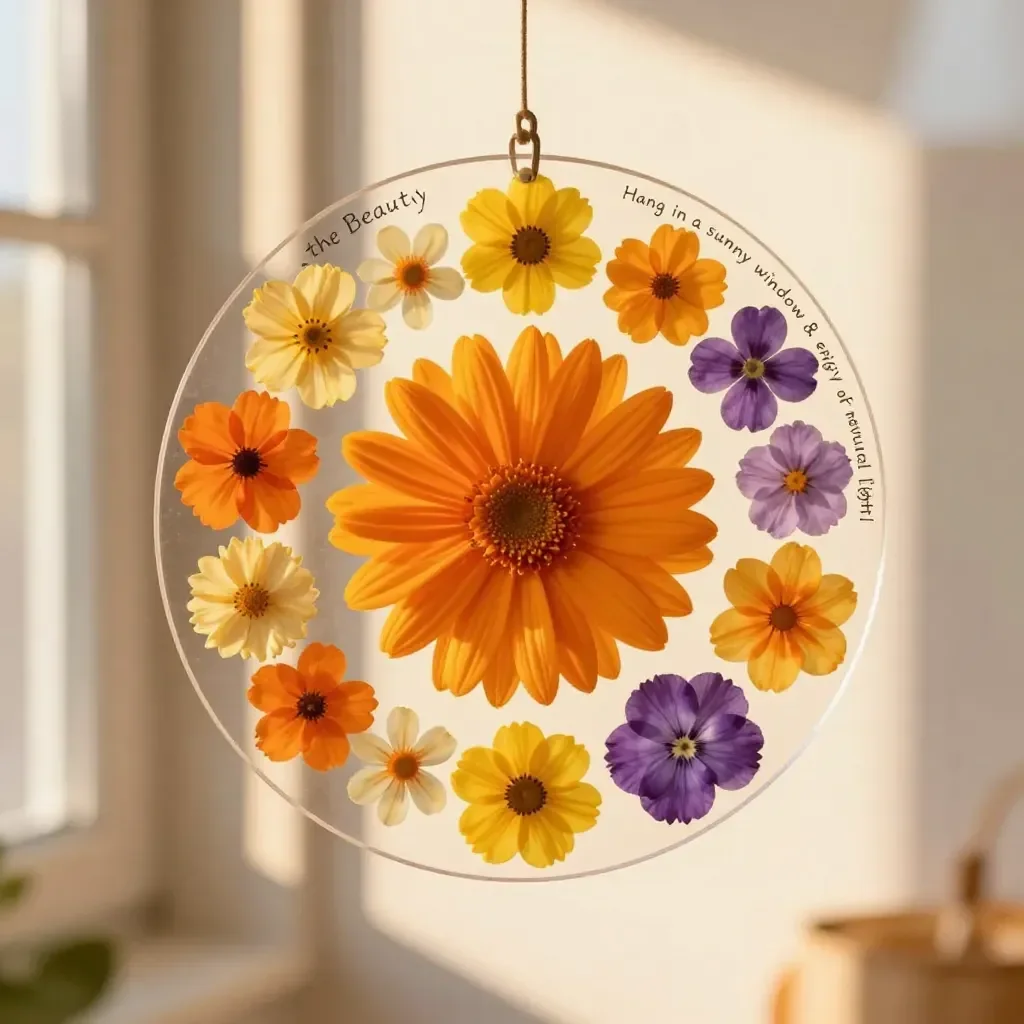
The beauty of DIY Floral Suncatchers lies not only in their creation but in how they enhance our daily lives. Once complete, these colorful pieces can transform an ordinary room into a sanctuary filled with light and color. As sunlight filters through the petals, it casts delicate shadows and hues, creating a ever-changing display that inspires serenity.
You can also use these suncatchers to mark special occasions, celebrating milestones or simply retrieving fond memories associated with the flowers you chose. They can act as comforting reminders of the beauty in nature and the importance of taking time to appreciate life’s fleeting moments. If you’re looking for more engaging projects that promote a connection with nature, consider making biodegradable suncatchers.
Caring for Your Finished DIY
To ensure your DIY Floral Suncatchers remain beautiful, store them in a cool, dry place away from direct sunlight when not on display. If you notice any fading or discoloration, consider using a fabric spray to refresh the flowers gently. You can also refresh your decorations by occasionally switching out the flowers with seasonal blooms, allowing your suncatcher to evolve over time.
If you ever decide to repurpose the flowers after some time, remember that the essence of crafting is rooted in creativity. You can always take the flowers out and create a new design, giving them a second life.
Gentle Tips & Variations
Here are a few gentle suggestions to personalize your DIY Floral Suncatchers further:
Experiment with Flower Types: Different flowers bring varied textures and shapes. Don’t shy away from trying herbs or other foliage for unexpected results.
Add a Touch of Glitter: For an extra sparkle, consider sprinkling a little glitter on the top layer of the contact paper before sealing it. This adds a whimsical touch to your piece.
Create a Theme: Use flowers that represent specific seasons or events to create a cohesive collection that tells a story or marks a moment in time.
Incorporate Prints: Try including pressed leaves or even small doodles around the edges for a more intricate design that feels uniquely yours.
Invite Friends: Crafting together can amplify the experience. Invite friends or family to join you, turning this DIY session into a cozy gathering filled with shared memories.

FAQs About DIY Floral Suncatchers
How long do the flowers last once made into a suncatcher?
Once turned into a suncatcher, the flowers may last for several months. However, exposure to sunlight can cause fading.
Can I use dried flowers instead of fresh ones?
Absolutely! Dried flowers can work beautifully, adding a different texture and feel to your suncatcher.
What should I do if my contact paper bubbles?
If you notice bubbles while applying the top layer, gently smooth them out with your fingers or a flat edge. This can help eliminate air pockets.
Is there any alternative to contact paper?
If you prefer, laminating your flowers is a fantastic alternative that provides more durability and longevity.
Conclusion
Creating DIY Floral Suncatchers allows us to immerse ourselves in the beautiful textures, colors, and scents of nature. As you hang your creation, relish in the joy of your craft, knowing it can bring a bit of the outdoors into your home. For more inspiration on related crafts, you can explore this DIY guide on pressed flower suncatchers or visit another project for a neat variation in easy pressed flower suncatchers. Embrace this opportunity to connect with your creativity, letting it inspire further explorations in your crafting journey.
PrintDIY Floral Suncatchers

Create beautiful floral suncatchers that brighten your space and allow you to connect with nature.
- Prep Time: 15 minutes
- Cook Time: 0 minutes
- Total Time: 15 minutes
- Yield: 3 suncatchers
- Category: Craft
- Method: Crafting
- Cuisine: N/A
- Diet: N/A
Ingredients
- Clear contact paper
- Fresh flowers
- Scissors
- A soft cloth
- Natural twine or string
- Optional decorative elements like glitter or beads
- Heavy book
Instructions
- Start by choosing your flowers.
- Gently wash and dry the flowers.
- Lay out a piece of clear contact paper on a flat surface, sticky side up.
- Arrange the flowers on the contact paper.
- Once you’re satisfied with your arrangement, place another sheet of contact paper on top.
- Use scissors to trim away any excess paper.
- To add a touch, decorate the edges with twine or beads.
- Find a sunny spot to hang your creation.
Notes
Store suncatchers in a cool, dry place to avoid fading. You can refresh them with seasonal flowers.