

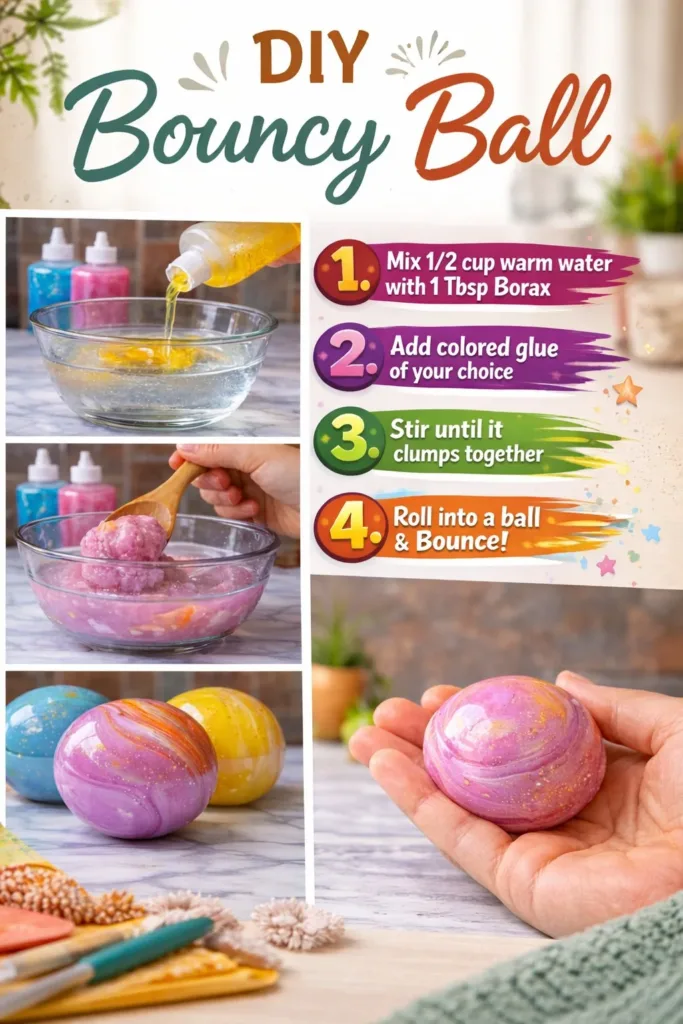
A quiet afternoon light pools on the table as you set out a small bowl, a spoon, and a bottle of white glue. The room smells faintly of warm paper and a gentle citrus cleaner. You press your fingertips to a cool measuring cup and listen to the subtle clink of glass. Making a DIY Bouncy Ball can feel like that: a small, tactile ritual that slows the pace and invites a focused kind of calm.
I like to begin this kind of making with a soft breath and a clear surface. If you enjoy color and gentle palettes, you might also like our take on calm color bouncy balls in another post, which explores softer dyes and sensory mixes calm color bouncy balls.
Why DIY Bouncy Ball Feels Comforting to Create
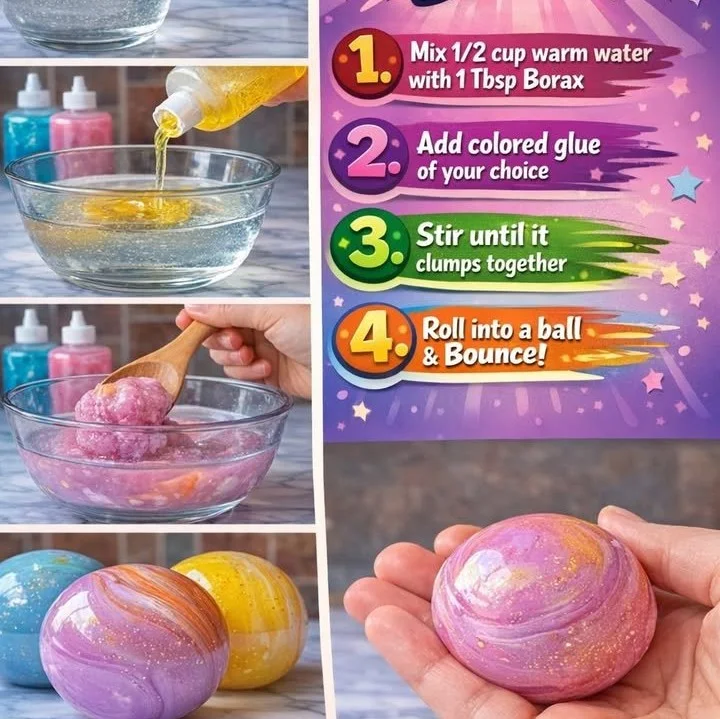
There is something almost meditative about watching a liquid thicken and hold shape. The transformation from a pourable mix to a smooth, springy ball happens slowly enough to notice each small change. Your hands guide the mixture, your fingers feel the pull of sticky glue and then the satisfying firmness as the ingredients bind.
This craft invites attention without pressure. You knead, press, and roll movements that suit a tired mind. The subtle sounds of stirring, the soft gloss of a fresh surface, and the little rhythm of rolling balls in your palm all help steady your heartbeat. That sensory loop sight, touch, sound draws you back into the present.
Beyond the calm, a DIY Bouncy Ball gives a gentle sense of achievement. You made a small object that moves and returns energy. It can brighten a pocket, a desk, or the rhythm of a quiet afternoon.
How This DIY Comes Together
This project blends a few simple ingredients to form a flexible polymer. You start with white PVA glue. When you add an activator that contains small amounts of borate ions, the long glue molecules cross-link. Those cross-links let the material stretch and rebound rather than drip. You will notice the mix go from glossy and sticky to dense and springy.
Movement matters here. Stirring slowly helps you feel the change. Kneading with warm palms encourages the ball to firm up. Listening to the soft thud when the ball meets your palm tells you when it has the right bounce. If you want a playful, marbled look, you can gently fold colored droplets instead of fully mixing, which keeps the visual rhythm soft.
If you like experimenting with marble patterns, you may enjoy our other playful recipe for marble bounce balls in this guide about creative finishes magic marble bouncy balls.
Materials You’ll Need
- White PVA school glue, 20 to 30 ml per ball (easy to find)
- Contact lens solution that lists boric acid or sodium borate in the ingredients (this acts as the activator)
- Baking soda, a small pinch per ball (helps the mix set)
- Cornstarch, optional, for firmer texture and less stickiness
- Food coloring or liquid watercolors, optional for color
- Small disposable cups or bowls for mixing (helpful for cleanup)
- Spoons or small stirring sticks
- Measuring spoons for consistent results
- Gloves if you prefer to avoid sticky hands (optional)
- A tray or plate to roll and rest finished balls
Notes on safety and alternatives: contact lens solution tends to be gentler for hands than raw borax powder. If you decide to use borax, handle it with care and keep it away from little children’s mouths, and wash hands after making. Cornstarch helps if you want a less tacky finish, and it is a good substitute if you wish to avoid extra activators.
If you enjoy a softer, color-first approach, this list pairs nicely with our calm color variations to create gentler hues calm bouncy balls.
Step-by-Step Directions
Measure and pour the glue into a small bowl or cup. Warm your hands first so the glue feels less cool against your skin. A neat, single stream settles the mood for mixing.
Add a pinch of baking soda to the glue and stir slowly. You will see the liquid become slightly denser and matte. Keep your movements deliberate and calm.
Drop in a tiny amount of food coloring or watercolor if you want color. A drop goes a long way with these small batches. Fold the color gently to keep soft marbling if desired.
Add contact lens solution, one small squirt at a time, while stirring. You will notice the mixture begin to clump and pull away from the bowl. Stop before it feels fully dry; it should stay slightly tacky.
Use your fingers to pull the forming ball from the cup. Press it together, and feel how it holds shape. If it still feels too sticky, add another tiny squirt of contact solution.
Knead the ball on a clean surface for three to five minutes. Warm palms smooth the surface and encourage elasticity. Add a pinch of cornstarch between your hands if it feels sticky.
Test the bounce gently by dropping the ball from a low height. Listen to the quiet tap and watch the rebound to judge firmness. Adjust by kneading more for a firmer result or adding cornstarch for dryness.
Rest the finished ball for an hour on a tray to set fully. This lets residual moisture even out and makes the bounce steadier. Place balls apart so they do not stick together.
Make small adjustments in later batches to refine texture. More activator increases firmness; more cornstarch reduces tackiness. Keep notes of small changes to reproduce a favorite bounce later.
Clean hands and tools with warm water and mild soap. Dispose of waste materials thoughtfully and keep work surfaces tidy. Remember to let little ones handle these with supervision.
Where This DIY Fits Into a Calm Routine
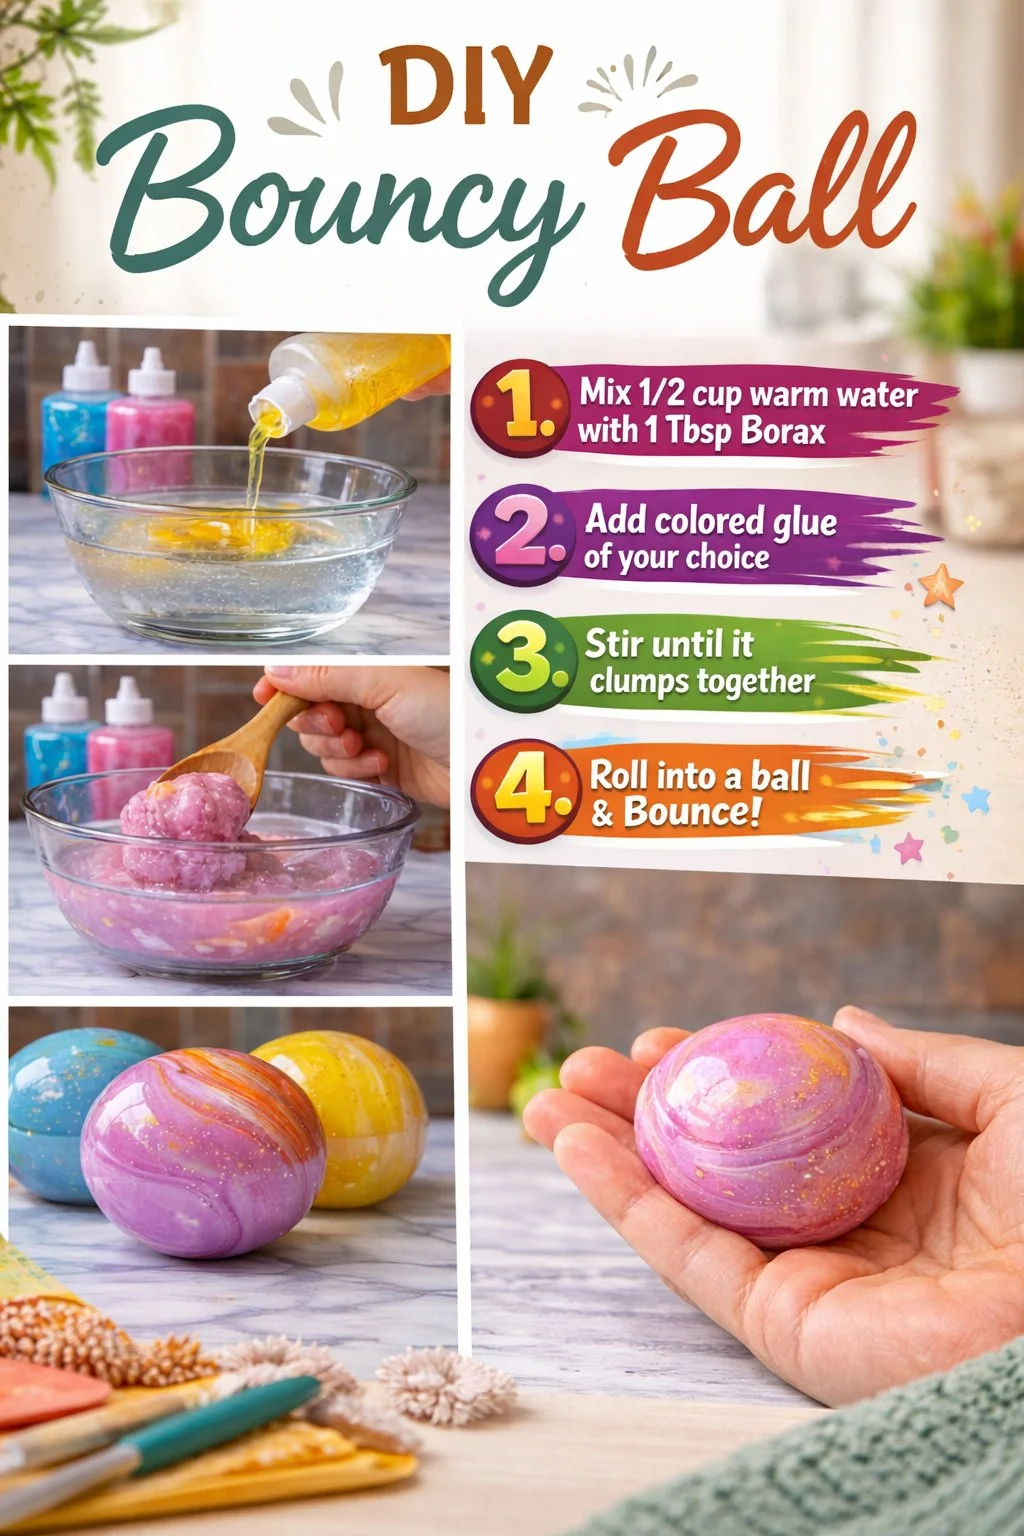
A few minutes with a bowl and spoon can become a tiny ceremony. You might make a ball while waiting for tea to steep. You can pair this project with soft music, a patterned playlist, or a window view. The short, repeating steps make it easy to move deliberately without hurry.
For families, this is an invitation to slow craft time. Children love the tactile feel and the immediate result. For adults, the simple chemistry offers quiet satisfaction. Keep a small box of finished balls on a shelf; they become companions for restless hands during a reading break or a creative pause.
If you keep making these on a regular evening, the ritual of measuring, kneading, and testing becomes a small anchor. You make, you pause, and you notice the small, steady pleasure of an object that responds to touch.
How to Store or Reuse DIY Bouncy Ball
Store finished balls in a cool, dry place away from direct sunlight. A small cloth bag or a shallow jar with a lid works well. Avoid extreme heat, which can soften the ball and affect bounce.
If a ball becomes tacky over time, dust it lightly with cornstarch and roll it between your palms. This can refresh the surface and reduce stickiness. If a ball splits or loses bounce, cut it into small pieces and knead in a bit of cornstarch to form a new texture.
For longer preservation, keep balls on a soft fabric to avoid surface scratches. If you plan to gift or trade them, wrap each gently in tissue paper and tuck them into a small box. Label the box with the date and a note about ingredients for safety.
Gentle Tips & Variations
- Invite texture: Gently press tiny beads of glitter into the surface while the ball still feels tacky for a subtle, soft sparkle. Try to use fine, cosmetic-grade glitter to avoid roughness.
- Make a set: Vary the firmness by changing the amount of activator in each batch. Arrange them in a small tray so hands can choose by feel.
- Try scent: Add a drop of essential oil to the final knead for a whisper of lavender or sweet orange. Keep the amount tiny and test for sensitivities.
- Create marbled effects: Do not fully mix in colors. Fold them slowly and stop when the swirls feel pleasing to your eyes. The pattern keeps movement visually calm.
- Keep a notebook: Jot down measurements, timing, and sensory notes like how sticky the mix felt. Small records help repeat a preferred result.
If you enjoy transforming finishes, you may like exploring different marbling techniques and finishes in our marble-focused guide for playful patterns diy magic marble bounce balls.
FAQs About DIY Bouncy Ball
Is this safe for children to make?
With supervision and the right ingredients, it can be a safe activity. Use contact lens solution as the activator and avoid raw borax if you are concerned about sensitive skin. Always supervise young children and keep mixtures away from mouths. Wash hands after making.
Why does the mixture stop being sticky?
The contact lens solution contains borate ions that create cross-links between the long polymer chains in the glue. Those cross-links reduce flow and create elasticity. Cornstarch helps absorb excess moisture, decreasing tackiness and making kneading more comfortable.
How long will a bouncy ball last?
With careful storage, a ball can keep its bounce for weeks to months. Heat and sunlight break down the polymer and reduce elasticity. If a ball begins to lose bounce, gentle kneading with a little cornstarch can sometimes revive the texture.
Can I color the ball naturally?
You can use natural pigments like beet juice or turmeric in tiny amounts, but they may change the texture or stain hands and surfaces. Water-based liquid watercolors give predictable color without strong staining. Test small amounts first.
What if the ball crumbles or falls apart?
Crumbling usually means too little activator or excess cornstarch. Try kneading a small amount of contact solution back in to rehydrate the structure, or add a tiny bit of warm water with careful kneading to help it cohere.
A Gentle Note Before You Go
Sit for a moment with one finished ball in your hand. Feel its weight, notice how it warms under your palm, and listen to the soft sound when you roll it. Making a DIY Bouncy Ball brings a quiet kind of delight: the surprise of movement that returns your touch.
This small craft holds room for gentle experimentation. You can tune firmness, color, and finish slowly, one tiny change at a time. Let your curiosity guide you rather than any need for perfection. The heart of the project lives in those soft, attentive moments of making.
Conclusion
For a different recipe and step-by-step photos, I like the thoughtful walkthrough found in this detailed step-by-step super bouncy balls guide from Lifes Carousel, which shows variations you can try at home detailed step-by-step super bouncy balls guide. If you prefer a concise experiment sheet with clear science notes, the Michigan Explore Lab Science PDF provides a helpful classroom-style outline and safety reminders for this kind of activity PDF experiment sheet for bouncy balls.
Before you close your kit, breathe once more and tuck the small tools away mindfully. A calm, rhythmic practice waits for you whenever you want to return.
PrintDIY Bouncy Ball
Create a bouncy ball using simple ingredients like glue and contact lens solution for a fun, calming craft activity.
- Prep Time: 10 minutes
- Cook Time: 60 minutes
- Total Time: 70 minutes
- Yield: 2-4 balls
- Category: Crafts
- Method: Mixing
- Cuisine: N/A
- Diet: N/A
Ingredients
- 20 to 30 ml White PVA school glue
- 1 small pinch Baking soda
- Contact lens solution (contains boric acid or sodium borate)
- Optional: Cornstarch for firmer texture
- Optional: Food coloring or liquid watercolors
- Small disposable cups or bowls for mixing
- Spoons or small stirring sticks
- Measuring spoons
- Optional: Gloves
- A tray or plate for resting finished balls
Instructions
- Measure and pour the glue into a small bowl or cup.
- Warm your hands first so the glue feels less cool against your skin.
- Add a pinch of baking soda to the glue and stir slowly.
- Drop in a tiny amount of food coloring or watercolor if you want color.
- Add contact lens solution, one small squirt at a time, while stirring.
- Use your fingers to pull the forming ball from the cup.
- Knead the ball on a clean surface for three to five minutes.
- Test the bounce gently by dropping the ball from a low height.
- Rest the finished ball for an hour on a tray to set fully.
- Make small adjustments in later batches to refine texture.
- Clean hands and tools with warm water and mild soap.
Notes
Use contact lens solution for safety over raw borax. Keep away from children’s mouths. Store balls in a cool, dry place.