

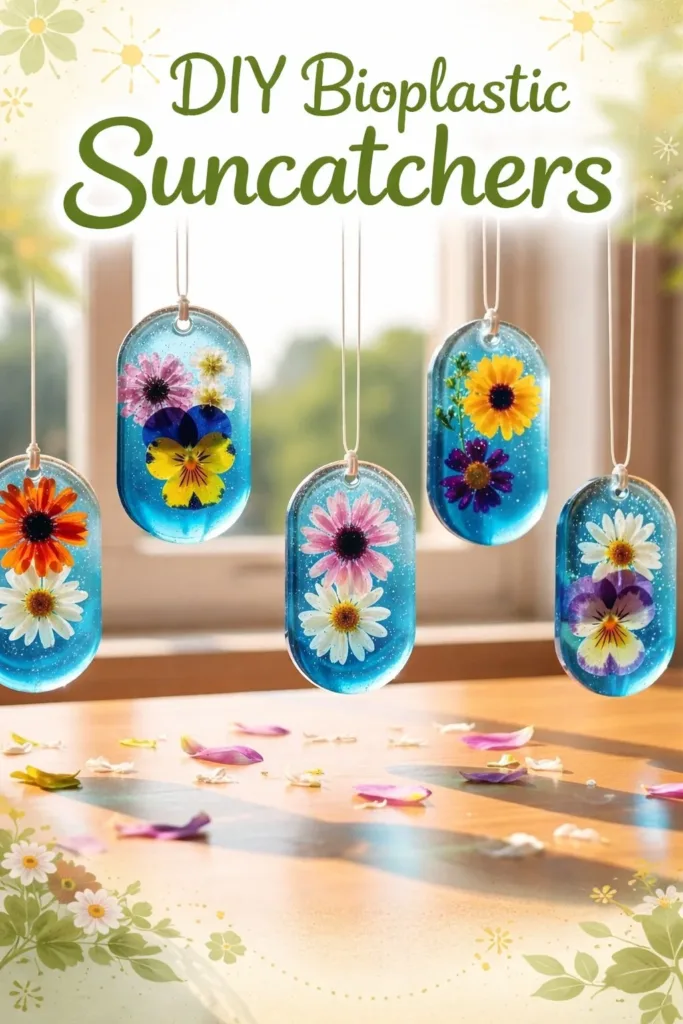
The warm light at my kitchen window pooled over a shallow bowl of glossy, soft bioplastic as I pressed a tiny fern into it. My fingers smelled faintly of apple and vinegar, and the thin sheet felt like cooled candy under my palms. The room felt small and safe, and the quiet rubbing, the small, deliberate motions, slowed me down. I made a suncatcher that afternoon and I felt steadier for it.
Why DIY Bioplastic Suncatchers Feels Comforting to Create
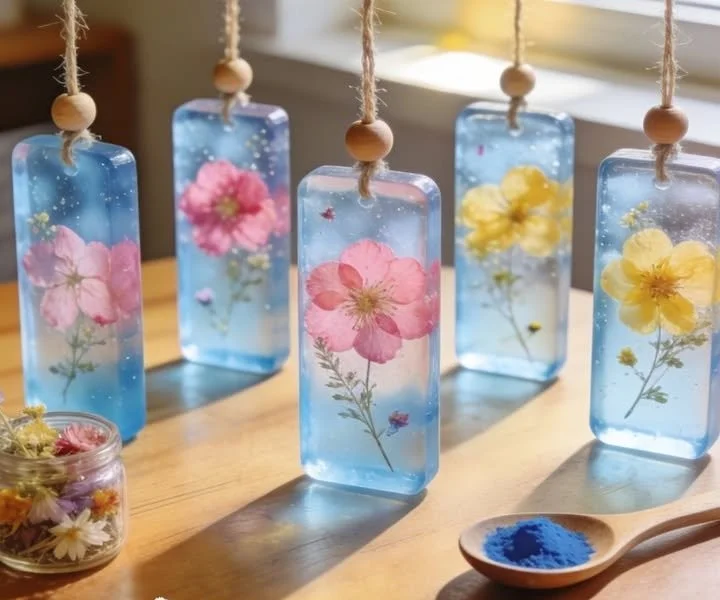
Making a bioplastic suncatcher invites slow attention. You mix simple kitchen ingredients, watch them change, and coax a delicate, translucent sheet into a shape that catches light. The textures warm liquid, cooling film, the soft snap when you lift a finished piece speak softly to the senses.
This project helps you focus on small, steady acts. The rhythm of stirring, pouring, and pressing leaves little space for rush. You can watch the surface go from cloudy to clear, listen to a faint simmer, and enjoy the quiet moment when the sun slides through your finished piece.
If you like a more colorful approach, try the colorful bioplastic suncatchers recipe on our site for ideas that layer pigment and light.
The Flow of Making DIY Bioplastic Suncatchers Before you gather materials, imagine the gentle arc of the process. You heat a few simple ingredients until they blend into a warm, thick liquid. You stir slowly and watch the mixture thicken, like honey gathering itself. You pour the warm film into a shallow dish and smooth it with the back of a spoon, or you press delicate leaves and thread into it while it cools.
Movement matters. You stir with a measured rhythm, you tilt the dish to let the mix spread, you press lightly and listen for a small, contented sound as the film peels away. The process unfolds in quiet stages, each one small and bright. When you make this more than once, you notice tiny differences in texture and transparency. Each experiment teaches you something about heat, timing, and touch.
For another method that layers pressed botanicals and shapes, see the layered suncatcher method on our project pages.
Materials You’ll Need
- Gelatin powder, plain (easy to find in grocery stores)
- Glycerin (optional; adds flexibility)
- Water
- Natural dyes or food coloring (optional)
- Small shallow glass or ceramic dishes for casting
- Measuring spoons and a heatproof cup or small saucepan
- Wooden or silicone stirring stick
- Parchment paper or silicone mat
- Non-toxic oil for light greasing (optional)
- Scissors or small craft punches for shaping
- Thin twine or fishing line for hanging
- Pressed leaves, petals, dried herbs, or thin threads for decoration (optional)
- A small cookie cutter or template for cutting shapes (optional)
For a clear guide to proportions and a quick reference to measurements, you may find the materials and measurements guide helpful. Choose simple, food-grade gelatin and small amounts of glycerin if you want softer pieces. Glycerin can make finished suncatchers more flexible and less brittle, which helps if you hang them where they might sway.
Step-by-Step Directions
Prepare your workspace and materials. Lay out parchment paper and your shallow dishes. Keep a bowl of cool water nearby to test temperature. Have your pressed botanicals and twine ready to reach for gently.
Measure and mix ingredients. Combine 1 tablespoon gelatin with 3 tablespoons warm water and 1 teaspoon glycerin if using. Let the gelatin absorb for a minute so it blooms. The powder swells and gives a soft, tactile moment before heating.
Warm the mixture slowly. Heat gently on low in a small saucepan or microwave in short bursts, stirring between each burst. Warm until the mix turns clear and liquid. You feel the difference between cloudy and clear; that clarity tells you the gelatin dissolved.
Add color or scent if you like. Stir in a drop of natural dye or a smidge of food coloring. Keep the color pale for a softer, luminous suncatcher. If you add scent, a tiny essential oil drop can work, but use very little and avoid oils if you hang pieces outdoors.
Prepare your casting dish. Lightly oil the bottom of your shallow dish or line it with parchment. Pour the warm gelatin blend into the dish, tilting it to create a thin, even layer. Watch the surface settle; it moves slowly and then stills.
Arrange botanicals or threads gently. Lay pressed leaves, petals, or thin threads on top. Press very lightly with a clean finger or the back of a spoon so the elements sink into the film just enough to adhere without tearing. The materials give a soft imprint and a layered look.
Let the film cool and set. Move the dish to a cool, shaded spot. The film will tighten and peel a little from the edges. Wait at least an hour, or longer for thicker pieces. You can touch the edge gently to test for firmness.
Lift and trim your suncatcher. Carefully peel the set film from the dish and place it on parchment. Use scissors or a small punch to cut shapes. If the film feels fragile, support it with a second sheet of parchment while cutting.
Create a hanging point. Poke a small hole near the top with a needle or small skewer. Thread twine or fishing line through and tie a secure knot. Keep knots small and neat so the piece hangs flat.
Dry and finish. Let the finished suncatcher air dry for a day or two to firm up. If you like a glossier look, brush a tiny bit of glycerin-water mix on the surface to add sheen. Hang where soft sun filters in, not where it will bake in full midday heat.
Enjoying the Finished Piece
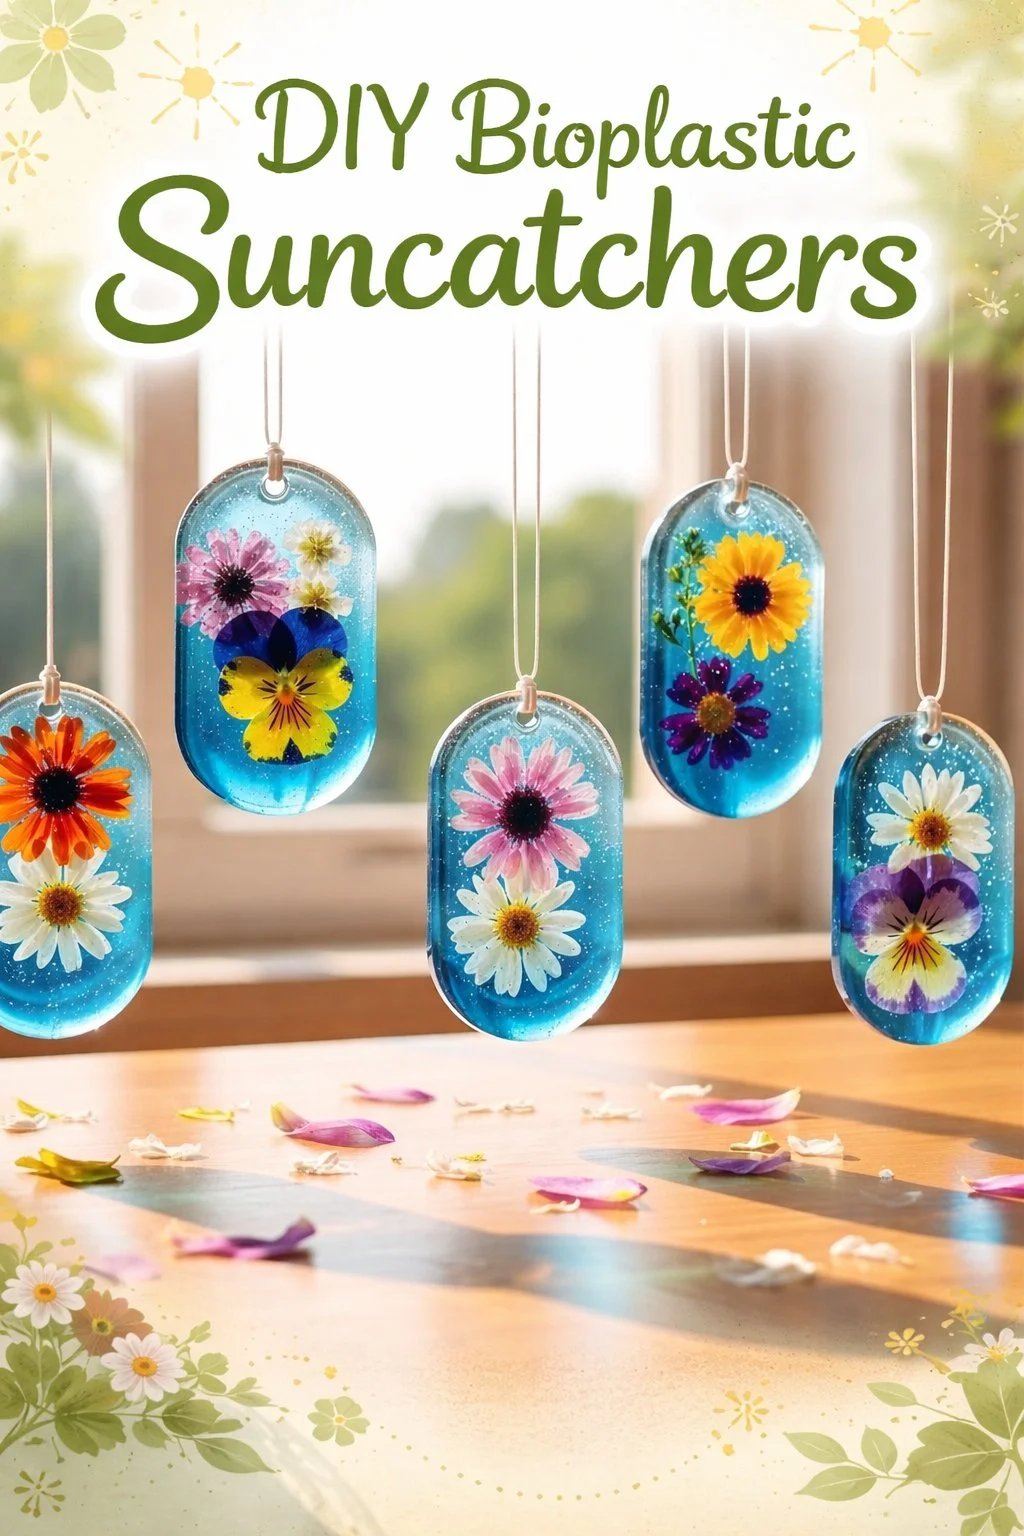
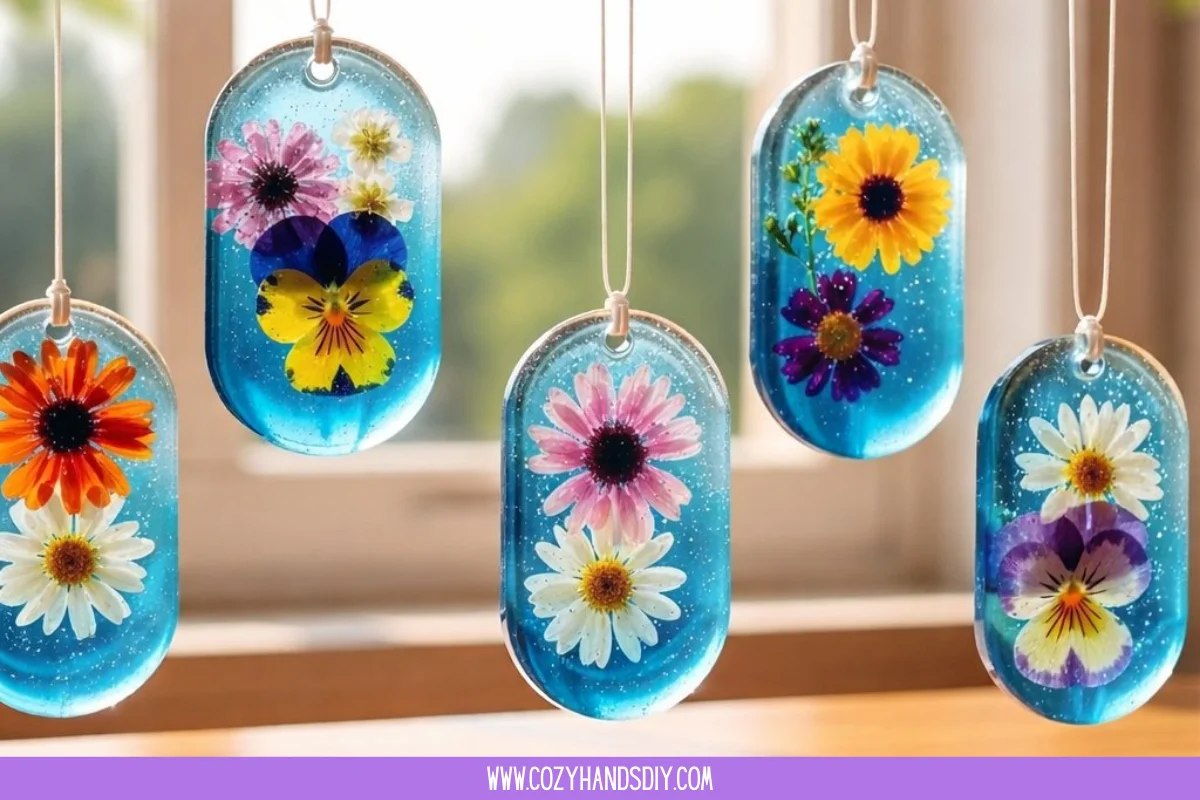
Hang your suncatcher near a north or east-facing window for gentle light. The pieces glow best where the sun moves softly rather than where it beams strongest. I often hang one near my tea corner so morning light catches the colors as I slow down with a cup.
Small movements make the light shift in quiet ways. A draft from a cracked window will make a suncatcher turn and scatter color in a gradual dance. The thin sheet catches texture and shadow. If you press a fern into the film, the veins throw tiny, delicate shadows that read like a miniature map on the wall.
If you want a pair, hang one in a sunny nook and one in a dimmer room. The contrast between bright translucence and gentle, muted color gives each one a different voice. For ideas about eco-friendly uses and care, see our page on eco-friendly uses and care.
How to Store or Reuse DIY Bioplastic Suncatchers Store finished pieces flat between sheets of parchment or in a shallow box. Keep them away from tight bends so they do not crease. A thin, flat cardboard box works well and keeps dust out.
You can reuse bits of leftover bioplastic. Cut small scraps into shapes and string them as a garland, or press them between two small frames as a light filter. If a piece softens in warm weather, move it away from direct heat and allow it to cool in a shaded spot.
If a suncatcher picks up a small stain, blot gently with a damp cloth. Avoid harsh cleaners. The film will respond to gentle care, and it will tell you when it needs rest or repair rather than replacement. These pieces ask for slow attention, not quick fixes.
Gentle Tips & Variations
- Try different molds: Pour into shallow cookie cutters for heart or leaf shapes. You may find that small molds make edges easier to trim.
- Layer thin pieces: Make two thin films and press them together with a bit of warm glycerin mix to create subtle depth. This adds dimension and a soft seam that catches the eye.
- Add tiny beads or threads: Embed a single bead or metallic thread near the top as a reflective accent. Keep embellishments small so the film stays light and airy.
- Test a small patch first: If you add a new material, try a tiny test square before committing. This helps you learn how petals or inks behave without risking a full piece.
- Change drying times: Thicker pieces need more time. Let them rest a full day to firm up, and turn them occasionally to avoid ripples.
What I’ve Learned While Making This I notice that gelatin films behave differently depending on humidity. On damp days the film stays slightly tacky and takes longer to firm. On dry days the film becomes crisp and slightly brittle. A teaspoon of glycerin smooths this out.
I also learned to trust slow cooling. Rushing by moving a still-wet film can introduce tiny bubbles and ripples. Allow the film to find its own surface tension. The small pause between pouring and decorating becomes part of the calm ritual.
I once made a batch too thin and nearly translucent. The light looked like a memory of color instead of a strong cast. I let myself enjoy the subtlety. Each variation taught me what I like and how my hands respond to different textures. Making this is less about perfect technique and more about noticing tiny changes and responding with care.
FAQs About DIY Bioplastic Suncatchers Q: Are these suncatchers safe for children to help make? A: Yes, with supervision. Children can help stir and press botanicals while an adult handles the warm mixture. Keep hot utensils out of reach and remind young helpers to move slowly.
Q: How long do they last? A: With gentle care, a suncatcher can last months to a year. Humidity and heat affect longevity. Store flat in a cool, dry place when not displayed.
Q: Can I use agar instead of gelatin for a vegan option? A: Agar behaves differently; it sets firmer and may crack more easily. You can try it, but taste and texture will change. Test a small piece first and adjust glycerin for flexibility.
Q: Will the colors fade in sunlight? A: Natural dyes and delicate botanicals will fade slowly. Place suncatchers where they see gentle light rather than full sun for longer color life.
Q: What if my film tears while lifting? A: Support the film from below with parchment and peel slowly. If it tears, trim to a new shape and embrace the irregular edge as a unique detail.
A Quiet Closing Thought The act of making a bioplastic suncatcher gives you a small, bright ritual. You work with simple, edible materials and coax a fragile film into something that holds light. Each step asks for gentle attention. When you hang a finished piece, you do more than decorate. You set a mood. You mark a small pause in the day.
Take your time with the next batch. Notice the warm, glossy surface as it turns clear. Feel the slight give under your fingers when you press a leaf into place. Let the finished suncatcher remind you that light can be captured and shared in a very small, very human way.
Conclusion If you want a different method that explains the chemistry and gives an easy walkthrough, the guide How To Make A Bioplastic Suncatcher – Chemistry for Kids offers clear steps and curious background on the materials. For ideas that pair botanical impressions with layered techniques, try this thoughtful project on Botanical Bioplastic Sun Catchers – Wineberry Woods.
PrintDIY Bioplastic Suncatchers

Create beautiful bioplastic suncatchers using simple kitchen ingredients to catch and reflect light.
- Prep Time: 10 minutes
- Cook Time: 10 minutes
- Total Time: 20 minutes
- Yield: 3-4 suncatchers
- Category: Craft
- Method: Crafting
- Cuisine: N/A
- Diet: N/A
Ingredients
- 1 tablespoon gelatin powder
- 3 tablespoons warm water
- 1 teaspoon glycerin (optional)
- Natural dyes or food coloring (optional)
- Small shallow glass or ceramic dishes
- Measuring spoons and a heatproof cup or small saucepan
- Wooden or silicone stirring stick
- Parchment paper or silicone mat
- Non-toxic oil for light greasing (optional)
- Scissors or small craft punches for shaping
- Thin twine or fishing line for hanging
- Pressed leaves, petals, dried herbs, or thin threads for decoration (optional)
- A small cookie cutter or template for cutting shapes (optional)
Instructions
- Prepare your workspace and materials.
- Measure and mix ingredients.
- Warm the mixture slowly.
- Add color or scent if you like.
- Prepare your casting dish.
- Arrange botanicals or threads gently.
- Let the film cool and set.
- Lift and trim your suncatcher.
- Create a hanging point.
- Dry and finish.
Notes
Glycerin can add flexibility to the suncatchers, making them less brittle.